▸Why Build a Hoop House?
Small farm owners often struggle with frost, pests, and short growing seasons, losing valuable crops and revenue. A hoop house—also called a high tunnel—solves this by creating a cost-effective, season-extending shelter. It's perfect for veggies, herbs, or starts, increasing production by 2-3x.
In this guide, you'll learn to assemble a basic 10x20 ft hoop house using metal conduit hoops. Expect intermediate difficulty with basic construction skills like measuring and drilling. Total time: 8-12 hours over 1-2 days. By the end, you'll have a functional structure ready for plastic covering and planting.
We'll cover site prep to final securing, with tips to avoid wind damage and ensure longevity.
▸What You'll Need
- •Required Materials:
- •20-24 pieces of 1" x 10 ft EMT conduit (for hoops)
- •2x4 lumber (4x8 ft sheets for baseboards and end walls)
- •6 mil UV-treated greenhouse plastic sheeting (12x25 ft)
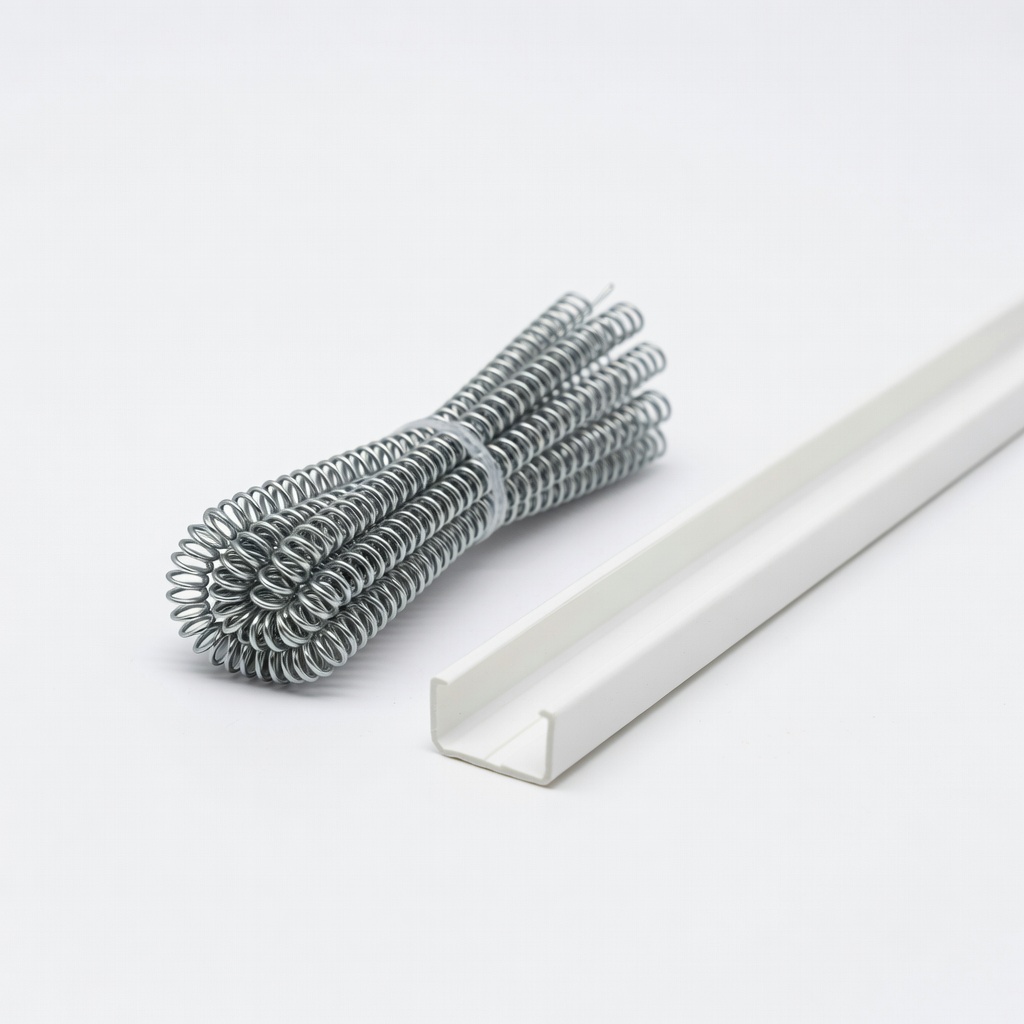
- •Wiggle wire and lock channel (50 ft total)
- •Rebar or ground stakes (24x18 inch pieces)
- •Anti-hot wire purlins (10x20 ft galvanized wire)
- •Required Tools:
- •Post hole digger or auger
- •Tape measure, level, string line
- •Hacksaw or pipe cutter, drill with metal bits
- •Hammer, screws/nuts/bolts (1/4 inch)
- •Optional: Ladders, zip ties, door framing kit
Estimated Time: 8-12 hours over 1-2 days
Difficulty: intermediate
▸Step-by-Step Instructions
Step 1: Choose and Prepare the Site
Select a flat, sunny spot (south-facing ideal) with good drainage, away from trees. Clear weeds, rocks, and debris from a 12x22 ft area to allow for overhang.
Mark corners with stakes and string. Use a level to ensure flatness—dig or fill as needed. Why? Uneven ground causes sagging hoops and poor drainage.
Success looks like: A perfectly squared 10x20 ft outline, level within 1 inch.
💡 Tips:
- •Test soil drainage by digging a hole and filling with water—it should drain in 1 hour.
- •Orient east-west for max light.
⚠️ Warnings:
- •Avoid low-lying areas to prevent frost pockets.
Step 2: Install Baseboards and Ground Anchors
Lay 2x6 treated lumber around the perimeter as baseboards, securing with 12-inch rebar driven through pre-drilled holes every 2 ft.
This creates a stable frame. Square it using the 3-4-5 triangle method (3 ft one side, 4 ft adjacent, 5 ft diagonal).
Success: Secure, level baseboard frame hugging the ground.
💡 Tips:
- •Pre-drill to avoid splitting wood.
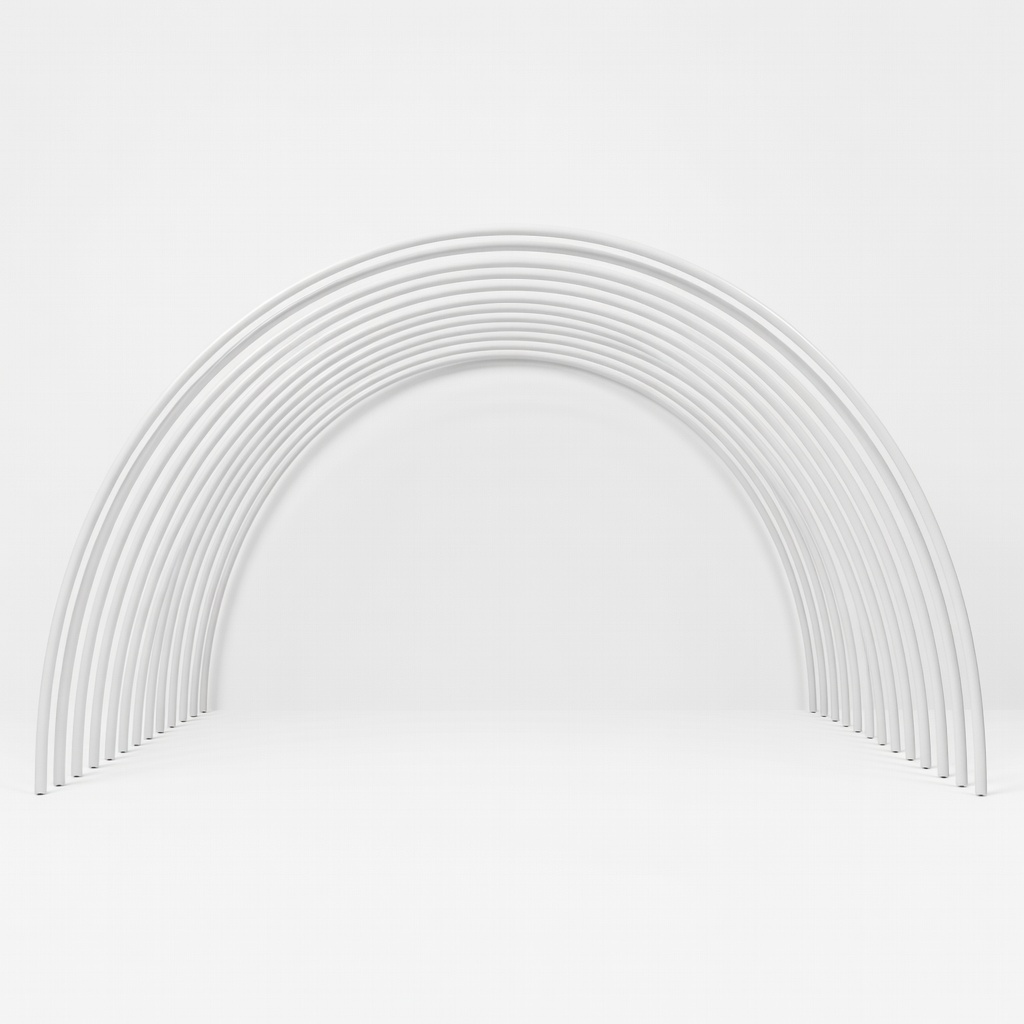
Step 3: Prepare and Insert Hoops
Bend 10 ft EMT conduits into arches (use a hoop bender if available). Insert each end 18 inches into the ground using post holes spaced 4 ft apart (6 hoops total for 20 ft length).
Start at one end, work to the other. Why? Deep insertion resists wind.
Success: Evenly spaced, uniform arches standing vertically.
⚠️ Warnings:
- •Wear gloves—metal edges are sharp.
Step 4: Secure Hoops to Baseboards
Clamp or bolt hoop bottoms to baseboards with U-bolts or conduit clamps. Check plumb with a level.
This locks everything rigid.
Success: Hoops immovable by hand pressure.
💡 Tips:
- •Tighten clamps progressively.
Step 5: Add Purlins and Ridge Pole
Run anti-condensation wire or purlins lengthwise over hoops (every 4 ft vertically). Secure with zip ties or twine. Add a center ridge pole by connecting two 10 ft conduits.
Prevents plastic sagging from snow/rain.
Success: Framework like a ribcage, strong to touch.
Step 6: Build and Install End Walls
Frame end walls with 2x4s (door opening centered). Attach to base and hoops with screws. Add diagonal bracing.
Success: Sturdy walls ready for covering.
💡 Tips:
- •Build on ground first for ease.
Step 7: Drape and Secure Plastic Covering
Unroll plastic over frame, centered with 1-2 ft overhang. Secure edges with wiggle wire in lock channel on baseboards.
Pull taut but not overstretched. Why? Proper tension prevents tears.
Success: Smooth, drum-tight plastic.
⚠️ Warnings:
- •Work on calm day; plastic tears in wind.
Step 8: Install Doors, Vents, and Final Checks
Frame and hang roll-up doors on ends. Cut vents if needed. Walk around, tighten all, check for gaps.
Success: Fully enclosed, ventilated structure ready for use.
💡 Tips:
- •Add roll-up sides for ventilation.
▸Pro Tips
- •Use EMT conduit over PVC—stronger against wind.
- •Pre-bend hoops uniformly for symmetry.
- •Apply UV protectant spray to plastic seams yearly.
- •Orient doors away from prevailing winds.
- •Add interior benches post-assembly for efficiency.
- •Recruit 2-3 helpers for plastic draping.
- •Test frame stability before covering.
▸Common Mistakes to Avoid
- •Skipping site leveling—leads to pooling water and collapse.
- •Shallow hoop insertion—hoops pull out in storms; always 18+ inches.
- •Overstretching plastic—causes tears; drape loosely then tighten.
- •No purlins—snow load rips covering.
- •Poor squaring—uneven structure stresses joints.
▸Troubleshooting
Problem: Plastic sagging or tearing
Solution: Add more purlins; replace with thicker 6-10 mil film. Secure wiggle wire tighter.
Problem: Frame wobbling in wind
Solution: Deepen anchors, add cross-bracing. Guy wires to stakes if needed.
Problem: Condensation dripping on plants
Solution: Install anti-drip purlins or infrared plastic.
Problem: Uneven hoops
Solution: Adjust clamps and re-level base. Use string line for alignment.
QDAS Greenhouse Hoops Kit 9.8FT (20pcs) (ASIN: B0B3G5K5L2)
Pre-bent galvanized steel hoops are rust-resistant and wind-durable, perfect for quick assembly.
Best for: Main arches for 10x20 ft frame; buy extras for braces.
Price Range: $59.99
Agfabric 10x20 ft Greenhouse Plastic 6mil (ASIN: B07Z8J5Q5Z)
UV-protected poly film lasts 4+ years, diffuses light evenly for better plant growth.
Best for: Full covering with overhang; cut to fit ends.
Price Range: $29.99
Grower's Supply Wiggle Wire & Lock Channel (ASIN: B001P1K8O0)
Industry standard for secure, reusable plastic fastening—easier than tape.
Best for: Edging on baseboards; 50 ft kit covers small hoop house.
Price Range: $19.99
Fiskars Steel Post Hole Digger (ASIN: B00004Z4E5)
Durable, ergonomic tool speeds up ground insertion for hoops and anchors.
Best for: Digging 24+ holes quickly without back strain.
Price Range: $49.99
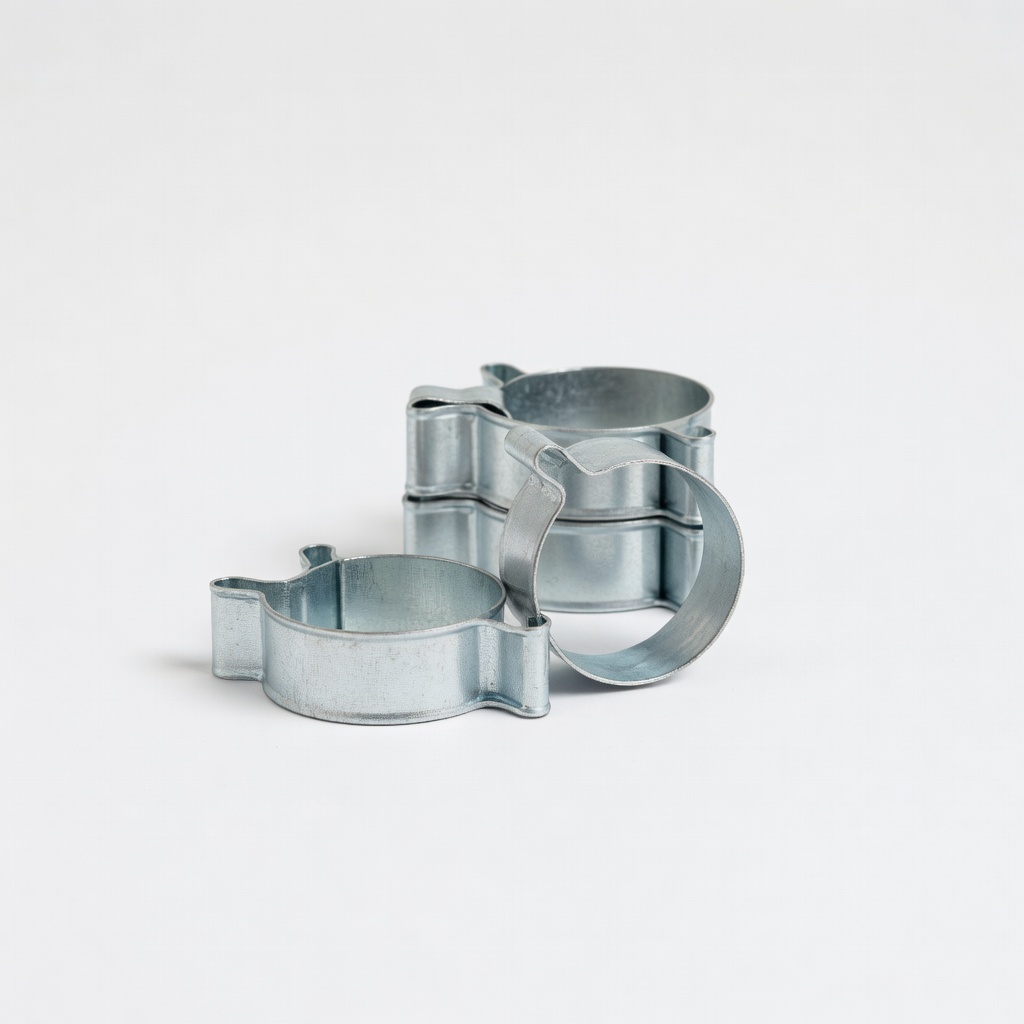
VEIKOUS 1" EMT Conduit Clamps (ASIN: B08L5M3N4P)
Rust-proof clamps fit perfectly, ensuring rock-solid hoop-to-base connection.
Best for: Securing 12 hoop bases.
Price Range: $15.99