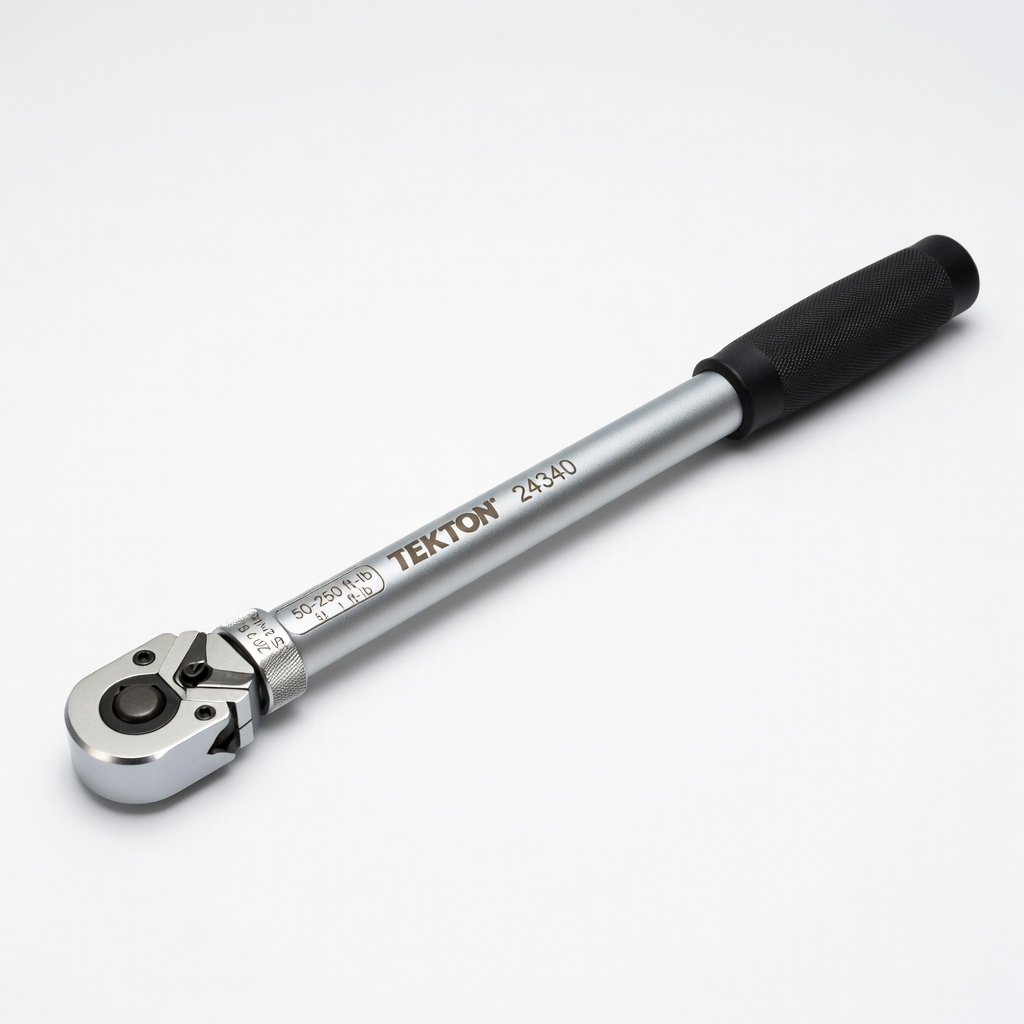
TEKTON 24340 1/2 Inch Drive Click Torque Wrench (50-250 ft-lb)
All bolting steps, especially axles and lugs.
$55-$65
TEKTON 24340 1/2 Inch Drive Click Torque Wrench (50-250 ft-lb) Precise torquing prevents bolt failures on heavy ag loads.
Get the App
Better experience on mobile
Learn advanced techniques to build durable trailers for hauling farm equipment, ensuring safety and longevity in under 8 hours.
Assembling agricultural construction machinery trailers is crucial for farmers and contractors who need reliable transport for tractors, harvesters, and heavy gear. Poor assembly can lead to catastrophic failures on the road, costly repairs, or accidents—issues that plague 20% of DIY builds according to industry reports. This guide empowers advanced users to construct a professional-grade trailer from a kit.
You'll master every step from frame assembly to final torque checks, using proven methods for bolt-on or weld-ready kits common in ag applications. Expect a sturdy, road-ready trailer capable of 10,000+ lb loads.
The process takes 6-8 hours for experienced builders, requiring mechanical knowledge, welding skills (optional), and precision tools. Safety first: work in a level, spacious area with help for heavy lifts.
Estimated Time: 6-8 hours Difficulty: advanced
Begin by unpacking the trailer kit in a clean, level workspace (at least 30x20 ft). Lay out all components: frame rails (I-beams), crossmembers, axles (e.g., 7K tandem), deck boards or sheet metal, tongue assembly, hubs, springs, wheels, and hardware bags.
Create an inventory checklist from the manufacturer's manual—verify quantities and inspect for damage. Missing bolts or bent rails are common kit flaws. Sort hardware by size (e.g., 5/8-inch Grade 8 U-bolts for axles).
Success looks like: Organized parts grouped by assembly stage, no missing pieces—prevents delays later.
💡 Tips:
⚠️ Warnings:
Clear a flat concrete or gravel area. Position temporary supports (cinder blocks or jack stands) 10-12 ft apart for frame alignment. Use a laser level to ensure ground is within 1/8-inch per 10 ft.
Why it matters: Uneven assembly causes axle misalignment, leading to tire wear and sway. For ag trailers, precision prevents uneven loading of heavy machinery.
Success: Frame supports ready, site swept clean.
💡 Tips:
⚠️ Warnings:
Lay frame rails parallel, 8-10 ft apart (per kit specs). Bolt or tack-weld crossmembers every 2 ft using 1/2-inch Grade 8 bolts torqued to 120 ft-lbs. Check squareness with diagonal measurements (equal lengths).
Clamp rails if welding; MIG at 18-22 volts for 1/4-inch steel. This forms the trailer's backbone for 10K+ lb hauls.
Success: Rigid rectangle frame, diagonals match within 1/2 inch.
💡 Tips:
⚠️ Warnings:
Hoist frame with jacks. Position tandem axles (e.g., 89-inch track width) under frame, centered. Bolt hanger kits and spring hangers; attach leaf springs with U-bolts (torque 90-110 ft-lbs).
Mount hubs, pack bearings with grease, install spindles. Ensures even weight distribution for ag loads.
Success: Axles level, springs pre-loaded evenly.
💡 Tips:
⚠️ Warnings:
Align tongue (A-frame or adjustable) to frame front, bolt with 3/4-inch pins. For gooseneck, weld kingpin box or bolt per kit. Install coupler (2-5/16-inch for ag trucks) and safety chains.
Test coupler latch; adjust height for 18-20 inch deck-to-ground.
Success: Secure hitch, pivots smoothly.
💡 Tips:
⚠️ Warnings:
Lay treated lumber or steel decking across frame, secure with lag screws or bolts. Add rub rails and stake pockets for machinery tie-downs. Optional: weld side frames for lowboys.
Ensures stable haul for tractors/bales.
Success: Flush, solid deck—no gaps.
💡 Tips:
⚠️ Warnings:
Slide wheels onto hubs (8-lug pattern common), hand-tighten lug nuts. Lower trailer, torque in star pattern to 450-500 ft-lbs (per axle spec). Re-torque after 50 miles.
Success: Wheels spin freely, no wobble.
💡 Tips:
⚠️ Warnings:
Route 7-pin harness from tongue to rear: tail, brake, turn signals. Ground to frame, test with truck. Inspect all bolts (re-torque), check brakes if electric/hydraulic.
Load test with 1,000 lbs.
Success: All lights work, frame square, ready for registration.
💡 Tips:
⚠️ Warnings:
Problem: Frame twists during assembly
Solution: Use heat/clamps to straighten; re-measure diagonals and add diagonal bracing.
Problem: Axles not level
Solution: Shim hangers with 1/4-inch steel plates; re-check with digital level.
Problem: Lights flicker
Solution: Clean grounds, add inline fuse; test voltage drop under load.
Problem: Wheels wobble
Solution: Re-torque lugs in star pattern; balance if needed professionally.
Problem: Coupler too low/high
Solution: Adjust riser bars or chains; aim for 17-19 inch height.
Precise torquing prevents bolt failures on heavy ag loads.
Best for: All bolting steps, especially axles and lugs.
Price Range: $55-$65
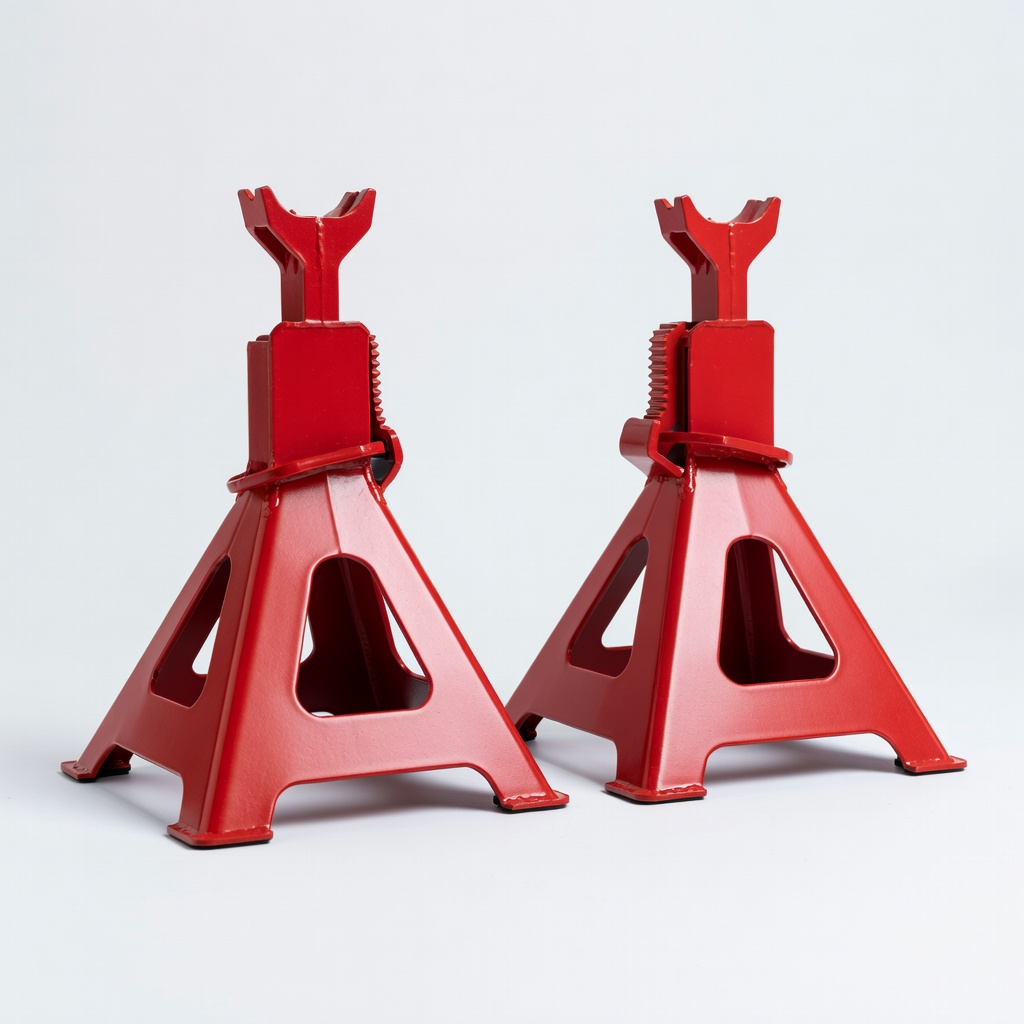
Stable support for frame during axle and wheel work.
Best for: Lifting and stabilizing trailer sections safely.
Price Range: $35-$45
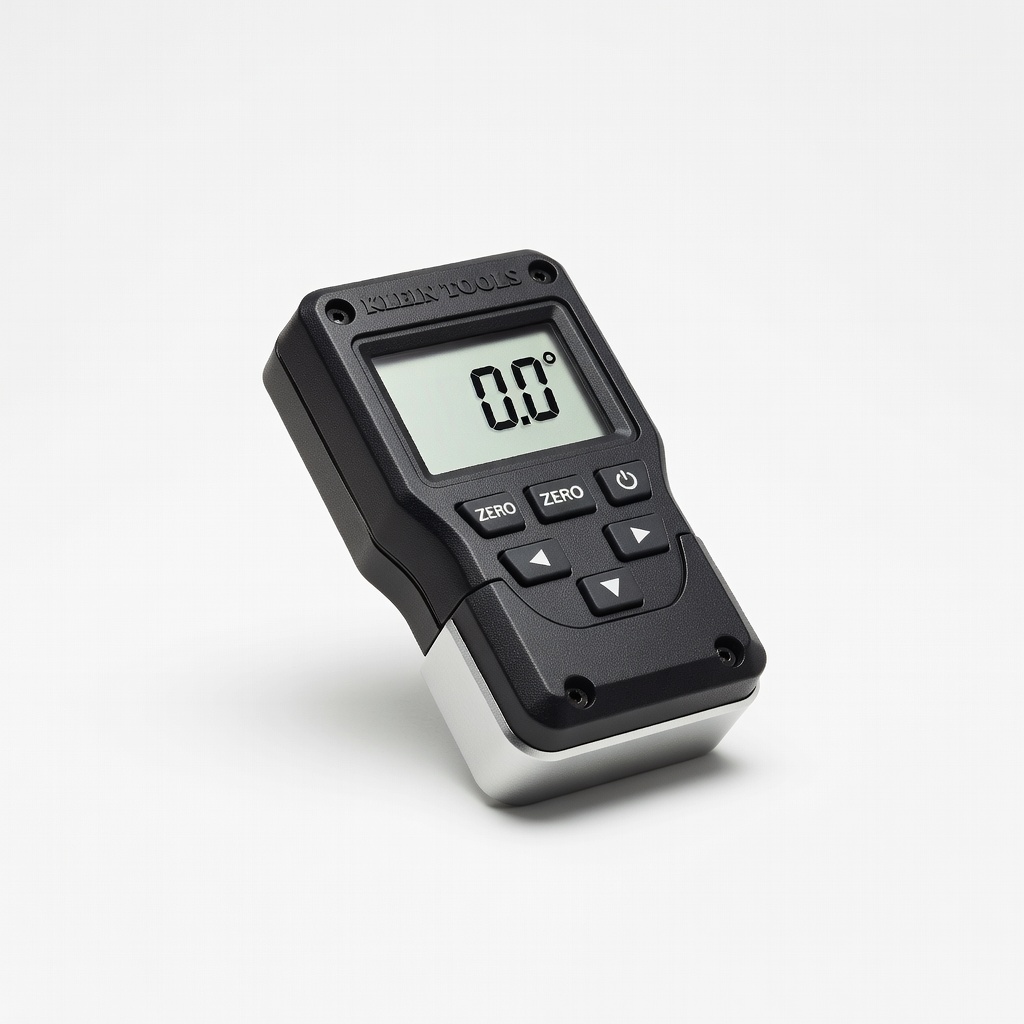
Ensures perfect axle and frame leveling for road safety.
Best for: Checking alignments in steps 2,4,8.
Price Range: $25-$35
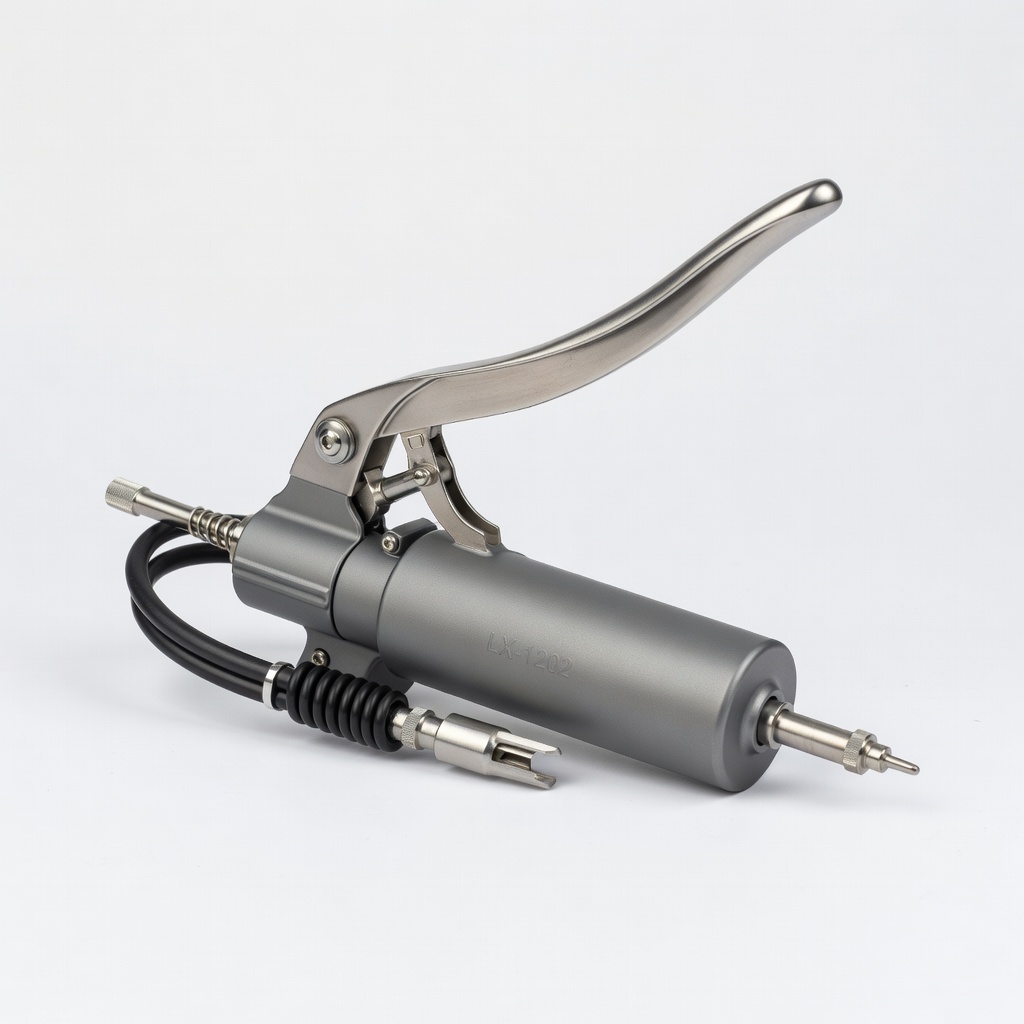
High-pressure greasing for hubs and zerks without mess.
Best for: Bearing packing and suspension maintenance.
Price Range: $18-$25
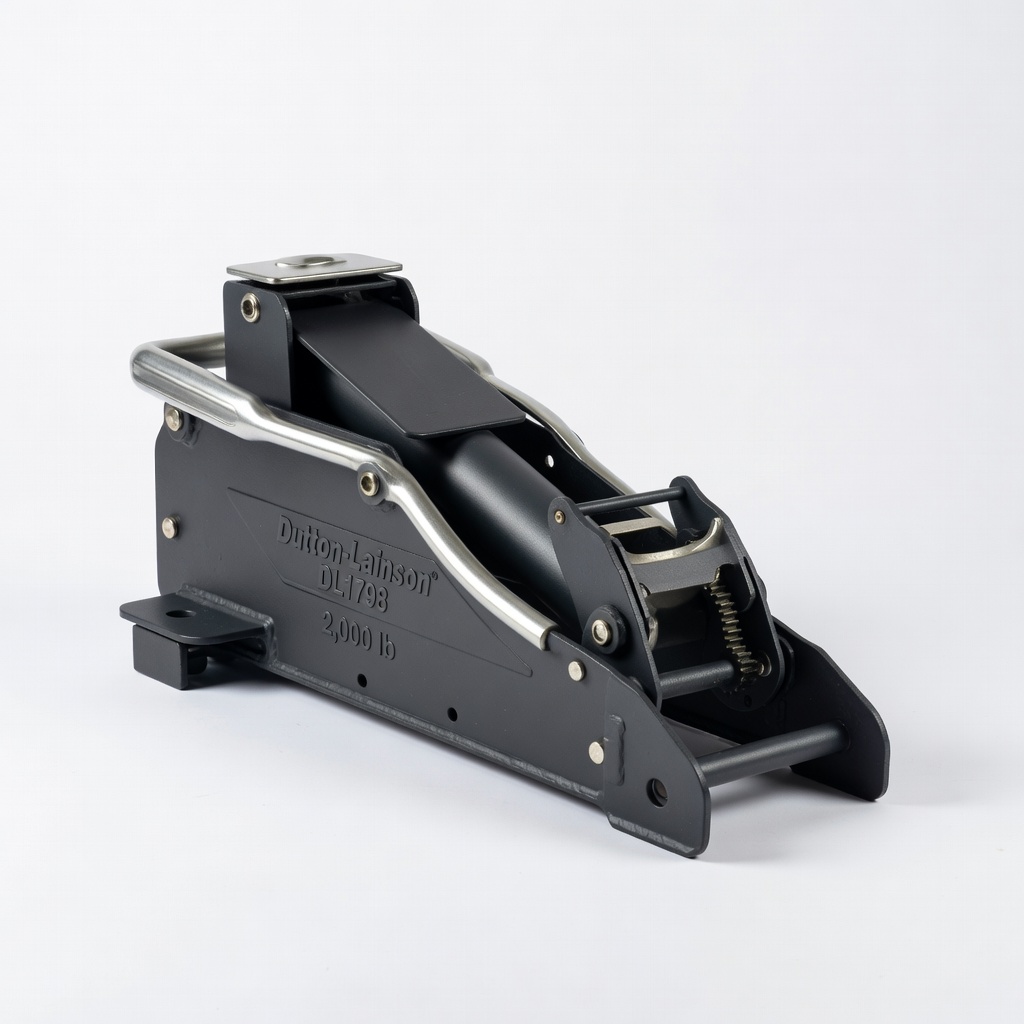
Reliable swivel jack for tongue support during assembly.
Best for: Stabilizing front end for wiring and testing.
Price Range: $40-$50
All bolting steps, especially axles and lugs.
TEKTON 24340 1/2 Inch Drive Click Torque Wrench (50-250 ft-lb) Precise torquing prevents bolt failures on heavy ag loads.
Lifting and stabilizing trailer sections safely.
Torin Big Red T43202 Jack Stands (3 Ton, Pair) Stable support for frame during axle and wheel work.
Checking alignments in steps 2,4,8.
Klein Tools 935DAG Digital Angle Gauge and Level Ensures perfect axle and frame leveling for road safety.
Bearing packing and suspension maintenance.
Lumax LX-1202 Deluxe Lever Grease Gun High-pressure greasing for hubs and zerks without mess.
Stabilizing front end for wiring and testing.
Dutton-Lainson DL1798 2,000 lb Trailer Jack Reliable swivel jack for tongue support during assembly.