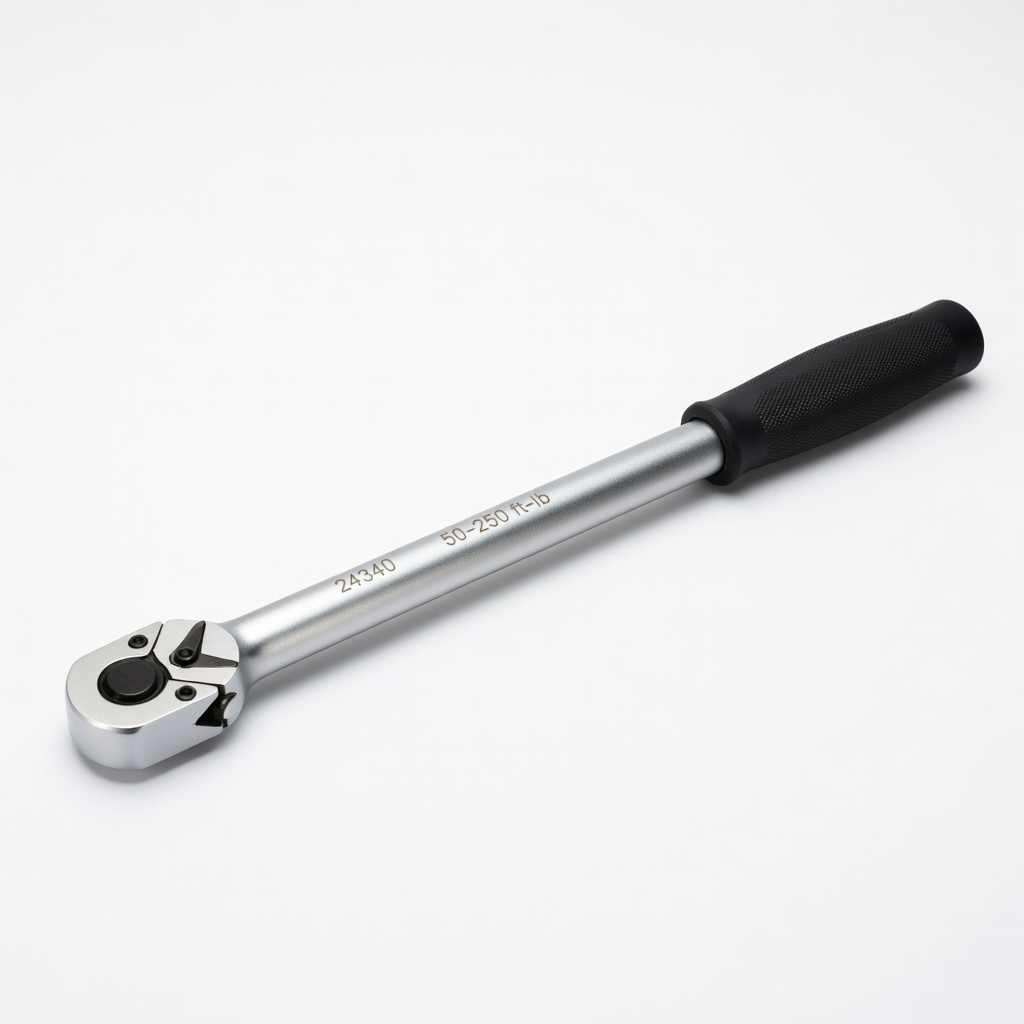
TEKTON 24340 1/2 Inch Drive Torque Wrench (50-250 ft-lb)
Axles, lugs, and frame bolts during assembly.
$49.99
TEKTON 24340 1/2 Inch Drive Torque Wrench (50-250 ft-lb) Ensures precise torquing to prevent loose bolts or stripping.
Get the App
Better experience on mobile
Build your farm's reliable material hauler safely and quickly with this beginner step-by-step guide.
Farming demands efficient transport of hay, feed, tools, and more, but a poorly assembled wagon leads to breakdowns, safety risks, and lost time. Whether you're setting up a new bulk or flatbed wagon for your operation, proper assembly ensures durability and performance.
In this guide, you'll learn to assemble a standard Ag transport wagon from kit parts, covering everything from unpacking to final checks. Expect a straightforward process focusing on safety and precision—no advanced skills needed.
Total time: 2-3 hours. Difficulty: Beginner. You'll end up with a fully operational wagon ready for farm use.
Estimated Time: 2-3 hours Difficulty: beginner
Begin by carefully unpacking the wagon kit in a flat, open workspace like a barn floor or driveway. Lay out all components: frame rails, cross members, axles, wheels, bed sides, tongue assembly, bolts/nuts, and hardware bags.
Check the manufacturer's parts list (included in the manual) against what you have. Note any missing or damaged items and contact the supplier immediately. This step prevents frustration later.
Success looks like: All parts organized by assembly stage, no missing hardware.
💡 Tips:
⚠️ Warnings:
Position the two main frame rails parallel, about 8 feet apart (per typical 12x8 wagon specs). Align cross members and insert bolts through pre-drilled holes.
Hand-tighten nuts, then use your socket set to snug them up. Flip the frame if needed for easier access.
Success looks like: A rigid rectangular frame, square corners (use a tape measure for diagonals matching).
💡 Tips:
⚠️ Warnings:
Lift the frame using the floor jack at a cross member. Position axle hangers under the frame at specified locations (usually 2-4 feet from ends).
Bolt hangers securely, then slide axles through U-bolts and torque to spec (check manual, e.g., 100 ft-lbs). Lower the frame slowly.
Success looks like: Axles level and spinning freely without binding.
💡 Tips:
⚠️ Warnings:
Chock the frame ends. Grease wheel bearings lightly, then slide wheels onto spindles. Install lug nuts finger-tight, lower if jacked.
Torque lugs in star pattern to 80-100 ft-lbs (per manual). Spin wheels to check for wobble.
Success looks like: Wheels rotate smoothly, no play in bearings.
💡 Tips:
⚠️ Warnings:
Bolt the floor panels or slats to the frame top using carriage bolts. Secure side panels with clamps or hinges, ensuring they latch properly.
For dump wagons, connect hydraulic lift arms if included (requires separate pump setup).
Success looks like: Sturdy bed with no gaps, sides perpendicular to frame.
💡 Tips:
⚠️ Warnings:
Align the tongue assembly with the front frame cross member. Bolt through main pivot points, then attach safety chains and jack stand.
Connect any turnbuckles for adjustability. Torque all to spec.
Success looks like: Tongue swings freely, hitch ball receiver level when coupled.
💡 Tips:
⚠️ Warnings:
Locate all zerks (grease fittings) on axles, pivots, and lifts. Pump lithium grease until firm.
Walk around: tighten loose bolts, check tire pressure (30-40 PSI typical), test side latches.
Success looks like: Smooth operation, no rattles when pushed.
💡 Tips:
⚠️ Warnings:
Hitch to tractor/ATV at low speed in empty field. Check for unusual noises, pulls, or vibrations. Recheck torques after 10 miles.
Success looks like: Stable towing, even load handling.
💡 Tips:
⚠️ Warnings:
Problem: Wheel wobbles
Solution: Check bearing preload; repack if loose. Torque hubs properly.
Problem: Frame twists
Solution: Verify square diagonals; re-bolt cross members.
Problem: Hitch won't align
Solution: Adjust turnbuckles; check tractor height.
Problem: Squeaks after use
Solution: Re-grease all zerks; inspect for debris.
Ensures precise torquing to prevent loose bolts or stripping.
Best for: Axles, lugs, and frame bolts during assembly.
Price Range: $49.99
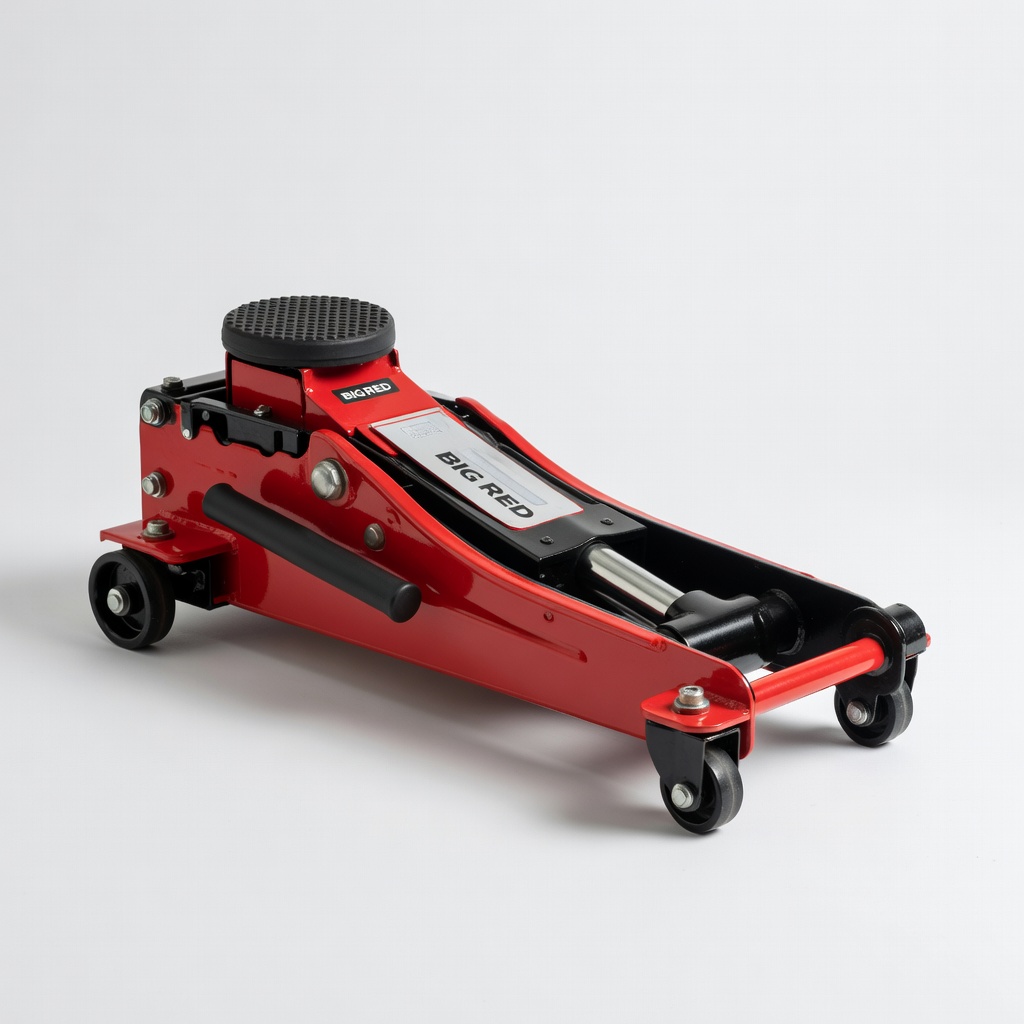
Lifts heavy frame safely for axle work.
Best for: Raising frame for undercarriage installs.
Price Range: $39.99
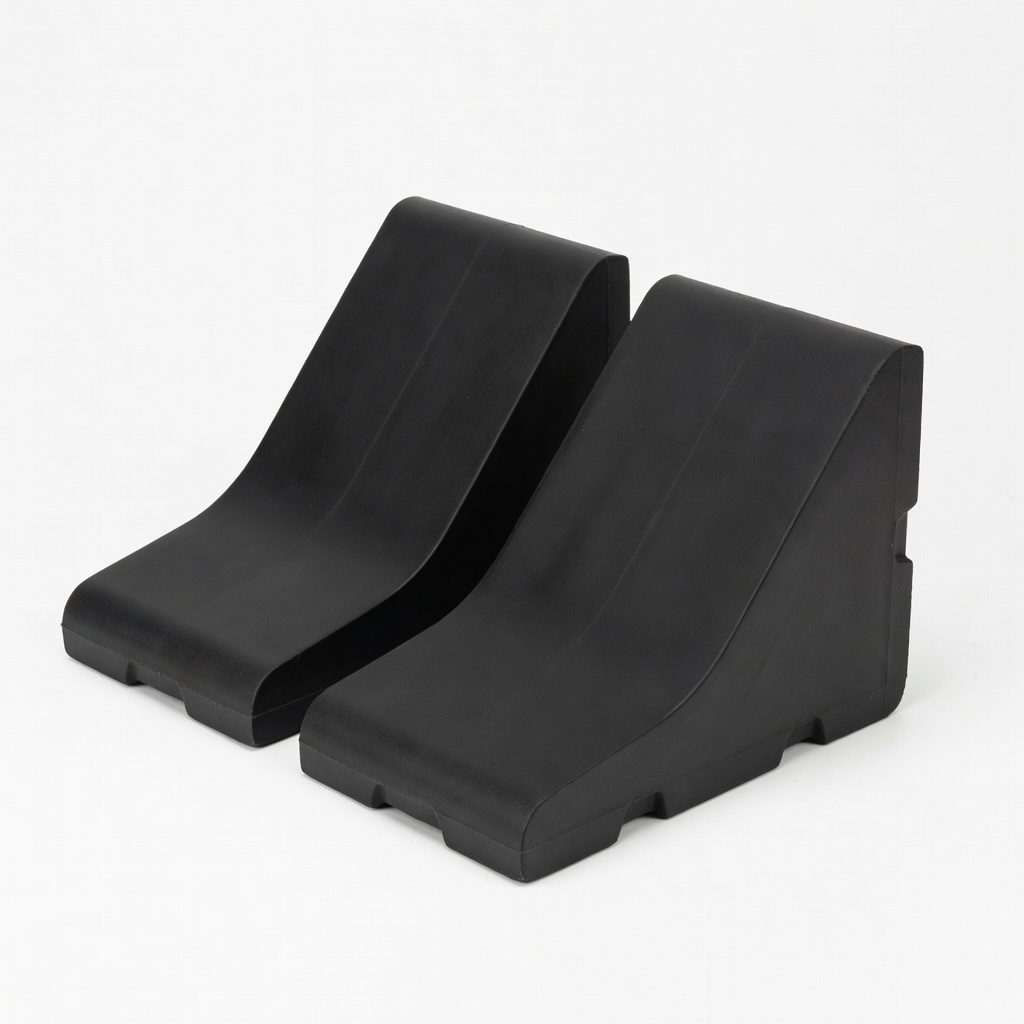
Prevents rolling during wheel/tire work.
Best for: Stabilizing wagon on any surface.
Price Range: $14.99
Starter ag wagon kit; easy assembly, durable for small farms.
Best for: Complete transport solution for feed/hay.
Price Range: $129.99
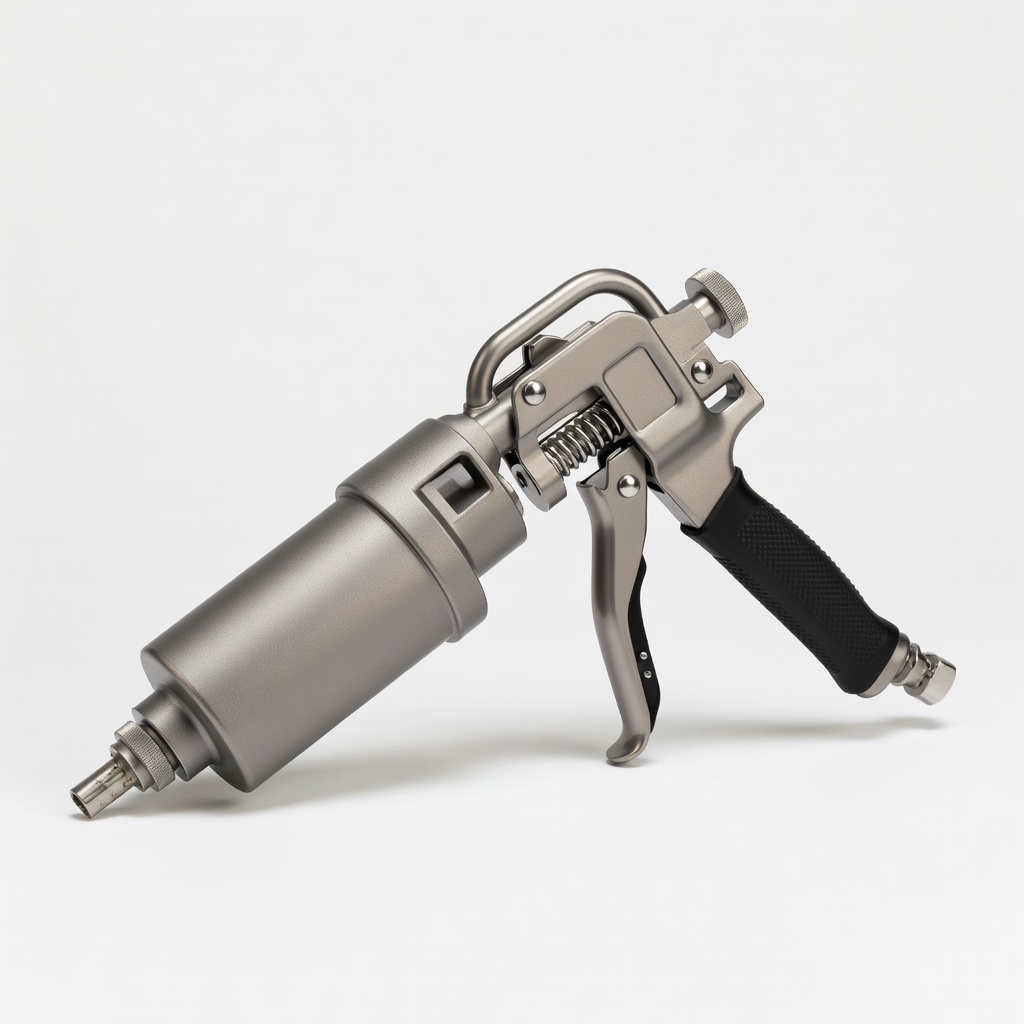
Quick, mess-free greasing of zerks.
Best for: Final lubrication and maintenance.
Price Range: $59.99
Axles, lugs, and frame bolts during assembly.
TEKTON 24340 1/2 Inch Drive Torque Wrench (50-250 ft-lb) Ensures precise torquing to prevent loose bolts or stripping.
Raising frame for undercarriage installs.
BIG RED T83002A Torin Hydraulic Floor Jack (3 Ton) Lifts heavy frame safely for axle work.
Stabilizing wagon on any surface.
MaxxHaul 70072 Heavy Duty Wheel Chocks (Rubber) Prevents rolling during wheel/tire work.

Complete transport solution for feed/hay.
Gorilla Carts GOR6PS Heavy-Duty Poly Dump Wagon Starter ag wagon kit; easy assembly, durable for small farms.
Final lubrication and maintenance.
LockNLube Grease Gun (Manual) Quick, mess-free greasing of zerks.