Parents love activity cubes for sparking curiosity and physical activity in toddlers, but unassembled kits can feel overwhelming without clear guidance. Whether you're setting up a backyard play area or enhancing a playgroup space, properly assembled outdoor activity cubes withstand weather and rough play while offering beads, gears, and shape sorters.
In this guide, you'll learn a foolproof step-by-step process to assemble modular activity cubes designed for outdoor use. Expect a straightforward build focusing on stability and safety, perfect for intermediate DIYers. You'll achieve a sturdy 24-inch cube ready for play in 45-60 minutes, complete with tips to customize for your kids.
No advanced carpentry needed—just basic tools and attention to detail. By the end, your little ones will enjoy endless outdoor exploration.
▸What You'll Need
- •Modular outdoor activity cube kit (6 panels, hardware, activity inserts—required; recommend Hape or similar)
- •Phillips #2 screwdriver (required)
- •Allen wrench set (3mm-5mm, often included; required)
- •Rubber mallet (required for gentle tapping)
- •Safety glasses (required)
- •Wood glue or construction adhesive (optional for extra strength)
- •Level and measuring tape (optional for perfect alignment)
Estimated Time: 45-60 minutes
Difficulty: intermediate
▸Step-by-Step Instructions
Step 1: Unpack and Inventory Parts
Open the box carefully and lay out all components on a flat, clean surface like a garage floor or picnic table. Check the instruction manual for a parts list, typically including 6 weather-resistant panels (bottom, 4 sides, top), 24-32 screws/bolts, Allen wrenches, activity modules (beads, gears, sorters), and hinges or connectors.
Sort parts into categories: panels, hardware, tools, and extras. Count each to ensure nothing's missing—most kits have spares. This prevents frustrating mid-build halts.
Success looks like: All parts accounted for, no damage like cracked panels.
💡 Tips:
- •Take photos of the unpacked parts for reference.
- •Lay a drop cloth to protect surfaces and keep parts clean.
⚠️ Warnings:
- •Inspect for defects immediately; contact manufacturer if damaged.
Step 2: Prepare the Base Panel
Select the largest panel marked 'bottom.' Wipe it with a dry cloth to remove dust. Insert any pre-drilled activity modules (like shape sorters) into designated slots on the base using the rubber mallet for a snug fit—tap lightly from the center outward.
Why it matters: The base bears the most weight, so secure modules now prevent wobbling later. Test by shaking gently; it should feel solid.
Success looks like: Base panel fully prepped with activities flush and secure.
💡 Tips:
- •Apply a dab of glue under modules for permanence outdoors.
⚠️ Warnings:
- •Avoid over-tapping plastic edges to prevent cracks.
Step 3: Attach the First Two Side Panels
Position two adjacent side panels perpendicular to the base, aligning pre-drilled holes. Insert bolts from the inside and tighten with Allen wrench and screwdriver alternately (1/4 turn each) to avoid stripping.
This creates the front frame. Use a level on top edges for evenness. Why? Uneven sides lead to top-heavy instability in wind.
Success looks like: L-shaped frame stands upright without support.
💡 Tips:
- •Have a helper hold panels while you secure.
Step 4: Secure Remaining Side Panels
Add the back and opposite side panels one by one, repeating the bolt-tightening process. Work clockwise for ease. Connect corners with provided hinges or corner brackets, tightening fully.
Check squareness by measuring diagonals—they should match. This ensures structural integrity for outdoor bouncing.
Success looks like: Four walls fully enclosed, cube shape forming without gaps.
💡 Tips:
- •Tighten in stages: snug first pass, full torque second.
⚠️ Warnings:
- •Don't force misaligned holes; re-drill if needed with manufacturer support.
Step 5: Install Activity Features on Sides
Snap or screw on activity panels like spinning gears, abacus beads, and peek-a-boo doors to outer faces. Use included clips or screws—most are tool-free for these.
Why now? Easier access before top closes. Test each feature for smooth movement.
Success looks like: All sides interactive and functioning smoothly.
💡 Tips:
- •Lubricate bead wires with silicone spray if sticky.
Step 6: Attach the Top Panel
Lift the top panel onto the walls, aligning holes. Secure with longest bolts from above, using the rubber mallet if needed for seating. Tighten sequentially around the perimeter.
Final level check: Entire cube should be plumb.
Success looks like: Complete enclosed cube, rock-solid when pushed.
💡 Tips:
- •Add weights like sandbags during top install for stability.
⚠️ Warnings:
- •Wear safety glasses—bolts can slip.
Step 7: Test Stability and Final Touches
Shake the cube vigorously, rock it, and test all activities. Tighten any loose bolts. Sand rough edges and apply outdoor sealant if not pre-treated.
Place on level ground; anchor with stakes if windy area.
Success looks like: Cube ready for play—no wobbles, all features perfect.
💡 Tips:
- •Invite kids for a test play under supervision.
▸Pro Tips
- •Assemble in mild weather to avoid material expansion/contraction issues.
- •Label panels with painter's tape if unmarked for faster matching.
- •Pre-tighten all hardware 80% before final torque for even stress.
- •Customize by swapping activity panels from other kits.
- •Store tools in a nearby bucket to avoid misplacement.
- •Use painter's tape on edges during assembly to prevent scratches.
- •For multiple cubes, build one fully before starting the next.
▸Common Mistakes to Avoid
- •Skipping inventory—leads to incomplete builds; always count first.
- •Overtightening bolts—strips threads; use torque in stages.
- •Ignoring level checks—causes wobbly cubes; measure diagonals.
- •Assembling indoors then moving—awkward; build near final spot.
- •Forgetting weatherproofing—shortens lifespan; seal exposed wood.
▸Troubleshooting
Problem: Panels won't align
Solution: Loosen adjacent bolts slightly, realign with mallet, then retighten. Check for burrs and file smooth.
Problem: Activities stick or jam
Solution: Clean with mild soap; apply graphite lubricant to moving parts. Ensure proper seating.
Problem: Cube wobbles on uneven ground
Solution: Shim base with rubber pads or level ground. Anchor with stakes.
Problem: Missing hardware
Solution: Use spares or contact seller for replacements—most ship same-day.
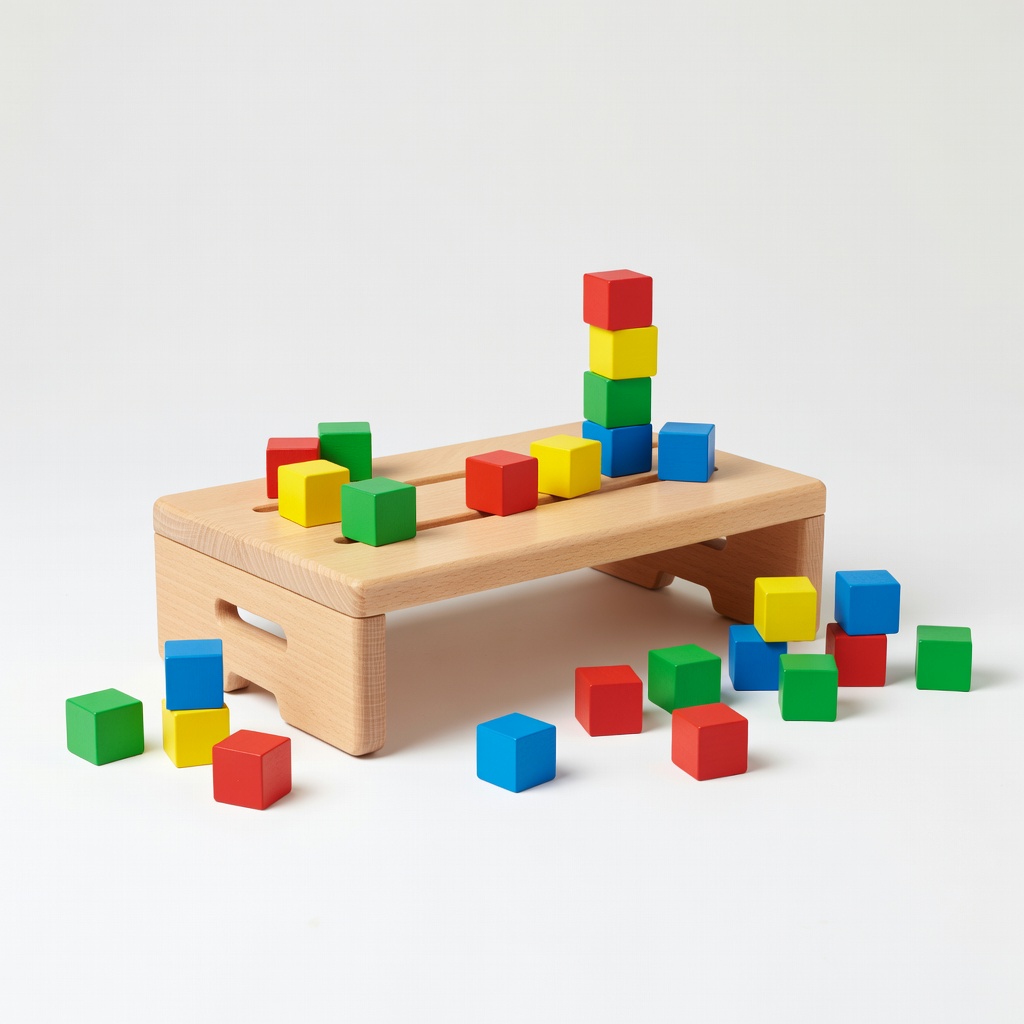
Hape Pound & Tap Bench with Activity Cube Elements (adaptable for cube builds)
High-quality wooden panels pre-drilled for easy outdoor assembly, weather-treated.
Best for: Base kit for your assembly project; durable for toddlers.
Price Range: $39.99
Amazon Basics 45-Piece Allen Wrench Set
Precise metric sizes match most cube kits, rust-resistant for outdoor use.
Best for: Essential for bolt tightening without stripping.
Price Range: $12.99
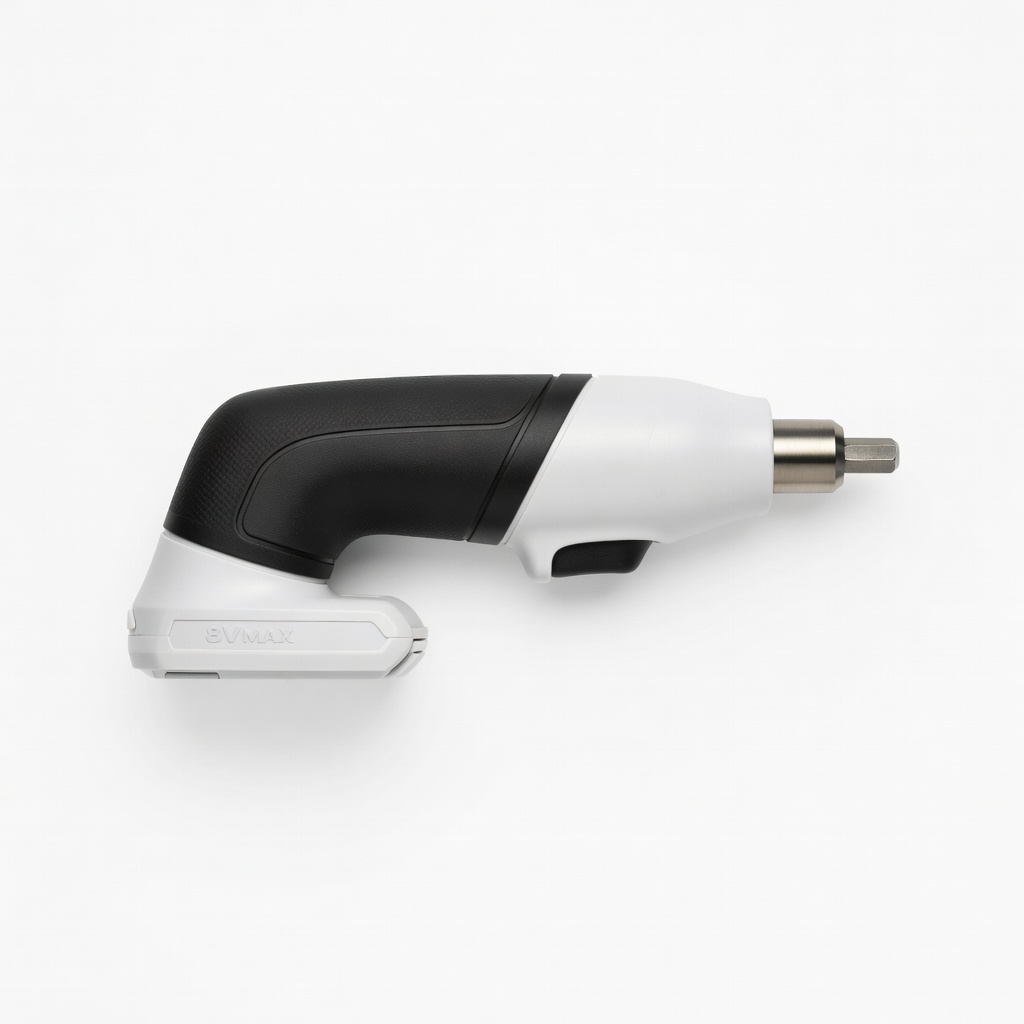
BLACK+DECKER 8V MAX Cordless Screwdriver
Gyroscopic control speeds up screwing without fatigue, perfect for intermediate builds.
Best for: Tightening dozens of screws effortlessly.
Price Range: $29.99
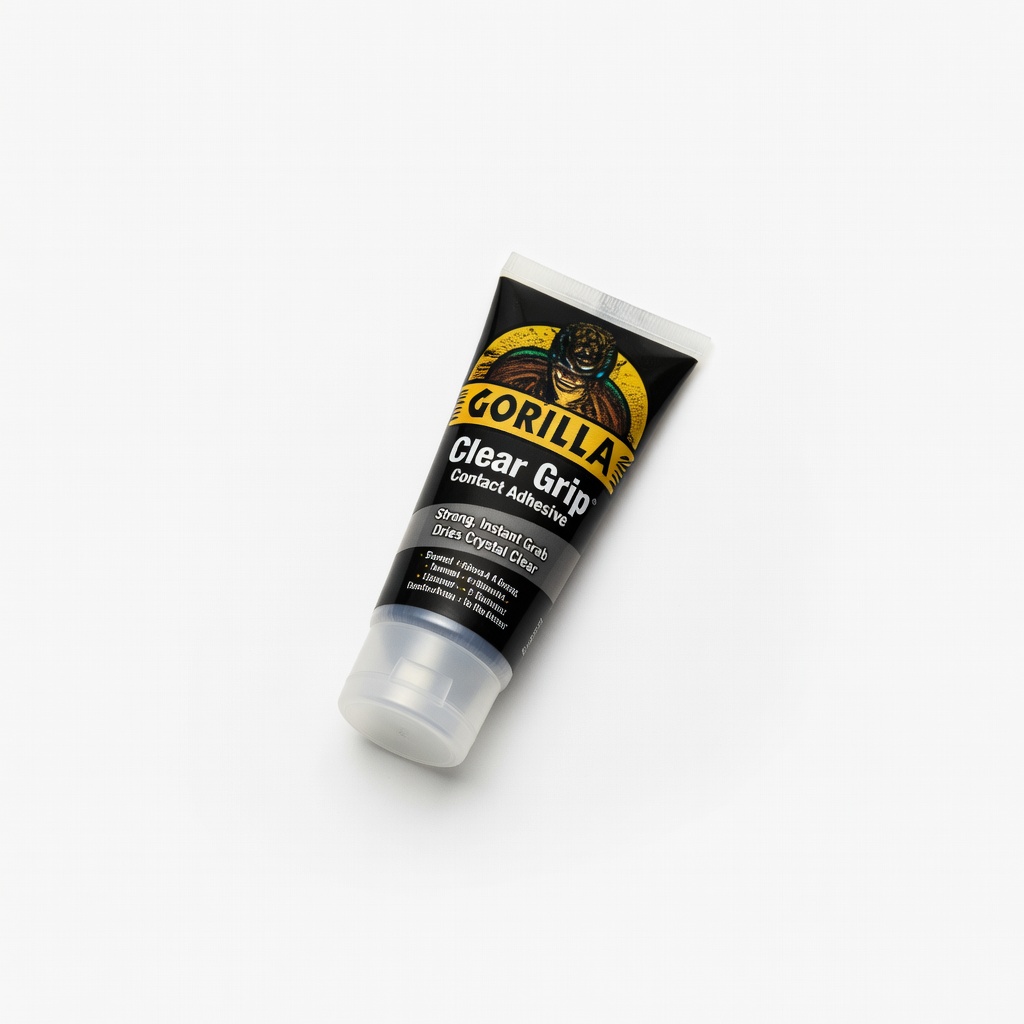
Gorilla Clear Grip Contact Adhesive
Bonds panels extra-strong against outdoor elements, clear finish.
Best for: Reinforcing joints for longevity.
Price Range: $9.98
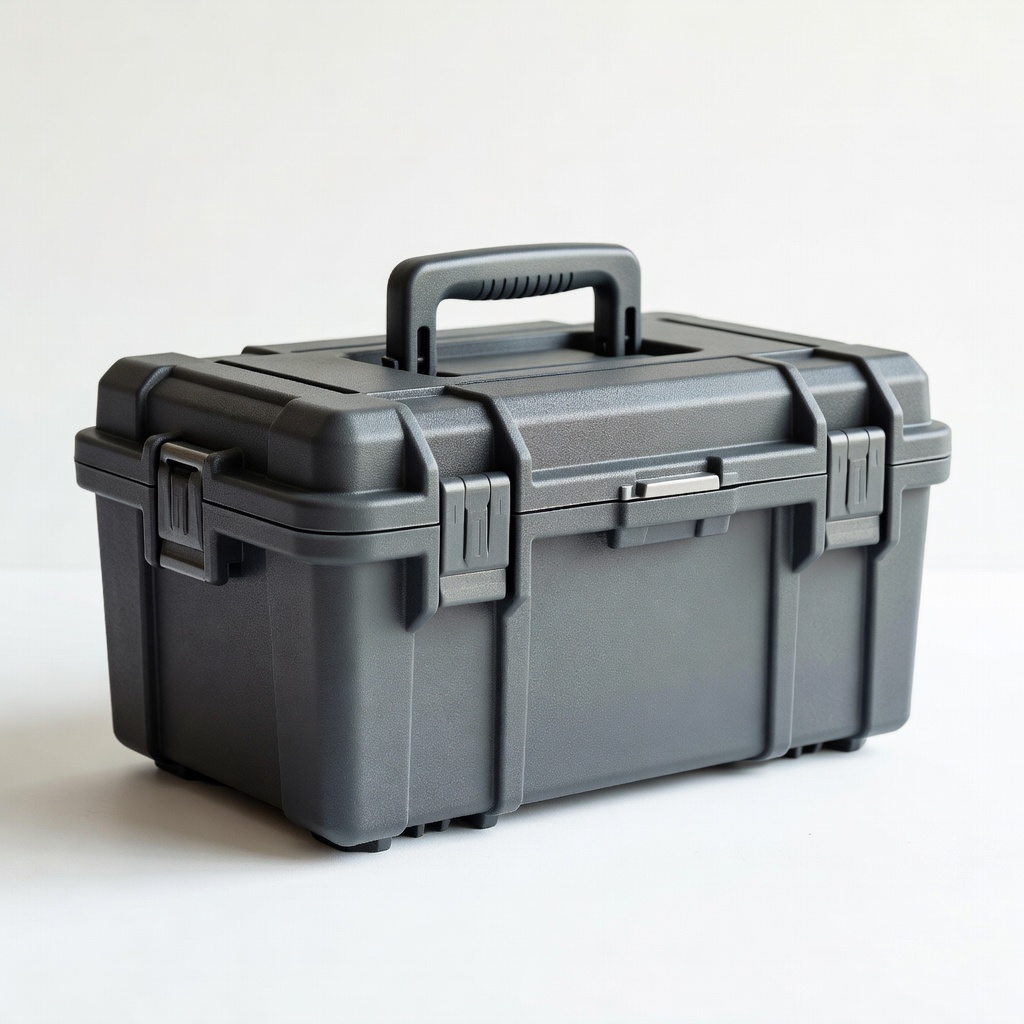
Plano Tool Storage Case
Organizes small hardware during and after assembly.
Best for: Keeping bolts and wrenches handy.
Price Range: $14.99