Assembling a toddler activity center can transform a box of parts into hours of developmental fun, but many new parents dread missing screws or wobbly builds. These centers boost motor skills, sensory play, and curiosity—perfect for 6-24 month olds. With our guide, you'll avoid frustration and create a stable toy they'll love.
You'll learn a universal step-by-step process applicable to most brands like Fisher-Price or VTech. Expect simple tools (often included) and no advanced skills needed. The whole process takes 20-30 minutes, with success looking like a sturdy, level center ready for play.
We'll cover prep, assembly, testing, and tips to ensure safety first—because nothing beats watching your tot explore confidently.
▸What You'll Need
- •Toddler activity center kit (e.g., Fisher-Price or VTech model with instruction manual)
- •Phillips-head screwdriver (#1 or #2 size; often included, or use a multi-bit set)
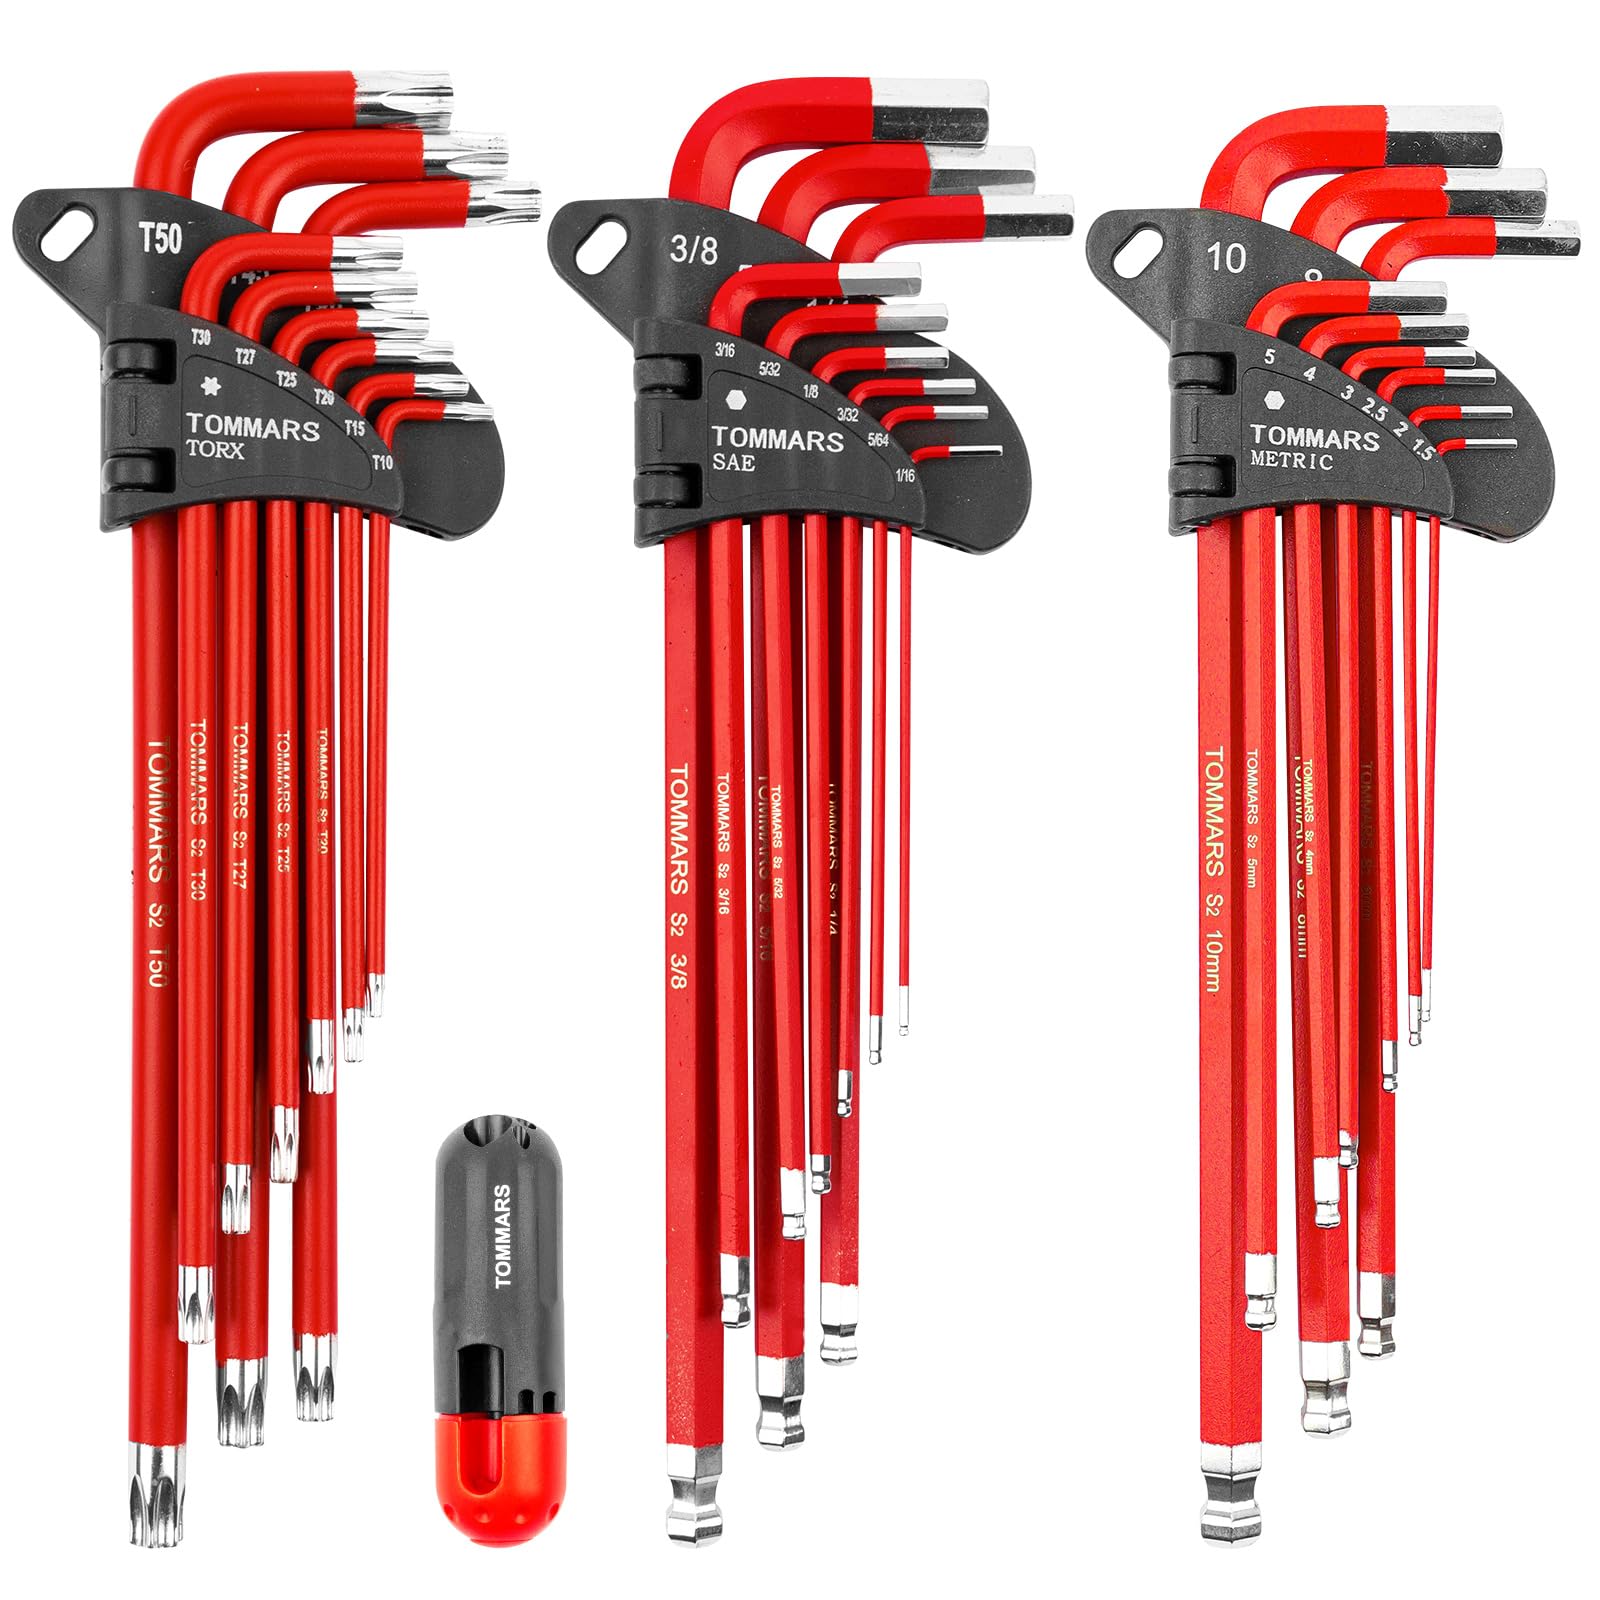
- •Allen wrench/hex key (usually provided in kit; metric sizes like 3mm-5mm)
- •Clean, flat, spacious workspace (e.g., living room floor with carpet or mat)
- •Optional: Work gloves for grip, towel or mat to protect floor, flashlight for tight spots
Estimated Time: 20-30 minutes
Difficulty: beginner
▸Step-by-Step Instructions
Step 1: Unbox and Inventory Parts
Open the box carefully and lay out all components on your workspace. Refer to the instruction manual's parts diagram—most kits include labeled bags for screws, panels, legs, and toys.
Count each item: typically 4 legs, 1-2 activity panels, seat ring, 20-40 screws, and accessories like spinners or books. Why it matters: Missing parts delay fun and risk unsafe assembly. Success: All parts match the manual; no damage.
Pro tip: Take a photo of the organized parts for reference.
💡 Tips:
- •Sort screws by size into small bowls.
- •Read manual cover-to-cover first.
⚠️ Warnings:
- •Don't discard packaging until fully assembled—manual might be inside.
Step 2: Prepare Your Workspace
Clear a 6x6 ft area on a soft surface to avoid scratches or lost screws. Ensure good lighting and keep toddlers/pets away.
Why: A cluttered space leads to misplaced parts or tipped assemblies. Expect a tidy setup ready for building—test stability early here by rocking mock pieces.
Wipe parts with a dry cloth if dusty from shipping.
💡 Tips:
- •Work near an outlet if electronics are involved.
- •Play soft music to keep it fun!
⚠️ Warnings:
- •Avoid hardwood floors without padding—screws roll easily.
Step 3: Assemble the Base or Legs
Connect the legs or base frame first using provided bolts/screws. Align holes precisely and hand-tighten before full torque.
Most centers have 4 legs snapping or screwing into a central hub. Why: This is the foundation—wobbly base means unsafe play. Success: Level frame that doesn't rock when pushed.
Use Allen wrench for hex bolts; turn clockwise to tighten.
💡 Tips:
- •Apply slight upward pressure when aligning.
- •Double-check level with a phone app if available.
⚠️ Warnings:
- •Over-tightening strips threads—snug is enough.
Step 4: Attach Activity Panels
Snap or screw the main panel(s) onto the base. Route any wires through designated slots for electronics.
Panels feature buttons, lights, and toys—secure with 4-8 screws per side. Why it matters: Proper attachment prevents panels from detaching during vigorous play. Expect colorful, interactive surface fully mounted.
Test buttons post-attachment for sounds/lights.
💡 Tips:
- •Route wires loosely to avoid pinching.
- •Align logos for aesthetic match.
⚠️ Warnings:
- •Don't force panels—check manual for orientation.
Step 5: Install the Seat or Tray
If included, clip the swivel seat or tray into place. Adjust height if multi-level.
Seats rotate 360° for access; lock mechanisms securely. Why: Enables sitting play without tipping. Success: Smooth spin, no gaps.
Many are tool-free here—push until click.
💡 Tips:
- •Lubricate clips with soap if sticky.
- •Test rotation before final lock.
⚠️ Warnings:
- •Ensure weight limit (usually 25-30 lbs) is noted.
Step 6: Add Toys and Accessories
Attach removable toys like teethers, mirrors, or books via hooks/clips.
Why: Completes sensory engagement. Expect fully loaded center with dangling, reachable items. No tools needed usually.
Position for toddler reach (6-12 inches high).
💡 Tips:
- •Customize based on age—remove small parts later.
⚠️ Warnings:
- •Avoid loose attachments that could choke.
Step 7: Tighten All Hardware
Go around twice: hand-tighten, then full turns with tools. Check for play in joints.
Why: Prevents loosening over time. Success: Rock-solid structure—no rattles.
Revisit manual for torque specs if provided.
💡 Tips:
- •Use a magnetic screwdriver to catch dropped screws.
⚠️ Warnings:
- •Periodic checks needed after first uses.
Step 8: Test Stability and Safety
Push, shake, and simulate toddler use (rock, spin seat). Verify no sharp edges or pinch points.
Why: Ensures ASTM safety standards met at home. Success: Stands firm, all features work.
Clean with mild soap; place on non-slip mat.
💡 Tips:
- •Adult supervise first plays.
⚠️ Warnings:
- •Stop if electronics spark—contact manufacturer.
▸Pro Tips
- •Always assemble on carpet to muffle drops and protect parts.
- •Keep manual handy—bookmark digital PDF on phone.
- •Assemble with a partner for holding pieces steady.
- •Label extra screws in a bag for future disassembly.
- •Upgrade to LED-lit centers for evening play.
- •Check for firmware updates on app-connected models.
- •Rotate toys monthly to renew interest.
▸Common Mistakes to Avoid
- •Skipping inventory—leads to incomplete builds; always count first.
- •Ignoring manual diagrams—causes misalignment; read fully before starting.
- •Under-tightening screws—results in wobbles; do final pass.
- •Forgetting wire routing—pinches cause malfunctions; tuck neatly.
- •Placing on uneven floors—tips easily; use level surface.
▸Troubleshooting
Problem: Missing parts or screws
Solution: Contact manufacturer with model/serial number for free replacements (usually 1-2 weeks). Use spares temporarily if safe.
Problem: Wobbly after assembly
Solution: Re-tighten all joints; check base level. Add rubber feet if provided.
Problem: Electronics not working
Solution: Insert batteries correctly (usually AA); reset by unplugging 10 sec. Check wire connections.
Problem: Seat won't lock
Solution: Clean clips; apply WD-40 sparingly. Ensure aligned properly.
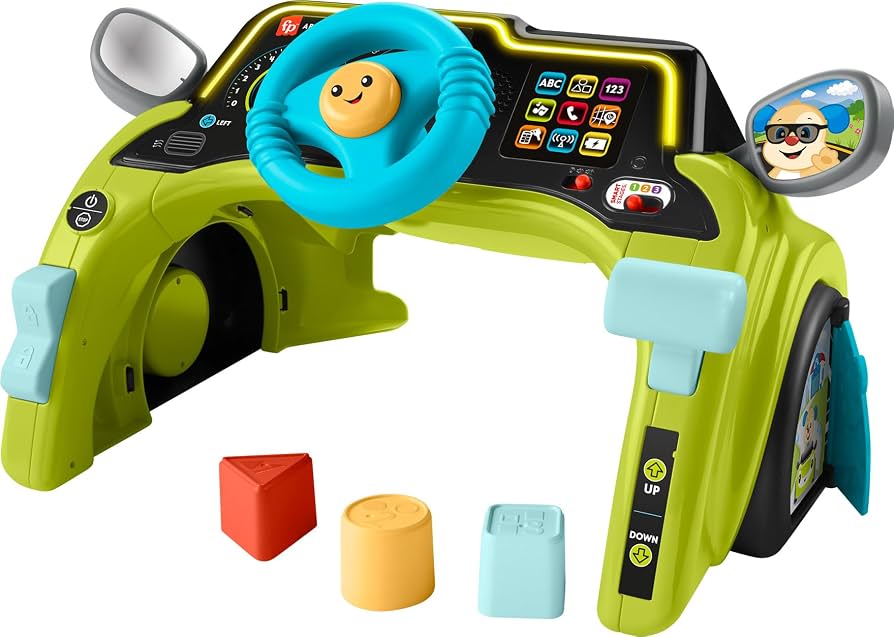
Fisher-Price Laugh & Learn Smart Stages Activity Center
Top-rated for easy assembly with clear manual and included tools; grows with toddler via 3 stages.
Best for: Ideal first activity center for 6-36 months with lights, songs, and seat.
Price Range: $59.99
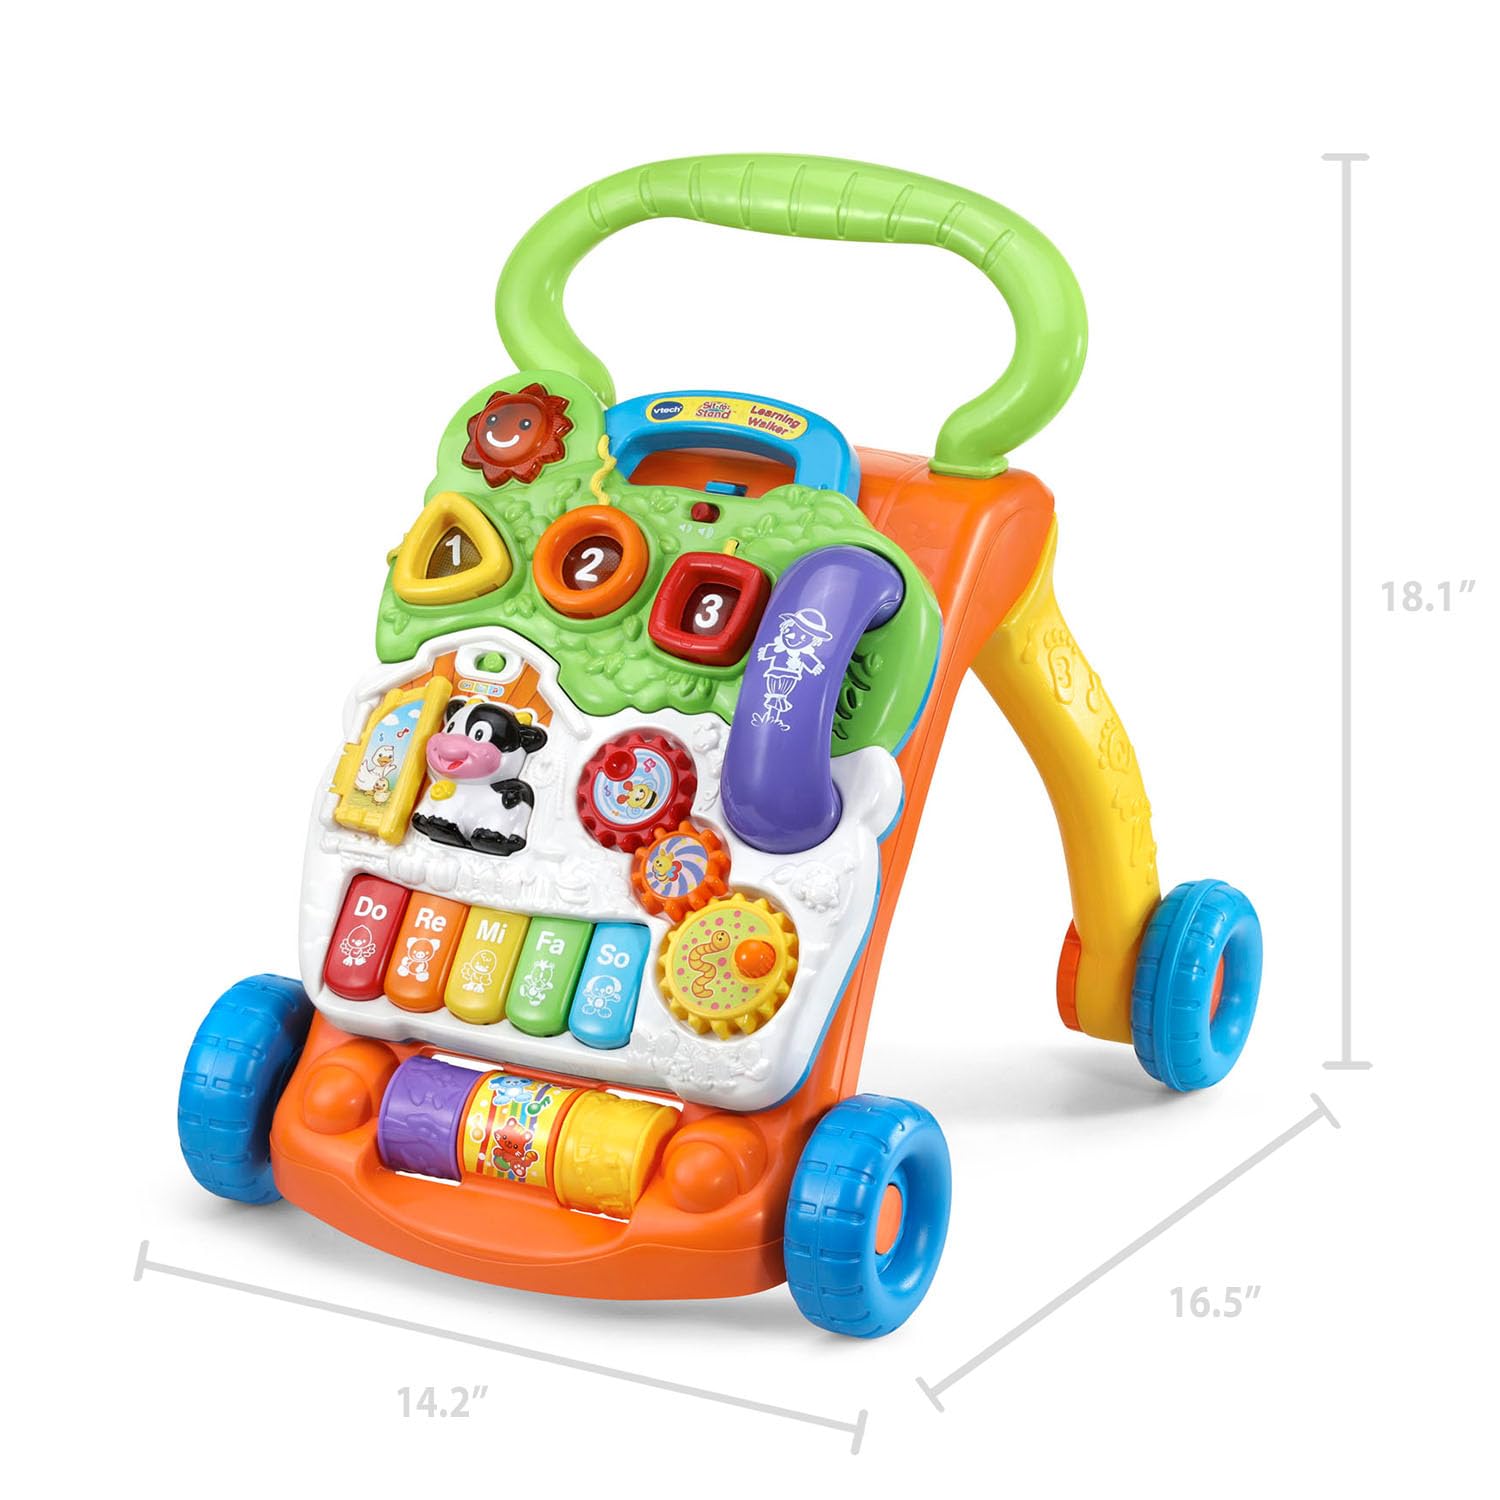
VTech Sit-to-Stand Learning Walker
Minimal tools needed, sturdy plastic; combines walking aid with activity panel.
Best for: For active toddlers transitioning to standing; quick 10-min assembly.
Price Range: $24.99
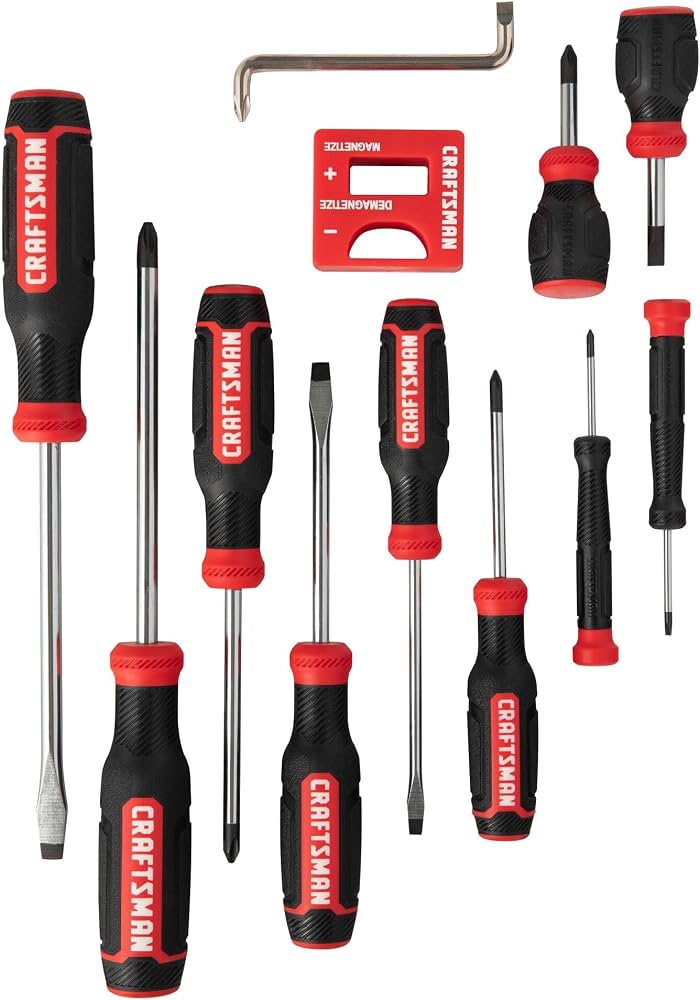
CRAFTSMAN Magnetic Screwdriver Set (11-Piece)
Magnetic tips prevent dropped screws in tight spaces; perfect for toy assembly.
Best for: Any kit needing Phillips/flathead; durable for repeated use.
Price Range: $19.97
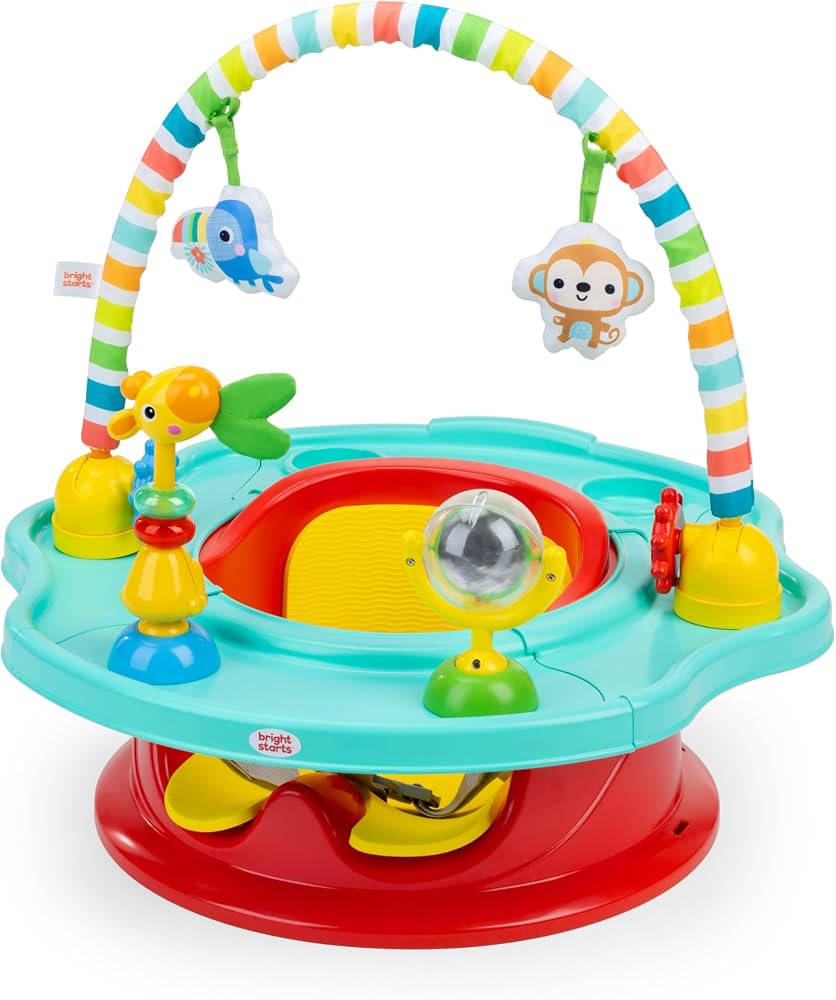
Bright Starts Playful Paradise Activity Center
Compact design with 5 panels; tool-free mostly, fun jungle theme.
Best for: Space-saving for small homes; entertains up to 1 year.
Price Range: $79.99
Tectonic Magnetic Hex Key Allen Wrench Set
Precise metric sizes common in toys; magnetic for easy insertion.
Best for: Kits with hex bolts; avoids stripping.
Price Range: $14.99