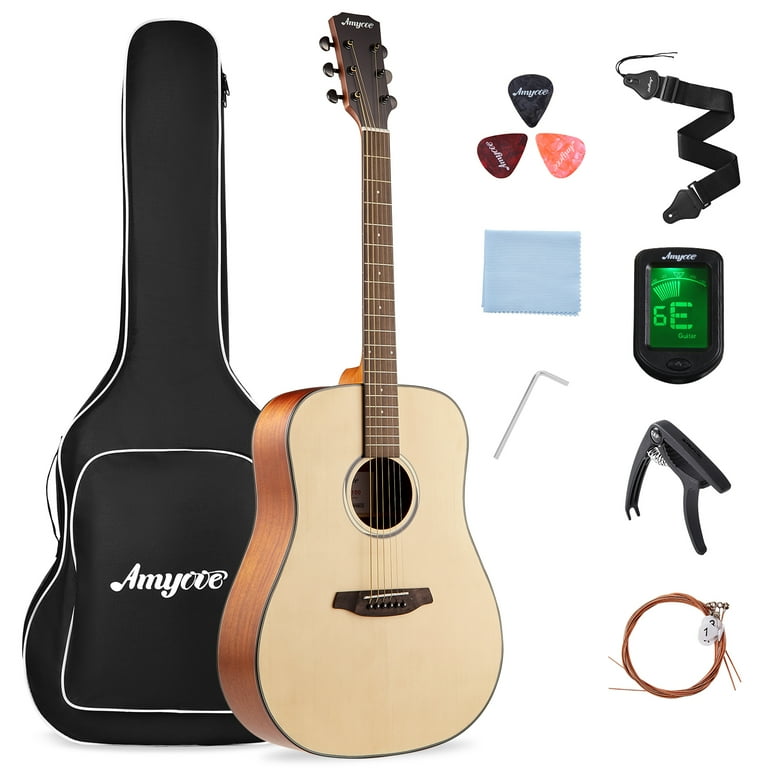
Assembling your own acoustic guitar from a kit is a deeply satisfying project that turns raw wood into a strummable instrument. Many intermediate builders love it for the hands-on control over tonewoods and setup, avoiding factory compromises. Whether you're upgrading from simple woodworking or diving into luthiery, this guide eliminates guesswork.
You'll learn every sequential step, from unpacking to final setup, for a typical unfinished acoustic kit with dovetail neck joint and pre-fretted neck. Expect professional results with basic tools—no advanced machinery needed. The process demands patience for glue drying but rewards with a personalized guitar.
Total time is 8-12 hours over 1-2 days, including drying. Difficulty is intermediate: prior experience with sanding, gluing, and clamping helps, but detailed instructions make it achievable.
▸What You'll Need
- •Acoustic guitar kit (e.g., unfinished dreadnought or parlor style with pre-cut top, back, sides, neck, fretboard, bridge)
- •Titebond Original or II Wood Glue (8-16 oz bottle)
- •Clamps: 10+ bar clamps or reversible cam clamps (at least 24" long)
- •Sandpaper assortment: 80, 120, 220, 400, 600 grit sheets
- •Screwdrivers: Phillips #1/#2 and flathead
- •Masking tape and painter's tape
- •Rags, mineral spirits or acetone for cleanup
- •Nut driver or files (optional for nut/saddle)
- •Electronic clip-on tuner
- •Finishing supplies: higher grit sandpaper (800+), wood stain, lacquer or varnish, brush/applicator (if kit unfinished)
- •Work light, dust mask, workbench or sturdy table
- •Optional: Heat gun for glue activation, fret leveler beam
Estimated Time: 8-12 hours over 1-2 days (including glue drying times)
Difficulty: intermediate
▸Step-by-Step Instructions
Step 1: Unpack and Inventory Parts
Begin by carefully unpacking your guitar kit in a clean, dust-free workspace. Lay out all components: top, back, sides, neck, fretboard (often pre-attached), bridge, kerfing strips, braces, tuners, nut, saddle, endpin, and hardware.
Inspect for damage or missing pieces—contact the manufacturer immediately if issues arise. Organize parts by assembly stage (body, neck/hardware). This prevents mid-process scrambles and ensures structural integrity.
Success looks like all parts accounted for, labeled, and ready—no surprises later.
💡 Tips:
- •Take photos before/after unpacking for reference.
- •Read the kit manual fully now.
⚠️ Warnings:
- •Avoid forcing bent parts; they indicate defects.
Step 2: Prepare Workspace and Sand Raw Parts
Set up a flat, stable workbench with ample lighting. Wear a dust mask. Dry-fit major parts (sides to top/back) without glue to check alignment.
Sand all exterior surfaces starting with 80-120 grit to remove mill marks, progressing to 220 grit for smoothness. Focus on body edges for tight joints. Neck and headstock get similar treatment—aim for silky feel.
Expect sawdust everywhere; vacuum often. Success: Parts mate flush without gaps.
💡 Tips:
- •Sand in figure-8 patterns to avoid flat spots.
- •Test fit every 30 seconds of sanding.
⚠️ Warnings:
- •Don't oversand joints—precision matters for glue-up.
Step 3: Install Kerfing and Assemble Body Sides
Apply thin glue to kerfing strips (linen or wood liners) and bend them into the body sides' inner edges using a bending iron or heat gun if needed. Clamp securely, ensuring even pressure.
Kerfing reinforces the joint between sides, top, and back—crucial for resonance. Let dry 1-2 hours. Check for gaps; trim excess with a chisel.
Success: Rigid, gap-free side assembly ready for top/back.
💡 Tips:
- •Use masking tape to hold kerfing before clamps.
- •Wipe excess glue immediately with damp rag.
⚠️ Warnings:
- •Insufficient clamps lead to weak joints—use more than you think.
Step 4: Glue Top and Back to Body
Dry-fit top and back braces to sides. Apply glue sparingly to edges and braces. Align top first (go-bar deck or clamps), then back. Use cauls/blocks for even pressure.
This 'closes the box'—heart of the guitar's soundbox. Clamp overnight (8+ hours). Tape edges to prevent slippage.
Success: Seamlessly joined body, braces flush, no visible gaps.
💡 Tips:
- •Work quickly—glue sets in 5-10 min.
- •Use alignment marks from dry-fit.
⚠️ Warnings:
- •Air bubbles under top ruin tone; press firmly.
Step 5: Attach Neck to Body (Dovetail Joint)
Test-fit neck heel into body pocket. Trim heel or pocket minimally for snug fit. Heat hide glue or use Titebond; apply to joint surfaces.
Clamp neck firmly—use neck block and wedges. Critical for neck angle and playability. Dry 24 hours if possible.
Success: Neck straight, joint invisible, action looks right.
💡 Tips:
- •Use a neck jig if available for perfect angle.
- •Check neck relief with straightedge.
⚠️ Warnings:
- •Wrong angle causes high action—measure twice.
Step 6: Shape and Install Bindings (If Included)
If kit has bindings, heat-bend plastic/wood strips to body edges. Glue under slight tension, tape down heavily. Trim flush after drying, sand smooth.
Bindings protect edges and add beauty. Skip if no bindings.
Success: Clean, professional edges.
💡 Tips:
- •Practice bending on scrap.
- •Use fresh razor blade for trimming.
⚠️ Warnings:
- •Over-tight bindings crack—gentle pressure.
Step 7: Mount Bridge and Install Hardware
Mark bridge position per template. Sand bridge plate inside top if needed. Glue bridge precisely—use alignment pins/hot hide glue for adjustability.
Install tuners to headstock, nut/saddle slots, endpin. Dry 2 hours.
Success: Bridge centered, hardware secure.
💡 Tips:
- •Clamp bridge with cam clamps for even pressure.
- •Lube tuner bushings.
⚠️ Warnings:
- •Off-center bridge ruins intonation.
Step 8: Apply Finish and String Up
Sand entire guitar to 400+ grit. Apply stain (1-2 coats), then lacquer/varnish (3-5 thin coats, sanding between). Cure 48+ hours.
Install strings, tune to pitch. Check truss rod/neck relief.
Success: Glossy finish, playable guitar.
💡 Tips:
- •Thin finish coats prevent runs.
- •Stretch strings before tuning.
⚠️ Warnings:
- •Rush finish—cracks form.
Step 9: Final Setup and Intonation
Adjust truss rod for slight relief (0.010"). File nut/saddle if high action. Set intonation by trimming saddle.
Playtest: No buzz, even action.
Success: Buzz-free, great playability.
💡 Tips:
- •Use feeler gauges for precision.
- •Recheck after string settling.
⚠️ Warnings:
- •Over-tight truss rod warps neck.
▸Pro Tips
- •Always dry-fit before gluing—saves heartbreak.
- •Work in a humidity-controlled room (40-50%) to prevent wood warp.
- •Use go-bars or deep-throat clamps for superior body pressure.
- •Label clamps by position to reuse consistently.
- •Record measurements (neck angle, action) at each stage.
- •Invest in a luthier workboard for flat gluing.
- •Let glue cure fully—patience yields pro results.
▸Common Mistakes to Avoid
- •Insufficient clamping pressure, leading to loose joints and dead tone—avoid by over-clamping.
- •Misaligning bridge, causing poor intonation—always use kit template.
- •Rushing finish application, resulting in drips/blushes—sand lightly between coats.
- •Ignoring neck angle during joint, forcing high action—dry-fit repeatedly.
- •Using wrong glue (e.g., white glue)—stick to Titebond for strength.
▸Troubleshooting
Problem: Gaps in body seams
Solution: Fill with sawdust/glue mix, sand smooth; reinforce inside with extra kerfing.
Problem: Fret buzz
Solution: Check neck relief, level frets with beam/file, or lower saddle.
Problem: Neck misaligned
Solution: Steam joint, realign, re-glue; or shim for minor fixes. Seek luthier for major.
Problem: Bridge lifts
Solution: Re-glue with hot hide glue for reversibility; ensure clean surfaces.
Problem: Finish cracks
Solution: Sand and refinish; caused by thick coats or temp changes.
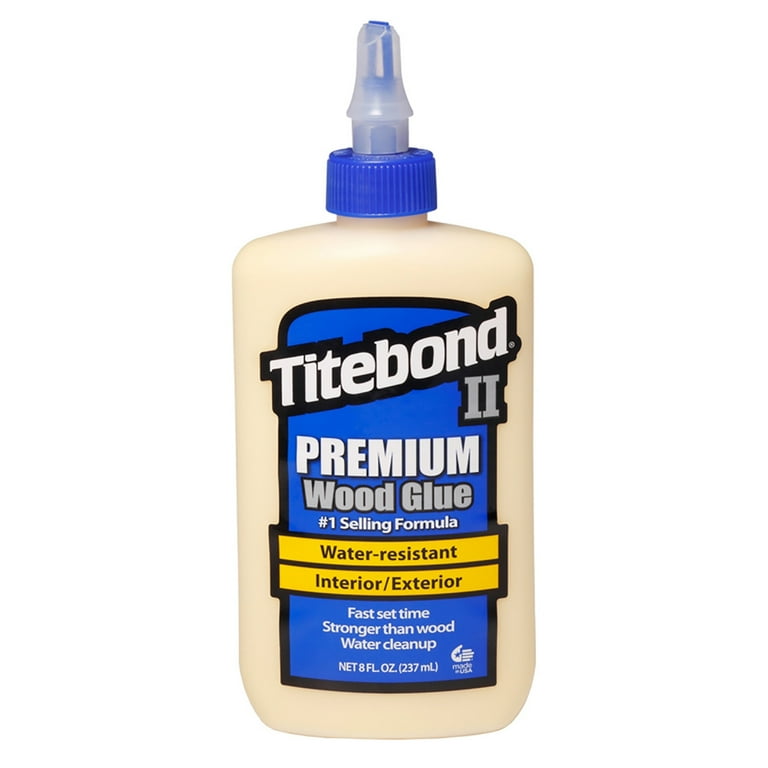
Titebond 5004 II Premium Wood Glue (8 oz)
Luthier favorite for strong, waterproof bonds with long open time ideal for guitar joints.
Best for: Gluing kerfing, body seams, neck joint—cleanup with water before dry.
Price Range: $5-$8
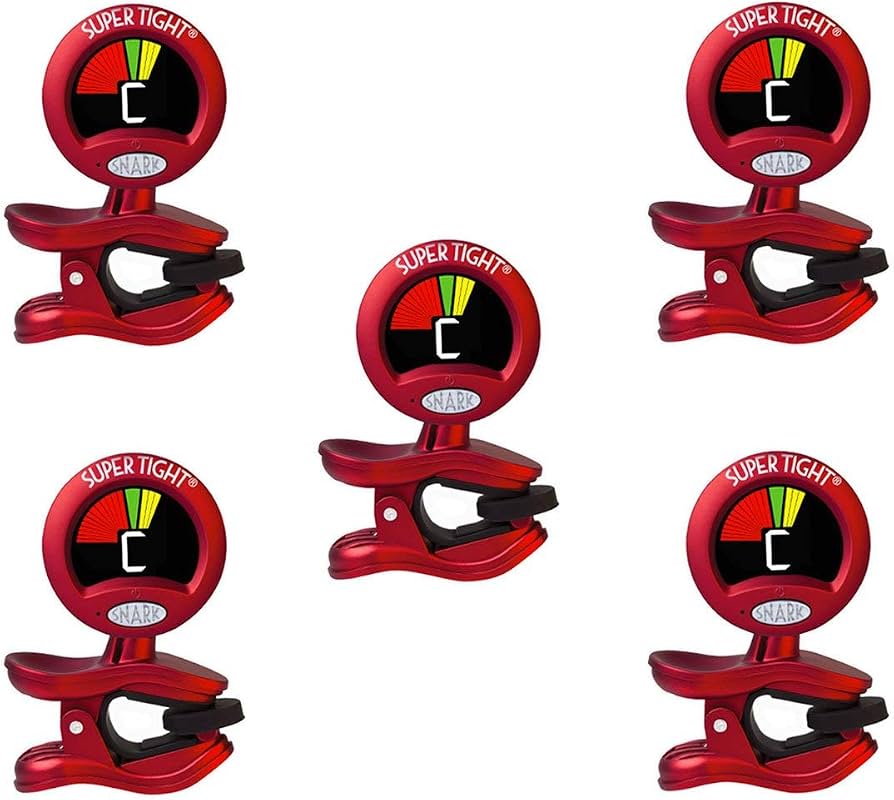
Snark ST-2 Super Tight All-Instrument Tuner
Accurate, swivel-head tuner essential for precise setup and intonation.
Best for: Tuning during string-up and checking pitch stability.
Price Range: $14-$18
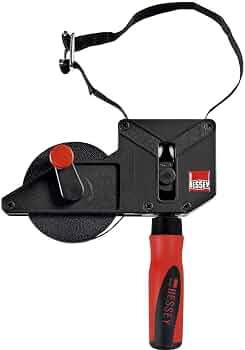
Bessey VAS-23RE Variable-Angle Strap Clamp
Perfect for holding curved guitar bodies during glue-up without marring wood.
Best for: Body closing and bridge install—versatile for odd angles.
Price Range: $20-$25
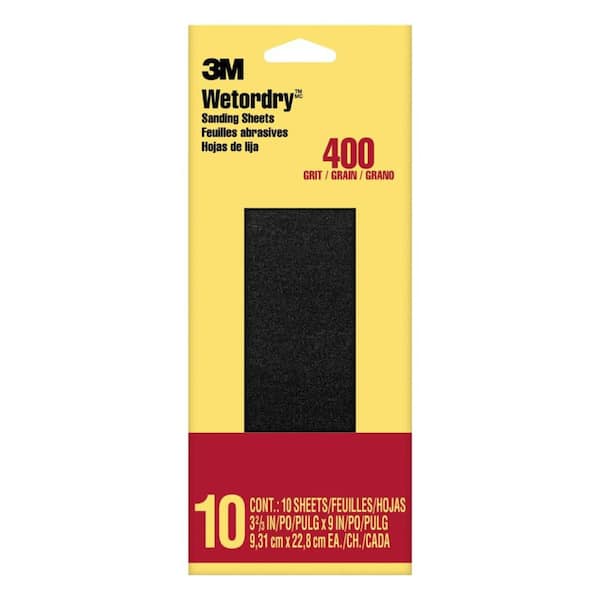
3M Wetordry Sandpaper Assortment (9 sheets, 400-2000 grit)
High-quality, waterproof sheets for flawless sanding from rough to finish.
Best for: Body prep, finishing—progressive grits ensure smooth surface.
Price Range: $10-$15
CNZone DIY Acoustic Guitar Kit (41" Dreadnought)
Complete unfinished kit with quality tonewoods, great for intermediates.
Best for: Base kit for this guide—pre-cut parts minimize errors.
Price Range: $150-$200