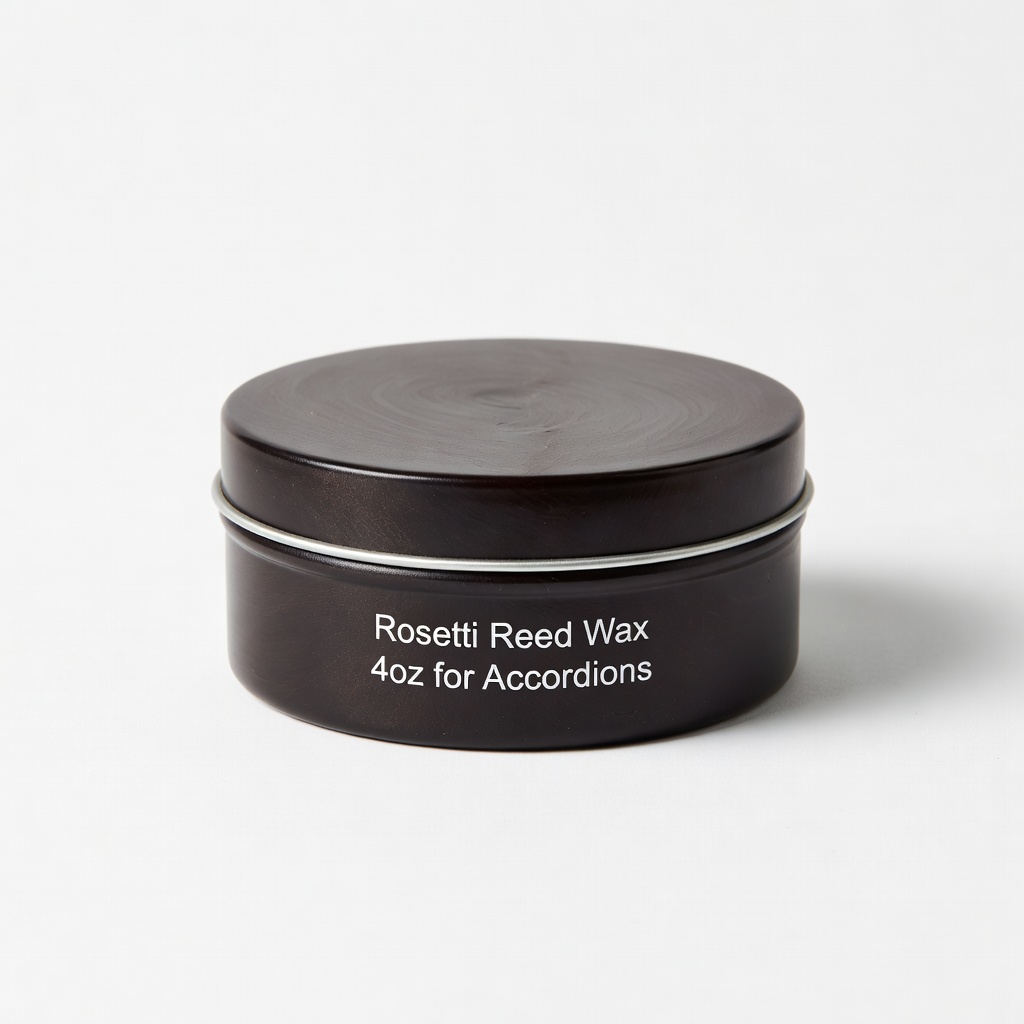
Rosetti Reed Wax 4oz for Accordions
Essential for steps 2-3; melts evenly for airtight seals.
$9.99
Rosetti Reed Wax 4oz for Accordions High-quality, low-melt wax perfect for securing reeds without brittleness.
Get the App
Better experience on mobile
Master the step-by-step process to assemble your piano accordion's keyboard for smooth action and reliable performance in under 4 hours.
Assembling an accordion keyboard can seem daunting, but it's a rewarding skill for intermediate players looking to repair, customize, or maintain their instrument. Poor assembly leads to sticky keys, uneven response, and frustrating playability—issues that sideline even seasoned musicians. This guide empowers you to fix it yourself, saving hundreds on professional repairs.
You'll learn to prepare parts, secure reed blocks, install keys, and test everything for pro-level results. The process focuses on the right-hand piano keyboard of a standard piano accordion, assuming you have disassembled parts or a kit. Expect intermediate mechanical skills like handling small screws and wax application.
Total time is 3-5 hours, spread over a session or two. No prior repair experience needed beyond basic tool use, but patience is key.
Estimated Time: 3-5 hours Difficulty: intermediate
Clear a well-lit, flat workbench and lay out all parts: keyboard frame, pallet board, reed blocks, individual keys, springs, and felts. Sort them into categories to avoid mix-ups.
Inspect each component for damage—cracked reeds, bent keys, or worn felts mean replacement. Clean everything with isopropyl alcohol on a soft cloth; dirt causes sticking later. Why it matters: A clean start prevents contamination during assembly, ensuring airtight seals and smooth action.
Success looks like: Organized parts in trays, no visible damage, surfaces dry and dust-free.
💡 Tips:
⚠️ Warnings:
If reeds aren't pre-mounted, align each reed plate precisely on its block slot using tweezers. Apply a thin layer of reed wax to the block base, press the reed firmly, and level it flush.
Heat your hot knife sparingly (low flame) and trim excess wax for a clean seal. Test by blowing gently—air should only escape through reed gaps. This step ensures proper airflow for tone.
Expect slight resistance when pressing; success is reeds secure without gaps.
💡 Tips:
⚠️ Warnings:
Position reed blocks on the pallet board according to your accordion's layout (match note diagram). Heat reed wax, apply dots under each block, and press down firmly for 30 seconds.
Check alignment with a straightedge—no wobbles. Tap gently to set. Why crucial: Misaligned blocks cause air leaks and weak notes.
Success: Blocks immovable, pallet ready for keyboard mounting.
💡 Tips:
Align the pallet (reed side down) with the keyboard frame's mounting holes. Secure with small screws using a precision screwdriver—snug, not overtightened.
Insert felt bushings into key holes for smooth travel. This unites the action mechanism.
Expect a solid, gap-free fit; shake gently—no rattles.
💡 Tips:
⚠️ Warnings:
Hook each key's pivot wire into the frame slot, then snap on the spring underneath. Press down—keys should return crisply.
Add felt weights if needed for balance. Sequential install from low to high notes prevents misalignment.
Success: All 41 keys (standard) move freely 8-10mm.
💡 Tips:
Bend springs slightly with pliers for even tension—light for upper keys, firmer for lower. Test each: uniform 'click' and rebound.
Fine-tune felts for silent travel. This optimizes playability.
Expect personalized feel; play scales to verify.
💡 Tips:
⚠️ Warnings:
Attach temporarily to bellows (or use a test rig). Pump air and play chromatically—listen for clear notes, no wheezes.
Check for sticking or dead keys. Minor tweaks now prevent issues.
Success: Full chromatic range sounds strong and responsive.
💡 Tips:
Mount the full keyboard assembly to the accordion body with bellows straps. Secure all screws, wipe down, and play a piece.
Re-tune if shifted. Your accordion is now performance-ready.
Success: Seamless integration, pro-level response.
Problem: Sticky keys
Solution: Check for debris or misaligned felts; re-lubricate pivots and adjust springs.
Problem: Air leaks or weak notes
Solution: Re-melt and reseat reed wax; test each block individually.
Problem: Uneven key travel
Solution: Inspect pivot wires and felts; replace worn bushings.
Problem: Rattling assembly
Solution: Tighten all screws and add felt dampers if needed.
High-quality, low-melt wax perfect for securing reeds without brittleness.
Best for: Essential for steps 2-3; melts evenly for airtight seals.
Price Range: $9.99
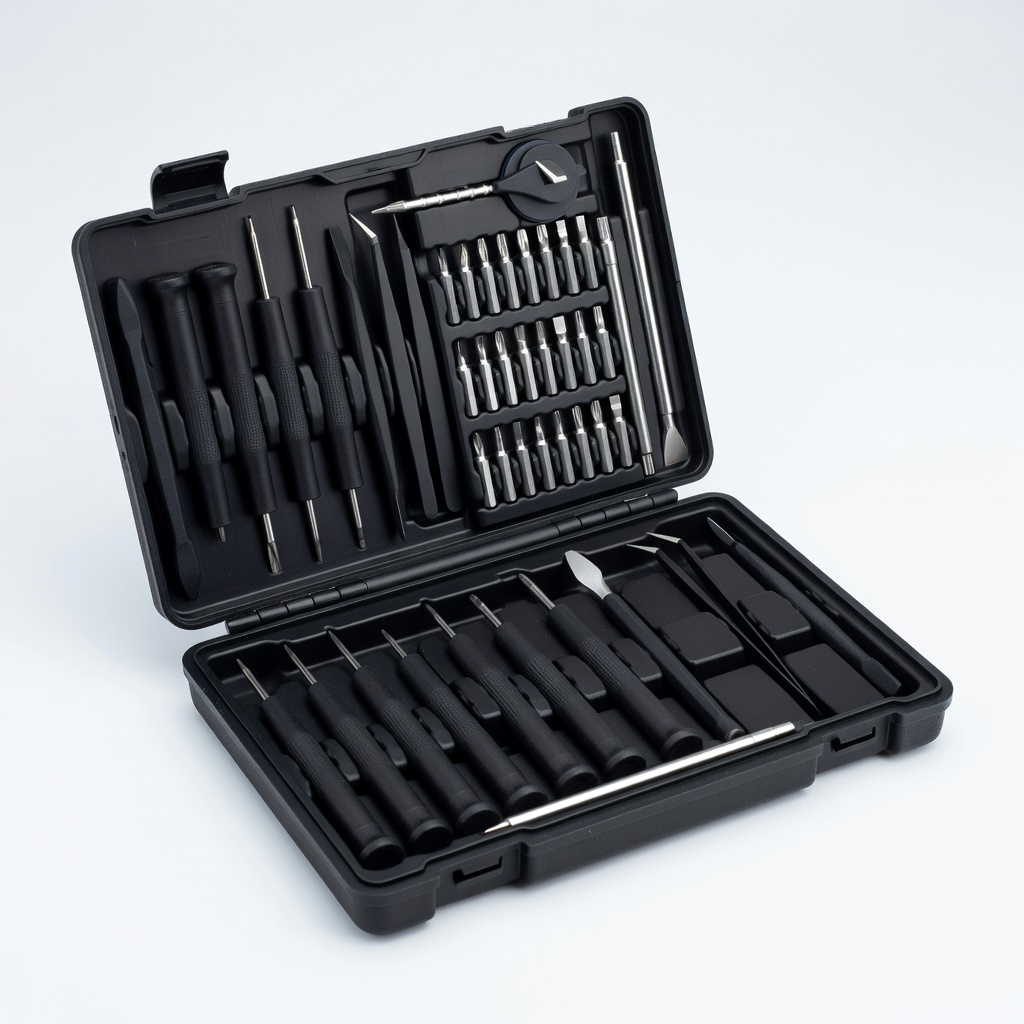
Precision drivers handle tiny accordion screws without stripping.
Best for: Steps 4-8 for secure mounting and adjustments.
Price Range: $29.99-$39.99
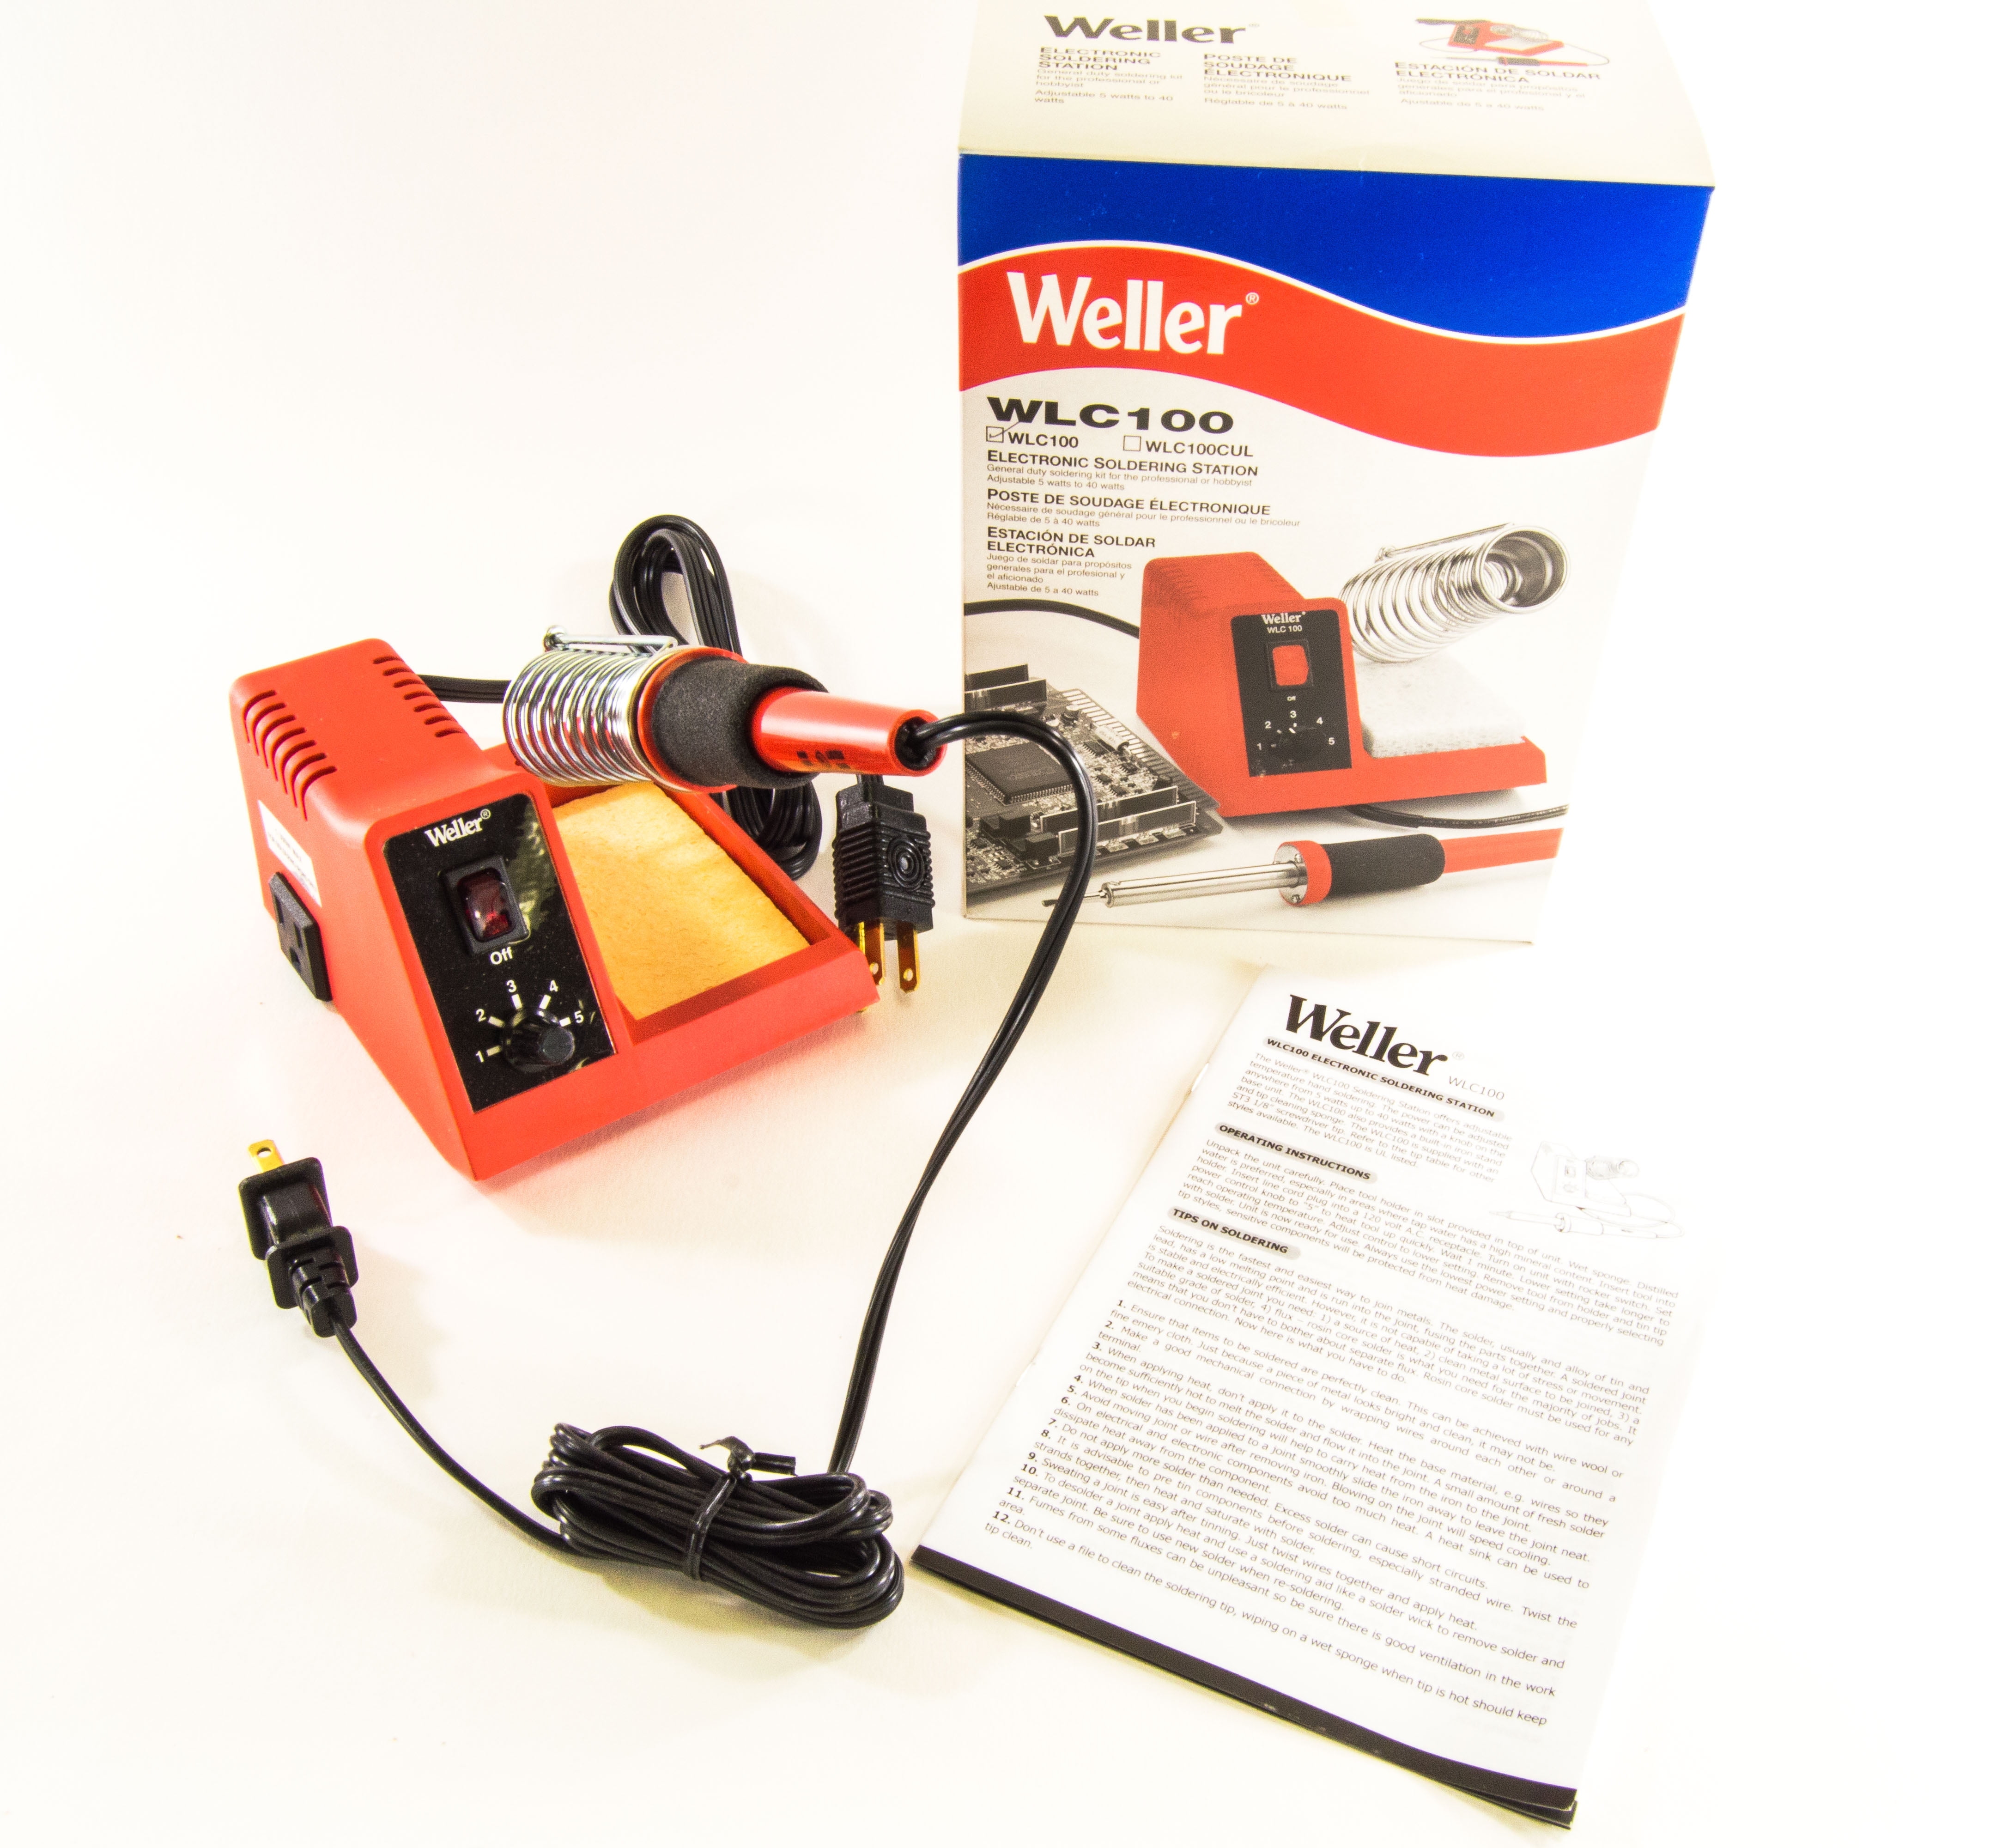
Controlled heat for safe wax melting, preventing reed damage.
Best for: Steps 2-3; adapt tip for spatula use.
Price Range: $39.99
Non-gumming lubricant for smooth key action.
Best for: Optional in steps 5-6 for pro feel.
Price Range: $8.99
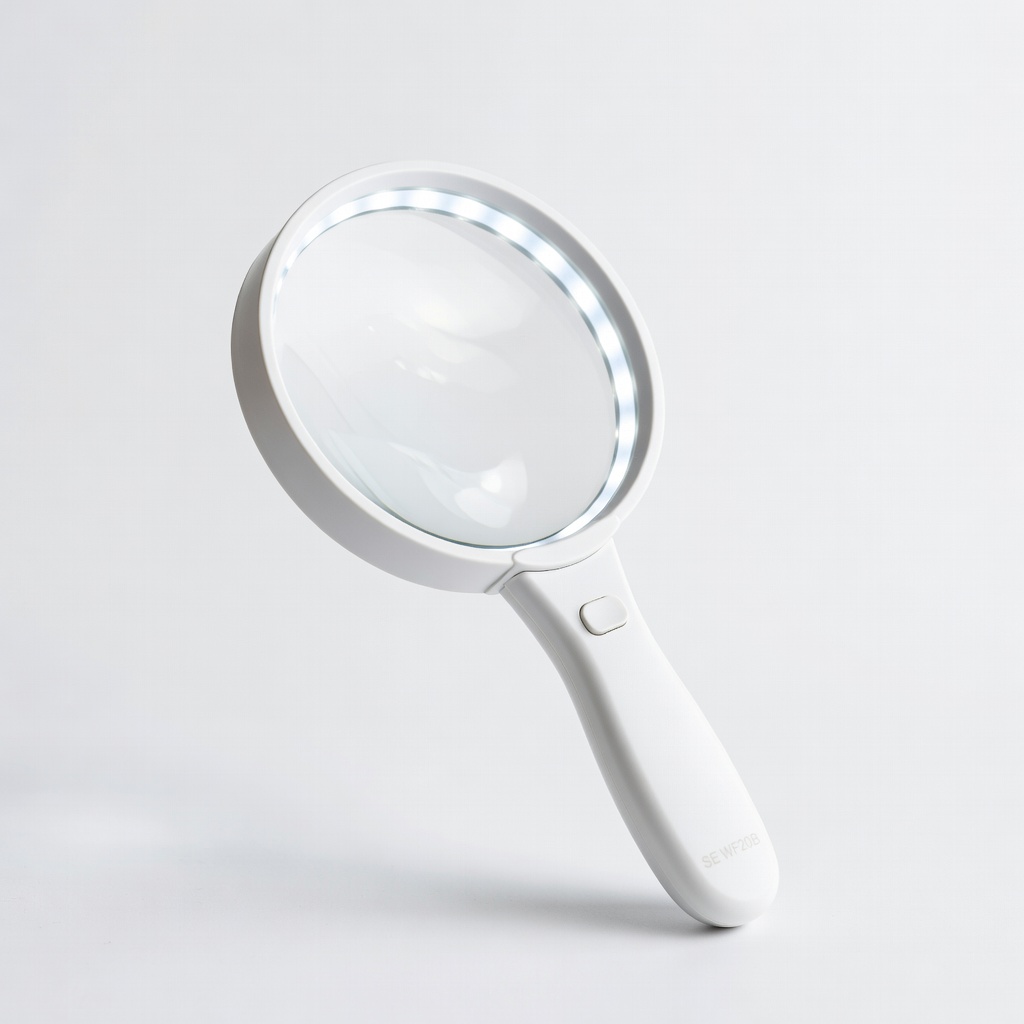
Illuminate tiny details for precise reed and spring work.
Best for: All steps, especially 2 and 6.
Price Range: $12.99
Essential for steps 2-3; melts evenly for airtight seals.
Rosetti Reed Wax 4oz for Accordions High-quality, low-melt wax perfect for securing reeds without brittleness.
Steps 4-8 for secure mounting and adjustments.
iFixit Pro Tech Toolkit Precision drivers handle tiny accordion screws without stripping.
Steps 2-3; adapt tip for spatula use.
Weller WLC100 Soldering Station (for hot knife) Controlled heat for safe wax melting, preventing reed damage.

Optional in steps 5-6 for pro feel.
Carlisle Piano Key Oil Non-gumming lubricant for smooth key action.
All steps, especially 2 and 6.
SE WF20B Magnifying Glass with LED Illuminate tiny details for precise reed and spring work.