
Kryptonite Keeper 585 U-Lock
Securing bike at work or racks during 1-8 hour stops.
$35-45
Kryptonite Keeper 585 U-Lock Compact, affordable lock with excellent cut resistance for urban parking—trusted by commuters.
Get the App
Better experience on mobile
Build a custom, portable kit with essentials for safe, reliable daily bike commutes—perfect for beginners, in under 30 minutes.
Bike commuting saves time and money, but showing up unprepared—with no lock, flat tire tools, or lights—can turn a great ride into a nightmare. Whether you're dodging rush-hour traffic or riding in the rain, a well-assembled accessory kit keeps you safe, efficient, and stress-free.
In this beginner-friendly guide, you'll learn how to assess your needs, select must-have items, and organize them into a compact, grab-and-go kit. No advanced skills required—just smart planning and a few quality accessories. Expect to spend 20-30 minutes total, and you'll have a kit ready for your next commute.
By the end, you'll know exactly what to pack, how to store it securely on your bike, and pro tips to customize for your route.
Estimated Time: 20-30 minutes Difficulty: beginner
Start by evaluating your daily ride. Note the distance (e.g., 5-20 miles), terrain (hills, potholes), time of day (dawn/dusk), weather patterns, and parking situation. Urban commuters need strong locks; rural riders prioritize repair tools.
Why it matters: A tailored kit prevents overpacking junk or missing critical items. Success looks like a short list of 8-12 essentials.
Jot it down: Lights for low visibility? Lock for public racks? Pump for flats?
💡 Tips:
⚠️ Warnings:
Prioritize safety first: front/rear lights, U-lock or chain lock, multi-tool, spare tube/tire levers/patches, mini pump, reflective vest, and bell. Add comfort: water bottle cage, phone mount.
Beginners: Aim for 8 items max to keep it portable. Why? Overloaded kits weigh you down and complicate storage. Expect a checklist you can shop from.
Sample Starter List: Lights, lock, repair kit (tool + levers + patches), pump, vest.
💡 Tips:
Shop for durable, bike-specific gear. Prioritize USB-rechargeable lights, folding tools, and weatherproof bags. Budget tip: Start with $100 total.
Why it matters: Cheap items break fast, stranding you. Success: Items that fit your bike (check sizes) and have good reviews. Test fit before finalizing.
Visit a local shop or order online—many offer returns.
💡 Tips:
⚠️ Warnings:
Pick a compact bag: saddle bag for under-seat (tools/repair), handlebar bag for quick access (phone/snacks), or backpack for all-in-one.
Why? Centralized storage means grab-and-go. Success: Bag mounts securely without wobbling; capacity holds all items.
Mount it: Use straps or quick-release for easy removal.
💡 Tips:
Pack logically: Repair items together (tool, levers, patches, tube), daily essentials separate (lights, bell). Use pouches or dividers inside the bag.
Secure loose items with Velcro or elastic loops. Why? Quick access during breakdowns. Success: Kit closes fully, items don't rattle.
Label sections: 'Repair', 'Safety', 'Comfort'.
💡 Tips:
⚠️ Warnings:
Attach bag per instructions: Tighten straps evenly, route cables through frame if needed. Test for road vibrations.
Why it matters: Loose kits distract or fall off. Success: No movement at 15mph; easy on/off.
Double-check mounts after first ride.
💡 Tips:
Take a 2-5 mile test commute. Check light brightness, lock security, tool usability, and bag stability.
Adjust as needed: Repack or swap items. Why? Real-world validation prevents commute failures. Success: Everything works seamlessly.
Note fixes: Dim light? Upgrade batteries.
💡 Tips:
⚠️ Warnings:
Weekly: Check batteries, tire pressure in spare tube. Monthly: Inspect wear. Seasonally: Add/remove rain gear.
Why? Kits degrade; maintenance ensures reliability. Success: Annual refresh keeps it commute-ready.
Store off-bike when not riding.
💡 Tips:
Problem: Bag wobbles on rough roads
Solution: Tighten all straps and add foam padding between bag and frame. If persists, switch to a frame-mounted bag.
Problem: Lights won't charge
Solution: Clean USB ports with alcohol wipe; test cable. Replace if faulty—USB-rechargeable models rarely fail.
Problem: Lock too heavy for daily use
Solution: Swap for lighter folding lock; use wearable options like chain around waist.
Problem: No room for spare tube
Solution: Use CO2 inflator + mini tube; downsize to patch kit only for short commutes.
Compact, affordable lock with excellent cut resistance for urban parking—trusted by commuters.
Best for: Securing bike at work or racks during 1-8 hour stops.
Price Range: $35-45
All-in-one tool with 18 functions including chain breaker—compact for saddle bags.
Best for: On-road repairs like chain fixes, hex adjustments during commutes.
Price Range: $25-30
Bright, rechargeable lights with multiple modes—auto on/off for dusk/dawn safety.
Best for: Visibility in low-light commutes; mounts easily.
Price Range: $60-70
High-volume pump with gauge—fits in jersey pocket or bag for quick flats.
Best for: Inflating tires roadside without bulk.
Price Range: $30-35
Large capacity with compartments—holds full repair kit securely.
Best for: Organizing all accessories under saddle.
Price Range: $20-25
Securing bike at work or racks during 1-8 hour stops.
Kryptonite Keeper 585 U-Lock Compact, affordable lock with excellent cut resistance for urban parking—trusted by commuters.
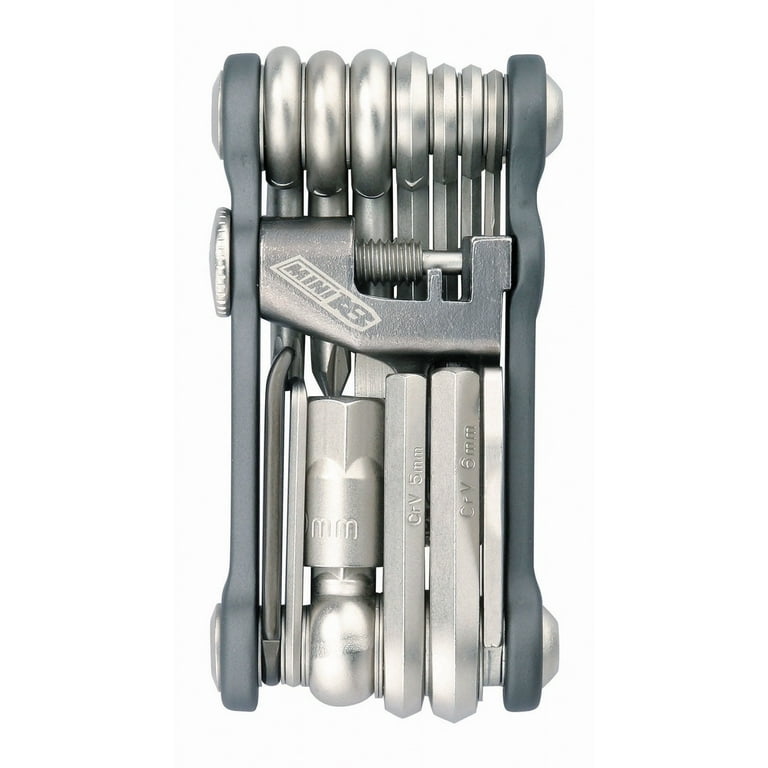
On-road repairs like chain fixes, hex adjustments during commutes.
Topeak Mini 18+ Pro Bicycle Multi-Tool All-in-one tool with 18 functions including chain breaker—compact for saddle bags.
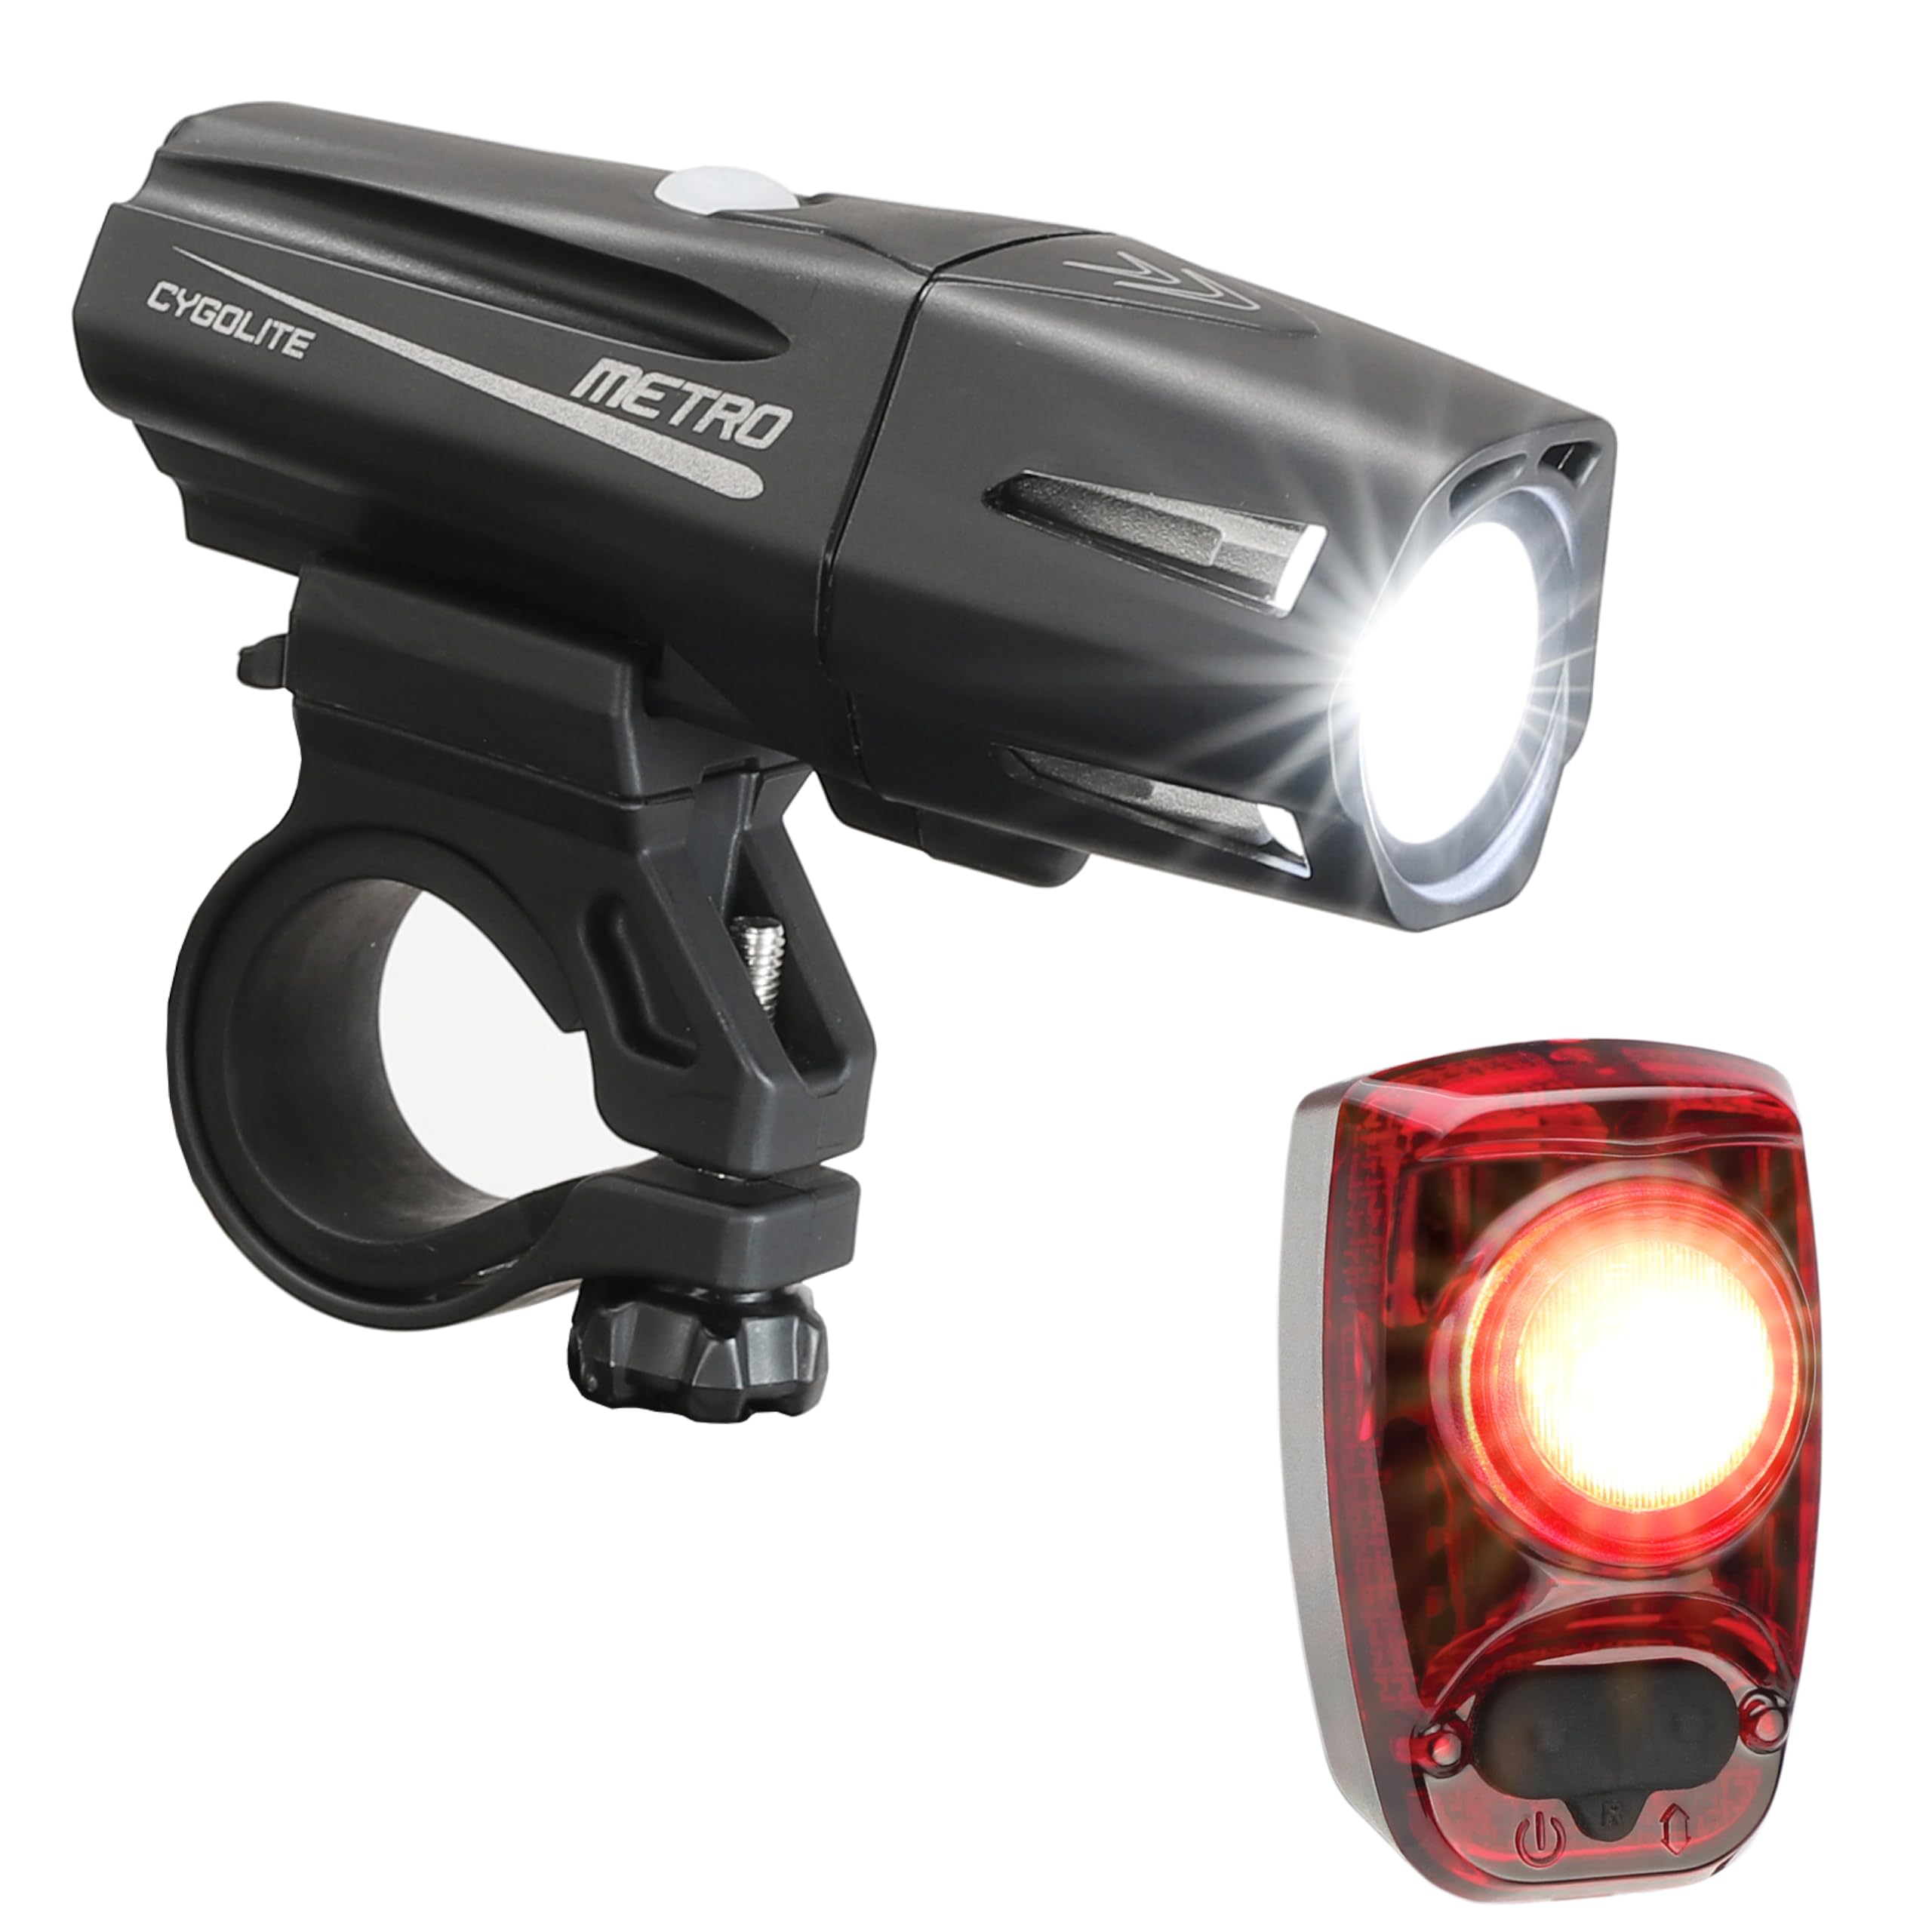
Visibility in low-light commutes; mounts easily.
Cygolite Metro 400 USB Headlight & Hotshot SL 145 Tail Light Set Bright, rechargeable lights with multiple modes—auto on/off for dusk/dawn safety.
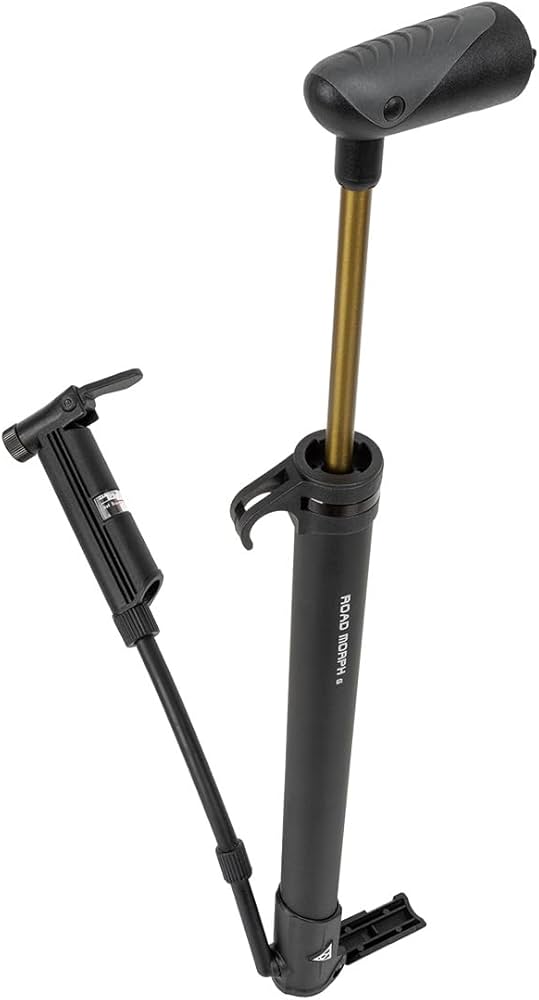
Inflating tires roadside without bulk.
Topeak Road Morph G Mini Pump High-volume pump with gauge—fits in jersey pocket or bag for quick flats.
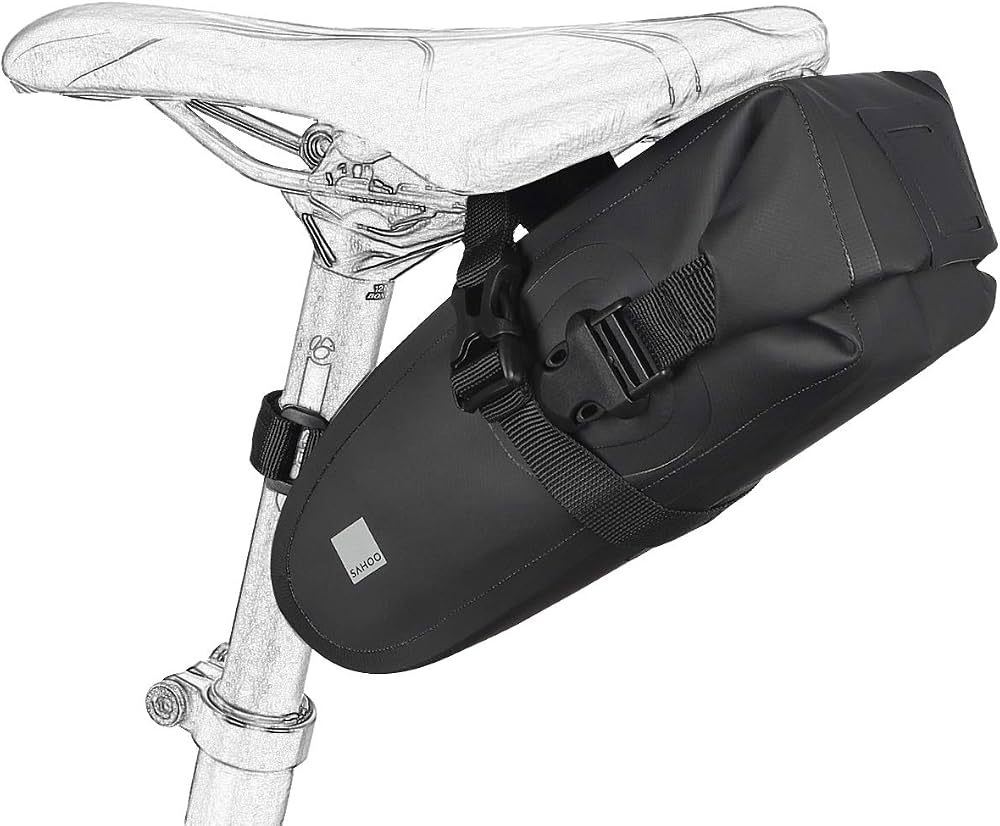
Organizing all accessories under saddle.
Roswheel Waterproof Bike Saddle Bag Large capacity with compartments—holds full repair kit securely.