Stargazing opens a window to the wonders of the universe, but for many beginners, the first hurdle is assembling the telescope itself. If you've just unboxed your new scope and feel overwhelmed by the parts, you're not alone—many aspiring astronomers hesitate at this step, fearing they'll damage something or miss a crucial alignment. The good news? Modern beginner telescopes are designed for simplicity, and with the right guidance, you'll be spotting planets and constellations in no time.
In this guide, you'll learn a straightforward, step-by-step process to assemble your telescope, from attaching the mount to installing the eyepieces. We'll cover everything needed for a basic refractor or reflector model, focusing on safety and ease. By the end, you'll have a fully functional setup ready for your first night under the stars.
Expect the process to take 30-45 minutes, depending on your model. It's beginner-friendly, requiring no special tools beyond what's included in most kits. Let's turn that box of parts into your personal gateway to the cosmos.
▸What You'll Need
- •Beginner telescope kit (e.g., refractor or reflector model with tripod mount, optical tube, eyepieces, and finder scope)
- •Phillips screwdriver (often included, but have one handy if not)
- •Clean, flat workspace (table or floor protected with a soft cloth)
- •Optional: Allen wrench set (for some mounts), flashlight for low-light assembly
Estimated Time: 30-45 minutes
Difficulty: beginner
▸Step-by-Step Instructions
Step 1: Unbox and Inventory Parts
Start by carefully opening the telescope's packaging and laying out all components on your workspace. Most kits include the optical tube (the main barrel), tripod legs, alt-azimuth or equatorial mount, eyepieces (usually 10mm and 25mm), a finder scope, and small hardware like screws and bolts.
Why this matters: Checking parts ensures nothing is missing or damaged before assembly, saving frustration later. Lay them out in an organized way—group the mount pieces together, optics separately. What to expect: A quick scan should reveal everything; refer to the included manual for a diagram if unsure.
Take your time here; rushing can lead to overlooked pieces.
💡 Tips:
- •Sort parts by category (e.g., mount, optics) to stay organized.
- •Read the manual's parts list first for reference.
⚠️ Warnings:
- •Avoid touching optical surfaces with fingers to prevent smudges or scratches.
Step 2: Assemble the Tripod Base
Locate the tripod legs and the central hub (often a metal or plastic brace). Extend the legs to full length and lock them in place using the tension knobs or clips. Attach the hub to the top of the legs by aligning the screw holes and tightening with the provided bolt or wingnut.
This step creates a stable foundation, essential for steady viewing—wobbly bases ruin observations. Expect the tripod to stand about 3-4 feet tall when assembled. If your model has adjustable legs, set them to a comfortable viewing height now.
Why it matters: A solid tripod prevents vibrations from wind or movement, ensuring clear images of stars.
💡 Tips:
- •Test stability by gently shaking; adjust knobs if it wobbles.
- •Place on a level surface for best results.
⚠️ Warnings:
- •Don't overtighten knobs, as it can strip threads.
Step 3: Attach the Mount to the Tripod
Identify the alt-azimuth mount head (the swiveling part that holds the telescope). It usually has a dovetail base. Screw the mount securely onto the tripods top plate using the central bolt—hand-tighten first, then use a screwdriver for firmness.
The mount allows smooth up-down (altitude) and left-right (azimuth) movements. This connection is crucial for easy tracking of celestial objects. Success looks like a mount that rotates freely without looseness.
If your kit has an equatorial mount, align it roughly north now, but full alignment comes later.
💡 Tips:
- •Use the manual's diagram to match the mount orientation.
- •Lubricate moving parts lightly if they feel stiff (use included grease).
⚠️ Warnings:
- •Ensure the mount is centered on the tripod to avoid tipping.
Step 4: Install the Optical Tube
Slide the optical tube's dovetail bar into the mount's saddle clamp. Secure it with the locking knob or screw. For reflectors, ensure the tube is right-side up (open end facing away from the mount); for refractors, the lens end points forward.
This secures the main optics, the heart of your telescope. Why it matters: Proper attachment balances the scope for stable panning. Expect the tube to feel heavy but manageable—success is when it locks without wobbling.
Gently test by moving the scope; it should pivot smoothly.
💡 Tips:
- •Balance the tube by adjusting its position in the clamp for even weight distribution.
- •If it's a reflector, note the focuser position for later.
⚠️ Warnings:
- •Never force the dovetail; it should slide in easily.
Step 5: Attach the Finder Scope
Locate the finder scope bracket and align it parallel to the main tube. Screw or clip it onto the designated rings or rails on the optical tube, usually near the front. Insert the finder eyepiece if separate.
The finder helps locate objects before zooming in with the main scope. This step matters for efficient stargazing—without it, finding faint stars is tough. Success: The finder aligns roughly with the main tube's view.
Why expect: A small red dot or crosshair finder will now be ready for calibration.
💡 Tips:
- •Position it at eye level for comfort.
- •Clean the finder lens with a microfiber cloth.
⚠️ Warnings:
- •Don't overtighten screws, as it can misalign the finder.
Step 6: Install Eyepieces and Focuser
Insert the lower-power eyepiece (e.g., 25mm) into the focuser at the rear of the tube. For reflectors, this is the diagonal mirror or straight-through; for refractors, directly into the drawtube. Tighten the setscrew gently.
Eyepieces determine magnification—start low for wide views. This finalizes optics setup. What to expect: A secure fit where the eyepiece doesn't wiggle but can be removed easily.
Why it matters: Proper installation ensures sharp focus without vignetting.
💡 Tips:
- •Label eyepieces to avoid mix-ups.
- •Use the higher-power one (10mm) later for details.
⚠️ Warnings:
- •Avoid dropping eyepieces; they're delicate.
Step 7: Perform Basic Alignment and Test
Level the tripod using built-in bubbles or a phone app. Roughly align the finder scope with a distant daytime object (like a building) by adjusting its screws until it matches the main view. At night, collimate if needed (for reflectors, use a star to check mirrors).
This ensures accurate pointing. Success: When you center an object in the finder, it appears in the main eyepiece. Why: Misalignment leads to frustration in locating stars.
Take it outside for a quick test view of the moon or a bright planet.
💡 Tips:
- •Do daytime alignment first for ease.
- •For equatorial mounts, polar align using the North Star.
⚠️ Warnings:
- •Collimation is key for reflectors—skip it and images blur.
▸Pro Tips
- •Assemble in good lighting to spot small parts easily.
- •Keep the manual nearby—it's your best friend for model-specific quirks.
- •Practice assembly twice before your first stargazing session to build confidence.
- •Store parts in labeled bags post-assembly for quick disassembly.
- •Use a carrying case if available to protect during transport.
- •For windy nights, add sandbags to tripod legs for extra stability.
- •Start with the moon for your first observation—it's forgiving and bright.
▸Common Mistakes to Avoid
- •Skipping the inventory step, leading to missing parts and delays—always check first.
- •Overtightening screws, which can damage threads or warp components—hand-tighten then quarter-turn with tools.
- •Ignoring alignment, resulting in inability to find objects—test during daylight.
- •Assembling in direct sunlight, causing parts to expand and fit poorly—choose shade.
- •Forgetting to balance the tube, causing the mount to strain—adjust position in clamp.
▸Troubleshooting
Problem: Scope wobbles on the tripod
Solution: Tighten all leg knobs and ensure the mount is centered; add weight to the base if needed.
Problem: Finder scope doesn't align with main view
Solution: Loosen adjustment screws and re-aim at a distant object; fine-tune incrementally.
Problem: Blurry images in the eyepiece
Solution: Check focus knob; for reflectors, collimate mirrors using a collimation tool or app.
Problem: Mount moves jerky or stiff
Solution: Apply a drop of lubricant to pivots; avoid over-lubricating to prevent dust buildup.
Problem: Can't locate stars at night
Solution: Use a stargazing app like SkySafari for coordinates; ensure light pollution is low.
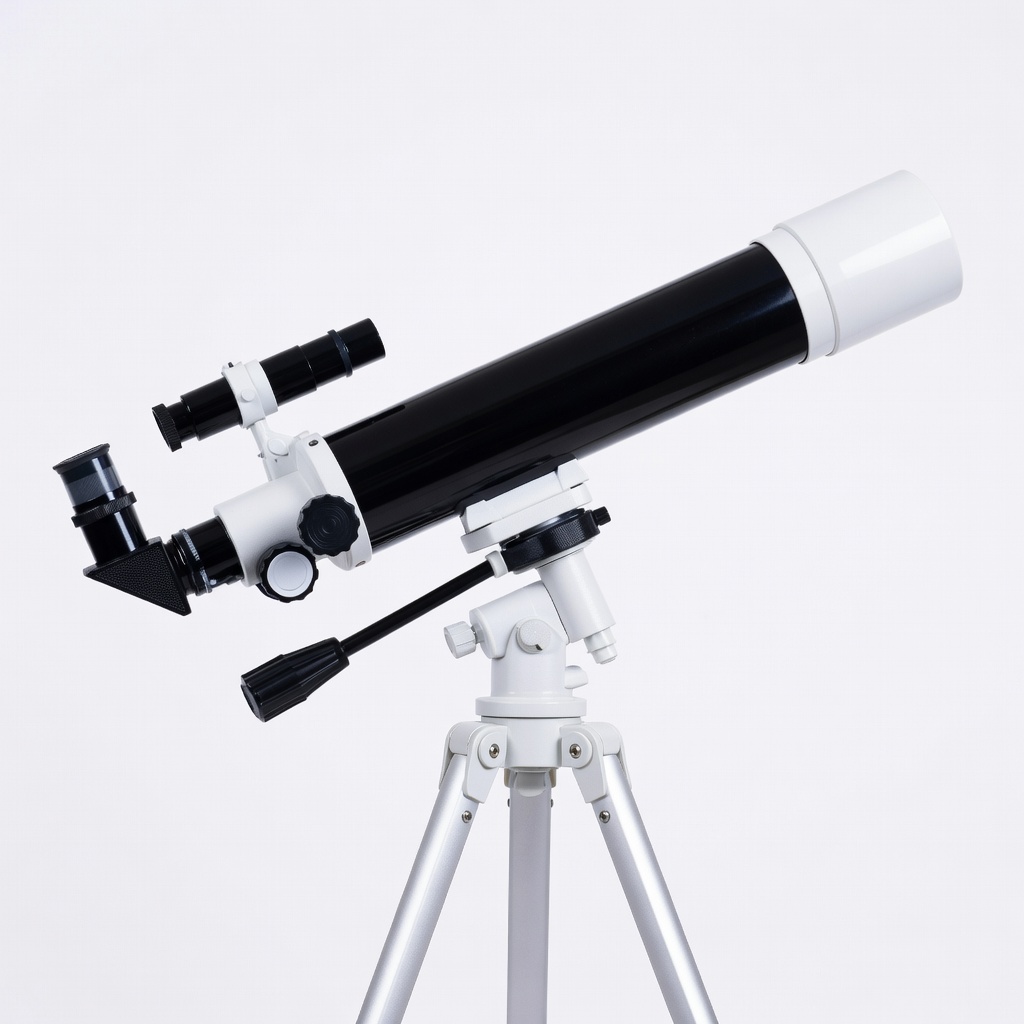
Celestron AstroMaster 70AZ Telescope
This refractor is ideal for beginners due to its simple assembly with pre-attached finder and included eyepieces, making setup quick and error-free.
Best for: Perfect for backyard stargazing and lunar/planetary viewing; assembles in 20-30 minutes.
Price Range: $120-$150
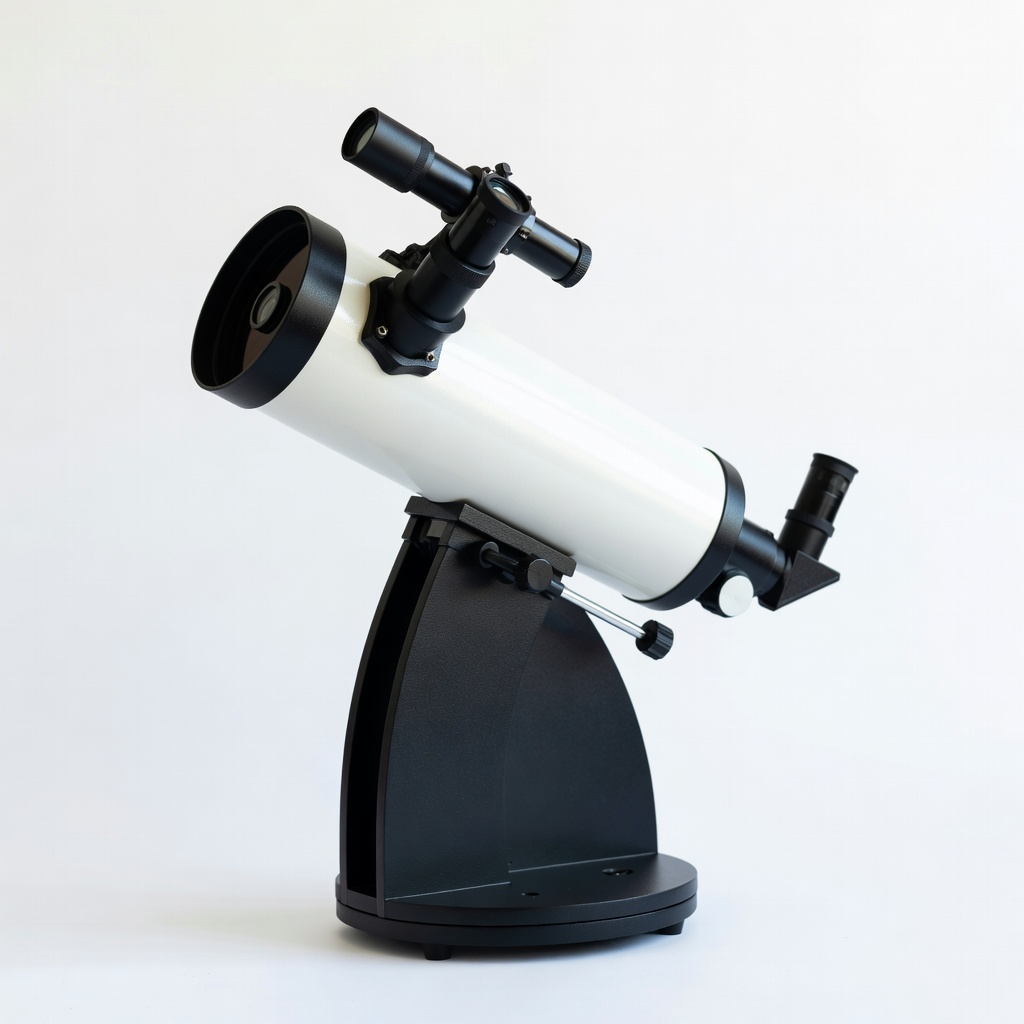
Orion StarBlast 4.5 Astro Reflector Telescope
Easy-to-assemble tabletop design with sturdy Dobsonian base; great for learning collimation without complex mounts.
Best for: Ideal for portable stargazing on a table or ground; suits deep-sky objects like galaxies.
Price Range: $200-$250
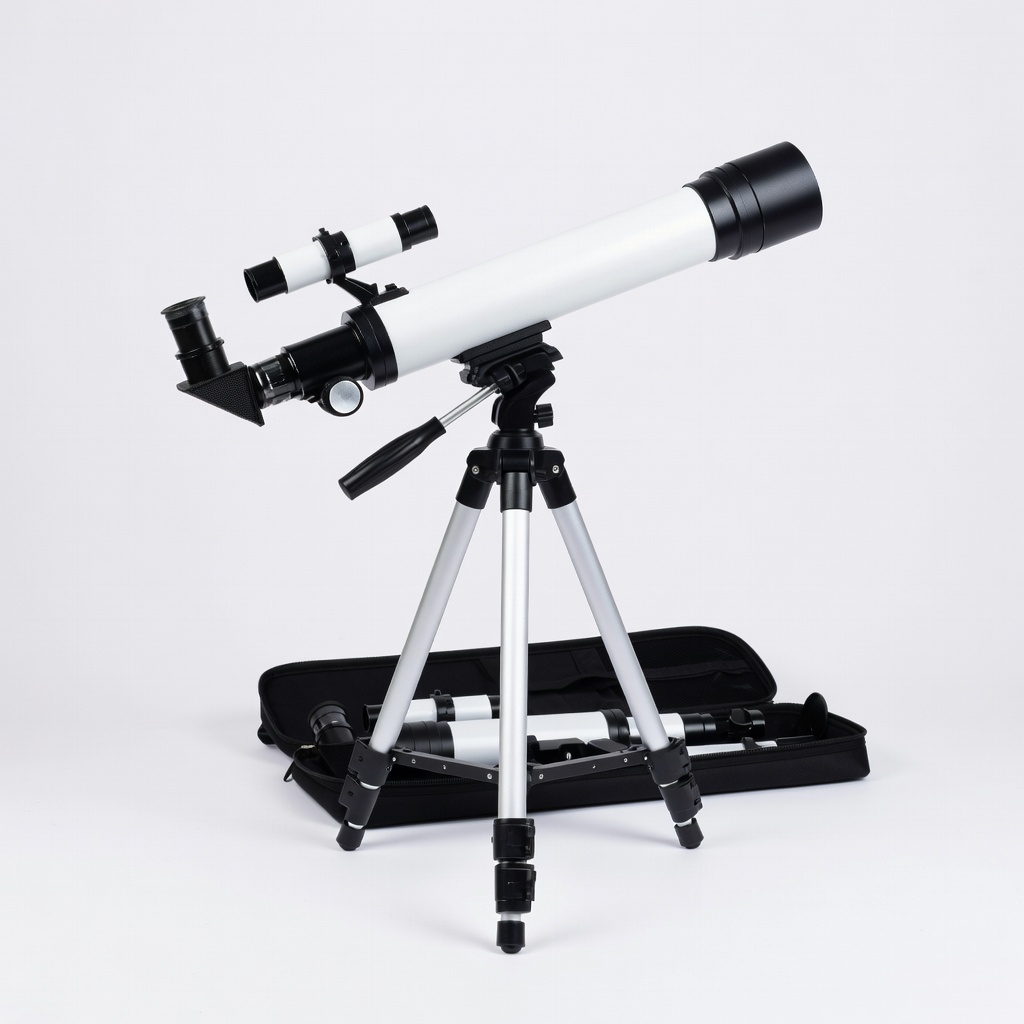
Celestron Travel Scope 70 Portable Telescope
Compact and lightweight with straightforward screw-together assembly; includes backpack for transport.
Best for: Best for travel or quick setups during camping trips; focuses on ease for absolute novices.
Price Range: $70-$90
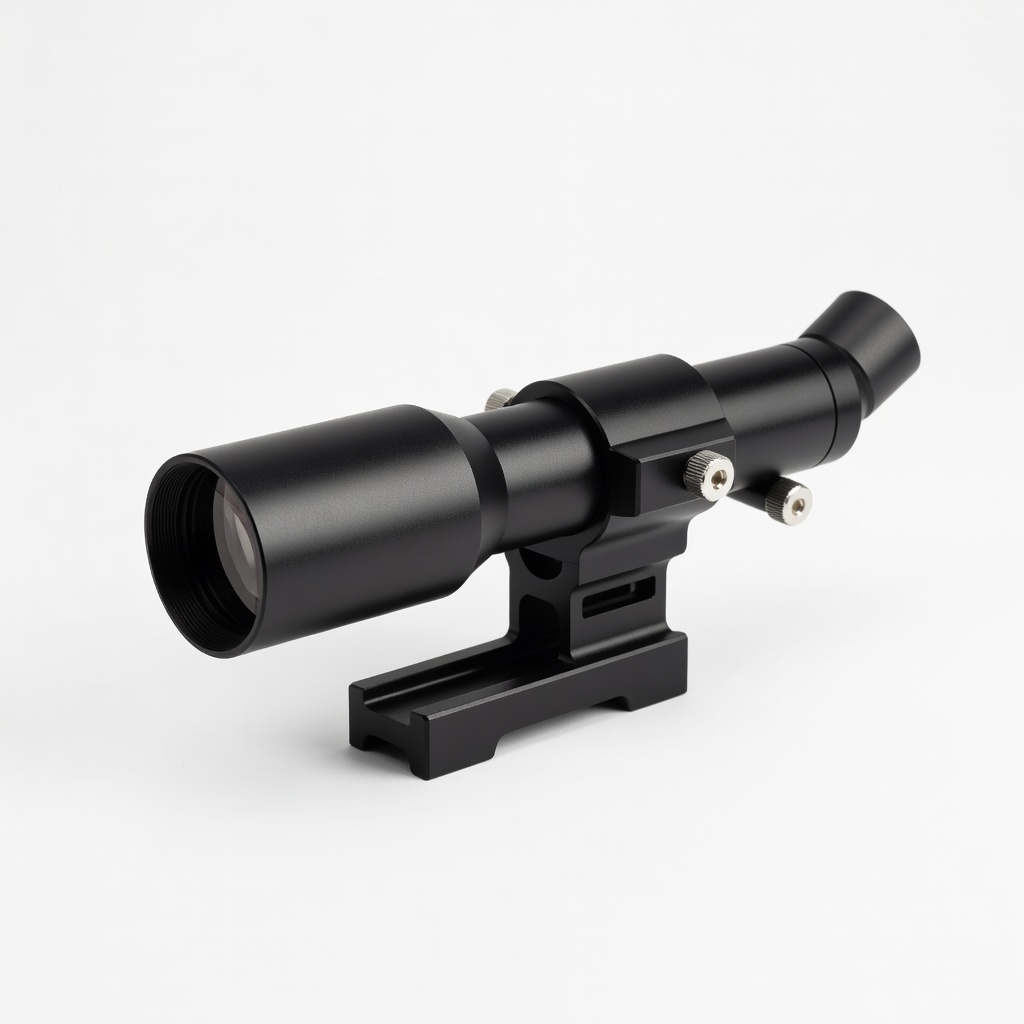
SVBONY Telescope Finder Scope with Bracket
Affordable upgrade for better alignment; quick-install bracket fits most tubes, improving locating accuracy.
Best for: Use if your kit's finder is basic; essential for spotting faint stars during assembly testing.
Price Range: $20-$30
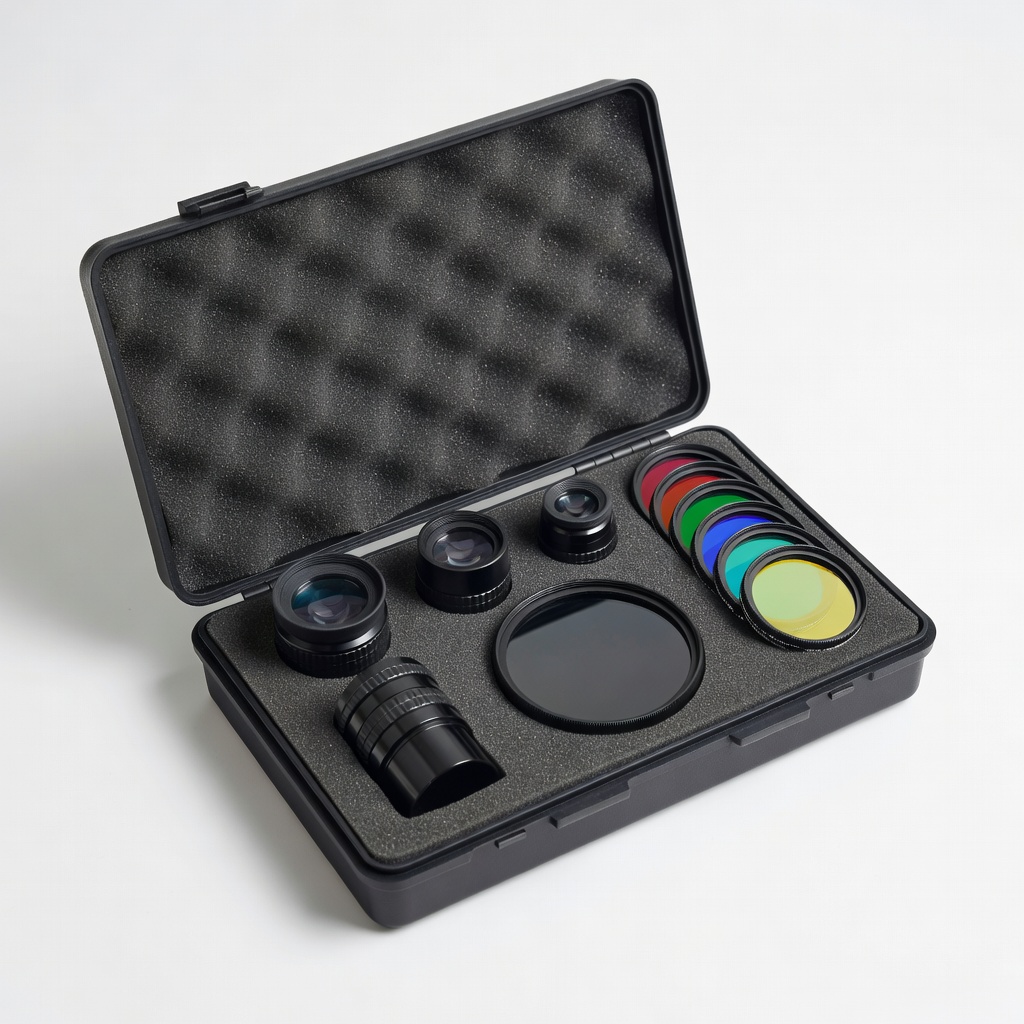
Orion 1.25-inch Telescope Eyepiece and Filter Kit
Expands viewing options with multiple magnifications; easy swap during or after assembly for varied observations.
Best for: Enhance your setup for moon filters or higher power; prevents eye strain on long sessions.
Price Range: $50-$70