Gym bags are notorious for leaks from shampoo, conditioner, and body wash bottles, turning your clean towel into a soggy mess. This guide solves that problem by showing you how to assemble a 3-in-1 travel bottle system—three separate compartments in one compact, clip-together unit designed specifically for gym use.
You'll learn to unpack, clean, fill, seal, and test these bottles step-by-step, using beginner-friendly instructions. By the end, you'll have a TSA-compliant, leak-proof setup ready for your next workout. The process takes 10-15 minutes and requires no special tools.
Expect simple actions like rinsing and filling, with tips to avoid spills. Perfect for gym-goers tired of bulky toiletries.
▸What You'll Need
- •3-in-1 refillable travel bottle kit (three silicone compartments that snap together, with nozzles/caps)
- •Your favorite shampoo, conditioner, and body wash (or a multi-use 3-in-1 product to split)
- •Mild dish soap and water for rinsing
- •Small funnel (optional but recommended for clean filling)
- •Labels or marker for identification (optional)
Estimated Time: 10-15 minutes
Difficulty: beginner
▸Step-by-Step Instructions
Step 1: Unbox the 3-in-1 Bottle Kit
Carefully open the packaging of your 3-in-1 travel bottle kit. These kits typically include three soft silicone bottles (one each for shampoo, conditioner, and body wash), color-coded flip-top or nozzle caps, adhesive labels, and a snap-together clip or holder for gym bag storage.
Lay out all parts on a clean surface to inspect them. Success here looks like all components present and undamaged—no cracks or missing caps.
This step ensures you're starting with quality parts and prevents assembly issues later.
💡 Tips:
- •Choose kits with silicone material for flexibility and leak resistance.
- •Take a photo of the parts layout for reference if reassembling later.
⚠️ Warnings:
- •Avoid using sharp objects to open the box, as they can damage the soft silicone.
Step 2: Rinse and Dry the Compartments
Fill each bottle compartment halfway with warm water mixed with a drop of mild dish soap. Shake gently, then squeeze out the liquid over a sink. Rinse thoroughly with clean water until no soap residue remains, and pat dry with a towel.
Why it matters: New bottles have manufacturing residue that can contaminate your products or clog nozzles. Expect clear water running out during final rinses as success.
Air dry for 2-3 minutes if time allows.
💡 Tips:
- •Use a bottle brush if available for deeper cleaning.
- •Rinse immediately after unpacking to save time.
⚠️ Warnings:
- •Don't skip rinsing—residue can cause skin irritation or product separation.
Step 3: Prepare Your Toiletries
Identify compartments: Most kits color-code them (e.g., blue for shampoo, pink for conditioner, green for body wash).
Gather your products. If using a single 3-in-1 shampoo, divide it evenly; otherwise, use separate ones. Success: Products at room temperature for smooth pouring.
This prevents mixing and ensures each section is tailored to your needs.
💡 Tips:
- •Dilute thick products with a bit of water for easier squeezing later.
Step 4: Fill the Shampoo Compartment
Insert a funnel into the large filling opening (usually at the base or side). Slowly pour shampoo until 80-90% full—leave air space to prevent leaks when squeezing.
Remove funnel, wipe rim clean. Expect a firm but squeezable fill; overfilling causes burping and spills.
Repeat for conditioner and body wash in their compartments.
💡 Tips:
- •Fill over a towel to catch drips.
- •Use thin-necked funnels for precision.
⚠️ Warnings:
- •Never fill to the top; expansion from pressure can force out product.
Step 5: Secure the Caps and Nozzles
Twist or snap the flip-top nozzle or cap onto each compartment securely. Tug gently to confirm it's locked.
Why: This creates the leak-proof seal essential for gym bags. Success: No wobble or gaps.
Wipe any residue from exteriors.
💡 Tips:
- •Match caps to colors for easy identification.
Step 6: Label the Bottles
Apply pre-printed labels or use a marker to write 'Shampoo', 'Conditioner', 'Body Wash' on each. Place labels on the flat side for visibility.
This avoids mix-ups in a rush. Expect durable, waterproof labels that stick well.
💡 Tips:
- •Laminating labels adds longevity.
Step 7: Assemble the Unit and Test for Leaks
Snap the three bottles together using the built-in clips or holder. Gently squeeze each nozzle over a sink—product should dispense smoothly without leaks.
Shake the assembly; no drips means success. This final check saves your gym bag.
Dry wipe and you're ready!
💡 Tips:
- •Test after every refill.
⚠️ Warnings:
- •If leaking, disassemble and re-seat caps.
▸Pro Tips
- •Store upright in your gym bag with a towel wrap for extra protection.
- •Refill every 1-2 weeks depending on gym frequency to avoid drying out.
- •Choose clear silicone to monitor fill levels easily.
- •Freeze briefly before packing for a cooling post-workout rinse.
- •Use a carbiner clip on the holder to attach to gym lockers.
- •Mix in essential oils for custom scents.
- •Travel tip: These meet TSA 3-1-1 rules (under 3.4oz each).
▸Common Mistakes to Avoid
- •Overfilling bottles, leading to leaks—always leave headspace.
- •Skipping the rinse step, causing clogs or contamination.
- •Using non-waterproof labels that peel off in humid gym bags.
- •Mismatched caps, making dispensing frustrating.
- •Not testing for leaks, ruining gear on the first use.
▸Troubleshooting
Problem: Bottle leaks when squeezed
Solution: Check cap seal; clean threads and re-tighten. If persists, replace cap from kit spares.
Problem: Product won't dispense
Solution: Warm the bottle in hands to loosen thick product; ensure not overfilled.
Problem: Labels peeling off
Solution: Use waterproof marker or clear tape over labels; avoid fabric surfaces.
Problem: Compartments won't snap together
Solution: Ensure bottles are dry; apply light pressure while aligning clips.
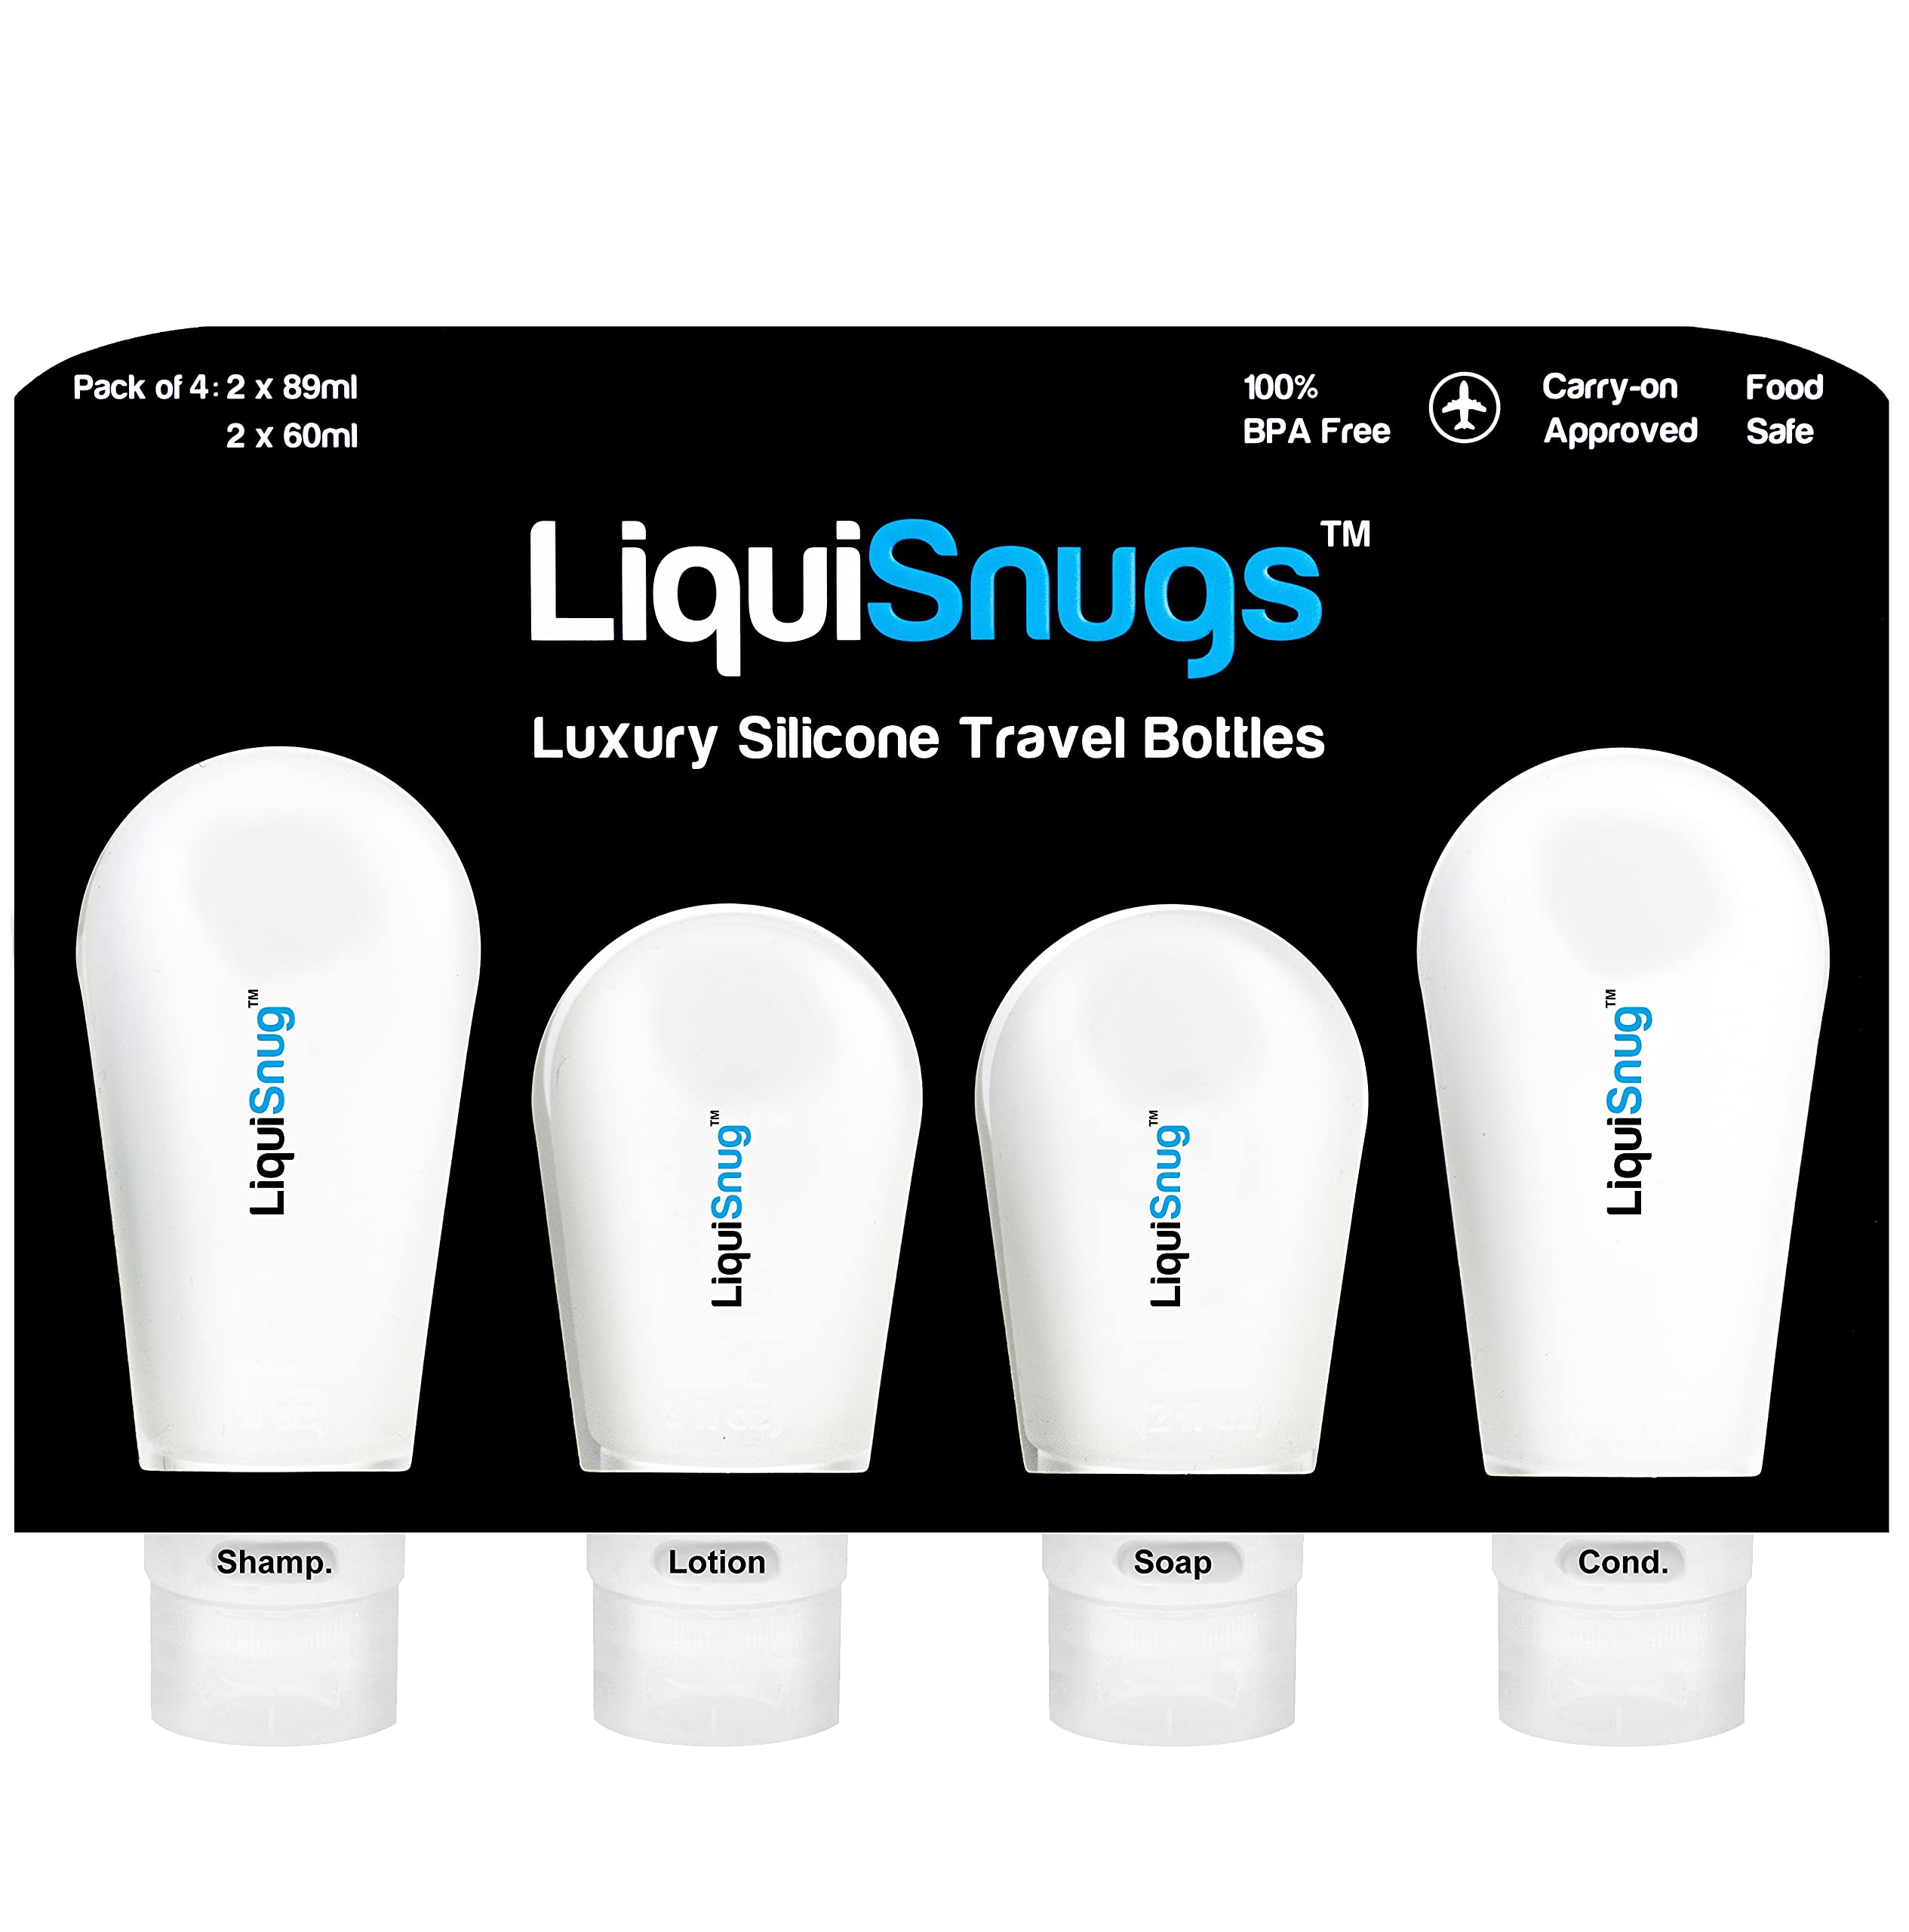
LiquiSnugs Premium Leakproof Travel Bottles 3-Pack
Top-rated silicone bottles with superior leak-proof design, perfect for shampoo/conditioner/body wash separation.
Best for: Ideal for gym bags needing durable, squeezable compartments that stand upright.
Price Range: $16.95
Gaiatop 3 Pack TSA Approved Travel Bottles
Affordable, colorful set with flip caps; easy to fill and gym-bag friendly.
Best for: Budget option for beginners assembling first 3-in-1 system.
Price Range: $9.99
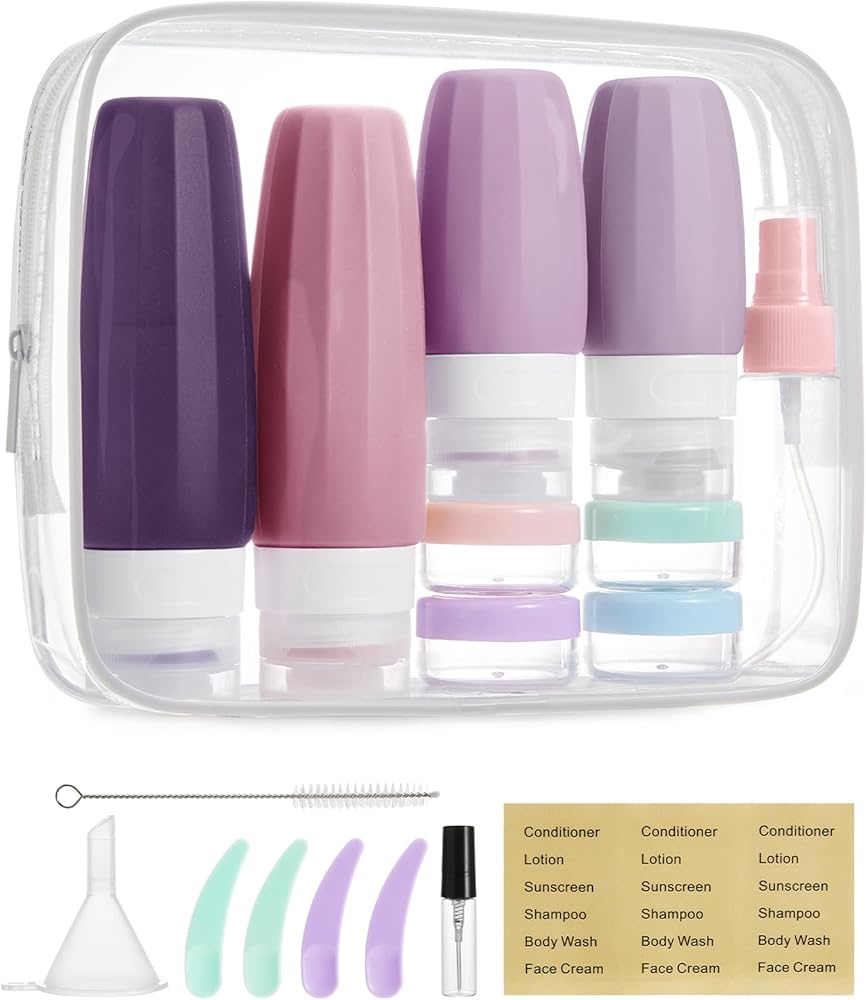
BAGSMART Leakproof Silicone Travel Bottles 4oz
Larger capacity with secure locks; includes funnel for mess-free filling.
Best for: For heavy gym users needing more product per fill.
Price Range: $12.99
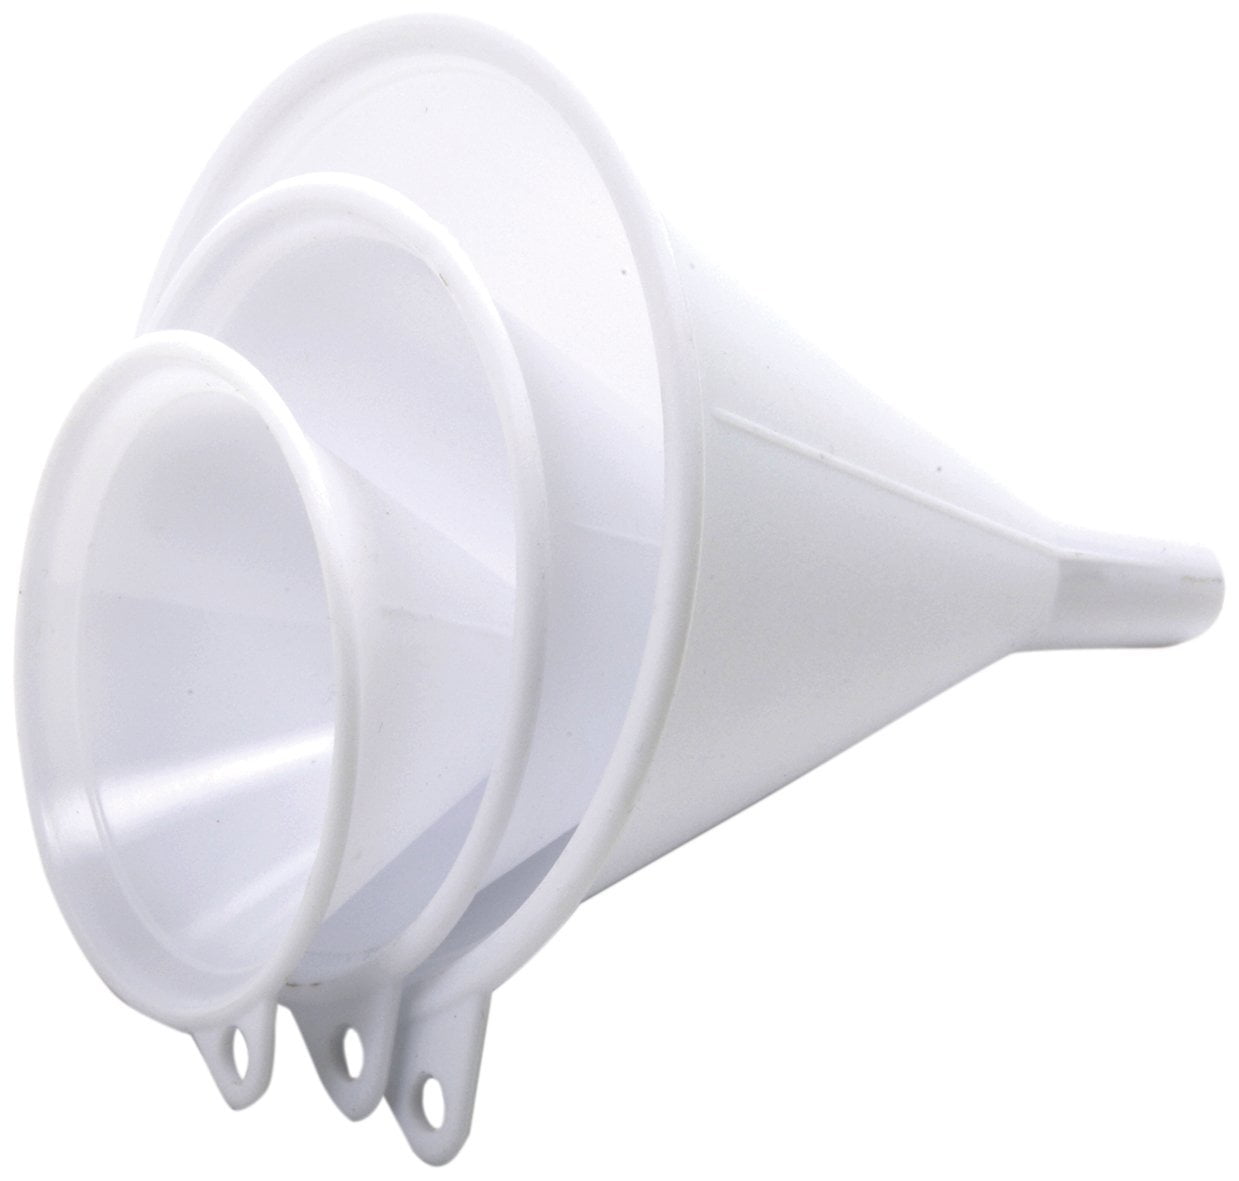
Norpro 3-Piece Plastic Funnel Set
Essential accessory for precise, spill-free filling of small openings.
Best for: Any bottle assembly to speed up and clean the process.
Price Range: $4.99
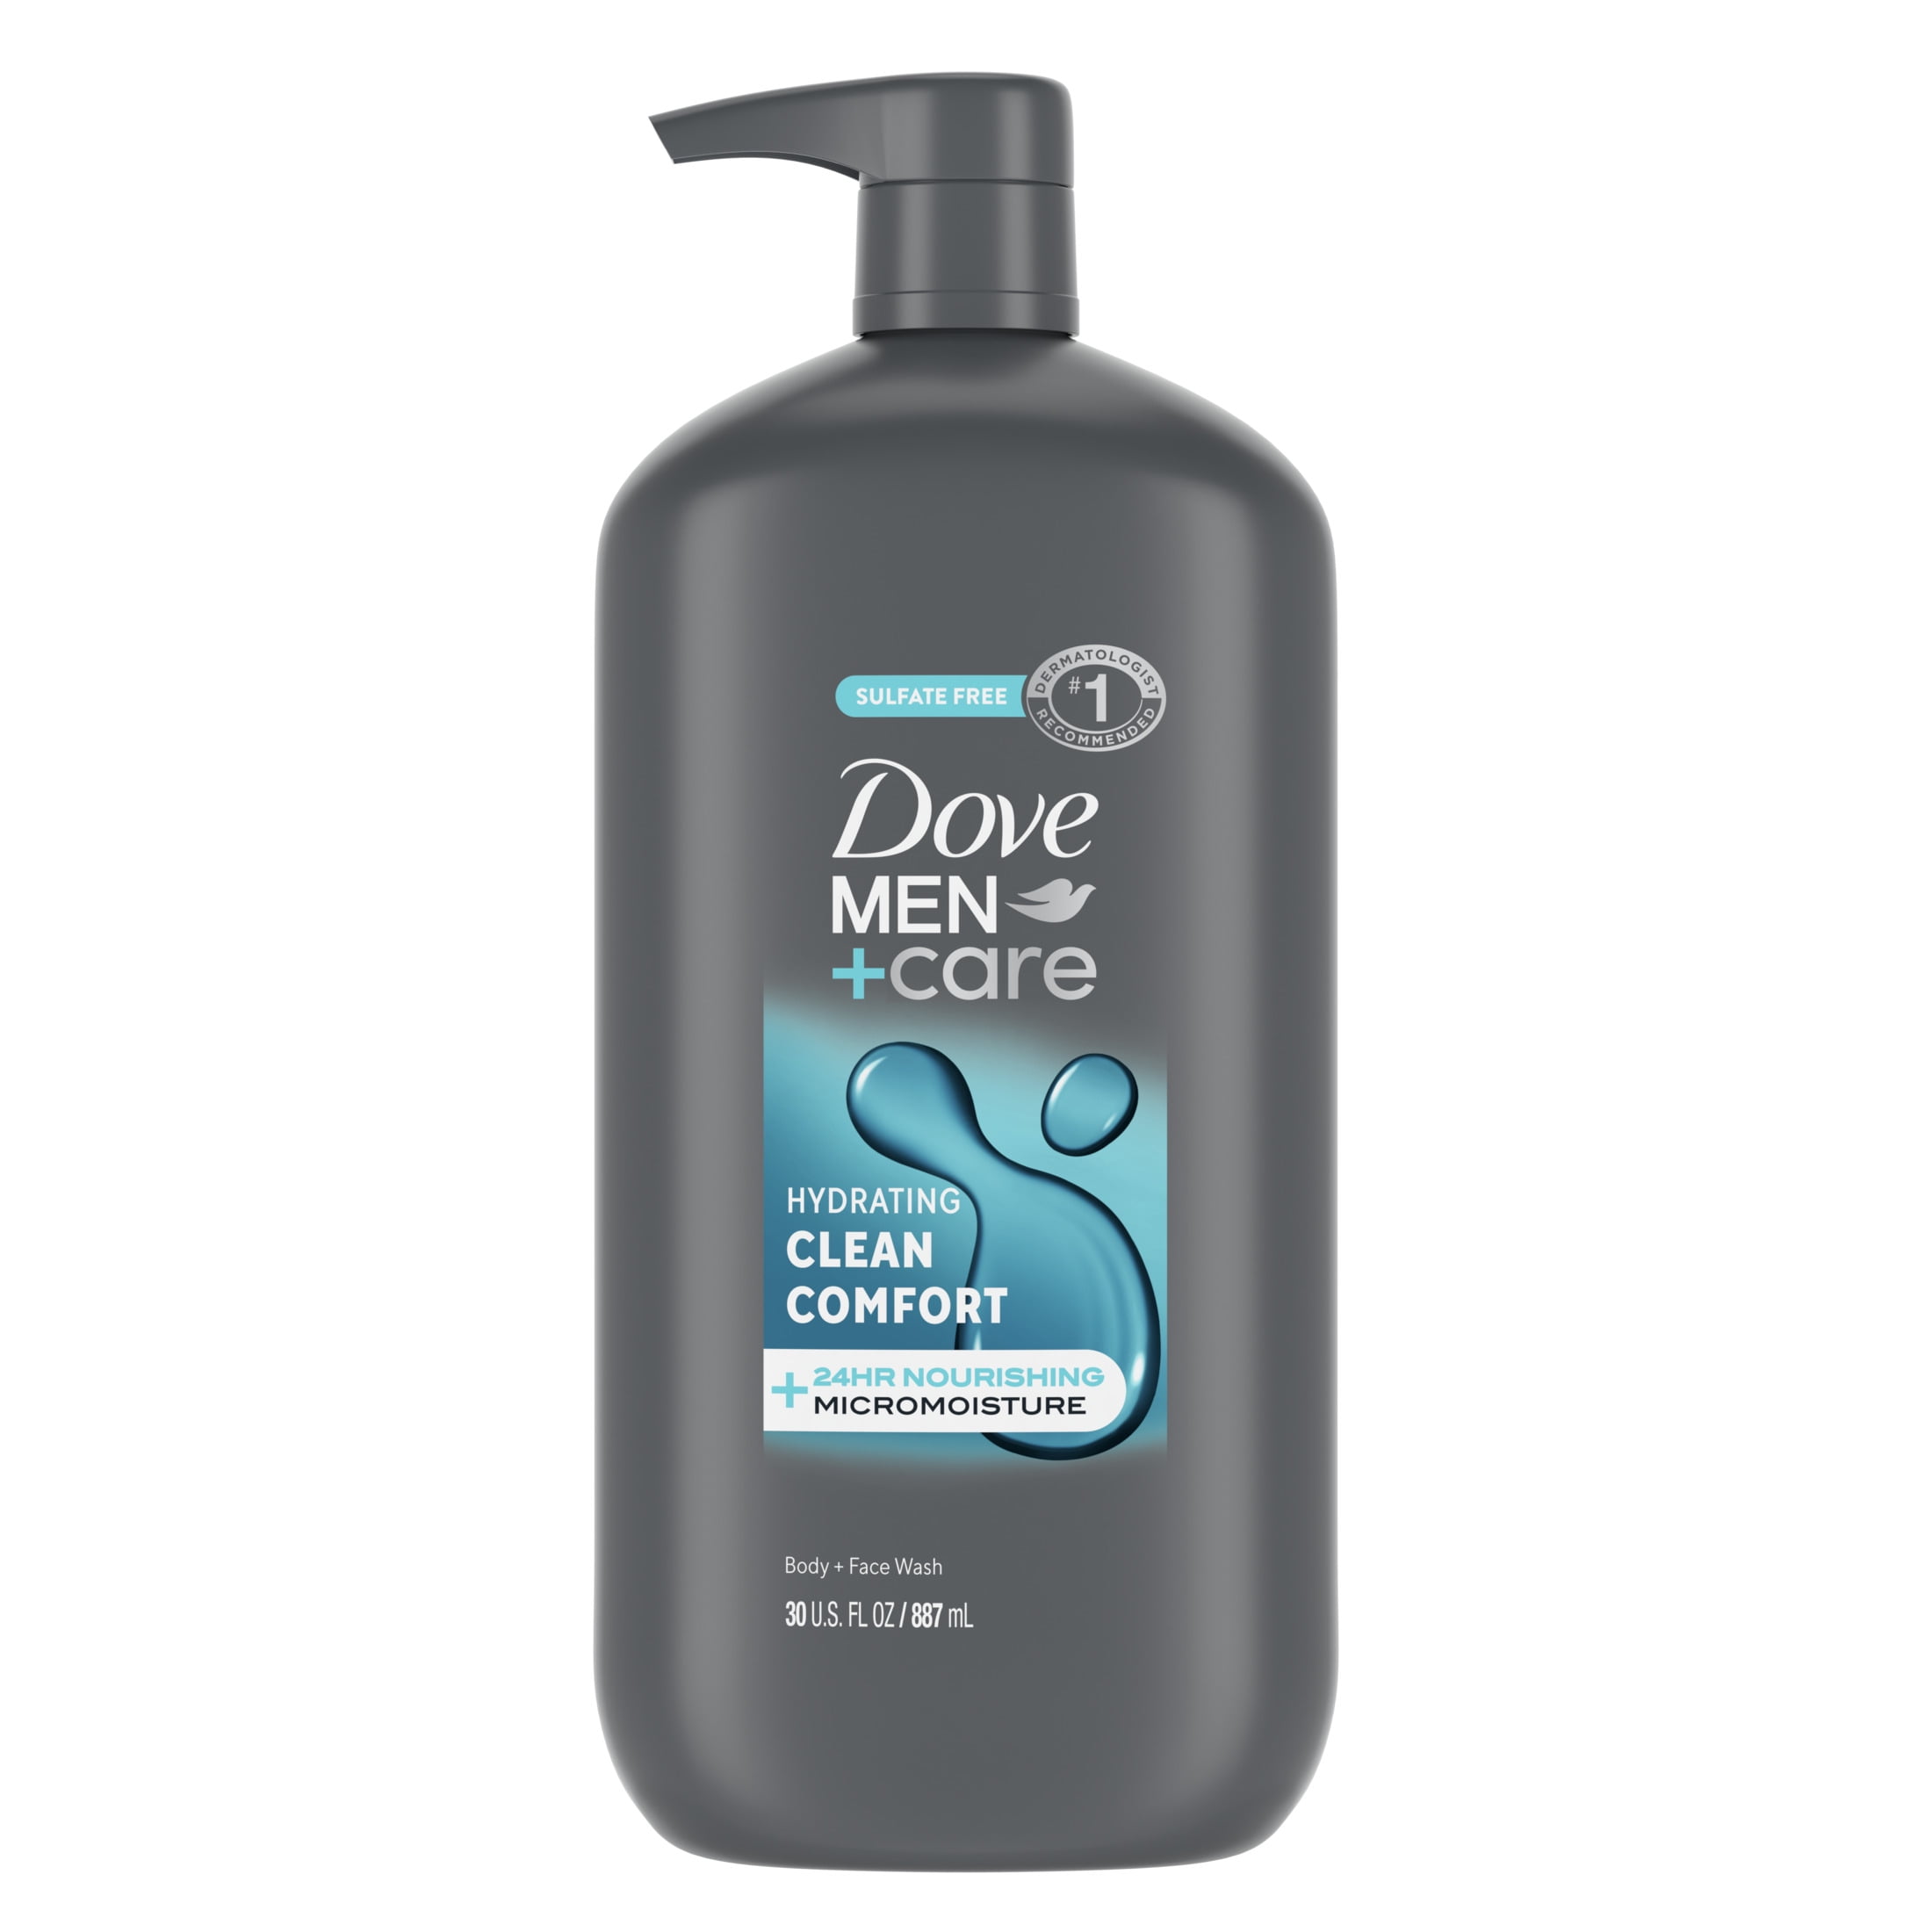
Dove Men+Care Clean Comfort 3-in-1 Hair + Body + Face Wash
Multi-use product to simplify filling all compartments with one formula.
Best for: Quick setup if you prefer single-product convenience.
Price Range: $5.99