Have you ever unboxed a 3D puzzle full of excitement, only to feel overwhelmed by hundreds of tiny pieces? You're not alone—many beginners struggle with sorting, fitting, and finishing without instructions turning into a headache. But with the right approach, assembling 3D puzzles becomes a relaxing, rewarding hobby that sharpens your focus and patience.
In this guide, you'll learn everything from preparation to completion, using clear, sequential steps tailored for first-timers. Whether it's a foam interlocking puzzle like Ravensburger or a wooden slot-together model from Robotime, the process is straightforward. Expect to spend 1-3 hours on a beginner kit (200-500 pieces), with no prior experience needed.
By the end, you'll have a display-worthy 3D masterpiece and the confidence to tackle more complex builds. Let's turn those scattered pieces into art!
▸What You'll Need
- •3D puzzle kit (foam, plastic, or wooden; 200-500 pieces for beginners)
- •Clean, flat workspace (table at least 3x3 feet)
- •Good lighting (desk lamp recommended)
- •Optional: Precision tweezers for small pieces
- •Optional: Magnifying glass or pocket microscope for detailed work
- •Optional: Small bowls or trays for sorting pieces
- •Optional: Soft cloth or mat to prevent scratches
Estimated Time: 1-3 hours (depending on puzzle size; take breaks as needed)
Difficulty: beginner
▸Step-by-Step Instructions
Step 1: Unbox and Inventory the Puzzle
Carefully open the box and lay out all contents on your workspace. Remove the instruction manual, any pre-assembled parts (like bases in some kits), and all pieces. Count them against the listed total in the manual to ensure nothing is missing—this prevents frustration later.
Why it matters: Missing pieces halt progress; inventorying upfront saves time. Expect colorful foam tabs, numbered plastic parts, or laser-cut wooden slots. Dispose of packaging neatly.
Lay pieces flat to avoid bending.
💡 Tips:
- •Photograph the box contents for reference if contacting support later.
⚠️ Warnings:
- •Don't mix pieces from different bags if multi-bag kit.
Step 2: Review the Instructions Thoroughly
Read the entire manual before touching pieces. Note diagrams, piece numbers/colors, assembly order, and any special tips (e.g., 'build floor first'). Many 3D puzzles like Ravensburger use numbered sections.
Why it matters: Skipping this leads to trial-and-error chaos. Expect exploded-view diagrams showing layers. Mark pages with sticky notes for quick reference.
Familiarize yourself with the final model image for motivation.
💡 Tips:
- •Use a phone app to zoom in on small diagrams.
Step 3: Sort Pieces into Categories
Group pieces by number, color, shape, or type (e.g., base, walls, roof, details). Use bowls or trays labeled with numbers. For wooden puzzles, sort by slot size; for foam, by tab direction.
Why it matters: Sorting makes finding pieces instant, reducing search time by 50%. Expect 10-20 groups. This step takes 10-20 minutes but pays off hugely.
Tip: Sort floor/base first.
💡 Tips:
- •Play music to make sorting fun and less tedious.
⚠️ Warnings:
- •Avoid over-sorting tiny details until later stages.
Step 4: Build the Base or Foundation Layer
Start with the bottom layer as shown in instructions—most puzzles begin here for stability. Match tabs/slots or numbers, pressing firmly but gently.
Why it matters: A solid base supports everything else. Success looks like a flat, complete floor with no gaps. Expect it to take 15-30 minutes.
Test stability by gently shaking.
💡 Tips:
- •Build on a non-slip mat to prevent sliding.
Step 5: Assemble Walls and Main Structure
Layer upward: attach walls to the base, then connect sides. Rotate pieces to find correct orientation—tabs often point specific ways.
Why it matters: Proper alignment prevents wobbles. Success: Vertical structure standing firm, matching diagram height.
Work one section at a time.
💡 Tips:
- •Use tweezers for awkward angles.
⚠️ Warnings:
- •Never force pieces; flip or check numbers.
Step 6: Add Details, Roof, and Features
Attach finer elements like windows, antennas, or mechanisms (gears in wooden kits). Follow sequence to avoid blocking access.
Why it matters: Details complete the model. Success: All parts fitted, structure balanced.
For moving parts, lubricate lightly if instructed.
💡 Tips:
- •Magnifier helps with tiny tabs.
Step 7: Final Check and Adjustments
Inspect for gaps, loose parts, or misalignments. Gently flex if needed, but avoid breaking. Compare to box image.
Why it matters: Ensures durability. Success: Stable, complete model ready for display.
Clean dust with soft brush.
💡 Tips:
- •Display on a stand if included.
⚠️ Warnings:
- •Don't glue unless specified—most are interlocking.
▸Pro Tips
- •Work in natural daylight or LED lighting to spot tab directions clearly.
- •Take 5-minute breaks every 30 minutes to avoid eye strain and errors.
- •Build in a dust-free room; cover overnight if pausing.
- •Practice with a small 100-piece puzzle first for confidence.
- •Keep a 'misfit' pile for tricky pieces—revisit later.
- •For wooden puzzles, sand rough edges lightly with fine paper.
- •Join online puzzle communities for model-specific tips.
▸Common Mistakes to Avoid
- •Forcing mismatched pieces, which bends tabs—always check orientation and numbers.
- •Skipping sorting, leading to endless searching—sort first for speed.
- •Ignoring instructions, causing unstable builds—read fully upfront.
- •Poor lighting, missing small details—use a lamp.
- •Rushing final details, resulting in gaps—patience pays off.
▸Troubleshooting
Problem: Pieces won't fit or tabs bend
Solution: Flip the piece, check numbers/colors, or slightly flex tab. If broken, contact manufacturer for replacement.
Problem: Structure wobbles
Solution: Rebuild base/walls ensuring all connections are secure. Add weight to base if needed.
Problem: Missing piece
Solution: Double-check sorting trays. Most brands replace via email with photo proof.
Problem: Wooden slots too tight
Solution: Sand edges gently with 400-grit paper or let sit in humid room overnight.
Ravensburger 3D Puzzle Eiffel Tower (216 Pieces, ASIN: B00J5IAF0K)
Iconic beginner-friendly foam puzzle with numbered pieces and clear instructions for frustration-free first build.
Best for: Ideal starter project to learn interlocking without tools.
Price Range: $25-$35
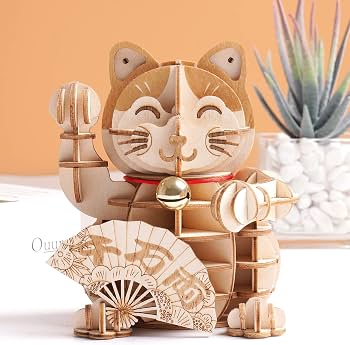
Robotime Rolife Cat Pavilion 3D Wooden Puzzle (ASIN: B08L3Y5Z5Z)
Engaging wooden kit with gears; precise laser-cut pieces perfect for beginners wanting tactile satisfaction.
Best for: Build a decorative house model with moving parts.
Price Range: $25-$30
iBayam Precision Tweezers Set (ASIN: B07D3R8J51)
6-piece set with fine tips grips tiny tabs securely, preventing drops and frustration.
Best for: Handling small or awkward pieces in detailed stages.
Price Range: $6-$8
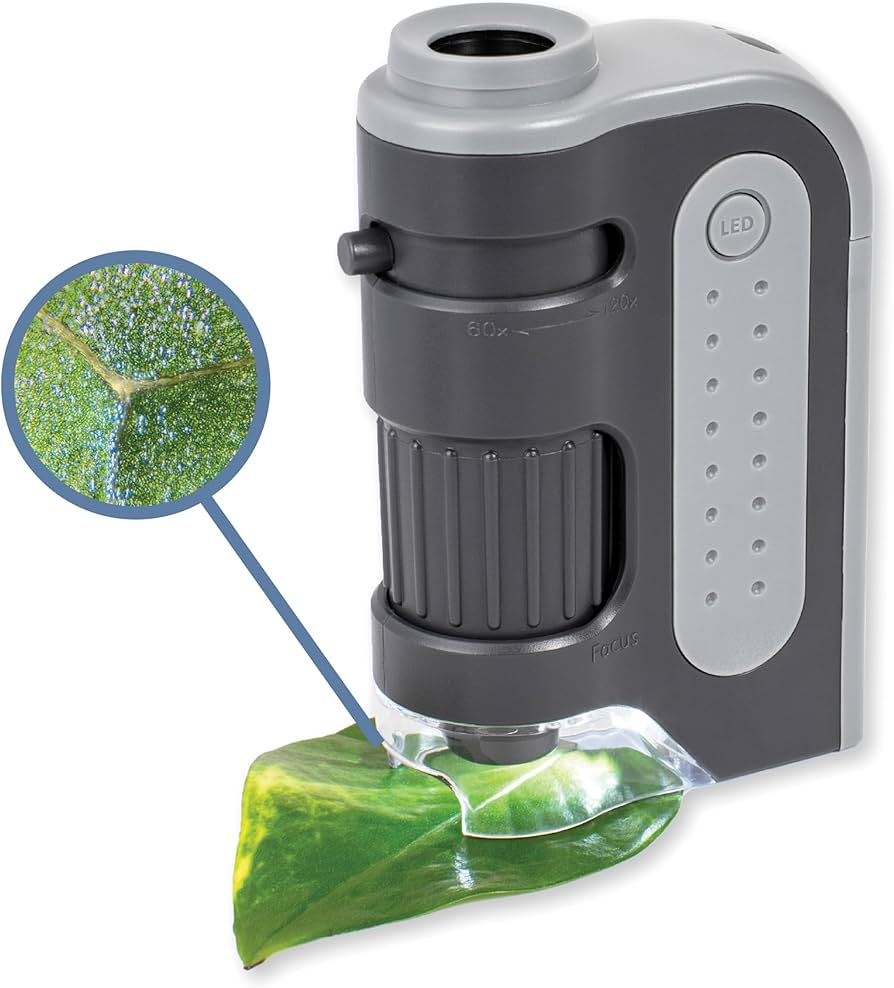
Carson MicroBrite Plus 120x LED Microscope (ASIN: B00YDNXSQK)
Pocket-sized magnifier with light reveals tab details, essential for intricate fits.
Best for: Inspecting small pieces or mechanisms up close.
Price Range: $10-$15
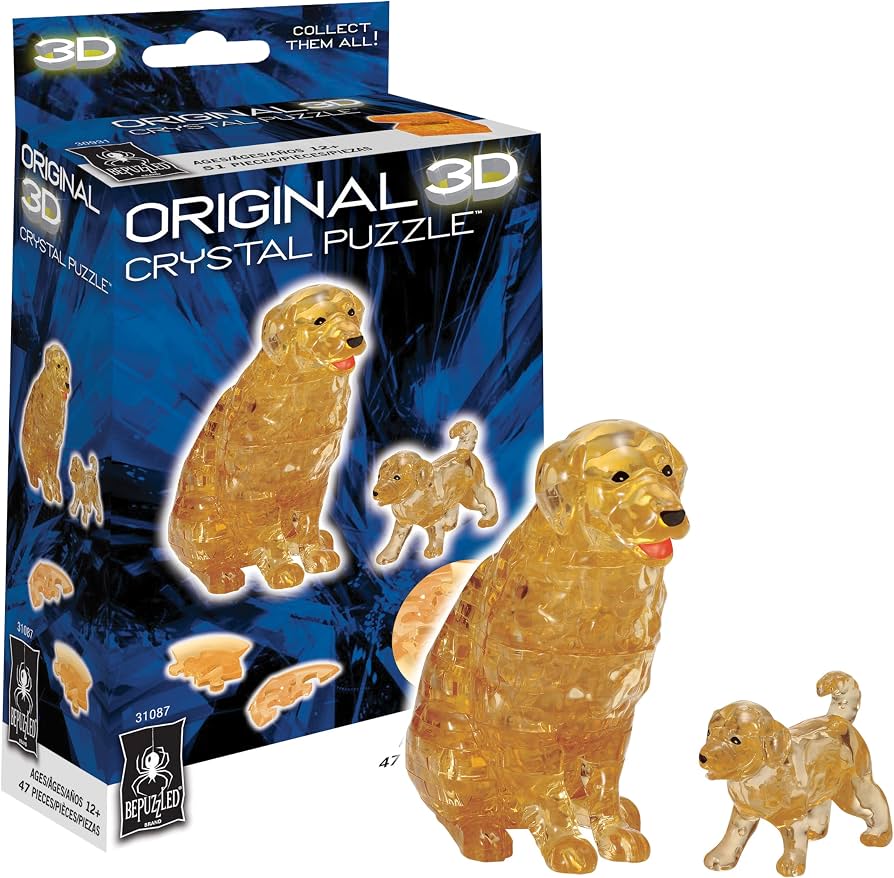
Bepuzzled 3D Crystal Puzzle Dog (ASIN: B000J0TULG)
Tiny, quick-build translucent puzzle (50 pieces) great for absolute beginners.
Best for: Practice session before larger models.
Price Range: $8-$12