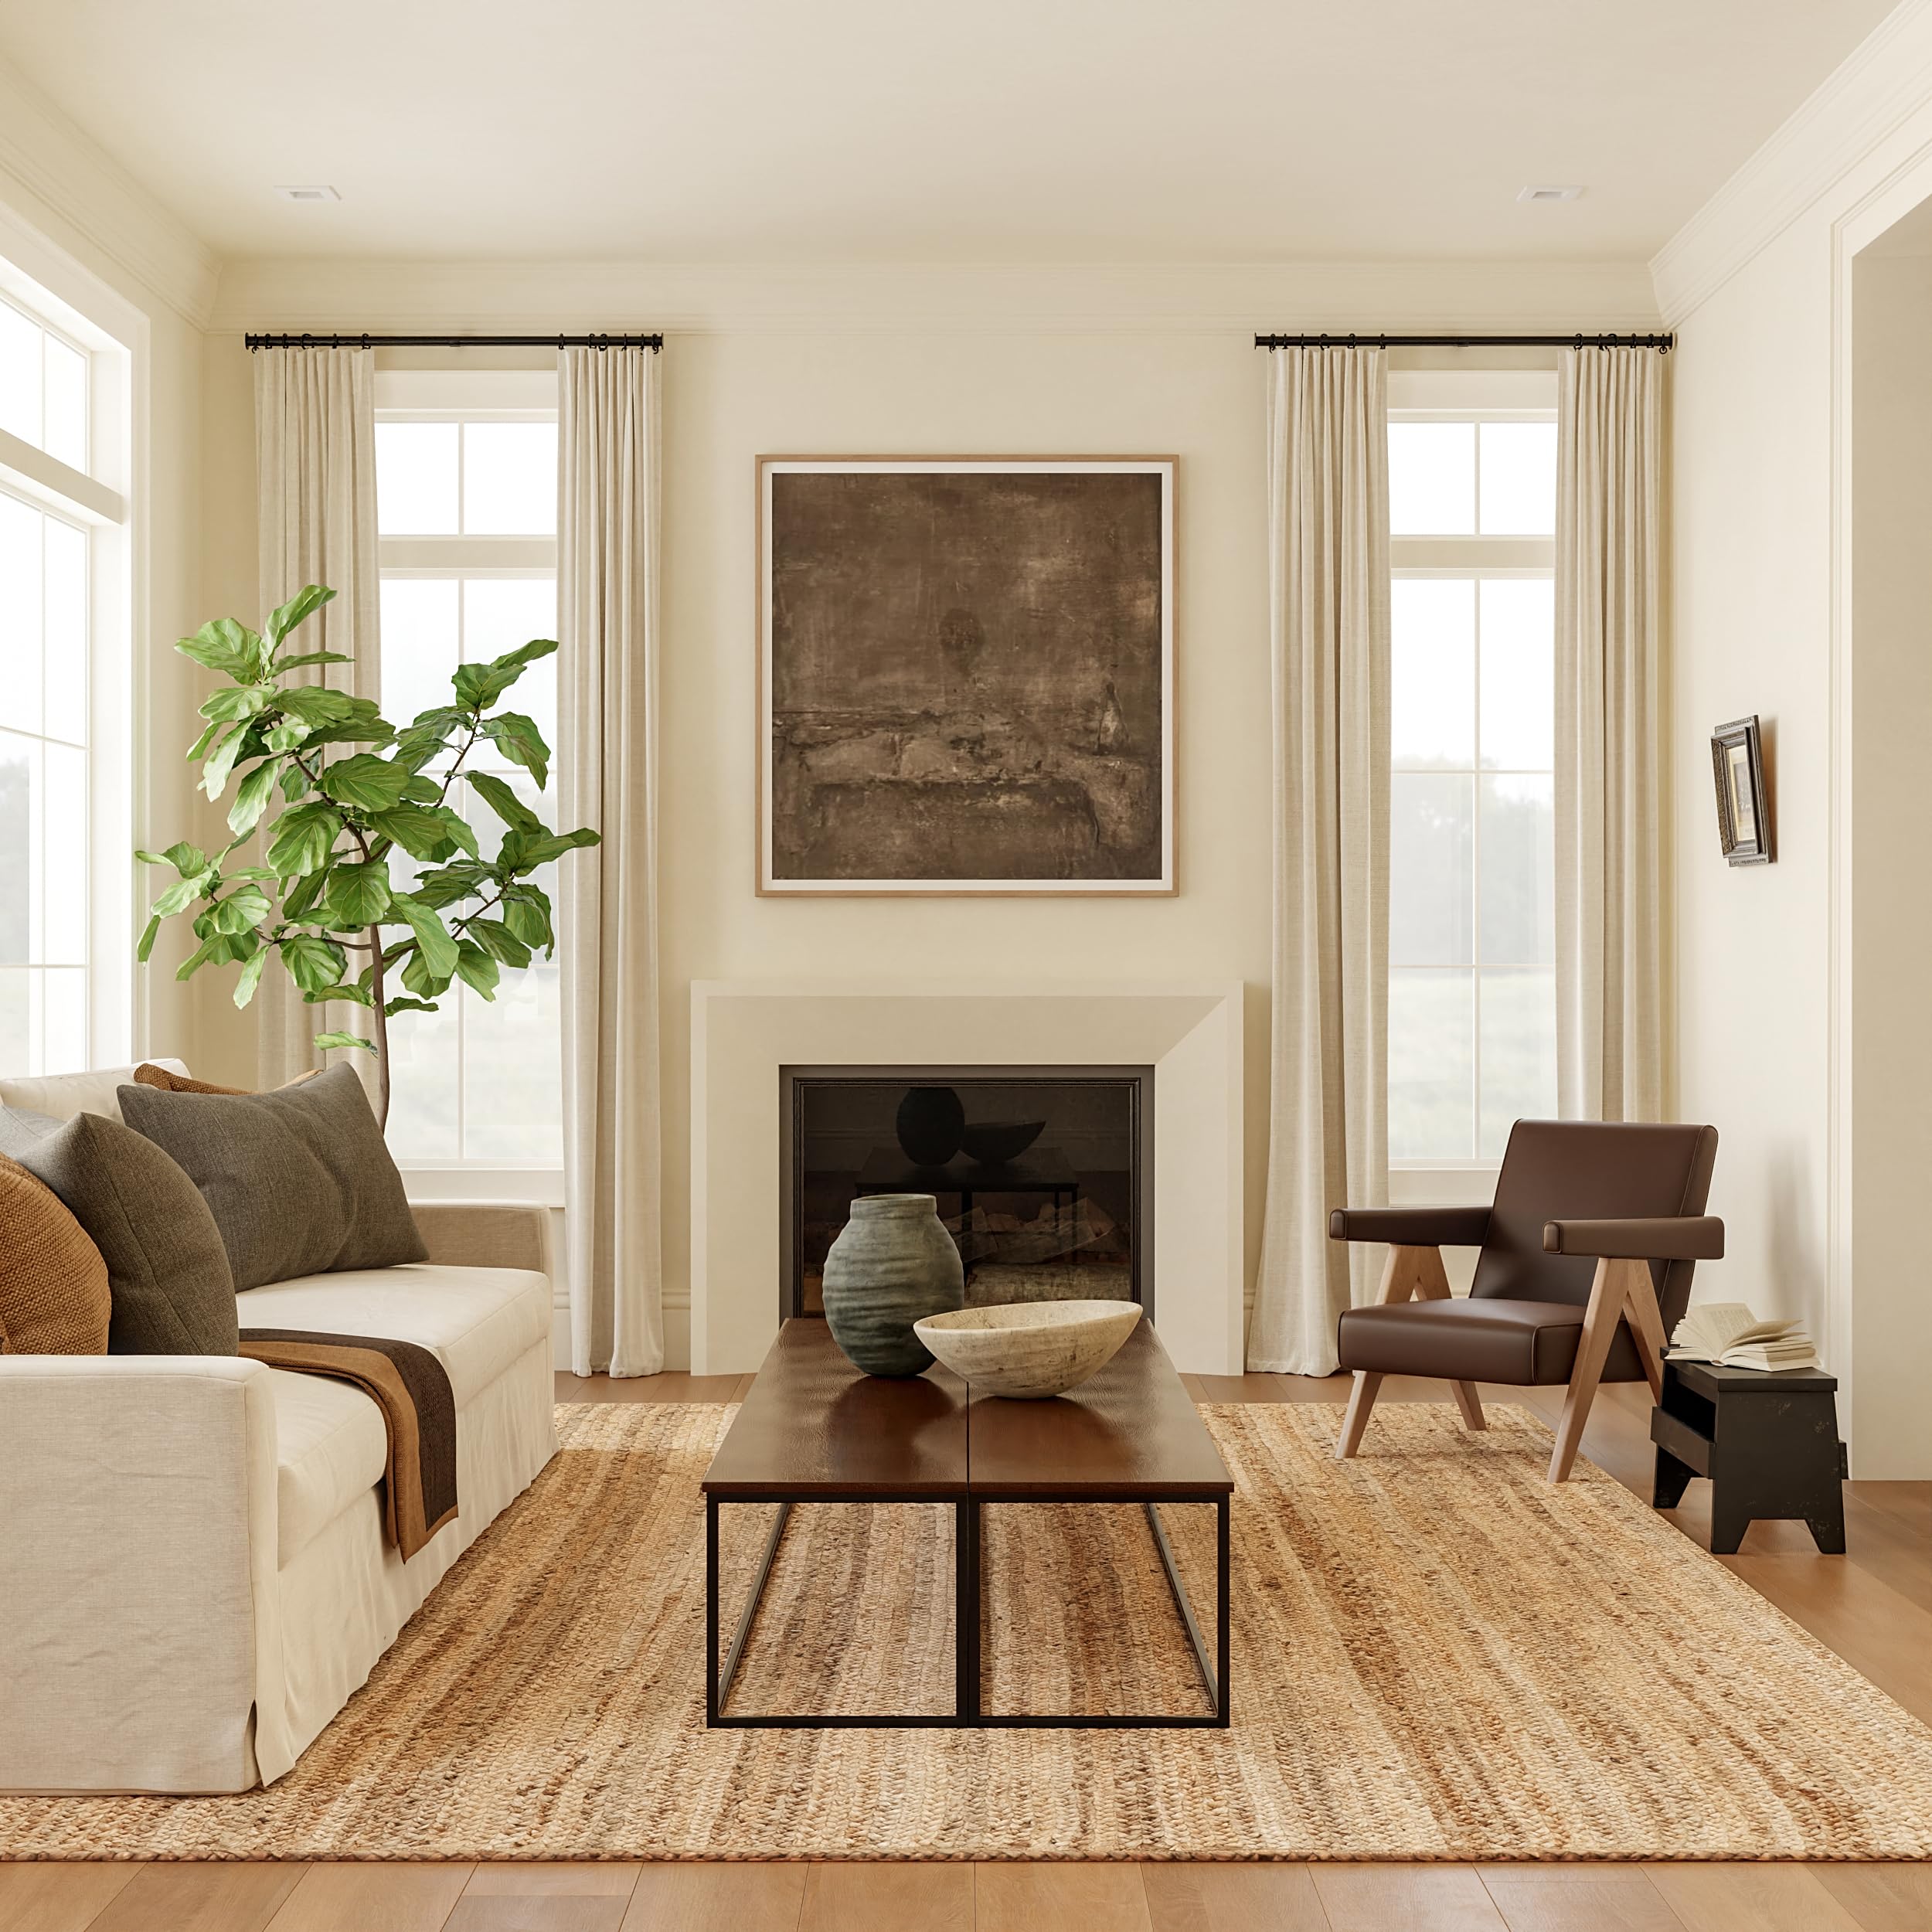
Open floor plans offer flexibility and light, but without proper arrangement, they can feel vast, echoey, or cluttered. Many beginners struggle with where to place accent furniture like chairs, rugs, and tables, ending up with awkward traffic flow or mismatched styles. This guide solves that by teaching you how to create intimate zones while maintaining openness.
You'll master a simple process to assess your space, select pieces, and arrange them for maximum impact. Expect a balanced, inviting layout that impresses guests and suits daily life. Perfect for beginners—no design degree needed.
The whole process takes 1-2 hours, depending on your space size, and uses everyday tools. Follow these steps for pro results on your first try.
▸What You'll Need
- •Measuring tape (required)
- •Graph paper or floor plan app like RoomSketcher (required)
- •Pencil and eraser (required)
- •Accent furniture pieces (e.g., rug, chairs, side tables—see recommendations)
- •Furniture dolly or helpers for moving heavy items (optional but recommended)
Estimated Time: 1-2 hours
Difficulty: beginner
▸Step-by-Step Instructions
Step 1: Measure Your Open Space
Start by grabbing your measuring tape and mapping every inch. Measure the total length, width, and height of the open area, noting doors, windows, fixed features like kitchen islands, and electrical outlets. Mark traffic paths—aim for at least 36 inches wide for walkways.
Why it matters: Accurate measurements prevent buying oversized pieces or cramming items, ensuring smooth flow. Expect a bird's-eye sketch that reveals your space's true proportions.
Pro tip: Use your phone's AR measuring apps like Apple's Measure for quick checks.
💡 Tips:
- •Measure twice, buy once—errors here cascade.
- •Note ceiling height for tall lamps or shelves.
⚠️ Warnings:
- •Don't ignore outlets; lamps need power access.
Step 2: Sketch a Basic Floor Plan
On graph paper (1 square = 1 foot), draw your room's outline using measurements. Add windows, doors, and fixed furniture like sofas. Identify zones: living, dining, entry—use dashed lines.
This blueprint is your roadmap, helping visualize placements without trial-and-error dragging. Success looks like a clear zoning map ready for furniture icons.
Apps like Floor Planner make digital versions shareable and editable.
💡 Tips:
- •Keep scale consistent for realism.
- •Color-code zones for easy reference.
⚠️ Warnings:
- •Avoid over-sketching; start simple.
Step 3: Define Functional Zones
Divide your open plan into 2-4 zones based on use: conversation area, reading nook, dining extension. Use furniture to 'float' and define edges without walls.
Why? Zones create purpose in vast spaces, reducing overwhelm. Expect cozy pockets that feel connected yet separate.
Test by walking paths—zones shouldn't block flow.
💡 Tips:
- •Prioritize high-traffic first.
- •Link zones visually with color or style.
Step 4: Select Scale-Appropriate Accent Pieces
Choose accents 1/3-1/2 the scale of main furniture. Pick rugs for anchors, armchairs for seating, nesting tables for flexibility.
Match style (modern, boho) to your base pieces. Success: Pieces that complement without dominating.
See product recs for beginner-friendly options.
💡 Tips:
- •Opt for multi-use items like ottomans.
- •Mix textures for interest.
⚠️ Warnings:
- •Too big overwhelms; too small gets lost.
Step 5: Anchor Zones with Area Rugs
Lay rugs first—they ground zones. Place under seating groups, leaving 12-18 inches from walls. Overlap subtly between zones for unity.
Rugs define edges softly, add warmth. Expect instant cohesion.
Vacuum first for clean base.
💡 Tips:
- •Layer rugs for depth.
- •Choose low-pile for easy moving.
Step 6: Arrange Seating in Conversational Groups
Position accent chairs opposite or angled to sofas, 18-24 inches apart for elbow room. Face slightly inward for intimacy.
Creates flow without barriers. Test by sitting—conversation should feel natural.
💡 Tips:
- •Use odd numbers (3 chairs) for dynamic.
- •Angle toward views/windows.
⚠️ Warnings:
- •Don't line up against walls—float for openness.
Step 7: Add Tables, Lamps, and Shelves
Place side tables within arm's reach of seats. Add floor lamps for lighting layers, shelves for vertical interest without crowding floor.
Balances scale, adds function. Expect lit, layered look.
💡 Tips:
- •Nest tables for flexibility.
- •Shelves as room dividers.
Step 8: Test Flow, Balance, and Adjust
Walk paths, sit everywhere. Balance heavy pieces evenly; adjust for symmetry or asymmetry.
Final tweak ensures harmony. Success: Intuitive, stylish space.
💡 Tips:
- •Use string for path outlines.
- •Live with it a day before finalizing.
⚠️ Warnings:
- •Fix pinched paths immediately.
▸Pro Tips
- •Float furniture 6-12 inches from walls for airiness.
- •Repeat colors/materials across zones for cohesion.
- •Use mirrors opposite windows to amplify light.
- •Incorporate plants on accents for organic flow.
- •Measure doorways before buying—avoid returns.
- •Start minimal; add accents gradually.
- •Capture phone pics at angles to spot imbalances.
▸Common Mistakes to Avoid
- •Pushing everything against walls—makes space feel closed; float for openness.
- •Ignoring scale—oversized accents dwarf rooms; measure first.
- •Blocking natural light/paths—test walkways early.
- •Mismatched styles—clutter vibe; stick to 2-3 themes.
- •Overfilling—less is more in open plans.
▸Troubleshooting
Problem: Space feels cramped despite open plan
Solution: Remove 1-2 pieces, increase gaps to 24+ inches between groups.
Problem: Zones don't connect visually
Solution: Add unifying rug overlap or matching pillows; repeat 1-2 colors.
Problem: Furniture feels unstable or uneven
Solution: Use rug pads for grip; level tables with shims.
Problem: Poor lighting in zones
Solution: Add 1-2 floor lamps per zone; reposition near outlets.
nuLOOM Contemporary Moroccan Blythe Area Rug, 8x10 Feet (ASIN: B07D7J8G5Q)
Affordable, durable low-pile rug perfect for anchoring zones without overwhelming open spaces.
Best for: Base layer under seating or dining extensions.
Price Range: $100-$150
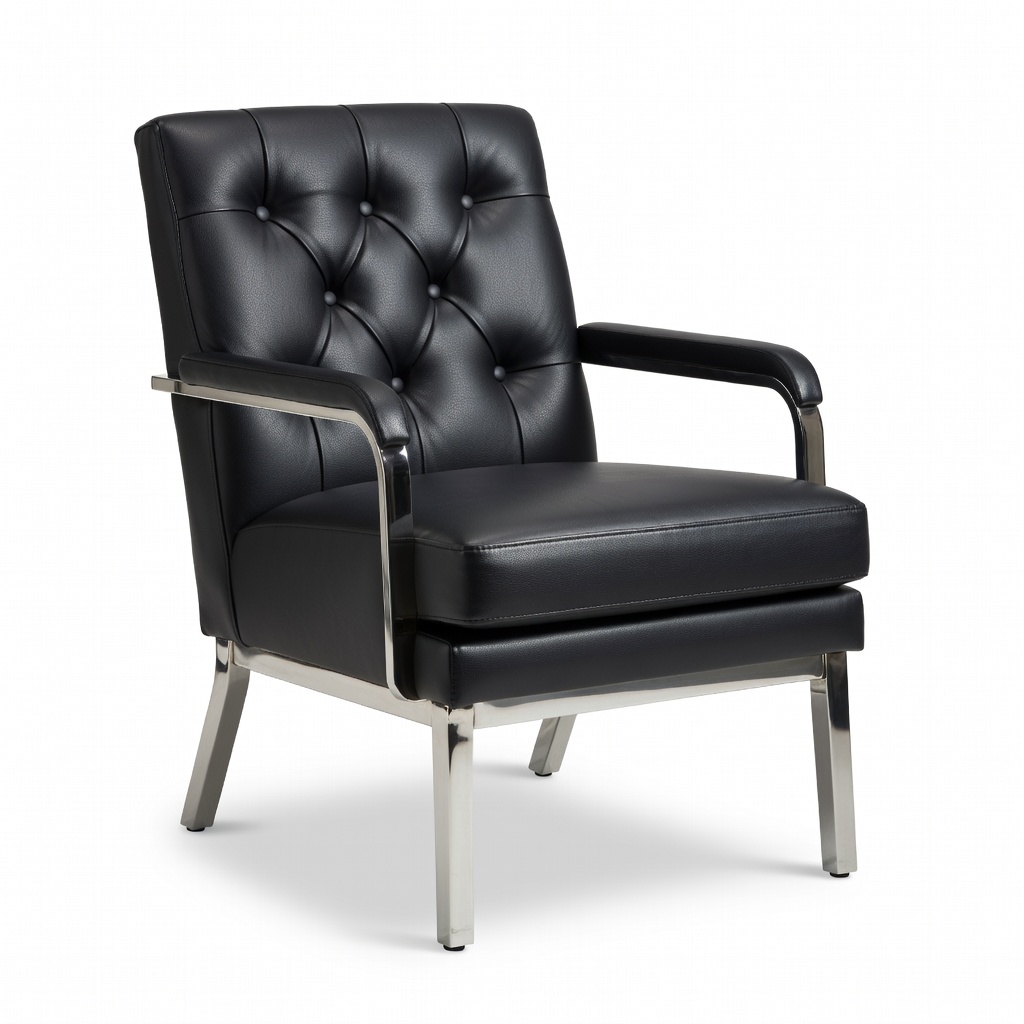
Flash Furniture Mid-Back Tufted Leather Accent Chair (ASIN: B00N4Z4Q0A)
Compact, stylish chair adds seating without bulk; comfy for reading nooks.
Best for: Conversational groups or solo accents.
Price Range: $120-$150
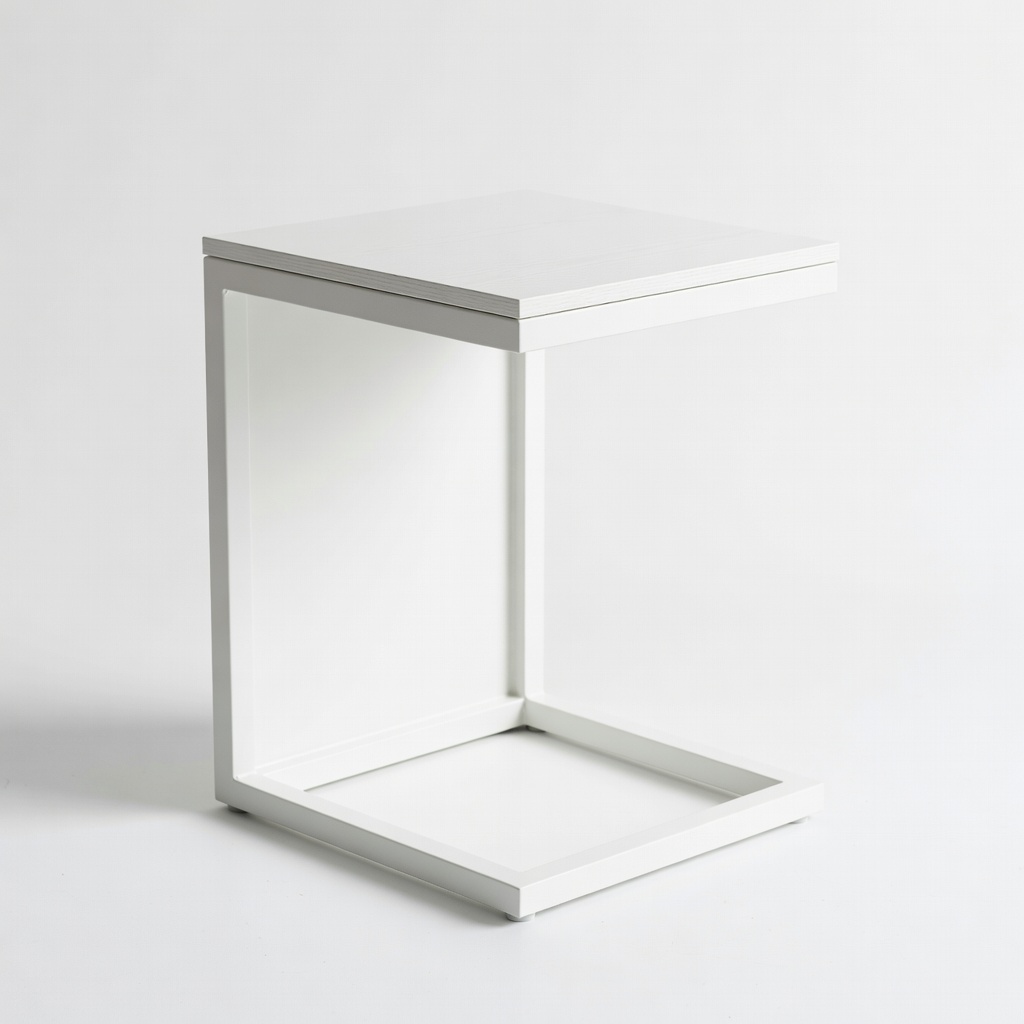
VASAGLE C-Shaped Side Table (ASIN: B07V5L8Z3P)
Versatile, nesting design fits tight spots; industrial look complements modern opens.
Best for: Beside chairs for remotes/drinks.
Price Range: $30-$50
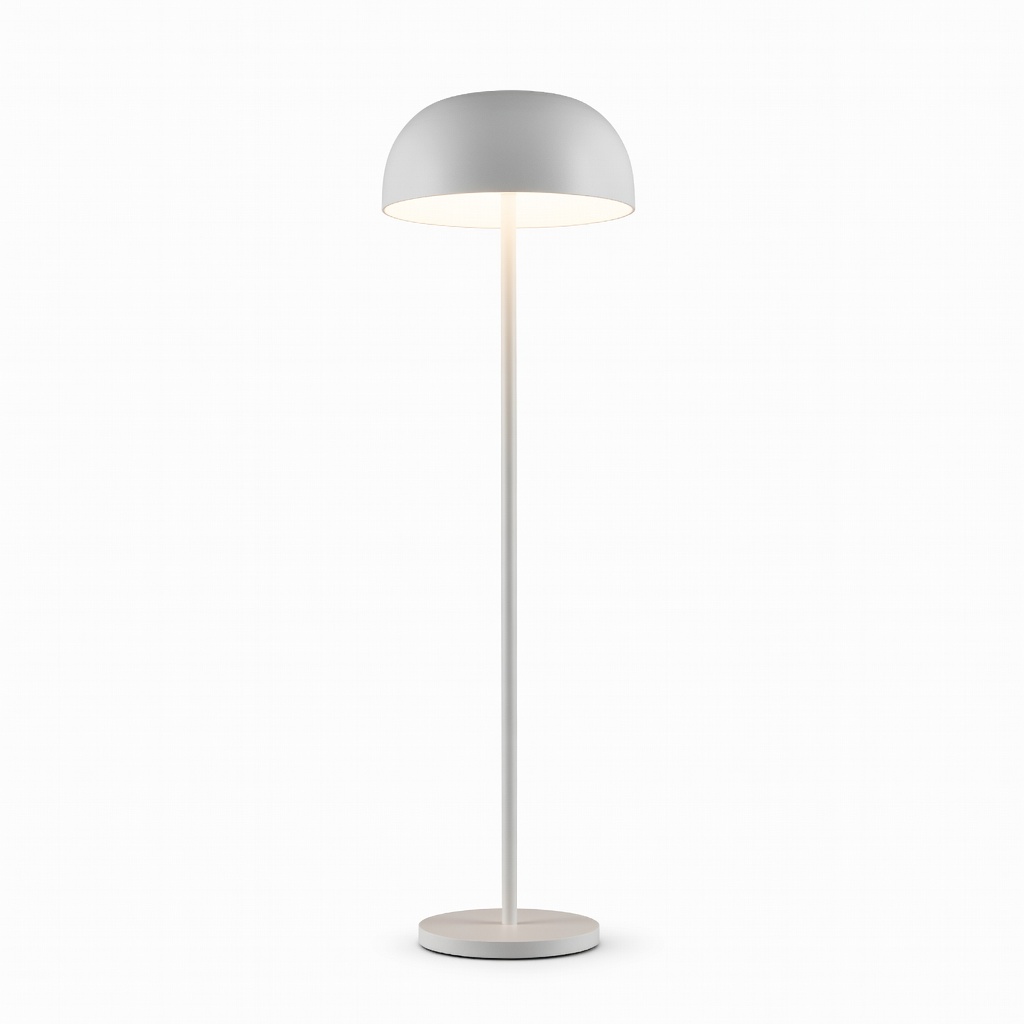
Brightech Apollo LED Floor Lamp (ASIN: B01N4IGYJY)
Slim profile, dimmable light layers ambiance without floor clutter.
Best for: Illuminating corners or seating.
Price Range: $50-$70
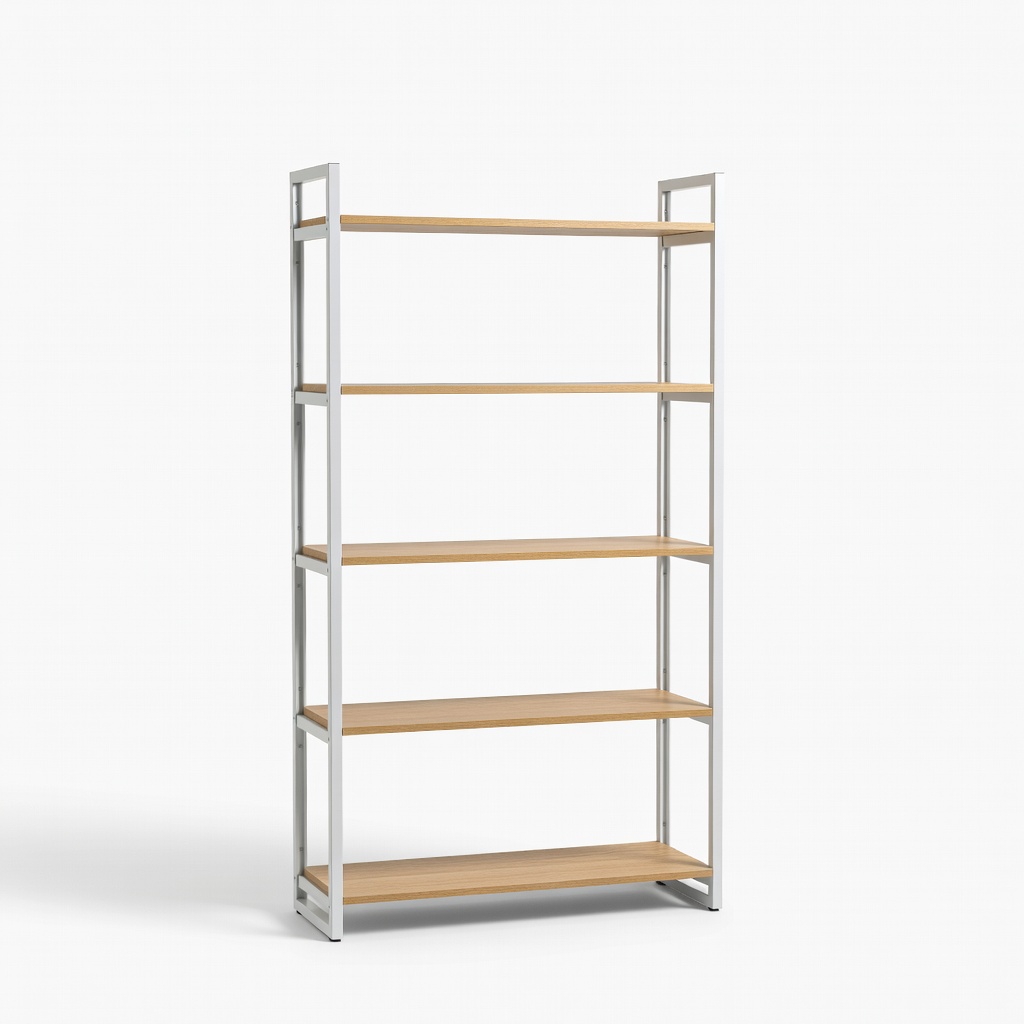
BESTIER 5-Tier Bookshelf (ASIN: B08P5K3L2M)
Slim, open shelving adds storage/display as subtle dividers.
Best for: Vertical accents behind seating.
Price Range: $70-$90