Struggling with glue that won't stick, oozes everywhere, or leaves stringy messes on your craft projects? Hot melt glue sticks offer a quick, versatile solution for beginners, creating durable bonds on wood, fabric, paper, and more without the wait time of traditional glues.
In this guide, you'll master the step-by-step process of using a hot glue gun safely and effectively. Whether you're making holiday ornaments, scrapbooks, or home decor, these techniques ensure professional results every time.
Expect a straightforward process taking 10-15 minutes for a simple project. No prior experience needed—just follow along for mess-free crafting success.
▸What You'll Need
- •Hot glue gun (mini or full-size, dual-temp recommended)
- •Hot melt glue sticks (0.44-inch diameter, general-purpose)
- •Craft materials to join (e.g., wood pieces, fabric, paper)
- •Safety gloves (heat-resistant, optional but recommended)
- •Parchment paper or silicone mat (for workspace protection)
- •Scissors or craft knife (for trimming)
- •Optional: Clamp or binder clips for holding pieces
Estimated Time: 10-15 minutes
Difficulty: beginner
▸Step-by-Step Instructions
Step 1: Prepare Your Workspace
Clear a flat, heat-resistant surface like a table covered with parchment paper or a silicone mat. This prevents glue drips from damaging your table and makes cleanup easy.
Why it matters: Hot glue can reach 350°F (175°C), so protecting your area avoids burns or stains. Lay out all materials within arm's reach to stay organized.
Success looks like: A clutter-free zone ready for safe crafting.
💡 Tips:
- •Work in a well-ventilated area to avoid fumes.
⚠️ Warnings:
- •Never use on unprotected wood or plastic surfaces.
Step 2: Insert the Glue Stick
Hold the glue gun upright and gently push a glue stick into the rear chamber until it stops. Avoid forcing it—most guns have a clear view to confirm it's seated.
This step ensures a steady glue flow. Use all-purpose sticks for crafts; they melt evenly for versatile bonding.
Expect the stick to protrude slightly from the back, ready for feeding.
💡 Tips:
- •Match stick diameter to your gun (usually 7/16" or 0.44").
⚠️ Warnings:
- •Don't insert while plugged in to avoid premature melting.
Step 3: Plug In and Heat the Gun
Plug the glue gun into a grounded outlet. Most mini guns heat up in 3-5 minutes; full-size may take longer. Stand the gun upright on its built-in stand.
Heating melts the glue tip into a drop-ready state. Listen for a soft whirring sound indicating it's ready.
Success: A small bead of molten glue appears at the nozzle when lightly squeezed.
💡 Tips:
- •Use low-temp setting (around 250°F) for delicate fabrics.
⚠️ Warnings:
- •Never leave unattended while plugged in—fire risk!
Step 4: Test the Glue Temperature
Squeeze the trigger on scrap material or parchment to dispense a small bead. Check consistency: It should be clear, smooth, and string-free.
This verifies readiness and prevents scorching your project. Wipe the nozzle on parchment if glue strings form.
Expect: Glue that sets tacky in seconds and hardens in 30-60 seconds.
💡 Tips:
- •Test on similar material to your craft.
Step 5: Apply Glue to First Surface
Press trigger to apply a thin, even line or dots where pieces will join. Work quickly—glue sets fast.
Thin application maximizes strength without excess squeeze-out. Start at edges for better adhesion.
Success: Uniform coverage without globs or gaps.
💡 Tips:
- •Use zigzag pattern for larger areas.
⚠️ Warnings:
- •Avoid over-applying; it weakens bonds.
Step 6: Join and Press Pieces Together
Immediately press the second surface onto the glued one, applying firm, even pressure for 20-30 seconds.
Pressure ensures full contact for a strong bond. Use clamps if hands-free needed.
What to expect: Initial tackiness holds pieces; full cure in 1-2 minutes.
💡 Tips:
- •Wear gloves to protect fingers from heat.
Step 7: Trim Excess and Clean Up
Once cool (1-2 minutes), trim strings or drips with scissors. Unplug gun and wipe nozzle with parchment while warm.
This gives a polished finish. Store gun upright to cool.
Success: Clean, professional-looking craft ready to use.
💡 Tips:
- •Save trimmed strings for texture effects.
⚠️ Warnings:
- •Don't pull strings while hot—they multiply.
▸Pro Tips
- •Keep a damp cloth nearby to wipe nozzle instantly.
- •For glossy finishes, apply glue then dust with cornstarch before setting.
- •Pre-warm materials slightly for better adhesion on cold items.
- •Use colored sticks to match your project aesthetic.
- •Store sticks in airtight bags to prevent drying.
- •Practice on scraps to perfect your trigger control.
- •Dual-temp guns allow flexibility: low for heat-sensitive, high for tough bonds.
▸Common Mistakes to Avoid
- •Overheating gun too long—causes glue to burn and discolor; unplug after use.
- •Applying too much glue—leads to weak, messy bonds; use sparingly.
- •Not wearing gloves—results in burns; always protect hands.
- •Gluing on unclean surfaces—poor adhesion; wipe dust first.
- •Forcing cold glue—cracks the bond; wait for full set.
▸Troubleshooting
Problem: Glue not melting or flowing
Solution: Check if stick is fully inserted; ensure gun is fully heated (5 mins). Replace old sticks.
Problem: Stringy, spiderweb glue
Solution: Wipe nozzle frequently on parchment; use high-quality sticks.
Problem: Glue not sticking
Solution: Surfaces must be clean/dry; roughen smooth ones. Use primer for plastics.
Problem: Burns or drips
Solution: Use stand always; low-temp mode for beginners. Seek medical help for serious burns.
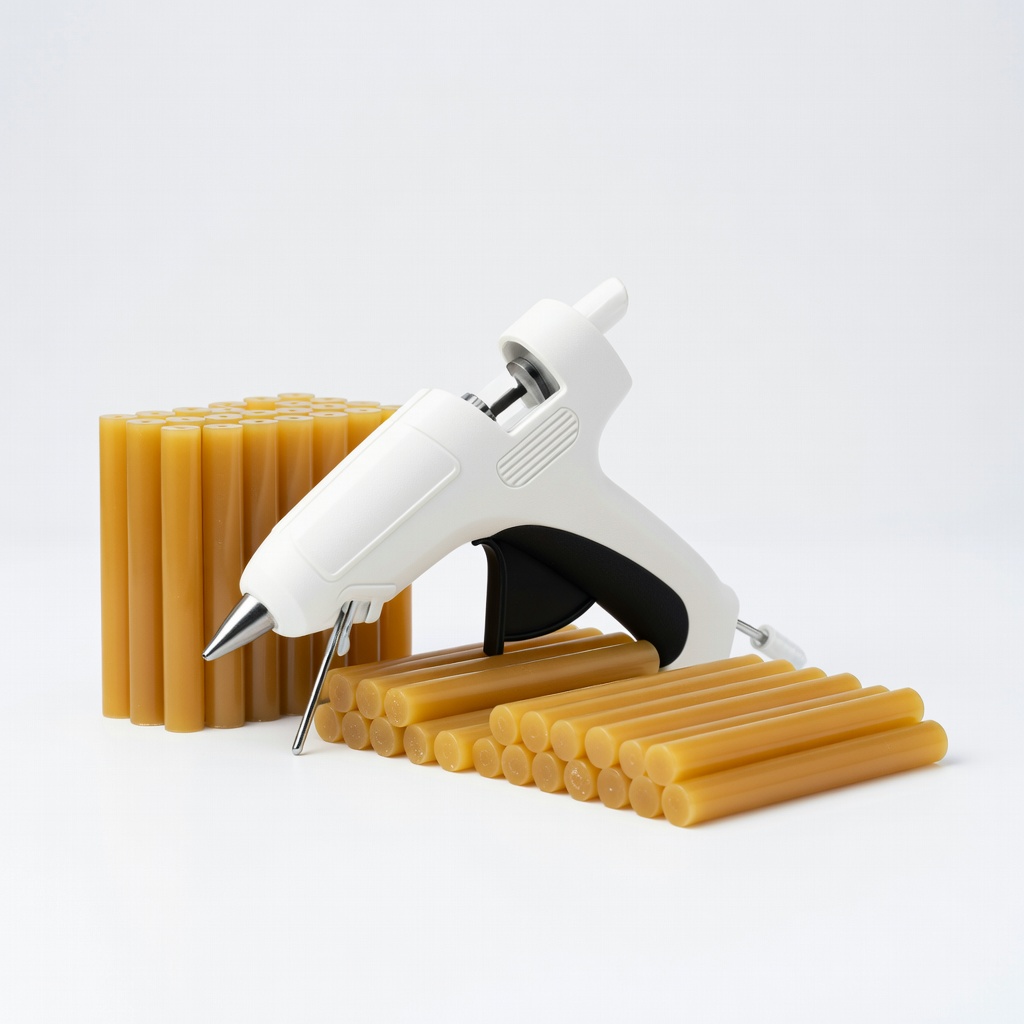
Anezus Hot Glue Gun Kit with 30 Glue Sticks
Beginner-friendly mini gun with dual-temp control and safety stand for precise, safe crafting.
Best for: Ideal for small crafts like jewelry or cards; heats in 1.5 mins.
Price Range: $12.99
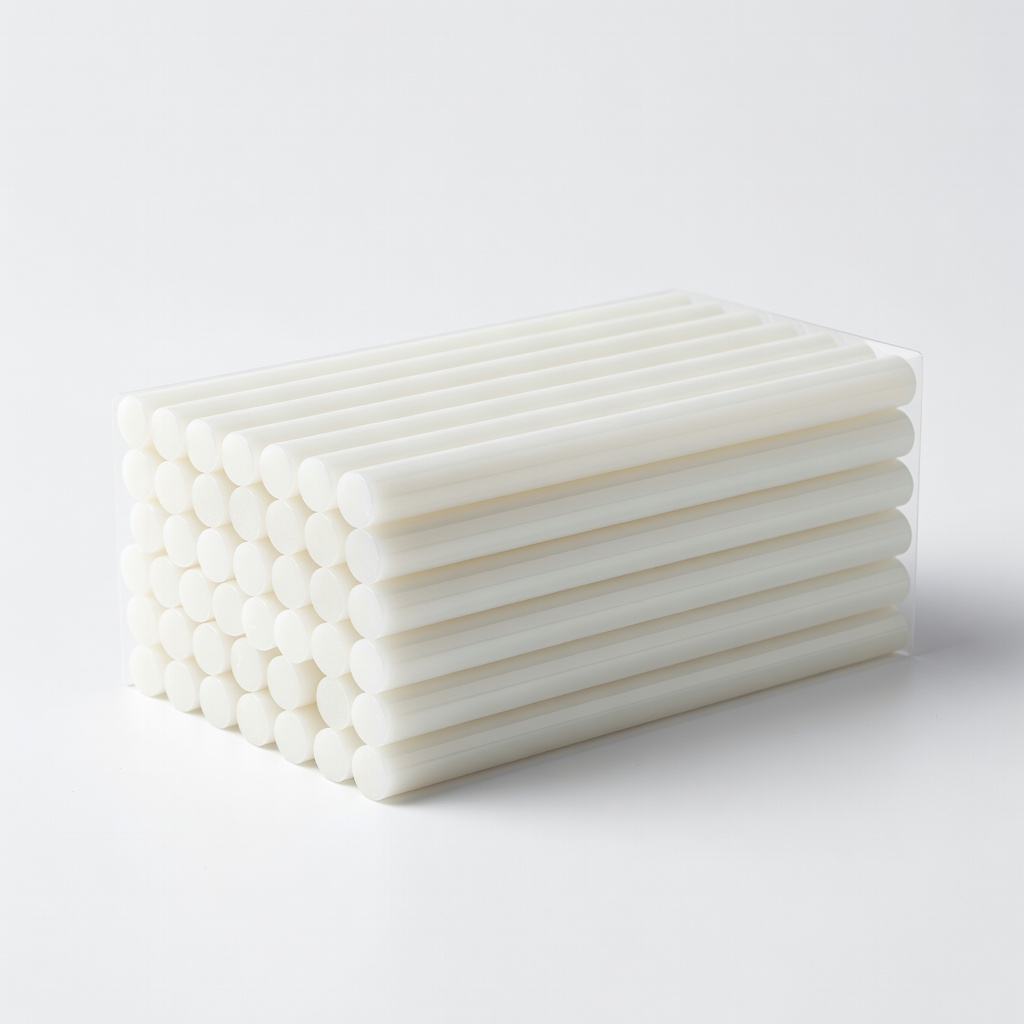
Gorilla All Purpose Hot Glue Sticks (20 Pack)
Strong bond on diverse materials, low-temp formula reduces stringing and burns.
Best for: Versatile for wood, fabric, metal in home decor projects.
Price Range: $9.99
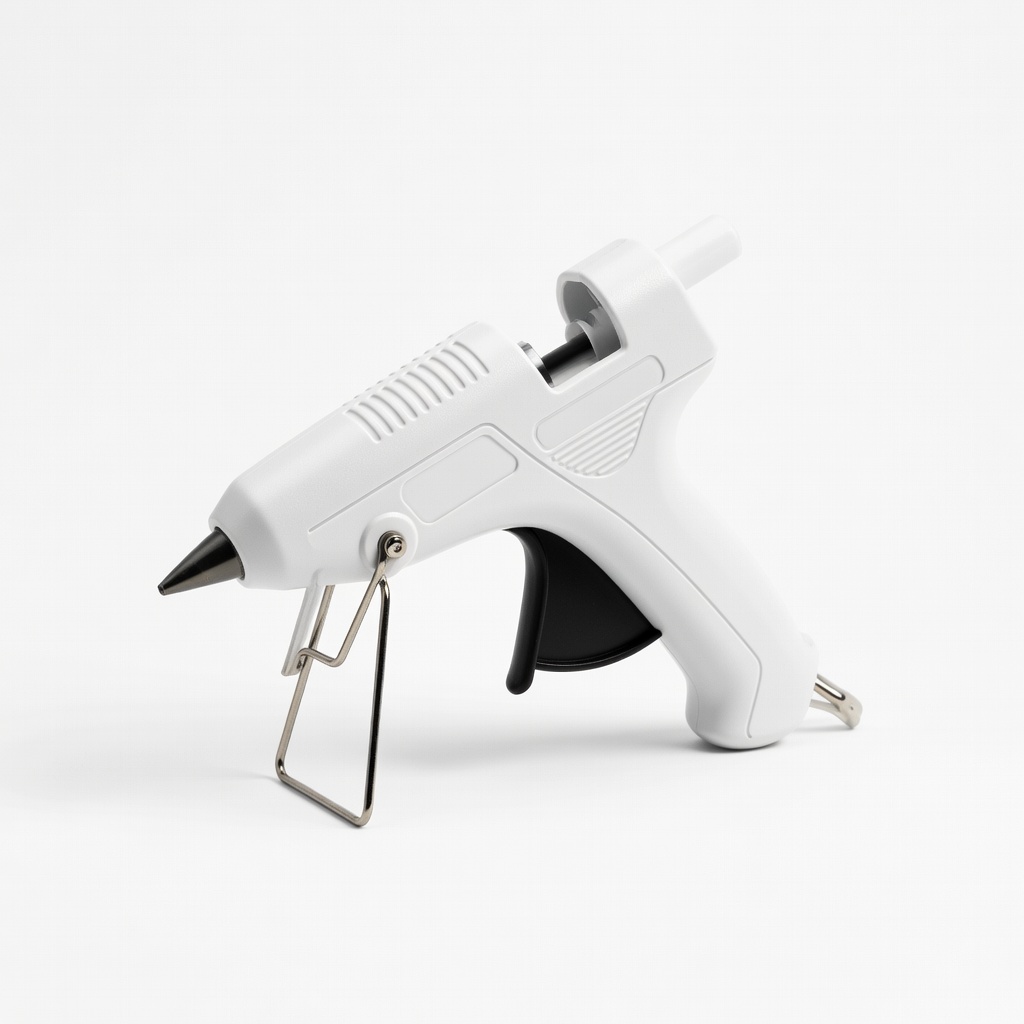
Surebonder Mini Hot Glue Gun
Reliable, affordable with precision nozzle for detailed work.
Best for: Quick fixes or scrapbooking; portable size.
Price Range: $10-15
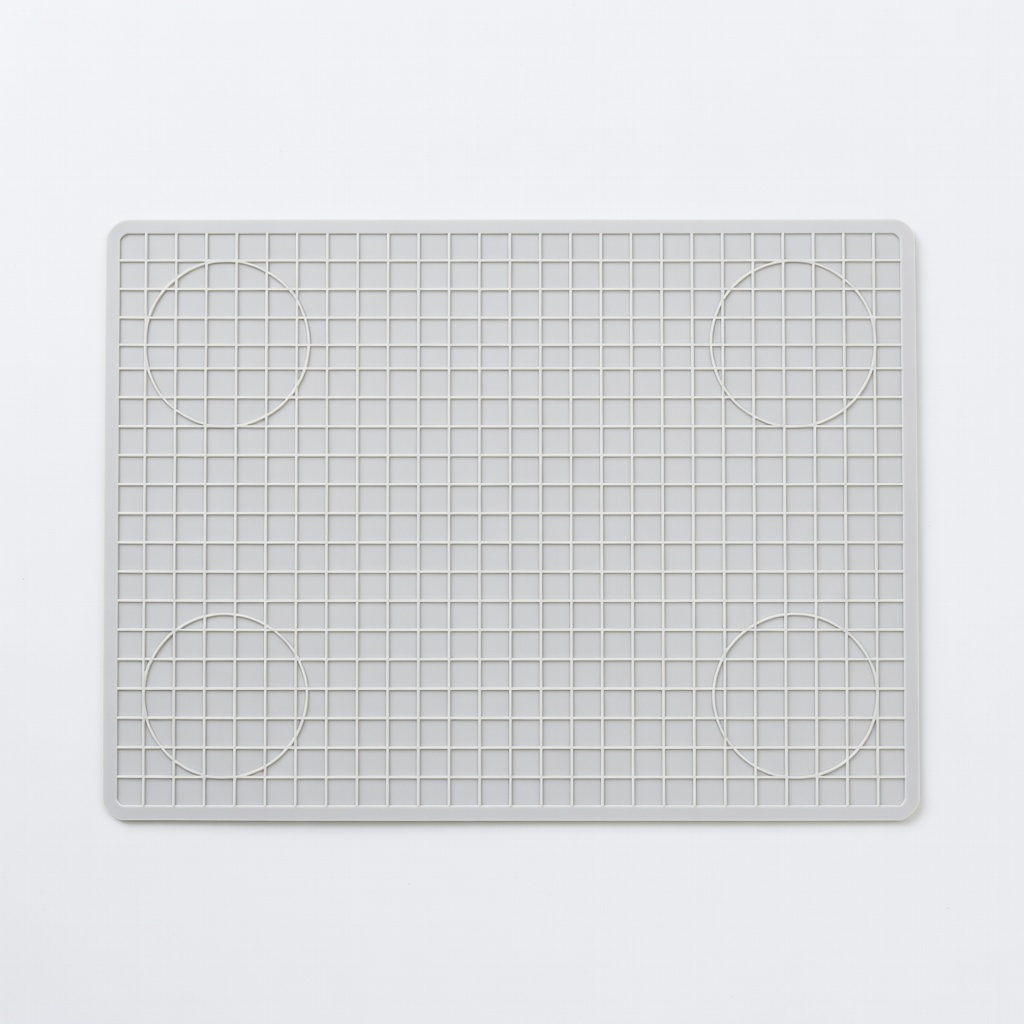
Silicone Glue Mat Non-Stick
Protects surfaces from drips, reusable for endless projects.
Best for: Essential workspace shield during application.
Price Range: $8.99