Dark circles are a common beauty concern, but they don't have to be a daily struggle. With the right technique, a good concealer can instantly brighten your eyes and give you a well-rested appearance. In this guide, we'll walk you through the entire process—from prepping your skin to selecting the perfect shade, blending, and setting—so you can achieve a flawless, natural-looking finish.
Whether you're a complete beginner or just want to refine your routine, these steps will help you avoid the classic mistakes like creasing, cakiness, or a grey undertone. You'll also learn about optional color correction for stubborn dark circles. Once you master these steps, you'll be able to apply concealer in just five to ten minutes as part of your daily makeup routine.
▸What You'll Need
- •Eye cream or hydrating moisturizer
- •Color corrector (peach, salmon, or orange) – optional
- •Concealer (one shade lighter than your foundation)
- •Damp beauty sponge or a small concealer brush
- •Clean fingers (optional)
- •Loose or pressed setting powder
- •Setting spray (optional)
Estimated Time: 5–10 minutes (after practice)
Difficulty: beginner
▸Step-by-Step Instructions
Step 1: Prep Your Under-Eye Area
Start by ensuring your face is clean and well-moisturized. The under-eye area is often the first place to show dryness, and concealer will cling to any flaky patches. Apply a pea-sized amount of eye cream or a gentle moisturizer to your under-eyes, using your ring finger to tap it in. Let it absorb for 2 to 3 minutes before moving on.
Proper hydration creates a smooth canvas and prevents concealer from looking patchy. It also reduces the appearance of fine lines, which are more noticeable when the skin is parched. If you have puffiness, look for an eye cream with caffeine to temporarily tighten the skin.
💡 Tips:
- •Use a chilled roller or a cold spoon to de-puff the eye area before applying eye cream.
- •Always use a gentle patting motion, never rubbing, to avoid pulling the delicate skin.
⚠️ Warnings:
- •Avoid getting moisturizer into your eyes. Too much product can cause the concealer to slide.
Step 2: Choose the Right Formula and Shade
Selecting the right concealer is the foundation of a flawless under-eye look. You want a formula that is hydrating yet provides enough coverage to diminish darkness. A liquid concealer with medium to full coverage is a safe bet. Avoid matte, dry formulas if you have fine lines—they can settle into creases. For the shade, it should be one to two shades lighter than your foundation, but not dramatically lighter. The undertone should match your skin tone: pink for fair, peach for light, yellow for warm, or neutral for olive.
If you're unsure, test a few shades on your jawline or inner arm and check in natural light. Concealers with a doe-foot applicator are convenient and hygienic.
💡 Tips:
- •Use the brand's online shade finder tool if you can't test in person.
- •When you're between two shades, go with the lighter one for under-eye brightening, but stay within a half-shade range.
⚠️ Warnings:
- •A concealer that's too pale can create a grey or chalky cast, especially in photographs.
- •Avoid shimmery or luminizing concealers for under-eyes if you have texture or wrinkles.
Step 3: Apply Color Corrector (If Needed)
Color correction is a game-changer for stubborn dark circles. If your under-eyes have a blue or purple undertone, a peach, salmon, or orange corrector will neutralize it before you apply concealer. The rule of thumb: peach works for fair to light skin, salmon for medium, and orange for deep skin tones. Use a very thin layer, focusing only where the darkness is most intense.
Apply the corrector with a small brush or your fingertip and gently pat it to blend. The goal is to cancel out the purple/blue undertone, not to cover the entire area with a visible color. Let it sit for a few seconds before applying concealer on top.
💡 Tips:
- •You can mix a tiny bit of your regular concealer with a peach or orange lipstick to create a custom corrector in a pinch.
- •Use a tiny amount and build up gradually.
⚠️ Warnings:
- •Never skip concealer on top of the corrector—it will leave an orange/peach tint visible.
- •Color corrector is not a substitute for concealer.
Step 4: Apply Concealer in a Triangular Shape
Instead of drawing a semi-circle right under your eye, apply concealer in a triangle with the point facing down toward your cheek. This shape not only covers the dark circle but also brightens the entire under-eye area and the top of the cheek, giving a subtle lifting effect. Start with a small dot at the inner corner, a dot in the middle, and a dot at the outer corner. Then, connect them with a line along your lash line and draw two lines down toward your cheek to form a triangle.
You can use the doe-foot wand to apply directly or use a brush to pick up the product. Don't over-apply—you can always add more later. This technique works for all face shapes and is a favorite among makeup artists.
💡 Tips:
- •If you have a steady hand, let the wand tip draw the triangle directly for precision.
- •For lighter coverage, you can just dot the concealer in a line instead of a full triangle.
⚠️ Warnings:
- •Avoid applying concealer too close to your lower lash line; it can migrate into your eye and cause irritation.
- •Don't over-apply; more product can lead to creasing.
Step 5: Blend Gently with a Damp Beauty Sponge or Brush
Blending is where most beginners sabotage their makeup. Use a damp beauty sponge or a flat concealer brush to gently tap the concealer into your skin. The dampness of a sponge helps the product melt into the skin, leaving a natural finish. Bounce the sponge over the entire triangle, working from the inside out. Avoid dragging or swiping, which can lift the product and create streaks. If you use a brush, use a stippling motion to softly diffuse the edges.
Blend until the edges disappear seamlessly into your foundation or bare skin. You should not see a distinct line of concealer. At this stage, the concealer may look a bit thick, but that's normal—the powder and setting step will settle everything.
💡 Tips:
- •Squeeze the sponge until it's just damp, not dripping.
- •Use clean fingers to tap and press the product for more coverage without a sponge.
- •For a flawless finish, clean your sponge regularly to avoid bacteria buildup.
⚠️ Warnings:
- •Don't over-blend. Once the concealer starts to become translucent, you've removed too much.
- •Avoid pulling or tugging on the skin, which can cause premature wrinkling.
Step 6: Let It Set for a Minute
After you've blended the concealer, resist the urge to immediately add powder. Give the product time to dry down and adhere to your skin. This step helps prevent creasing, as the concealer will move less once it's set. Wait 30–60 seconds, and in the meantime, you can apply your eye makeup or set the rest of your face.
If you're in a hurry, you can use a clean tissue to softly press over the area to absorb any excess moisture or product. This is a helpful trick for oily skin types.
💡 Tips:
- •Use the downtime to apply your brow or eye liner.
- •This also allows your concealer to fully settle so you don't waste product.
⚠️ Warnings:
- •Smiling, squinting, or touching your eyes during this window can cause creasing that's hard to fix.
Step 7: Set with Powder
Setting your under-eye concealer is essential to keep it from creasing and to ensure it lasts all day. Dip a fluffy brush or a soft makeup puff into a loose translucent powder, tap off the excess, and gently press the powder onto the under-eye area. The key is to use a minimal amount and press, not sweep, to avoid disrupting the concealer. After a few seconds, you can dust off the excess with a clean brush.
For a brightening effect, choose a slightly yellow-tinged powder for the under-eye area. If you prefer a matte finish, use a pressed powder with a small puff. Avoid using powders with shimmer, as they can accentuate fine lines.
💡 Tips:
- •For maximum staying power, apply powder with a damp beauty sponge, pressing it into the skin. This is called 'baking' and works well for events.
- •If you have dry under-eyes, use a very light hand and consider a hydrating powder.
⚠️ Warnings:
- •Too much powder can make you look cakey and dry. Start with a light hand and build up.
- •Avoid powders with shimmer or heavy glitter.
Step 8: Finish with Setting Spray and Check in Natural Light
To lock everything in place and create a seamless finish, mist a setting spray over your face at the end of your makeup routine. Hold the bottle about 8–10 inches away and close your eyes. One or two sprays should be enough—too much can make the skin look dewy or wet. After the spray dries, check your under-eyes in natural light. Natural light is the best indicator of whether your color matches and if the blending is seamless.
Look in a mirror near a window or step outside if possible. If you see lines or unevenness, gently pat the area with a finger to smooth it, and add a tiny bit of powder if needed. Once you're happy, you're all set!
💡 Tips:
- •If you don't have setting spray, you can lightly spritz your face with water and gently pat with a sponge for a similar melting effect, though it won't last as long.
- •Close your eyes and mouth when spraying to avoid getting product in them.
⚠️ Warnings:
- •Avoid setting sprays that are high in alcohol if you have dry skin, as they can dehydrate the under-eye area.
▸Pro Tips
- •Start with a tiny amount of concealer and build coverage gradually. It's easier to add more than to remove excess.
- •Use the ring finger to blend under the eye because it applies the least pressure.
- •If your concealer creases, try using an eye primer before applying it.
- •For a brightening effect, choose a concealer with a satin finish instead of a matte finish.
- •Clean your concealer wand and brushes regularly to prevent bacteria buildup.
- •When setting with powder, use a velour puff for pressing and a fluffy brush for dusting off.
▸Common Mistakes to Avoid
- •Using a concealer that's too light, causing a grey or ashy look under the eyes.
- •Applying too much product, which leads to cakey, heavy makeup.
- •Skipping eye cream or moisturizer, resulting in dry, patchy concealer.
- •Rubbing or swiping the concealer instead of tapping, which moves the product and creates streaks.
- •Not setting the concealer with powder, leading to creasing and short wear time.
▸Troubleshooting
Problem: Concealer creases within a few hours.
Solution: Use less product, apply a lightweight eye primer before concealer, and set with a finely milled powder. Avoid using too much moisturizer under makeup.
Problem: Concealer looks dry and cakey.
Solution: Prep with a hydrating eye cream, use a more emollient concealer, and apply in thin layers. Set only if needed and avoid heavy powder.
Problem: Concealer looks grey or ashy.
Solution: Use a color corrector underneath (peach/salmon/orange) and choose a concealer with a warm undertone.
Problem: Dark circles still show through after concealer.
Solution: Increase the coverage by layering a bit more concealer or use a highly pigmented formula. Also consider a color corrector.
Problem: Concealer sticks to dry patches.
Solution: Ensure your skin is properly exfoliated and moisturized. Use a creamy or liquid concealer and avoid powder if possible.
Problem: When to seek professional help?
Solution: If you have severe puffiness, persistent dark circles, or skin discoloration that makeup can't cover, consider consulting a dermatologist for potential treatments like fillers or laser therapy.
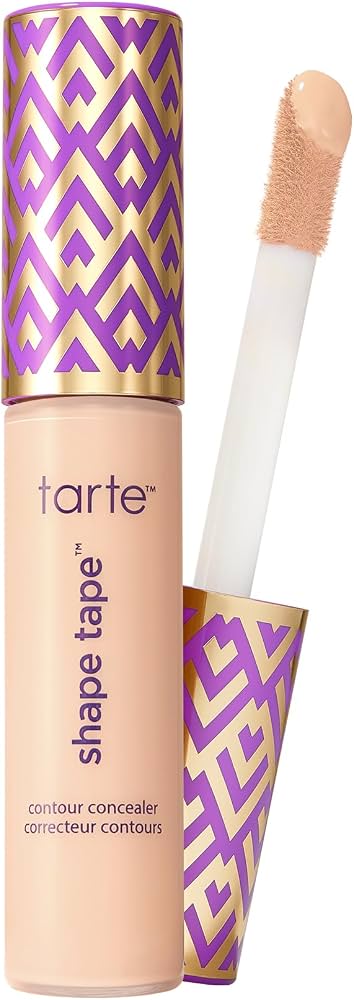
Tarte Shape Tape Concealer
Known for its full coverage and large shade range, this concealer is a favorite for covering stubborn dark circles without creasing.
Best for: Ideal for special occasions or days when you need maximum coverage that lasts all day.
Price Range: $30-$40
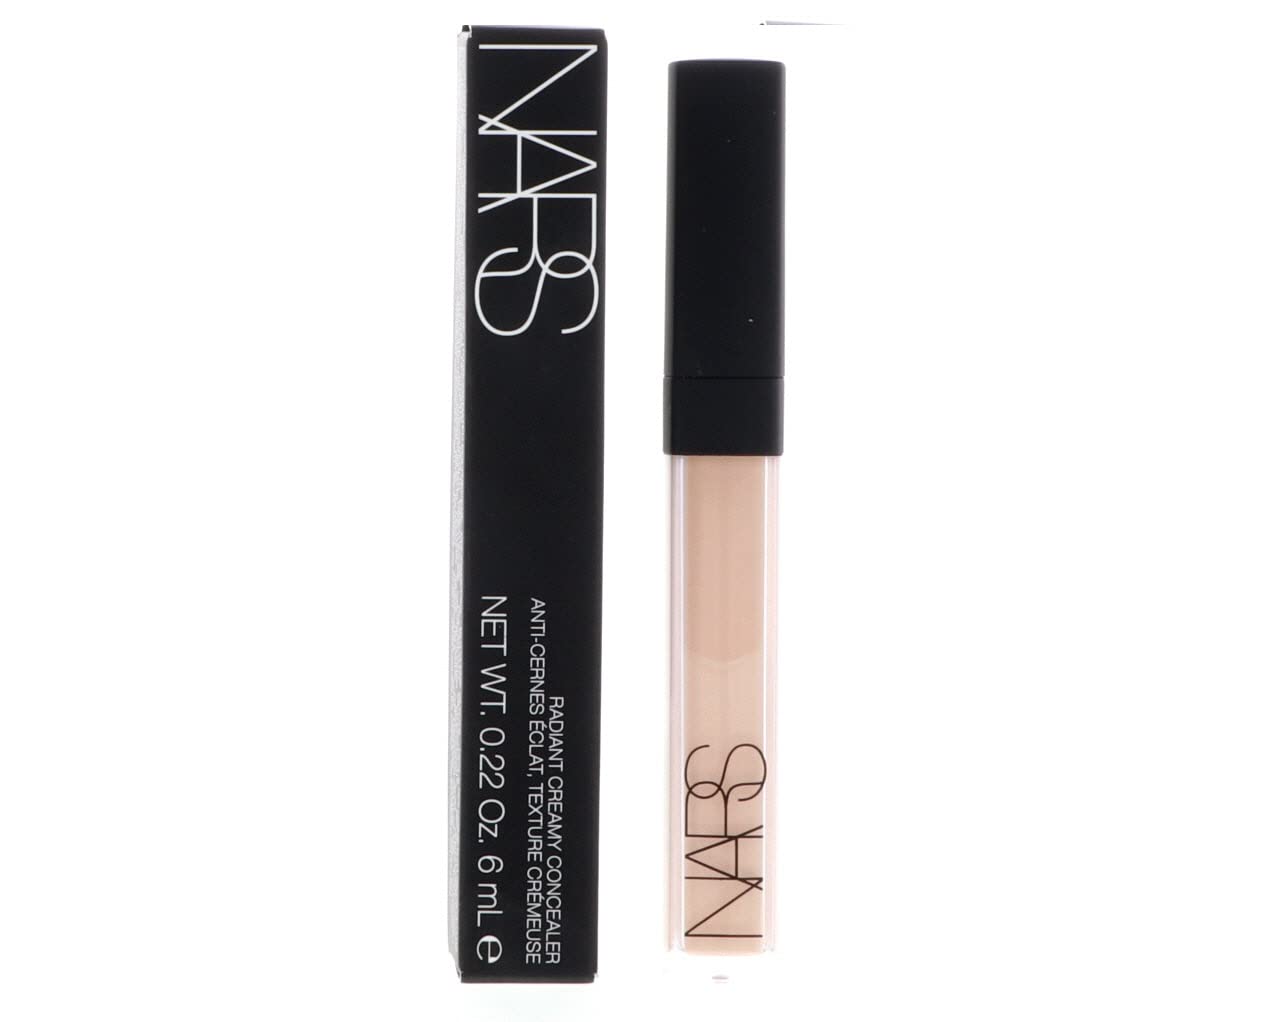
NARS Radiant Creamy Concealer
This concealer offers buildable, medium coverage with a radiant, natural finish. It's hydrating and works well for dry or normal skin.
Best for: Perfect for everyday wear, providing a bright-eyed look without being heavy.
Price Range: $30-$35
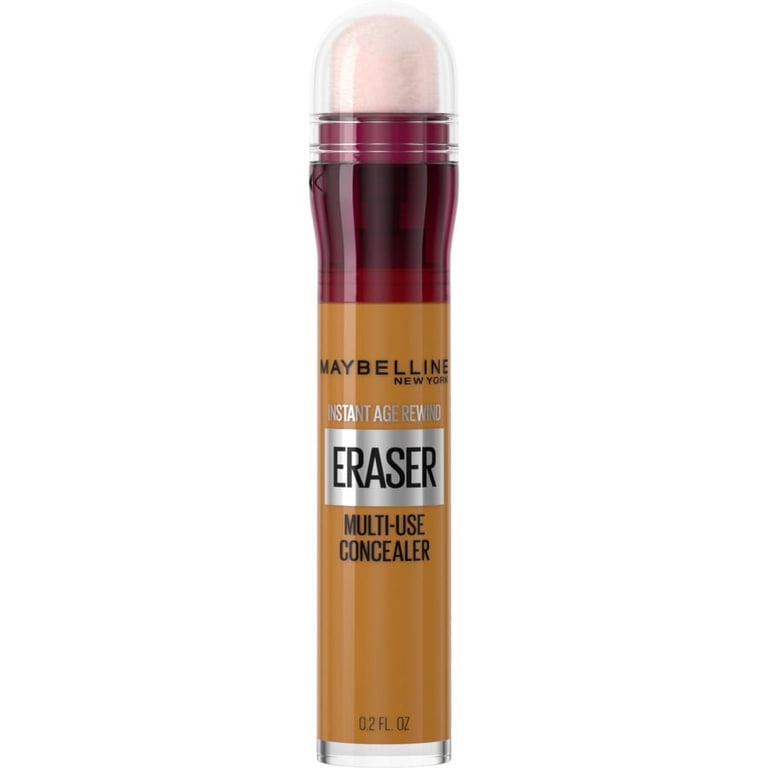
Maybelline Instant Age Rewind Eraser Dark Circles Concealer
An affordable drugstore option that effectively covers dark circles and reduces the look of puffiness. The sponge applicator makes blending quick and easy.
Best for: Great for budget-friendly daily use and quick touch-ups.
Price Range: $8-$12
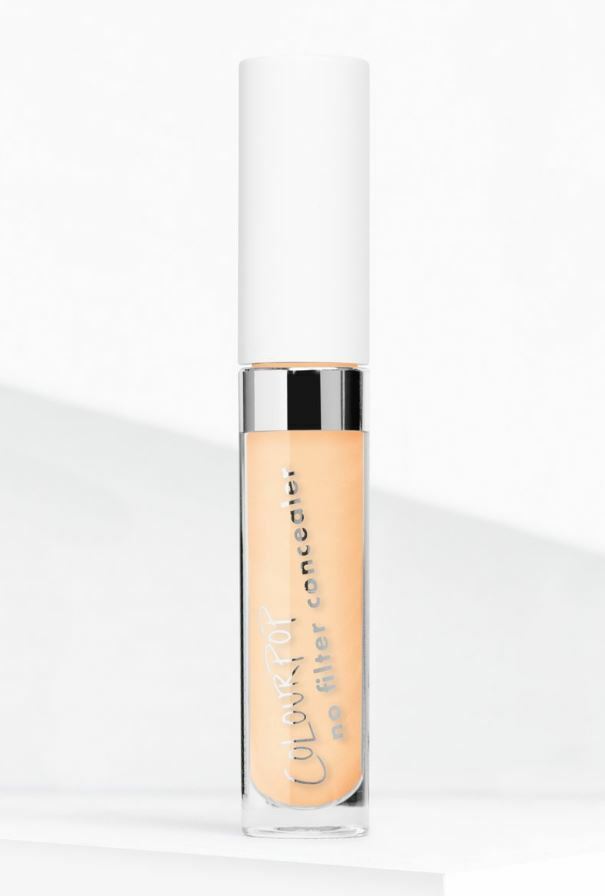
ColourPop No Filter Concealer
This high-coverage, matte concealer is a budget-friendly gem with a wide shade range. It's known for staying put for hours.
Best for: Best for oily or combination skin that needs a long-lasting, crease-resistant formula.
Price Range: $7-$9
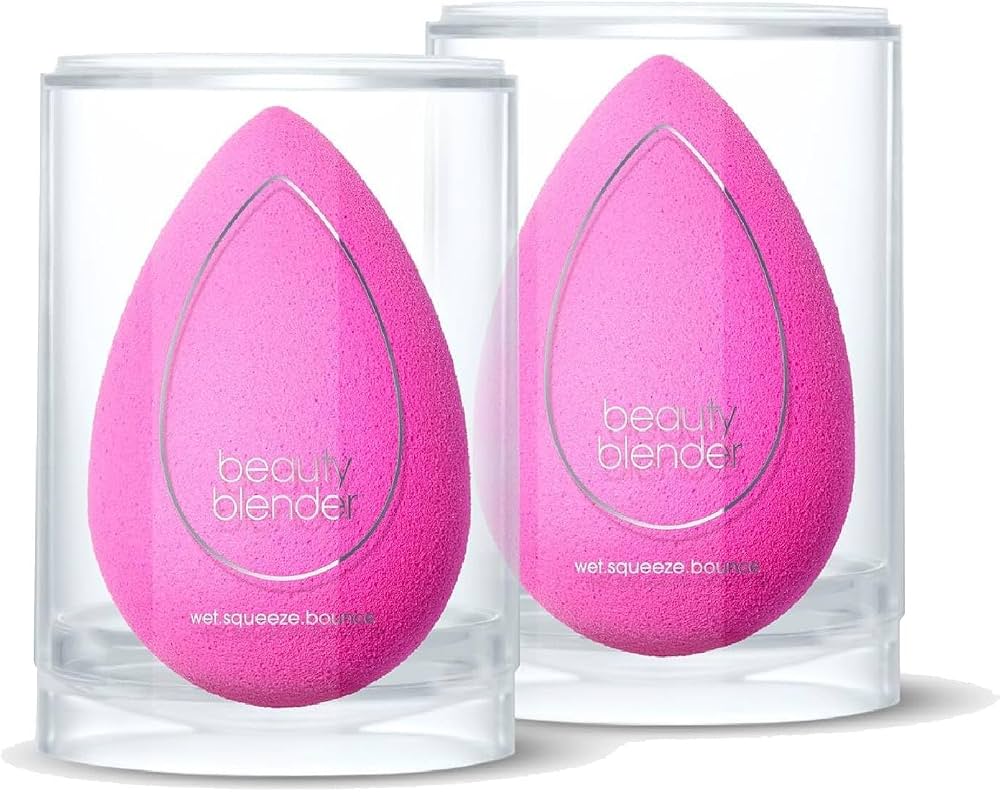
Beauty Blender Original Makeup Sponge
A damp beauty blender is the go-to tool for blending under-eye concealer seamlessly. Its unique shape helps reach every contour.
Best for: Use it to bounce and blend concealer for an airbrushed, crease-free finish.
Price Range: $20-$25