Struggling with crooked or bleeding paint stripes on your accent wall?
You're not alone—many DIY beginners face uneven lines that ruin the look. This guide teaches you how to use simple applicator tools like laser levels, angled brushes, and edgers for perfectly even paint stripes every time.
What you'll achieve: Stunning, straight stripes in 2-4 hours. We'll cover prep, precise taping, painting techniques, and pro tips. No advanced skills needed—just follow these steps for pro results.
▸What You'll Need
- •Painter's tape (e.g., FrogTape Delicate Surface)
- •Measuring tape or yardstick
- •Pencil or chalk line
- •Level or laser level
- •Drop cloths and painter's plastic
- •Base coat paint and stripe paint (latex or sample sizes)
- •Small paint tray
- •Angled sash brush or foam applicator (2-inch size)
- •Paint edger tool (e.g., Accubrush)
- •Utility knife or putty knife for burnishing
- •Optional: Painter's caulk for sealing edges
Estimated Time: 2-4 hours for a standard 8x10 ft wall
Difficulty: beginner
▸Step-by-Step Instructions
Step 1: Prepare Your Workspace and Wall
Cover floors, furniture, and trim with drop cloths and painter's plastic. Clean the wall thoroughly with TSP or soap and water, then let it dry completely. Sand any glossy areas lightly for better adhesion.
Why it matters: A clean, smooth surface prevents bubbles, peeling tape, and uneven paint absorption.
Success looks like: Dust-free wall ready for base coat, no debris.
💡 Tips:
- •Work in a well-ventilated area.
- •Tape plastic sheeting to baseboards for full protection.
⚠️ Warnings:
- •Avoid painting on humid days—tape won't stick well.
Step 2: Paint and Dry the Base Color
Apply your base coat paint evenly with a roller. Use two coats if needed, allowing 2-4 hours dry time between each.
Why it matters: Stripes go on top of the base, so uniformity here ensures the final pattern pops.
Expect: Wall fully covered, no roller marks. Wait 24 hours before taping for best adhesion.
💡 Tips:
- •Use high-quality paint for smoother finish.
⚠️ Warnings:
- •Don't rush drying—wet paint causes tape to pull off base color.
Step 3: Measure and Mark Stripe Spacing
Decide stripe width (4-12 inches apart is beginner-friendly). Measure from ceiling or floor, mark with pencil every stripe center. Use a yardstick for consistency.
Why it matters: Precise measurements prevent wavy patterns.
Success: Light pencil lines spaced evenly across the wall.
💡 Tips:
- •Vertical stripes elongate rooms; horizontal widen them.
Step 4: Set Up Level or Laser for Straight Lines
Position your level or activate laser level along pencil marks. Snap a chalk line if needed for long walls.
Why it matters: This applicator tool ensures perfectly straight tape lines—no eyeballing.
Expect: Crisp laser or bubble level lines guiding tape placement.
💡 Tips:
- •Battery-powered lasers save time on large walls.
⚠️ Warnings:
- •Calibrate laser first per instructions.
Step 5: Apply Painter's Tape Using Level Guide
Align tape edge with level/laser line, press firmly from top to bottom. Alternate tape direction for every other stripe (tape sides together for stripe width).
Why it matters: Even application creates uniform stripe widths.
Success: Straight, taut tape lines with no wrinkles.
💡 Tips:
- •Pull tape slightly taut while applying for straightness.
Step 6: Burnish and Seal Tape Edges
Use a putty knife or credit card to press tape firmly, especially edges. Optional: Run thin painter's caulk along edges, wipe excess, let dry 30 min.
Why it matters: Seals prevent paint bleed under tape.
Expect: Tape fully adhered, no liftable edges.
💡 Tips:
- •Burnish twice for extra security.
⚠️ Warnings:
- •Skip sealing on textured walls—tape may not release.
Step 7: Paint Stripes with Applicator Brush or Edger
Load angled brush or Accubrush lightly with stripe paint. Apply in thin coats, feathering edges near tape. Use small roller for wider stripes. One or two coats max.
Why it matters: Precision applicators give even coverage without buildup.
Success: Vibrant stripes with sharp, clean edges—no drips.
💡 Tips:
- •Paint in sections to avoid lap marks.
Step 8: Remove Tape and Touch Up
Peel tape slowly at a 45-degree angle while paint is semi-wet (5-15 min after). Touch up any imperfections with a small brush.
Why it matters: Wet removal prevents chipping.
Success: Crisp reveal of even stripes, ready to admire.
💡 Tips:
- •Have fresh tape ready for touch-ups.
⚠️ Warnings:
- •Wait too long and paint may crack on removal.
▸Pro Tips
- •Practice taping on cardboard first to perfect spacing.
- •Use contrasting colors for stripes to see flaws easily.
- •Apply paint sparingly—thin coats dry faster and bleed less.
- •For speed, laser levels replace manual leveling on big walls.
- •Test tape removal on a small area first.
- •Add metallic or glitter paint for stripes that shimmer.
- •Vertical stripes hide wall imperfections better.
▸Common Mistakes to Avoid
- •Skipping the level: Leads to wavy stripes—always use a guide.
- •Overloading the brush: Causes drips and uneven thickness—dab off excess.
- •Removing tape when dry: Pulls paint—peel at wet edge.
- •Using cheap masking tape: Bleeds everywhere—invest in FrogTape.
- •Uneven spacing: Measure twice before taping.
▸Troubleshooting
Problem: Paint bleeds under tape
Solution: Press harder when burnishing and use premium tape like FrogTape. Seal with caulk for textured walls.
Problem: Stripes look wavy
Solution: Double-check with level during taping. Stretch tape taut.
Problem: Tape pulls off base paint
Solution: Wait 24+ hours for base to cure fully. Use delicate tape on fresh paint.
Problem: Brush marks in stripes
Solution: Switch to foam applicator or mini-roller for smoother finish.
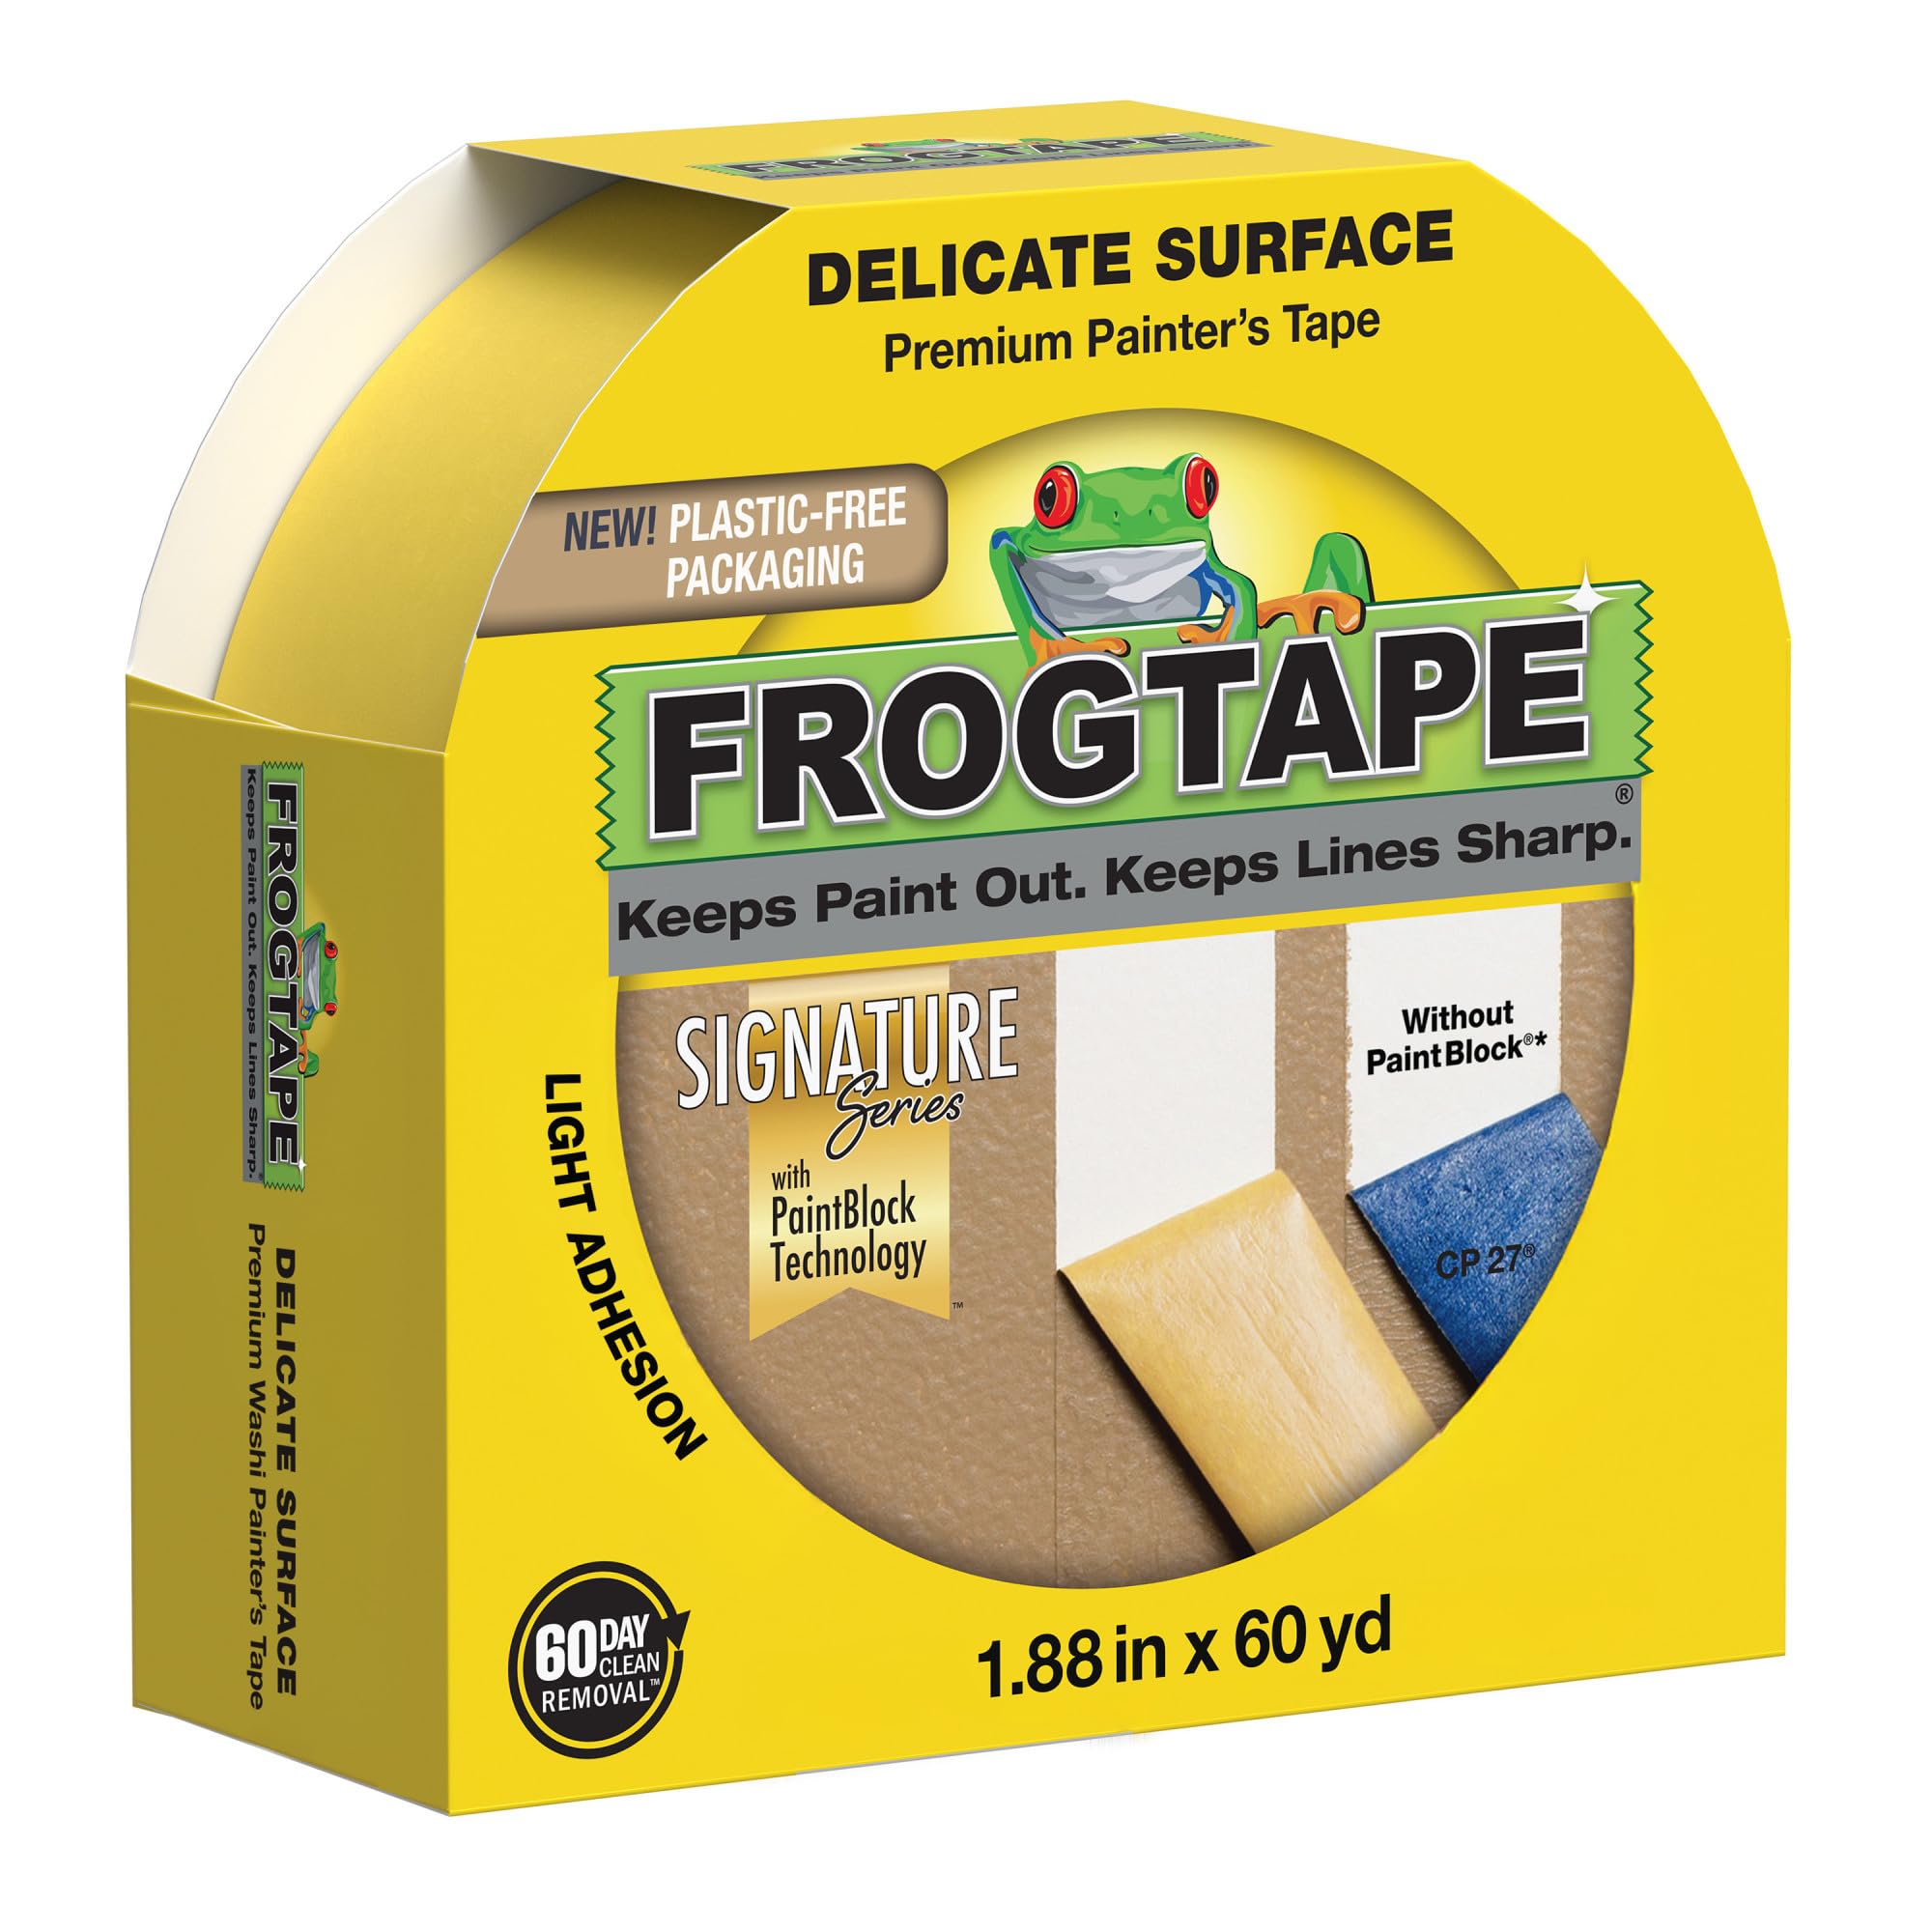
FrogTape Delicate Surface Painter's Tape (ASIN: B0000DD1E6)
Paint-block technology seals edges to prevent bleed, delivering razor-sharp lines.
Best for: Essential for masking even stripes on walls without mess.
Price Range: $6.99 - $12.99
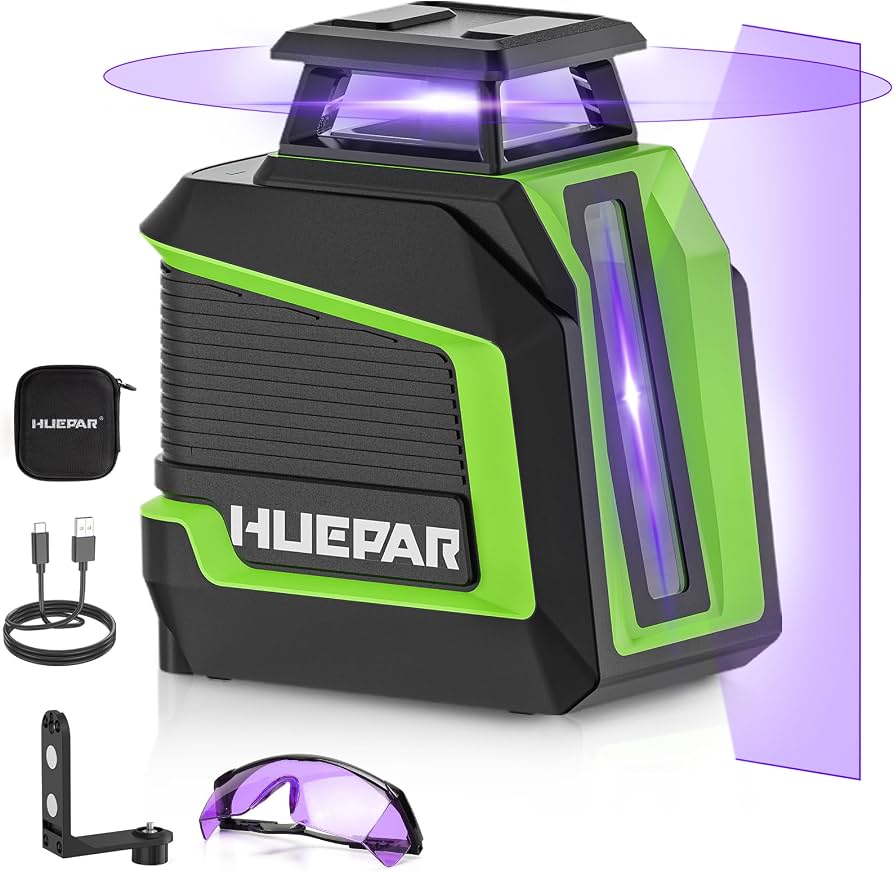
Huepar Self-Leveling Laser Level (ASIN: B082YPVQDB)
Projects precise straight lines across entire walls for flawless tape alignment.
Best for: Guiding tape application on large surfaces.
Price Range: $35 - $50
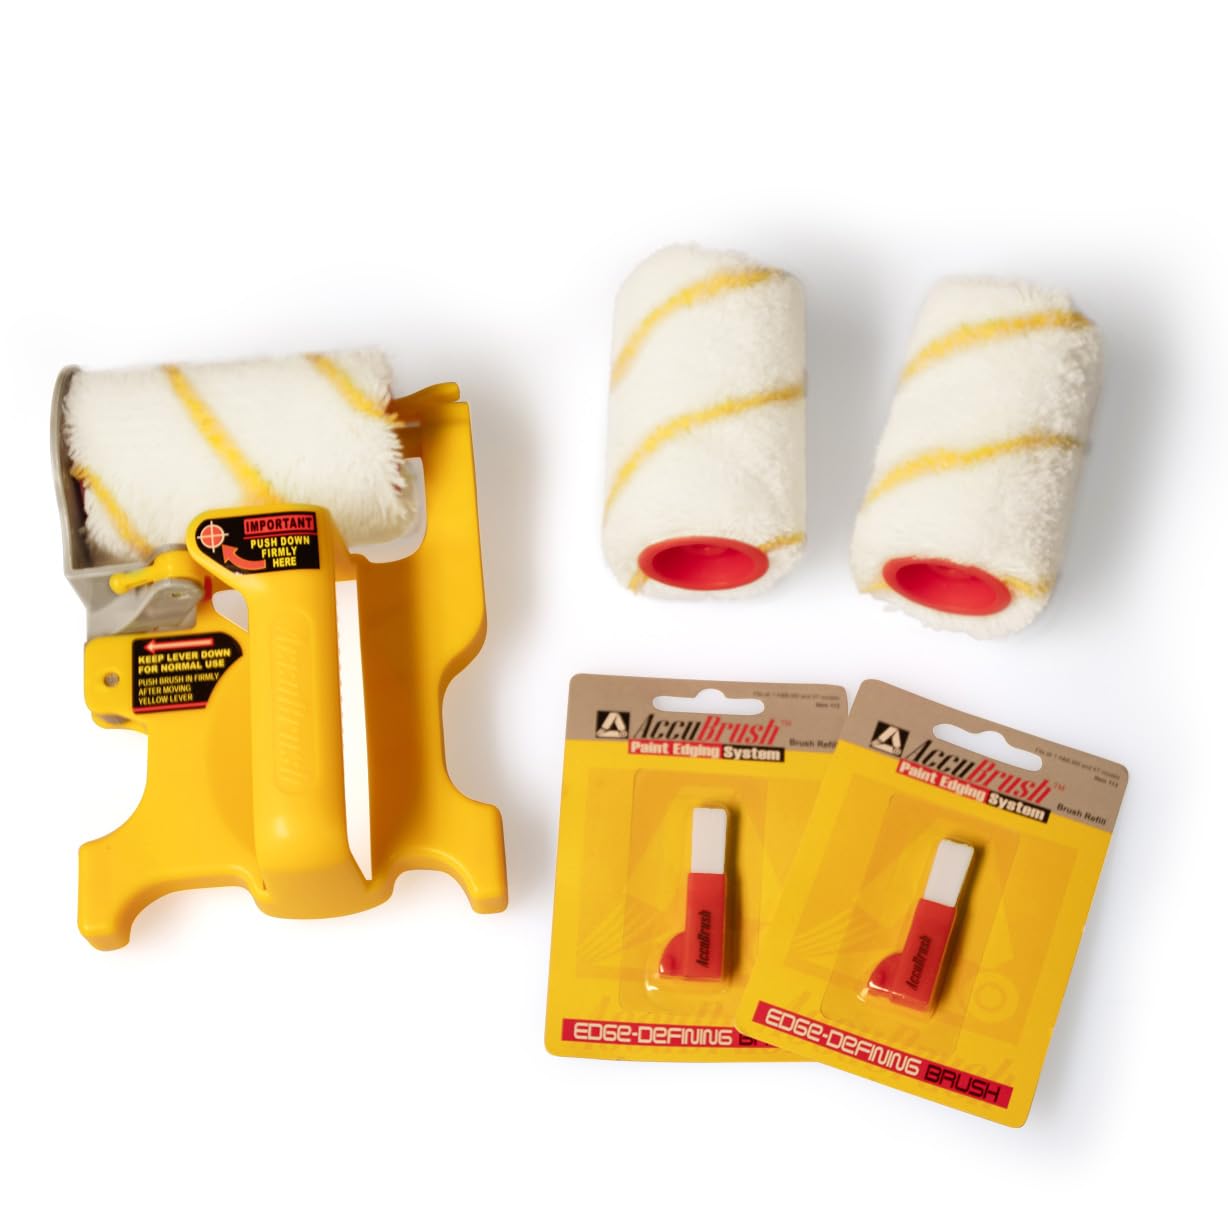
Accubrush 16-Inch The MX Paint Edger (ASIN: B0015AOA3S)
Precision pad applicator hugs edges for even stripe painting without tape contact.
Best for: Ideal for filling stripes neatly, especially corners.
Price Range: $15 - $20
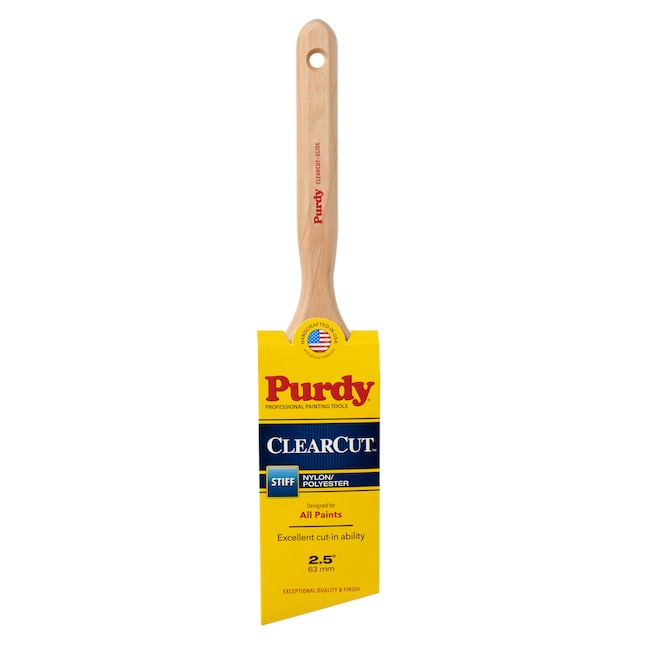
Purdy 2" Clearcut Glide Angular Trim Brush (ASIN: B00J5Z8O0K)
Stiff bristles hold paint evenly for smooth, controlled stripe application.
Best for: Cutting in precise stripe edges.
Price Range: $10 - $15
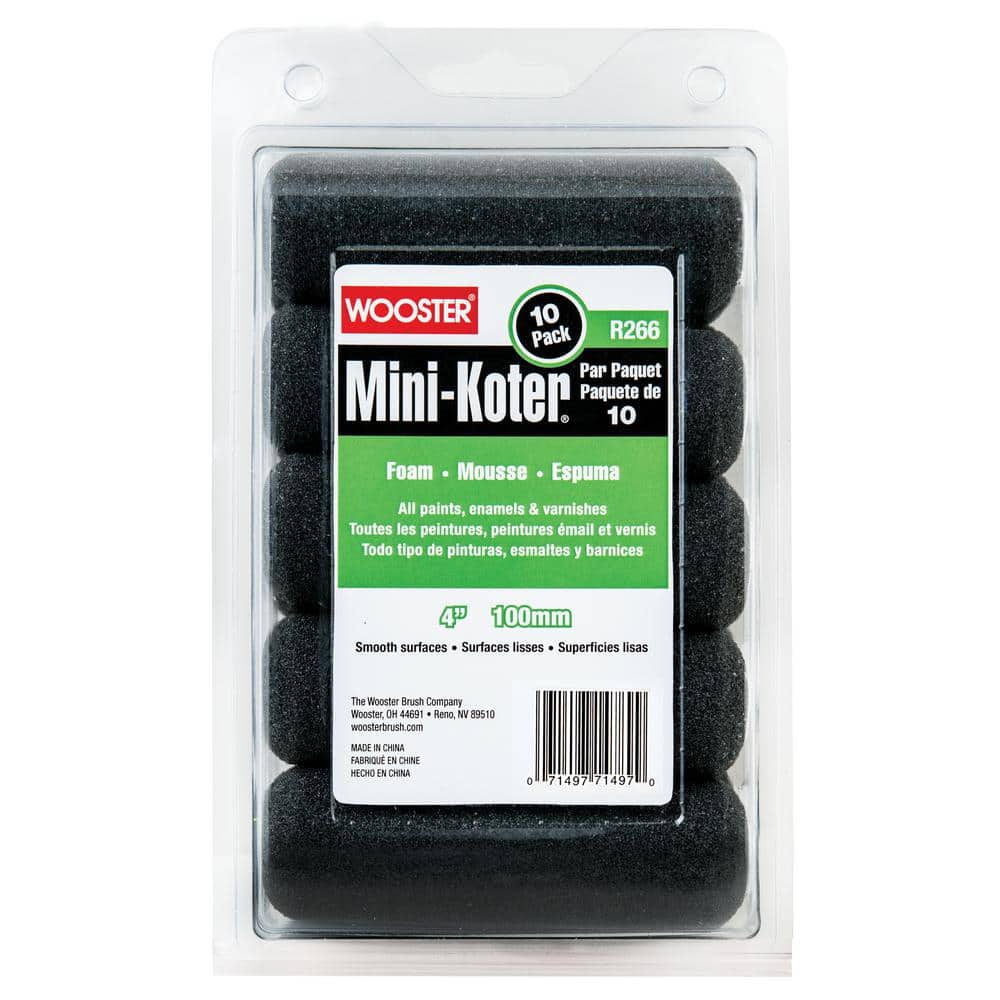
Wooster 4-Inch Foam Roller Cover (ASIN: B000FGHM2K)
Provides ultra-smooth application for wider stripes without stipple.
Best for: Rolling paint into taped stripe sections quickly.
Price Range: $3 - $6