Backless dresses are stunning but often come with a wardrobe challenge: what to wear underneath? A regular bra ruins the look, and going braless isn't always an option. Adhesive bras (also called sticky bras) are the perfect solution—they stick directly to your skin, providing lift and coverage without straps or a back band. However, applying them correctly is crucial to avoid slipping, visible edges, or discomfort. In this guide, you'll learn how to choose the right adhesive bra, prepare your skin, apply it flawlessly, and remove it safely. The process takes about 15-20 minutes and requires minimal tools. Whether you're dressing for a formal event, a date, or a night out, mastering this skill will give you confidence and a smooth silhouette.
▸What You'll Need
- •Adhesive bra (choose silicone or fabric-based, depending on your needs)
- •Alcohol wipes or mild skin cleanser (to remove oils and lotions)
- •Clean towel or tissue
- •Full-length mirror (for proper placement)
- •Optional: cornstarch or talc-free powder (for oily skin)
- •Optional: nipple covers if you want extra modesty
Estimated Time: 15-20 minutes
Difficulty: beginner
▸Step-by-Step Instructions
Step 1: Choose the Right Adhesive Bra for Your Dress
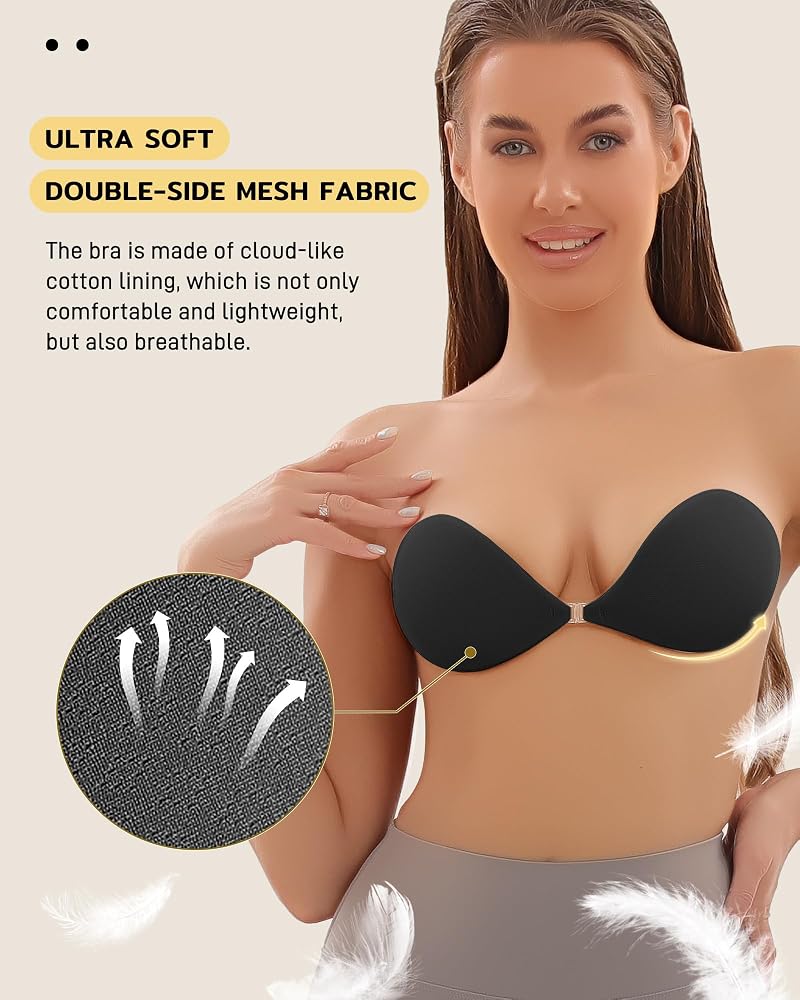
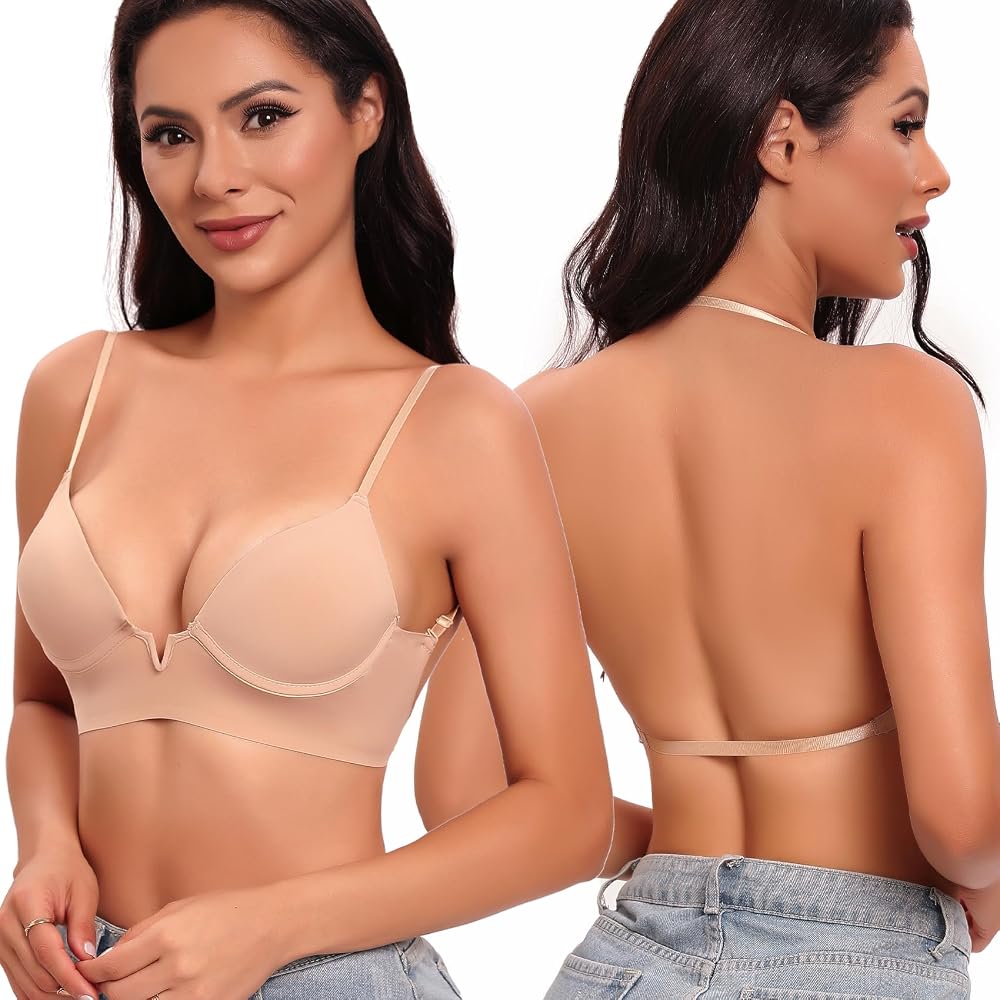
Not all adhesive bras are created equal. For a backless dress, you need a bra that is low-back or completely backless. Look for options labeled "backless" or "low back." Silicone bras are more durable and provide a natural feel, while fabric adhesive bras are lighter and more breathable. Consider the level of coverage you need: some adhesive bras are full cups, others are just nipple covers. If you need lift, choose a bra with an adhesive front closure that pulls the breasts together. Check customer reviews for hold strength and skin compatibility, especially if you have sensitive skin.
💡 Tips:
- •For dresses with extreme plunge, look for a U-shaped or V-shaped adhesive bra.
- •If you're between sizes, opt for the larger size to avoid overspill.
⚠️ Warnings:
- •Avoid adhesive bras with unclear sizing—stick reputable brands.
- •Never use an adhesive bra on broken or irritated skin.
Step 2: Clean and Dry Your Skin Thoroughly
Adhesion depends entirely on clean, oil-free skin. Wash your chest area with a gentle cleanser (avoid moisturizing soaps) or use an alcohol wipe to remove any lotion, sunscreen, sweat, or deodorant residues. Pay special attention to the area where the bra will stick. After cleaning, pat dry completely with a clean towel—don't apply any creams, oils, or powders at this stage. Let your skin air dry for 2-3 minutes to ensure no moisture remains.
💡 Tips:
- •If you have very oily skin, lightly dust a bit of cornstarch on the area and then brush it off before applying the bra.
- •Avoid using scented wipes that might irritate skin or leave a residue.
⚠️ Warnings:
- •Do not apply the bra to damp skin; it will not stick.
- •Skip the deodorant or antiperspirant on your chest—these can interfere with adhesion.
Step 3: Position the Bra Before Removing the Backing
Hold the adhesive bra up to your chest without removing the backing film. Use a mirror to align it with your breast shape. For a standard adhesive bra, the cups should be placed so that the outer edge aligns with your natural breast crease (the infra-mammary fold). If your bra has a front clasp or pull-together design, position it to achieve your desired lift and cleavage. This pre-positioning step helps you avoid wasted adhesive if you misplace it.
💡 Tips:
- •Wear the dress you'll be using to see how the bra aligns under the fabric.
- •Mark the position with a faint pencil dot on your skin if needed.
⚠️ Warnings:
- •Do not touch the adhesive side with your fingers; oils from your hands can ruin the stickiness.
Step 4: Remove the Backing and Apply the Bra
Carefully peel off the transparent backing from one cup, holding the bra by the outer edges. Lean forward slightly (about 45 degrees) to allow your breast to fall naturally into the cup. Press the center of the cup onto your breast first, then smooth outward toward the edges to eliminate air bubbles. Repeat for the other cup. If your bra has a front clasp or connecting tab, press it into place after both cups are on. Apply firm pressure with your palms for about 30 seconds to activate the adhesive.
💡 Tips:
- •In cold weather, warm the adhesive slightly with a hairdryer on low heat (a few seconds) for better grip.
- •Use a circular motion with your fingers to ensure the entire cup adheres.
⚠️ Warnings:
- •Don't pull on the bra to adjust once stuck; gently lift and reapply if needed.
- •Avoid stretching the cups beyond their shape—they may not lie flat.
Step 5: Smooth Out Wrinkles and Air Bubbles
After both cups are on, look in the mirror and gently smooth out any wrinkles or bubbles. Use the pads of your fingers to press from the center outward. A few small bubbles are okay, but large bubbles can cause the bra to pucker under clothing. If you see a large bubble, lift the edge of the cup (gently) and re-press to release the air. Ensure the edges are fully adhered, especially at the sides and top, to prevent curling.
💡 Tips:
- •Run a credit card (edge) over the front for a super-smooth finish.
- •If you have a front closure, make sure it lies flat against your skin.
⚠️ Warnings:
- •Do not use sharp objects to smooth—the adhesive can tear.
- •If the bra has a clasp, avoid pinching your skin when fastening.
Step 6: Check the Fit Under Your Dress
Put on your dress carefully to avoid peeling the bra. Slide the dress over your head or step into it, then adjust the straps (if any) gently. Look at your silhouette—the bra should be invisible under the fabric. The cups should not extend beyond the dress line. Raise your arms and move around to ensure the bra stays in place. Re-smooth any areas that may have lifted during dressing.
💡 Tips:
- •For dresses with slippery fabric, apply a tiny bit of fashion tape on the dress edge to keep it from pulling on the bra.
- •Do a few dance moves or sit down to test comfort—if it shifts, reapply before leaving.
⚠️ Warnings:
- •If the bra shows through, you may need a different size or style.
- •Don't overadjust the dress—once the adhesive is set, it's best not to disturb it.
Step 7: Remove the Bra Safely After Wear
When it's time to take off the bra, do not yank it off. Start by gently loosening the edges with your fingertips. Slowly peel the bra away from your skin, holding the skin taut with your other hand to reduce tugging. If the adhesive feels extra strong, apply a little baby oil or makeup remover along the edge to break the bond. Remove any remaining residue with a gentle cleanser.
💡 Tips:
- •Remove the bra right after taking off the dress to avoid prolonged adhesion.
- •If the bra is reusable, clean the adhesive surface with mild soap and water, then air dry on the backing sheet.
⚠️ Warnings:
- •Never use alcohol to remove the bra—it weakens the adhesive for future use.
- •If you feel pain or irritation, stop and consult a dermatologist.
▸Pro Tips
- •Test the bra at home first—don't wait until the day of the event to try it on.
- •For a more natural shape, choose a bra with graduated thickness (thicker at bottom, thinner at top).
- •If you have larger breasts (C cup or above), look for adhesive bras with extra side wings for better support.
- •Warm the bra slightly with a hairdryer on low before application to improve stickiness in cold environments.
- •Store reusable adhesive bras on their original plastic sheet in a cool, dry place.
- •Avoid applying lotion or oil to your chest for at least 24 hours before wearing an adhesive bra.
▸Common Mistakes to Avoid
- •Applying the bra to oily or lotioned skin—this is the #1 reason for slipping. Always clean and dry your skin first.
- •Stretching the cups too much during application, causing them to pucker or not lie flat under clothing.
- •Peeling the bra off quickly after removal, which can damage the adhesive and shorten its lifespan.
- •Choosing the wrong size—too small cups cause spillage, too large cups can wrinkle and show through the dress.
- •Trying to reuse a disposable adhesive bra—most fabric sticky bras are one-time use only.
▸Troubleshooting
Problem: The bra won't stick.
Solution: Make sure your skin is completely clean and dry. If your skin is oily, wipe with alcohol and let dry. Also, check if the bra's adhesive is still tacky—if it feels dirty, wash it gently with soap and water and let air dry.
Problem: The bra is visible under the dress.
Solution: Try a different style or size. If the dress is very sheer, choose a skin-tone bra that matches your complexion. For plunging necklines, use a U-shaped adhesive bra. You can also apply fashion tape to secure the dress edge.
Problem: The bra slips after a few hours.
Solution: Sweat can reduce adhesion. Use a powder (unscented) on your skin before application. If you're in a hot environment, consider a silicone bra that withstands moisture better. Re-press the edges firmly if needed.
Problem: I feel irritation or itching.
Solution: You may be allergic to the adhesive. Remove immediately and wash the area. Try a hypoallergenic brand next time, or use fabric-based adhesive bras if silicone bothers you.
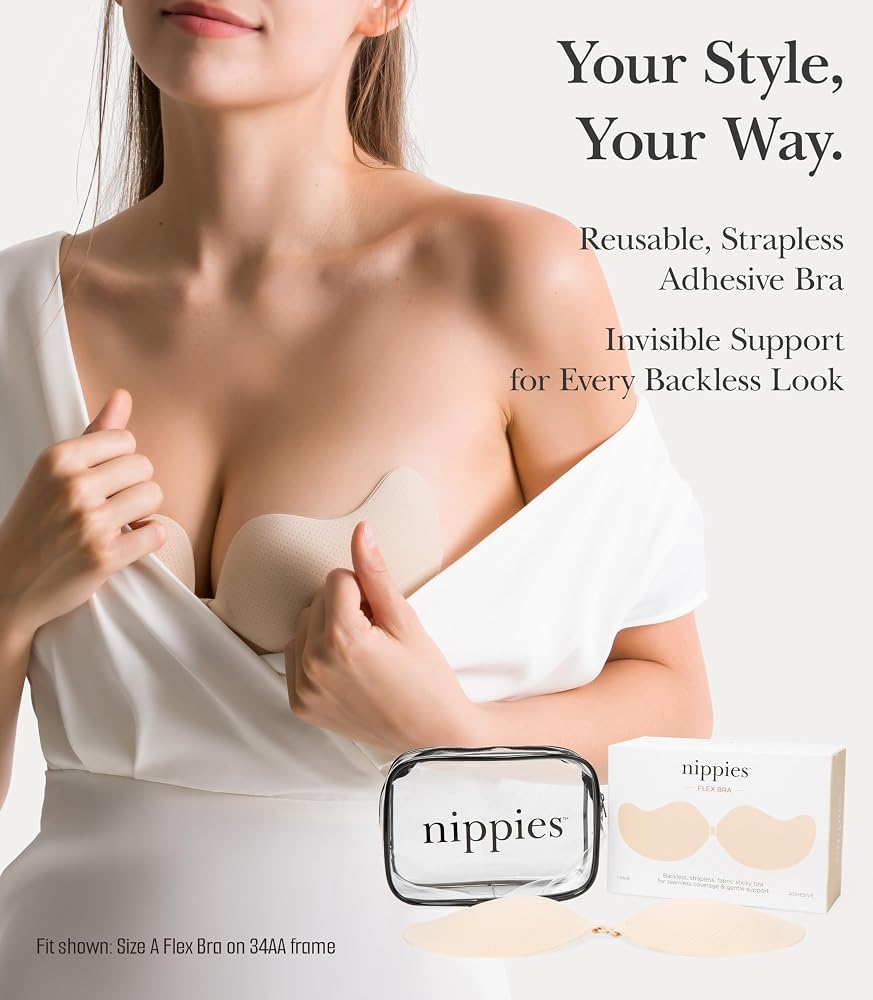
Nippies Skin Adhesive Bra
Highly recommended for its strong hold and natural silicone feel. Comes in multiple shades to match skin tones.
Best for: Ideal for backless and strapless dresses, especially for smaller busts (A-C cup). Reusable up to 30 times.
Price Range: $25-$35
Perky Bra for Backless Dresses
Features a unique adhesive that works well on oily skin and in humid conditions. Provides gentle lift without heavy cups.
Best for: Best for B-D cup sizes and dresses with low backs. Includes a front clasp for adjustable cleavage.
Price Range: $15-$25
Fashion Forms Women's Adhesive Bra
Affordable and widely available. Lightweight fabric design with strong adhesive wings. Comfortable for all-day wear.
Best for: Good for everyday backless tops and dresses. Disposable but can be reused a few times if cared for.
Price Range: $10-$20
Bombshell Bra for Backless Dresses
Designed for larger busts (C-DD) with extra support and wider wings. Provides both lift and coverage.
Best for: Perfect for plunging backless dresses or weddings. Reusable with proper care.
Price Range: $30-$50