Harsh weather like rain, snow, and road salt can quickly damage your car's paint, cause rust on underbody panels, and lead to leaks around doors and hoods. Applying weatherproof adhesive tapes is a simple DIY solution to create protective barriers, extending your vehicle's life without expensive professional services.
In this guide, you'll learn how to identify key areas, prepare surfaces properly, and apply tapes for a seamless, professional finish. The process covers common spots like door edges, wheel wells, and trim lines. Expect a straightforward project that's perfect for beginners—no advanced tools required.
Total time is 30-60 minutes depending on coverage area, with immediate results you can drive on right away after curing.
▸What You'll Need
- •Weatherproof adhesive tape (e.g., 3M VHB or Gorilla Waterproof Tape, 1-2 inch width)
- •Isopropyl alcohol (90% or higher)
- •Microfiber cloths (lint-free)
- •Plastic squeegee or credit card for pressing
- •Utility knife or precision cutter
- •Hairdryer or heat gun (low setting)
- •Painter's tape (optional for masking)
- •Gloves and mild dish soap for initial wash
Estimated Time: 30-60 minutes
Difficulty: beginner
▸Step-by-Step Instructions
Step 1: Identify Areas Needing Weatherproofing
Park your car in a well-lit area and inspect for vulnerable spots. Common areas include door jambs, hood edges, trunk seams, wheel well lips, and rocker panels where water and debris accumulate.
Walk around the vehicle, noting gaps, chipped paint, or existing damage. Mark these with chalk or painter's tape. Success looks like: A clear list of 3-5 target areas, ensuring you prioritize high-exposure zones like under doors.
This step prevents over-application and focuses protection where it matters most.
💡 Tips:
- •Prioritize rusty or leaking spots first.
- •Take photos before starting for reference.
⚠️ Warnings:
- •Avoid applying over active rust—sand and prime first.
Step 2: Wash the Car Surfaces Thoroughly
Mix mild dish soap with water and wash the target areas using a microfiber cloth. Rinse well to remove dirt, grime, and road salt. Dry with a clean towel.
Why it matters: Contaminants weaken tape adhesion, leading to peeling. Expect: Shiny, clean metal or paint ready for next steps.
For stubborn spots, use a soft brush gently.
💡 Tips:
- •Wash on a cool day to avoid water spots.
⚠️ Warnings:
- •Don't use car wax or polish here—it interferes with adhesion.
Step 3: Degrease with Isopropyl Alcohol
Soak a microfiber cloth in isopropyl alcohol and wipe all target surfaces vigorously. Let it evaporate for 2-3 minutes.
This removes oils, residues, and fingerprints invisible to the eye. Success: Surface feels tacky-dry, no streaks or residue when touched.
Pro tip: Work in sections to keep alcohol wet.
💡 Tips:
- •Use 90%+ alcohol for best results.
- •Wear gloves to avoid skin oils.
⚠️ Warnings:
- •Test alcohol on a small spot—avoid on fresh paint.
Step 4: Cut Tape to Precise Lengths
Measure each area and cut tape strips slightly longer (1/2 inch extra) using a utility knife on a cutting mat. For curves, make relief cuts.
Why: Custom fits ensure full coverage without waste. Expect: Neat strips ready to apply, no frayed edges.
💡 Tips:
- •Cut multiple pieces at once for efficiency.
Step 5: Peel Backing and Position Tape
Peel back only 1-2 inches of backing. Align tape precisely on the surface, using painter's tape as a guide if needed.
Press the exposed end firmly. Success: Tape sits straight without wrinkles.
Slowly pull backing as you apply, keeping tension even.
💡 Tips:
- •Work from one end to the other smoothly.
⚠️ Warnings:
- •Don't touch adhesive side—oils ruin stickiness.
Step 6: Press and Smooth the Tape
Use a plastic squeegee or credit card wrapped in cloth to press tape firmly from center outward. Apply even pressure for 30 seconds per foot.
This activates adhesive and removes air pockets. Expect: Flat, bubble-free tape bonded securely.
💡 Tips:
- •Press harder on edges for waterproof seal.
Step 7: Apply Heat to Activate Adhesive
Use a hairdryer or heat gun on low (100-150°F) to warm tape for 20-30 seconds per section. Immediately re-press.
Heat softens adhesive for better conformability on curves. Success: Tape warms and grips tighter—no lifting edges.
💡 Tips:
- •Keep heat moving to avoid melting.
⚠️ Warnings:
- •Too much heat damages paint; test distance first.
Step 8: Trim Excess and Inspect
Let cool 5 minutes, then trim overhangs with utility knife at a 45° angle. Check for bubbles or lifts—prick bubbles with pin and press.
Allow 24 hours cure before driving in rain. Final success: Seamless, flush tape protecting your car.
💡 Tips:
- •Inspect after 24 hours for full bond.
▸Pro Tips
- •Apply in temperatures above 50°F (10°C) for optimal adhesion.
- •Work in a garage to avoid dust contamination.
- •Use a plastic putty knife for stubborn pressing on uneven surfaces.
- •For extra hold, apply tape in overlapping layers on high-wear areas.
- •Store leftover tape adhesive-side to backing to prevent sticking.
- •Combine with edge trim guards for ultimate protection.
- •Test tape on scrap metal first to learn handling.
▸Common Mistakes to Avoid
- •Applying on unclean or wet surfaces—leads to immediate peeling; always degrease twice.
- •Stretching tape during application—causes bubbles and poor fit; keep flat and taut.
- •Skipping heat activation—adhesive won't conform to curves; always warm gently.
- •Cutting tape too short—leaves gaps; add 1/2 inch extra and trim.
- •Ignoring curing time—tape lifts in rain; wait 24 hours.
▸Troubleshooting
Problem: Tape bubbles or lifts at edges
Solution: Prick bubble with pin, press out air, and reheat/press. If persistent, remove and reapply on cleaner surface.
Problem: Tape won't stick
Solution: Surface not degreased enough—repeat alcohol wipe and dry fully. Use adhesive promoter if available.
Problem: Tape tears during application
Solution: Use fresher tape or warmer conditions. Peel slower and support with finger.
Problem: Visible seams after curing
Solution: Apply thin bead of silicone sealant over joints, smooth, and let dry.
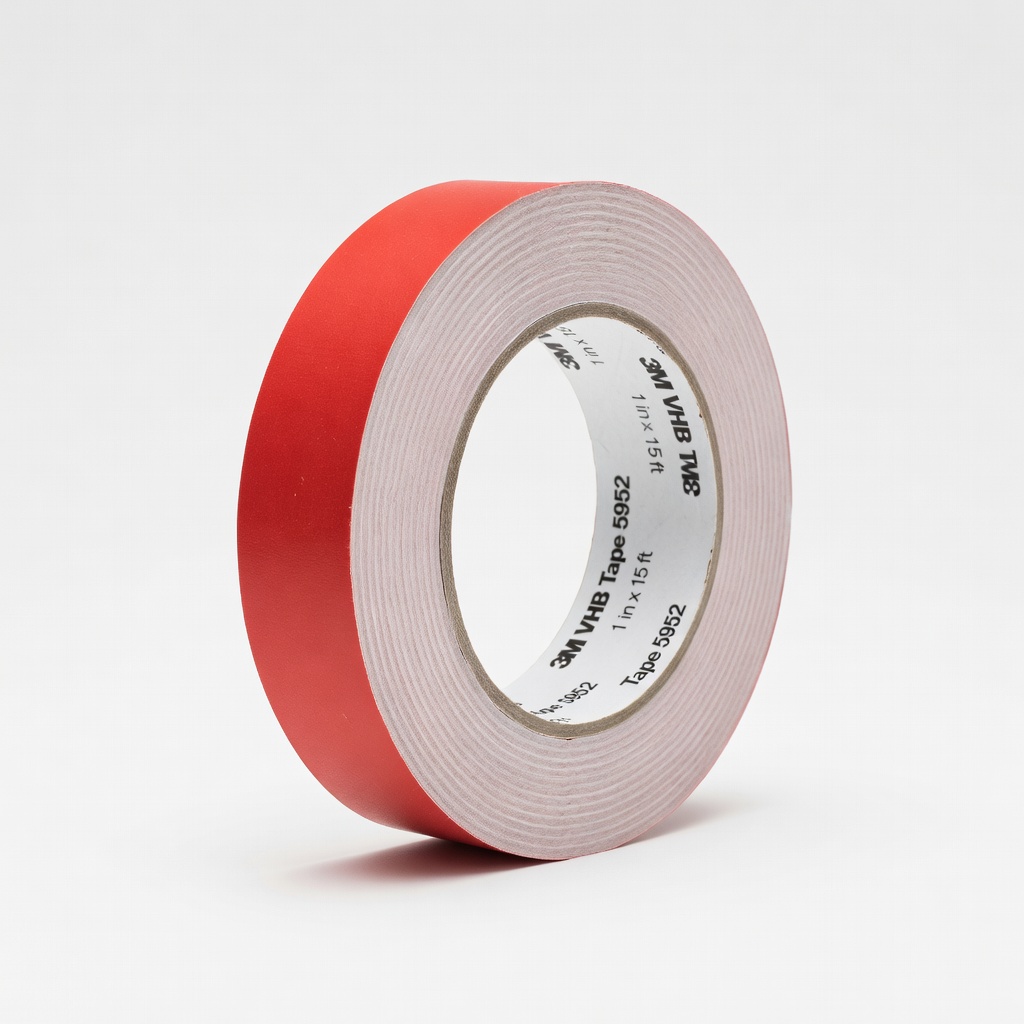
3M VHB Tape 5952 (1 in x 15 ft)
Industrial-strength acrylic adhesive excels in extreme weather, UV, and vibration—perfect for automotive exterior use.
Best for: Sealing door edges, hoods, and trim for permanent weatherproofing.
Price Range: $25-$35
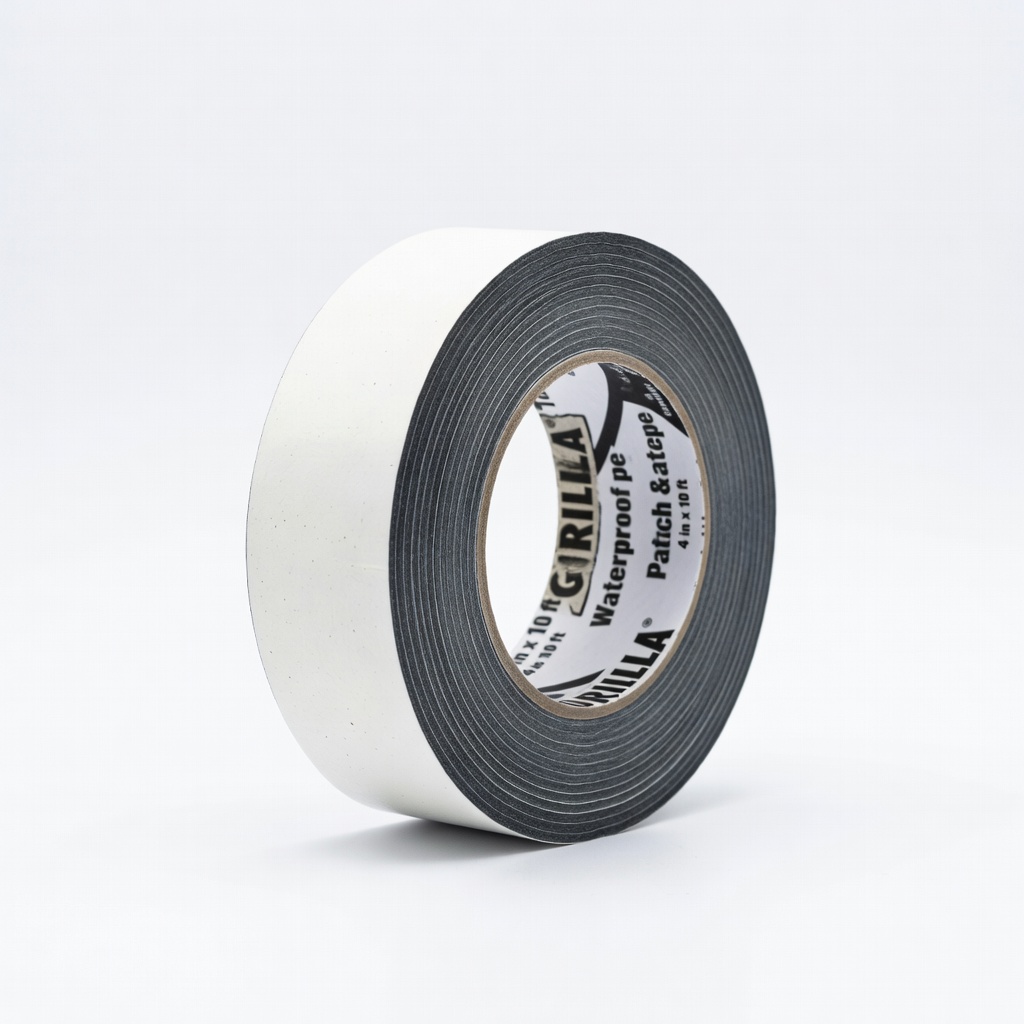
Gorilla Waterproof Patch & Seal Tape (4 in x 10 ft)
Flexible, clear butyl rubber formula seals gaps instantly and handles -40°F to 200°F temperatures.
Best for: Quick patches on wheel wells or underbody seams where flexibility is key.
Price Range: $14.99
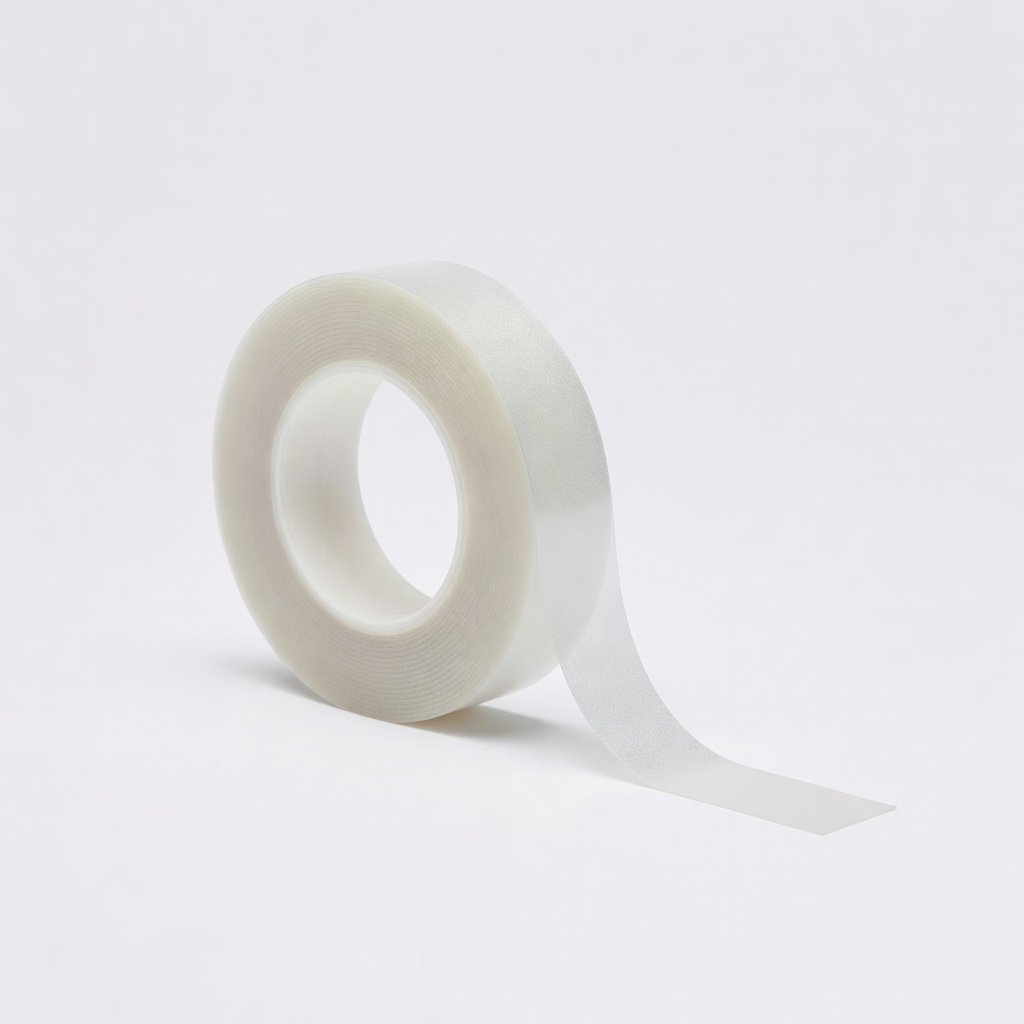
XFasten Double Sided Waterproof Nano Tape (1 in x 10 ft)
Reusable, heavy-duty hold (30 lbs per sq in) that's residue-free, ideal for beginners testing applications.
Best for: Temporary or interior seals, or repositioning during install.
Price Range: $9.99
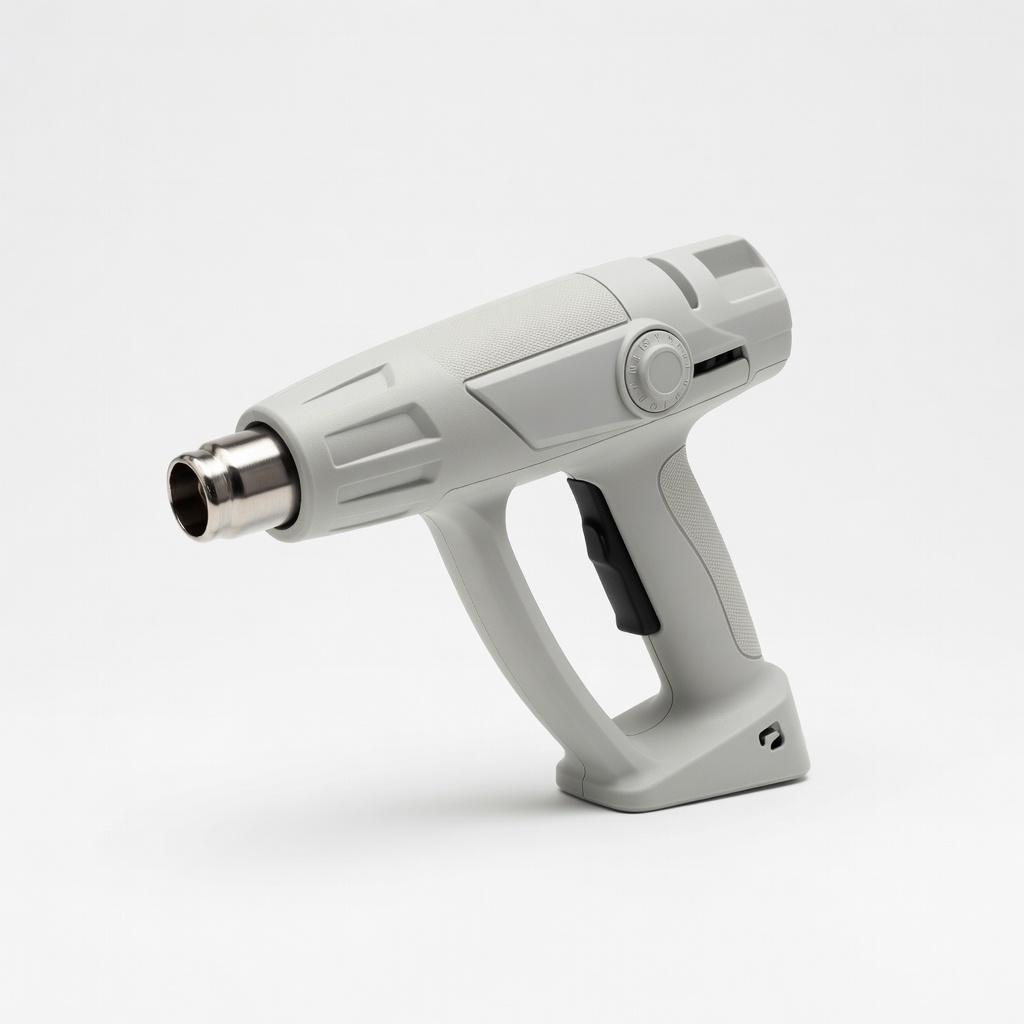
Wagner HT1000 Heat Gun
Variable temperature control prevents overheating delicate paint while activating adhesives effectively.
Best for: Precise heating for tape conformability on curves.
Price Range: $24.99