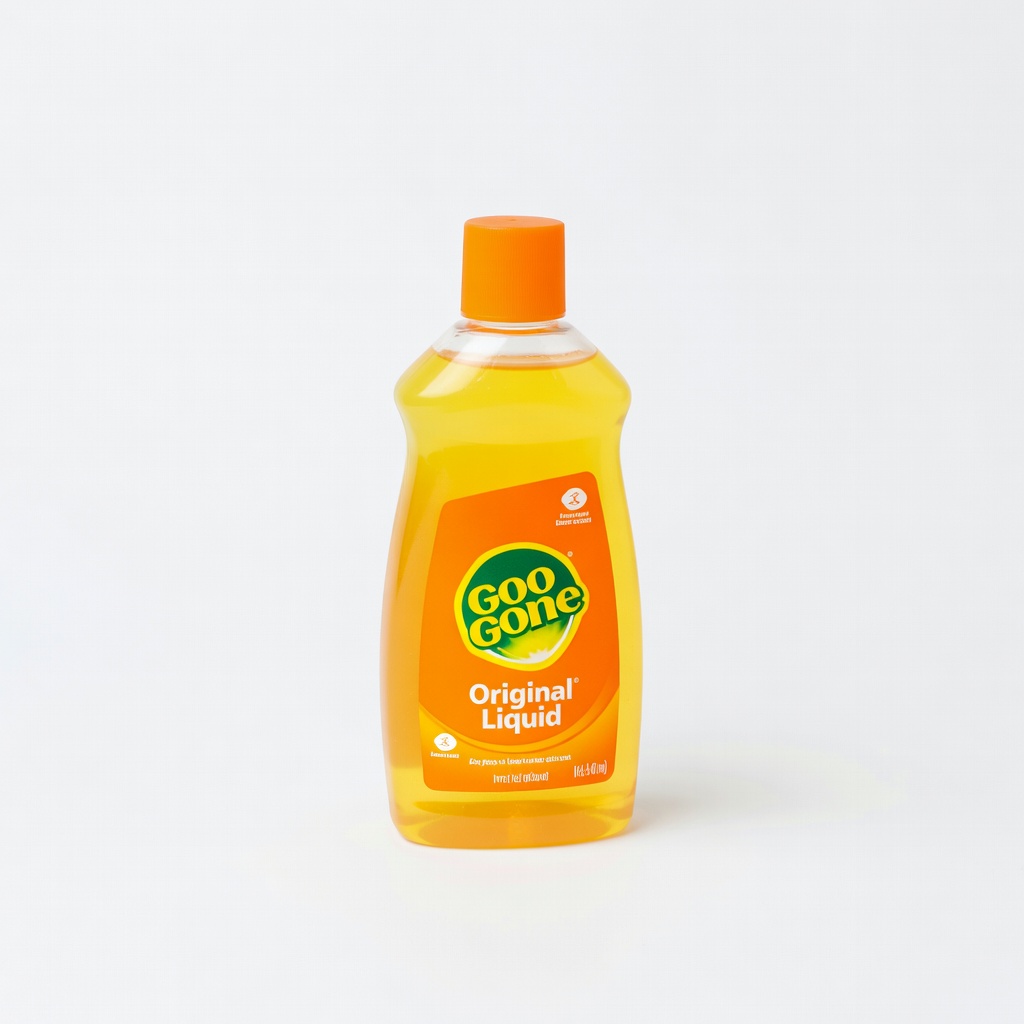
Goo Gone Original Liquid
Everyday stickers/labels on cotton/polyester clothes.
$6.99
Goo Gone Original Liquid Proven gentle on most fabrics when tested, citrus-based formula dissolves adhesives quickly without harsh fumes.
Get the App
Better experience on mobile
Master safe removal of sticky residues from clothes and upholstery in minutes without stains or damage—perfect for beginners.
Sticky adhesive residues from labels, tape, or stickers can ruin your favorite clothes or upholstery, leaving frustrating goo that regular washing won't touch. Whether it's a price tag on new pants or duct tape on a couch, improper removal often leads to discoloration or fabric tears. This guide shows you how to apply adhesive removers correctly to banish stickiness effortlessly.
You'll learn a foolproof, step-by-step process tested on various fabrics like cotton, polyester, and blends. Expect gentle techniques that prioritize fabric safety, with success defined by clean, residue-free results and no color fading. The whole process takes just 15-30 minutes, depending on the stain size, and is beginner-friendly—no special skills needed.
By following these steps, you'll avoid common pitfalls and restore your fabrics like a pro, saving money on replacements.
Estimated Time: 15-30 minutes Difficulty: beginner
Before full application, always test the adhesive remover to ensure it won't damage your fabric. Choose a hidden spot like an inside seam or hem.
Dab a small amount of remover on a cotton ball and gently press it onto the test area for 1-2 minutes. Blot with a clean cloth and check for color change, weakening, or residue. If safe, proceed; if not, try a different product.
What success looks like: No discoloration or fabric damage after drying.
💡 Tips:
⚠️ Warnings:
Lay the fabric flat on a protected surface like a towel or plastic sheet to catch drips. If the adhesive is thick, gently scrape off excess with a plastic spoon or credit card edge—avoid metal to prevent snags.
Work in a well-ventilated area and wear gloves if sensitive to chemicals. This prevents spreading residue or contaminating other areas.
What success looks like: Clean workspace and minimal loose adhesive.
💡 Tips:
⚠️ Warnings:
Soak a cotton ball or swab with a small amount of remover—less is more to avoid oversaturation. Gently dab (don't rub) onto the residue, starting from the edges and working inward.
The remover's solvents break down the adhesive bonds safely on fabric. Let it sit for 1-5 minutes based on product instructions.
What success looks like: Remover penetrates without soaking through the fabric.
💡 Tips:
⚠️ Warnings:
Allow the remover to dwell for the recommended time (usually 1-5 minutes). The adhesive will start to loosen and bubble slightly.
This chemical reaction dissolves the glue without aggressive scrubbing, protecting fabric integrity.
What success looks like: Residue softens and lifts easily when touched lightly.
💡 Tips:
⚠️ Warnings:
Use a clean microfiber cloth or paper towel to blot (press and lift) the area. Work from outside in to pull residue away. Repeat with fresh cloths as needed.
Blotting prevents pushing residue deeper or abrading fibers.
What success looks like: Clean cloth picks up gooey residue, fabric feels less sticky.
💡 Tips:
⚠️ Warnings:
Mix mild dish soap with cool water. Dampen a clean cloth and blot the area to remove remover traces. Rinse by blotting with plain cool water until no suds remain.
This neutralizes chemicals and prevents lingering odors or stiffness.
What success looks like: Fabric feels clean and residue-free to the touch.
💡 Tips:
⚠️ Warnings:
Launder according to care label (machine or hand wash in cold water). Air dry completely before checking.
Washing removes final traces; drying reveals any missed spots.
What success looks like: Fabric clean, soft, and residue-free post-dry.
💡 Tips:
⚠️ Warnings:
Problem: Discoloration appears after testing
Solution: Stop immediately, rinse with soap/water, try a milder remover like Un-Du. For permanent damage, consider dyeing.
Problem: Residue remains after blotting
Solution: Reapply remover for 2 more minutes, blot again. If stubborn, use rubbing alcohol sparingly.
Problem: Fabric feels stiff post-rinse
Solution: Wash with fabric softener. Air dry fully.
Problem: Oily residue from remover
Solution: Blot with dish soap solution, then baby powder to absorb.
Problem: Damage on wool/silk
Solution: Seek dry cleaner; these fabrics need professional solvent treatments.
Proven gentle on most fabrics when tested, citrus-based formula dissolves adhesives quickly without harsh fumes.
Best for: Everyday stickers/labels on cotton/polyester clothes.
Price Range: $6.99
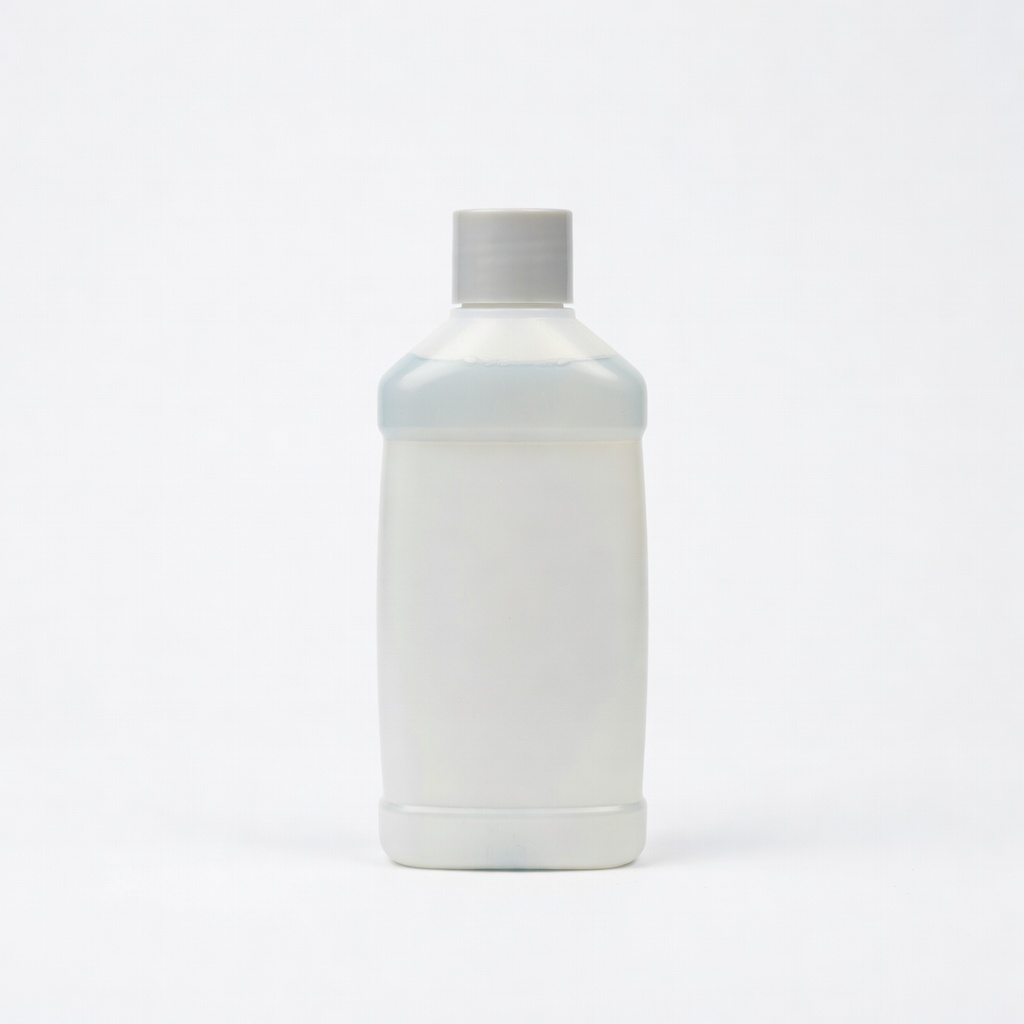
Specifically designed for fabrics and crafts, non-toxic and odorless for safe, easy use on delicates.
Best for: Labels on kids' clothes or upholstery.
Price Range: $7.99-$9.99
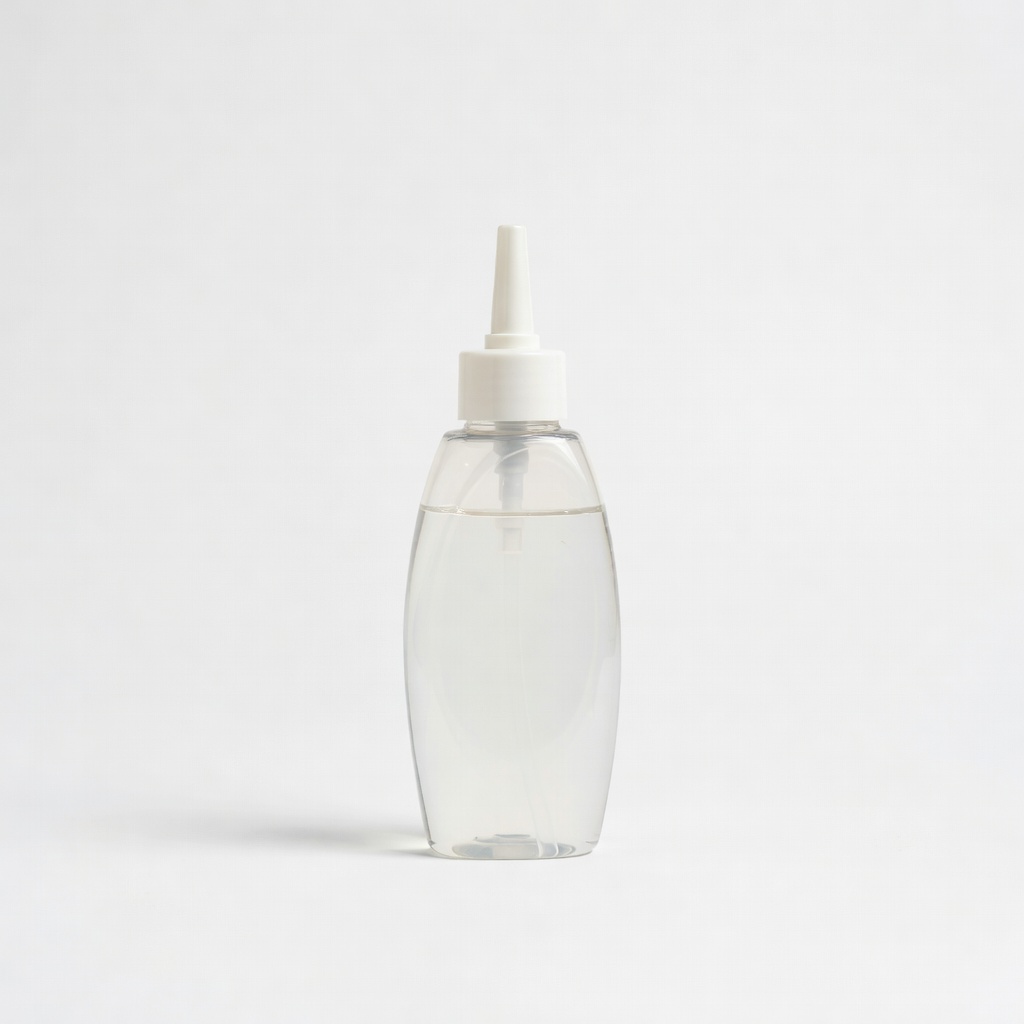
Precision pen applicator minimizes overspray, fast-evaporating for quick cleanups on varied fabrics.
Best for: Small spots like tape residue on car seats or curtains.
Price Range: $11.88
Heavy-duty yet fabric-safe, tackles tough industrial adhesives without residue.
Best for: Duct tape or glue on work clothes/upholstery.
Price Range: $14.99
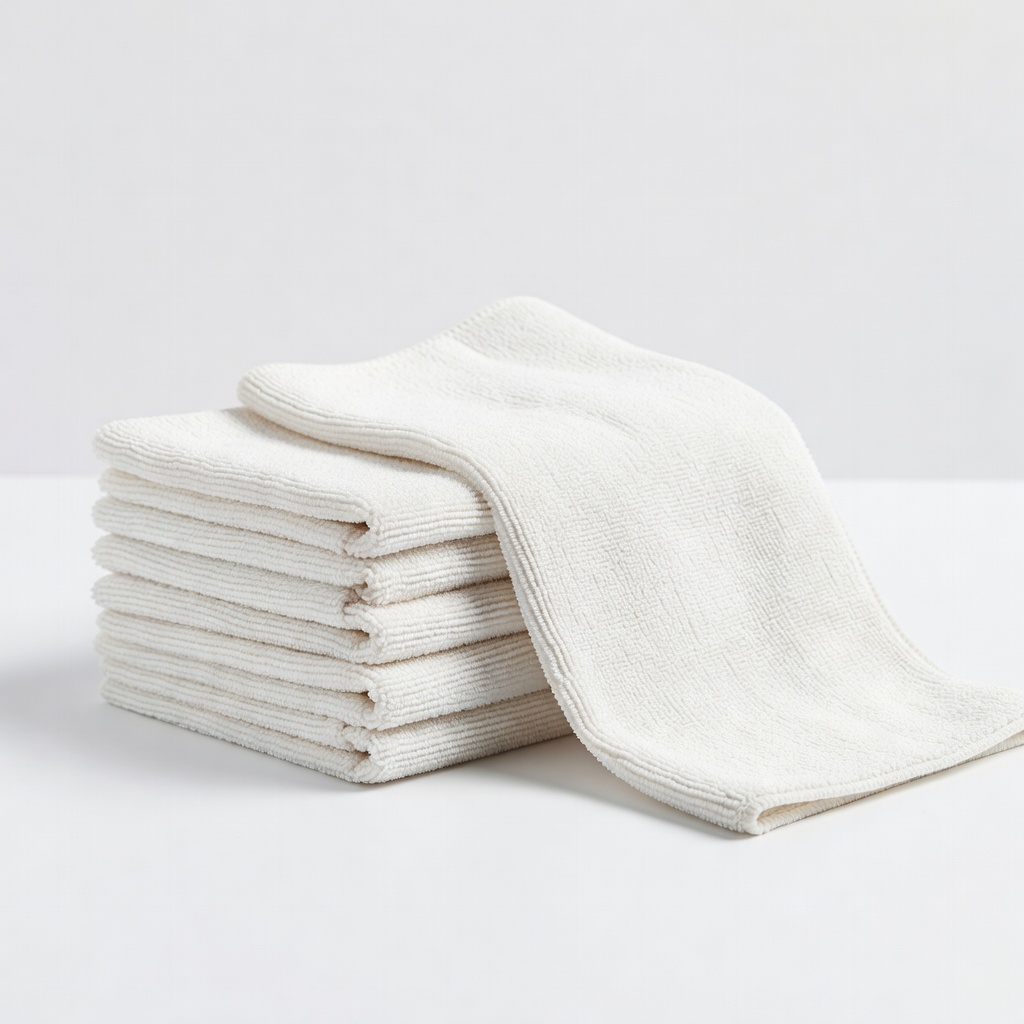
Ultra-soft for blotting without lint or scratches, essential companion to any remover.
Best for: All steps requiring gentle wiping.
Price Range: $12.99 for 4-pack
Everyday stickers/labels on cotton/polyester clothes.
Goo Gone Original Liquid Proven gentle on most fabrics when tested, citrus-based formula dissolves adhesives quickly without harsh fumes.
Labels on kids' clothes or upholstery.
Un-Du Adhesive Remover Specifically designed for fabrics and crafts, non-toxic and odorless for safe, easy use on delicates.

Small spots like tape residue on car seats or curtains.
3M Adhesive Remover Precision pen applicator minimizes overspray, fast-evaporating for quick cleanups on varied fabrics.
Duct tape or glue on work clothes/upholstery.
Krud Kutter Original Adhesive Remover Heavy-duty yet fabric-safe, tackles tough industrial adhesives without residue.
All steps requiring gentle wiping.
Microfiber Cleaning Cloths (E-Cloth) Ultra-soft for blotting without lint or scratches, essential companion to any remover.