Porous surfaces like wood, concrete, brick, and drywall can absorb adhesives unevenly, leading to weak bonds, peeling, or project failure. Whether you're installing tiles, bonding panels, or prepping for epoxy coatings, applying an adhesive primer seals the surface and creates a uniform base for maximum strength.
In this intermediate-level guide, you'll learn proven techniques to prepare and prime porous surfaces for professional results. We'll cover cleaning, sanding, application methods, and curing—everything needed for durable bonds. Expect to spend 1-2 hours, depending on surface size and drying times.
By the end, your primed surface will be smooth, sealed, and ready for adhesives, saving time and materials on rework.
▸What You'll Need
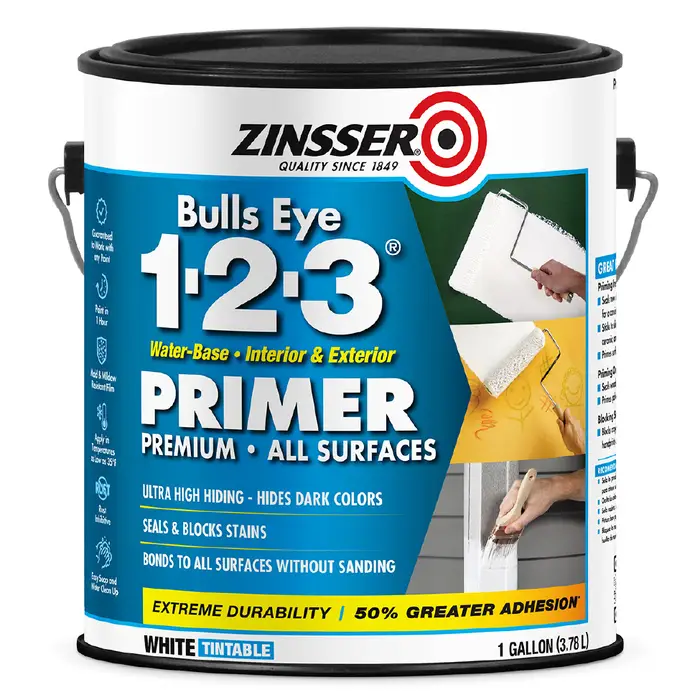
- •Adhesive primer for porous surfaces (acrylic, shellac, or epoxy-based, e.g., Zinsser Bulls Eye 1-2-3)
- •High-quality synthetic paintbrush (2-4 inch angled) or foam roller
- •Sandpaper (120-grit for initial sanding, 220-grit for finishing)
- •Tack cloth or lint-free microfiber cloths
- •Surface cleaner (denatured alcohol, TSP substitute, or mild detergent)
- •Stir sticks or drill mixer attachment
- •Drop cloths or plastic sheeting
- •PPE: Nitrile gloves, N95 respirator mask, safety goggles
- •Optional: Painter's tape, moisture meter for concrete
Estimated Time: 1-2 hours (including drying time for small surfaces)
Difficulty: intermediate
▸Step-by-Step Instructions
Step 1: Prepare Your Workspace and Gather Materials
Clear the area around the porous surface and lay down drop cloths to protect floors and surroundings. Ensure good ventilation by opening windows or using fans—primers often have strong fumes.
Inspect the surface for contaminants like oil, grease, or old paint. This step prevents adhesion issues later. Work in temperatures between 50-90°F (10-32°C) and low humidity (<85%) for best results.
Success looks like: A clean, organized workspace with all tools within reach and no tripping hazards.
💡 Tips:
- •Test humidity with a cheap hygrometer app on your phone.
- •Label your primer can to track expiration.
⚠️ Warnings:
- •Avoid priming in direct sunlight or high winds to prevent uneven drying.
Step 2: Clean the Surface Thoroughly
Remove loose debris with a stiff brush or vacuum. Mix cleaner per instructions (e.g., 1:10 TSP substitute to water) and scrub the surface vigorously with a sponge or rag. Rinse well with clean water and let dry completely.
Why it matters: Porous surfaces trap dirt deep in pores, which blocks primer penetration and causes failures.
Success looks like: Surface feels clean to touch, no visible dust or residue; water beads slightly or absorbs evenly if testing moisture.
💡 Tips:
- •For concrete, use a pressure washer on low setting for deep cleaning.
⚠️ Warnings:
- •Don't use household cleaners with oils or silicones—they repel primers.
Step 3: Repair Cracks and Fill Imperfections
Fill large cracks or holes with a patching compound (e.g., hydraulic cement for concrete). For wood, use wood filler. Apply with a putty knife, overfill slightly, and let cure per product instructions.
Sand smooth once dry. This creates a uniform surface for even primer absorption.
Success looks like: No gaps or rough spots; surface is level and stable.
💡 Tips:
- •Choose fillers compatible with your primer to avoid delamination.
Step 4: Sand the Surface for Better Keying
Use 120-grit sandpaper to roughen the surface, creating micro-abrasions for primer grip. Sand in circular motions, applying even pressure. Progress to 220-grit for smoothness.
Why it matters: Smooth porous surfaces reduce primer absorption; sanding opens pores.
Success looks like: Dull, matte finish with no gloss or shiny areas.
💡 Tips:
- •Wear a mask—dust from porous materials is fine and hazardous.
⚠️ Warnings:
- •Over-sanding weakens the substrate; check depth periodically.
Step 5: Remove All Dust and Debris
Wipe with a tack cloth or damp microfiber cloth followed by dry wipe. Vacuum crevices. Let sit 10-15 minutes to ensure no moisture.
This prevents fisheyes (primer craters) from dust contamination.
Success looks like: Cloth comes away clean; surface is bone-dry.
💡 Tips:
- •Compressed air cans work great for hard-to-reach spots.
Step 6: Stir and Test the Primer
Stir primer thoroughly for 2-3 minutes until uniform—no clumps. Test on scrap porous material to check viscosity and coverage.
Dilute if too thick (follow label ratios, usually 10% water for latex primers).
Success looks like: Smooth, even application on test without runs or puddles.
💡 Tips:
- •Use a drill mixer for large batches to save time.
⚠️ Warnings:
- •Don't shake cans—introduces bubbles.
Step 7: Apply the First Coat of Primer
Using brush or roller, apply thin, even coat in long strokes. Work primer into pores by back-brushing. Coverage: 300-400 sq ft/gal.
Why thin? Thick coats dry unevenly on porous surfaces.
Success looks like: Uniform wet sheen, no puddles; absorbs quickly.
💡 Tips:
- •Cut in edges first, then roll/brush large areas.
⚠️ Warnings:
- •Avoid overworking—primer flashes dry fast.
Step 8: Dry, Sand, and Apply Second Coat if Needed
Allow 1-4 hours drying (check label). Lightly sand with 220-grit, wipe dust. Apply second thin coat for high-porosity surfaces.
Full cure: 24 hours before adhesive.
Success looks like: Smooth, non-tacky surface ready for bonding.
💡 Tips:
- •Test adhesion with tape pull before full cure.
▸Pro Tips
- •Always prime in thin coats—multiple layers outperform one heavy coat.
- •For very porous concrete, use a moisture meter; >4% moisture = wait or use vapor barrier primer.
- •Extend brush life by wrapping in plastic between coats.
- •Add 5-10% retarder in hot weather to slow drying.
- •Practice on scrap for roller nap size (3/8-inch for porous).
- •Store leftover primer in airtight container; good for 1-2 years.
- •For vertical surfaces, apply bottom-to-top to avoid drips.
▸Common Mistakes to Avoid
- •Skipping cleaning: Leads to delamination; always degrease first.
- •Applying thick coats: Causes cracking and poor penetration; thin is best.
- •Priming damp surfaces: Traps moisture, weakens bonds; dry fully.
- •Ignoring temperature/humidity: Results in blush or soft film; check forecasts.
- •Not sanding between coats: Reduces inter-coat adhesion.
▸Troubleshooting
Problem: Primer bubbling or foaming
Solution: Stir gently, avoid shaking; use anti-bubble additive or switch to slower-evaporating primer.
Problem: Fisheyes or craters
Solution: Surface not dust-free; clean again and apply skim coat.
Problem: Poor adhesion after curing
Solution: Re-prep surface; test compatibility. Seek pro if structural.
Problem: Slow drying
Solution: Improve ventilation; thin primer slightly. Wait longer in cool conditions.
Zinsser Bulls Eye 1-2-3 Water-Base Primer
Excellent penetration into porous surfaces like wood and masonry, blocks stains, and promotes strong adhesive bonds.
Best for: Ideal for interior drywall, wood, or brick before gluing panels or tiles.
Price Range: $24.99 (1 quart)
KILZ 2 All-Purpose Primer
High adhesion on porous concrete and masonry, mildew-resistant, quick-drying for faster projects.
Best for: Outdoor or high-moisture porous surfaces like basement walls before epoxy or tile adhesive.
Price Range: $12.98 (1 quart)
3M Adhesive Primer 94
Promotes instant adhesion on difficult porous plastics and composites; solvent-based for deep penetration.
Best for: Bonding tapes or glues to porous engineered materials like fiberglass.
Price Range: $18.99 (16.9 oz)
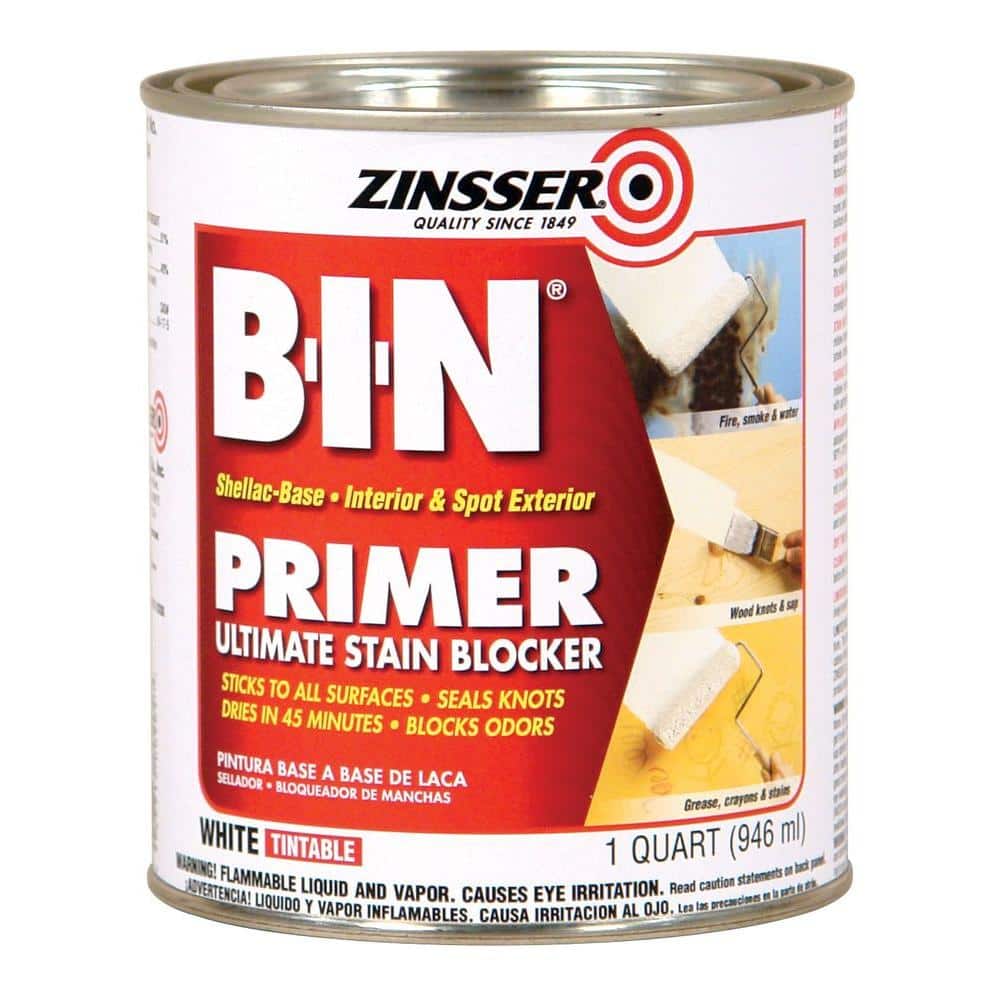
Rust-Oleum Zinsser B-I-N Shellac Primer
Seals highly porous surfaces like raw wood or smoke-damaged masonry; shellac base dries ultra-fast.
Best for: Urgent jobs needing same-day recoat for adhesives.
Price Range: $25.99 (1 quart)