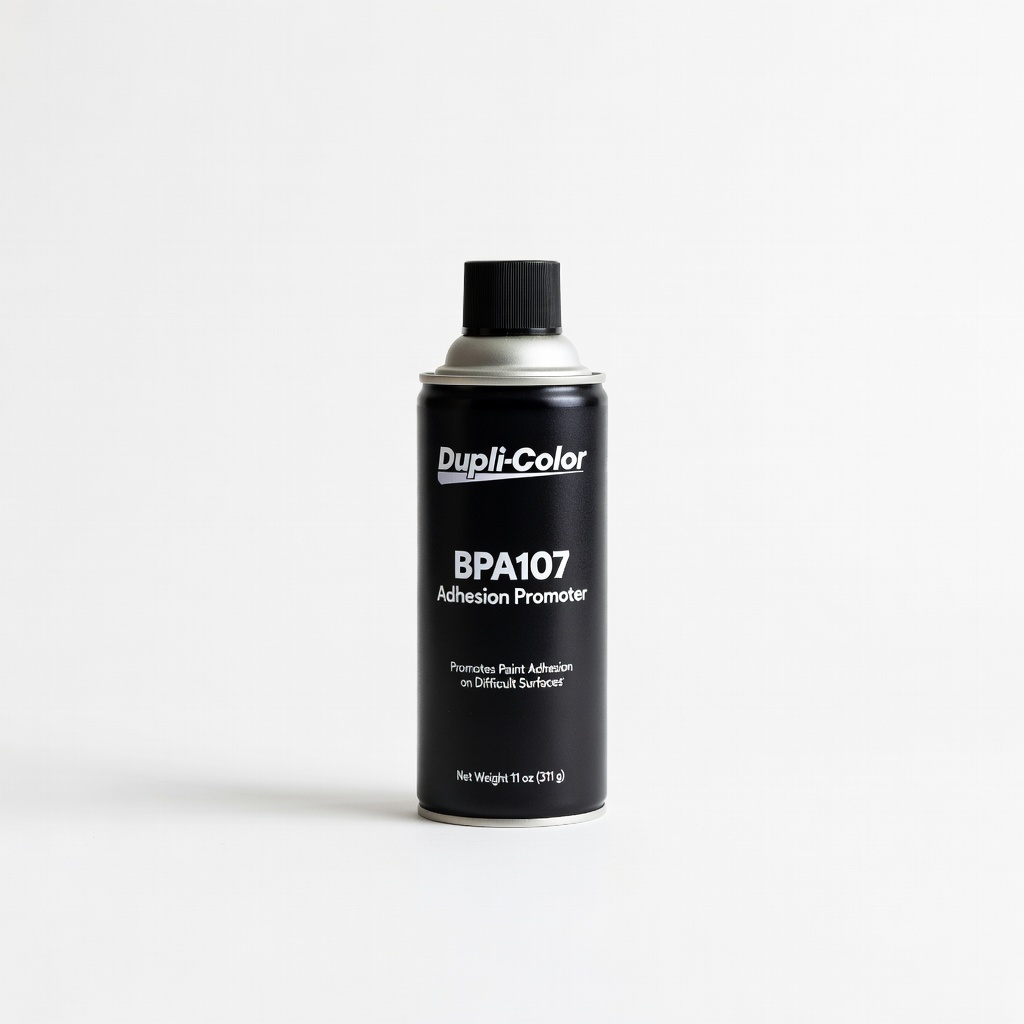
Dupli-Color BPA107 Adhesion Promoter
Pre-apply on hard-to-stick plastics like TPO before your adhesive primer.
$9.99
Dupli-Color BPA107 Adhesion Promoter Specifically formulated for plastic bumpers, creates strong chemical bond before primer.
Get the App
Better experience on mobile
Master the step-by-step process to apply adhesive primer on plastic bumpers for superior paint adhesion and a professional finish.
Plastic bumpers on cars, often made from TPO or polypropylene, are notoriously hard to paint because standard primers don't stick well, leading to peeling and chipping. Applying the right adhesive primer creates a chemical bond that ensures your paint job lasts years, saving you from costly repaints.
In this guide, you'll learn how to prep, apply, and cure adhesive primer like a pro. Expect clear steps, pro tips, and troubleshooting to avoid common pitfalls. Perfect for intermediate DIYers tackling bumper repairs or custom jobs.
The process takes 1-2 hours active time plus drying, with intermediate difficulty requiring basic sanding and spraying skills.
Estimated Time: 1-2 hours active + 24 hours drying Difficulty: intermediate
Set up in a well-ventilated area like a garage with good airflow, ideally 70-80°F (21-27°C) and low humidity. Cover the floor and surrounding areas with drop cloths to catch overspray. If the bumper is on the car, remove it for easier access or mask off adjacent panels tightly with painter's tape and plastic sheeting.
Why it matters: Contaminants like dust or overspray on other parts can ruin your finish. Success looks like a clean, protected space ready for work.
💡 Tips:
⚠️ Warnings:
Wash the bumper with dish soap and water using a soft sponge to remove dirt, grease, and road grime. Rinse well and dry completely with a microfiber towel.
Follow with a degreasing wipe-down using isopropyl alcohol on a clean cloth—work in sections and let evaporate fully.
Expect a shiny, residue-free surface; water should sheet off evenly without beading.
💡 Tips:
⚠️ Warnings:
Using 400-600 grit wet/dry sandpaper, scuff the bumper surface in a crosshatch pattern with light, even pressure. Sand wet for less dust. Wipe away all sanding residue with a tack cloth.
This creates microscopic teeth for adhesion without removing material. Success: Uniform dull matte finish, no shiny spots.
💡 Tips:
⚠️ Warnings:
Wipe the entire surface again with isopropyl alcohol using a fresh tack cloth. Inspect for any fingerprints, dust, or residue. Let air dry for 5-10 minutes.
Clean workspace floor too. The surface should feel tack-free and perfectly clean.
💡 Tips:
Apply painter's tape precisely around edges and any areas not being primed. Use plastic sheeting for large coverage. This prevents primer on tires, lights, or paint.
Success: Sharp, clean mask lines.
💡 Tips:
⚠️ Warnings:
Shake the adhesive primer can vigorously for 1-2 minutes (follow label). Test spray on cardboard: Aim for 8-10" distance, sweeping motion, 50% overlap.
Adjust pressure if using a gun (30-40 PSI). Why: Ensures even atomization.
💡 Tips:
Spray in smooth, overlapping passes (50% overlap) from 8-12" away. Move at 1-2 ft/sec. Apply thin 'tack' coat—surface hazy but not wet.
Let flash off 5-10 min. Expect even coverage without runs.
💡 Tips:
⚠️ Warnings:
After flash-off, scuff with 800 grit dry. Wipe clean. Apply full second coat, building to opaque coverage without runs. Flash 10-15 min.
Optional third coat if needed.
💡 Tips:
Check for holidays (missed spots)—touch up if needed. Let cure per label (typically 30 min to handle, 24 hrs full). Remove masking.
Success: Smooth, even primer ready for topcoat.
💡 Tips:
Problem: Primer not adhering/peeling
Solution: Re-prep surface—missed grease or old paint. Use fresh primer.
Problem: Runs or sags
Solution: Sand smooth after dry, re-prime thinner. Improve spray technique.
Problem: Dust nibs
Solution: Blow off with compressed air, wet sand, recoat.
Problem: Orange peel texture
Solution: Thin primer if too thick; sand and topcoat.
Specifically formulated for plastic bumpers, creates strong chemical bond before primer.
Best for: Pre-apply on hard-to-stick plastics like TPO before your adhesive primer.
Price Range: $9.99
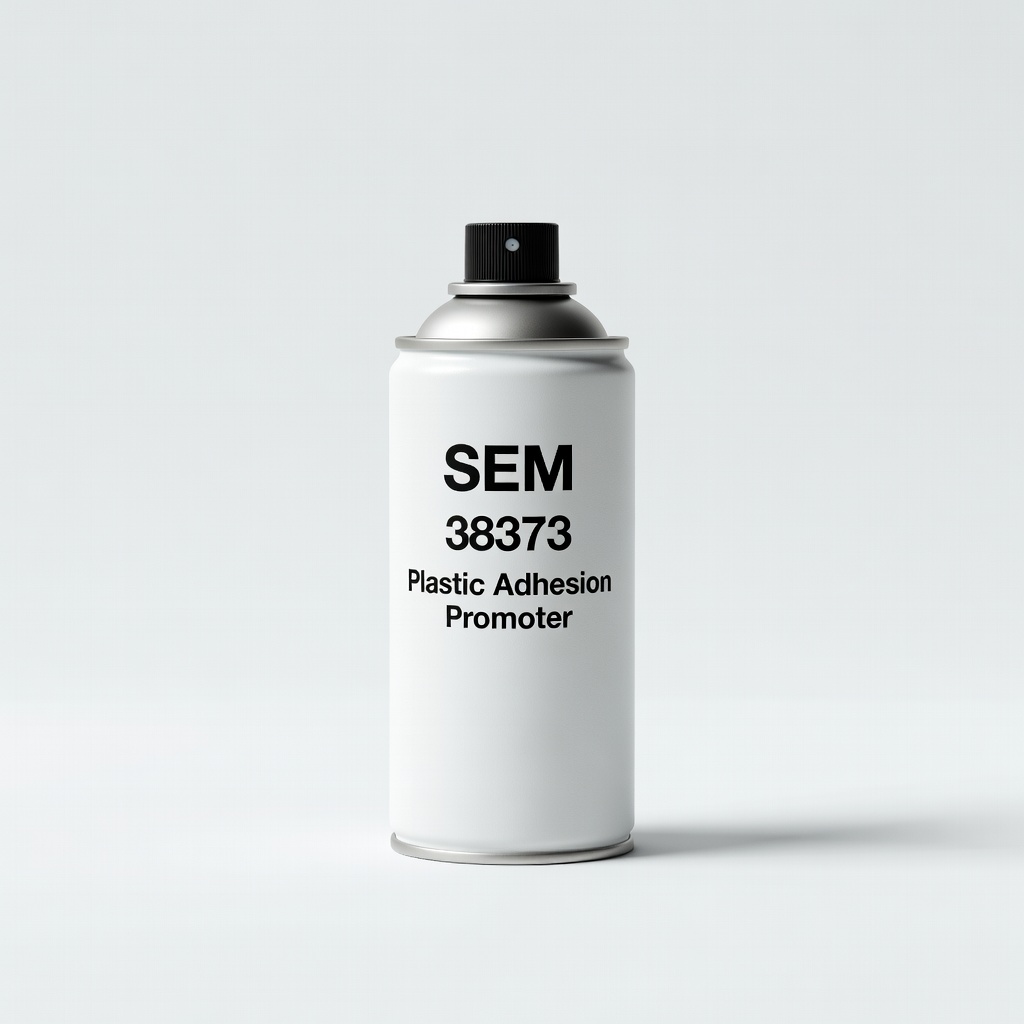
Fast-drying, flexible promoter that bonds to polypropylene plastics without sanding.
Best for: Ideal first step for OEM bumper repaints.
Price Range: $18.99
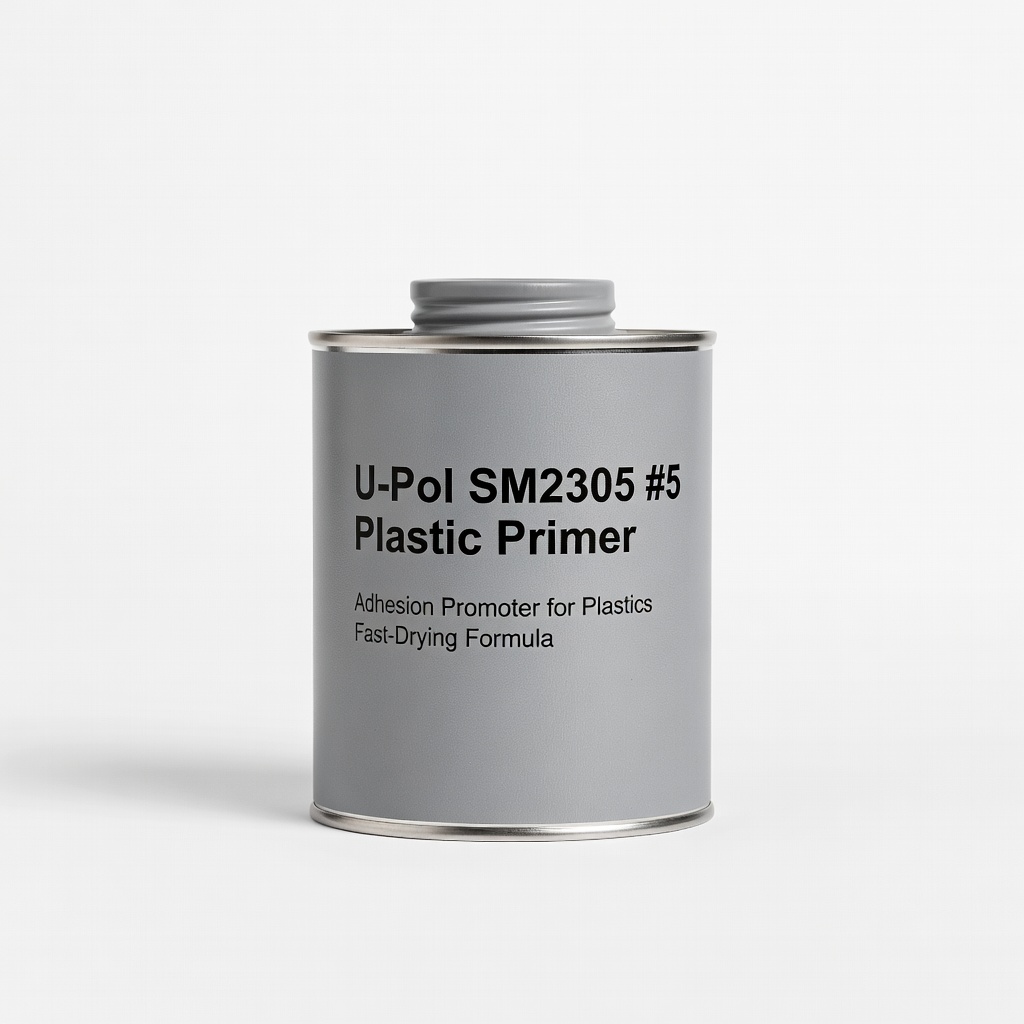
High-build primer fills minor imperfections, excellent adhesion for automotive plastics.
Best for: As your main adhesive primer for textured or repaired bumpers.
Price Range: $24.99
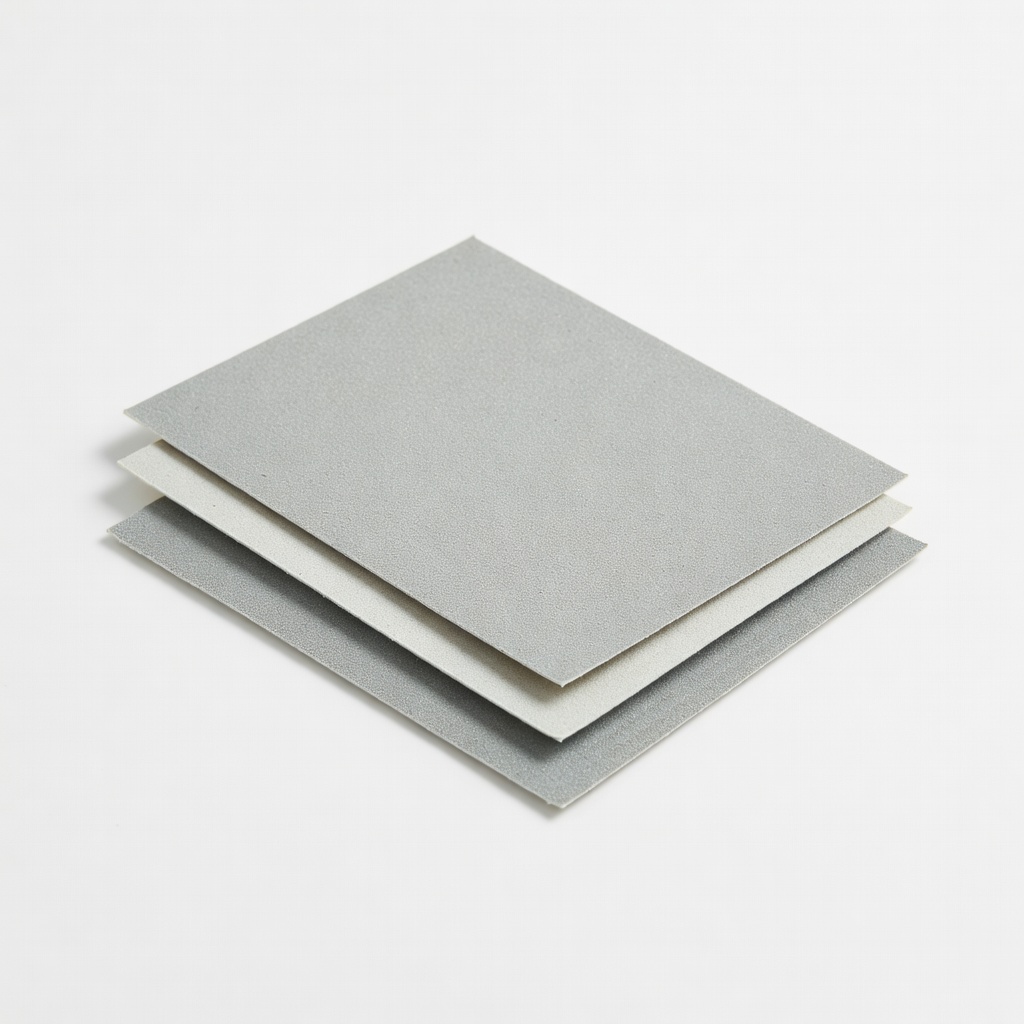
Perfect grit for scuffing without gouging flexible plastics.
Best for: Prep step—use wet for dust control.
Price Range: $8.99
Organic vapor respirator essential for safe spraying.
Best for: PPE during all application steps.
Price Range: $29.99
Pre-apply on hard-to-stick plastics like TPO before your adhesive primer.
Dupli-Color BPA107 Adhesion Promoter Specifically formulated for plastic bumpers, creates strong chemical bond before primer.
Ideal first step for OEM bumper repaints.
SEM 38373 Plastic Adhesion Promoter Fast-drying, flexible promoter that bonds to polypropylene plastics without sanding.
As your main adhesive primer for textured or repaired bumpers.
U-Pol SM2305 #5 Plastic Primer High-build primer fills minor imperfections, excellent adhesion for automotive plastics.
Prep step—use wet for dust control.
3M 400 Grit Wetordry Sandpaper (5 sheets) Perfect grit for scuffing without gouging flexible plastics.
PPE during all application steps.
Rust-Oleum 249322 Painter's Safety Mask Organic vapor respirator essential for safe spraying.