Struggling with nail extensions that lift or pop off too soon? The secret lies in proper adhesive primer application—a step many intermediate nail enthusiasts overlook or rush. Without it, your extensions won't bond securely to the natural nail, leading to frustrating repairs and wasted product.
In this guide, you'll master a foolproof, step-by-step process to apply adhesive primer correctly. Whether using acrylic, gel, or hard gel extensions, these techniques ensure maximum adhesion. Expect to spend 10-15 minutes per hand, perfect for intermediate DIY nail artists with basic filing and prepping skills.
By the end, your nails will have a strong, invisible bond ready for extension application, mimicking salon-quality results at home.
▸What You'll Need
- •Adhesive nail primer (acid-based or acid-free, depending on nail health)
- •Nail dehydrator/cleaner (e.g., 99% isopropyl alcohol)
- •Lint-free nail wipes or paper towels
- •400-500 grit nail buffer or file
- •Nail brush for dust removal
- •UV/LED lamp (if using no-wipe primer that requires curing)
- •Acetone or nail polish remover
- •Base coat or extension products (for full process)
- •Optional: Cuticle pusher and oil for prep
Estimated Time: 10-15 minutes per hand (20-30 minutes total)
Difficulty: intermediate
▸Step-by-Step Instructions
Step 1: Prepare Your Workspace and Nails
Set up a clean, well-lit area with good ventilation to avoid inhaling fumes. Remove any existing polish using acetone and push back cuticles gently with a pusher. This ensures a contaminant-free surface for primer adhesion.
Why it matters: Oils, lotions, or residue on natural nails create a barrier, causing lifts. Clean nails = strong bond.
What success looks like: Bare, dry natural nails with no shine or color.
💡 Tips:
- •Work one hand at a time to keep nails oil-free longer.
- •Use a manicure bowl for soaking off old polish.
⚠️ Warnings:
- •Avoid cuticle nippers if you're intermediate—risk of injury.
Step 2: Dehydrate the Nail Plate
Swipe each nail with a lint-free wipe soaked in 99% isopropyl alcohol or nail dehydrator. Start from the cuticle area and wipe toward the free edge in one smooth motion. Let air dry for 30 seconds.
This removes moisture and surface oils, prepping for primer. Expect a slight tacky feel— that's the dehydrated plate ready for bonding.
Success indicator: Nails feel matte and dry, no slippery residue.
💡 Tips:
- •Use a fresh wipe per hand to prevent cross-contamination.
⚠️ Warnings:
- •Don't oversaturate; excess liquid can weaken the bond.
Step 3: Buff the Nail Surface Lightly
Using a 400-500 grit buffer, gently buff the entire nail plate in one direction (no back-and-forth sawing). Focus on shine removal without thinning the nail too much—aim for a satin finish.
Buffing creates micro-abrasions for primer grip. Success: Nail looks frosted, not paper-thin or damaged.
💡 Tips:
- •Buff dry nails only; moisture dulls the buffer.
⚠️ Warnings:
- •Over-buffing thins nails, leading to breakage—light pressure only.
Step 4: Remove Dust Thoroughly
Dust off filings with a clean nail brush, then wipe again with a dry lint-free wipe or alcohol-dampened one. Blow gently or use a mini vacuum if available.
Dust acts like sandpaper between layers, preventing adhesion. Expect: Completely clean, dust-free surface.
💡 Tips:
- •Brush from cuticle to tip to avoid pushing dust under edges.
⚠️ Warnings:
- •Skip this and your primer won't penetrate properly.
Step 5: Apply Adhesive Primer Precisely
Dip a small brush or use the applicator to place 1-2 drops of primer at the cuticle area. Gently spread toward the free edge and sides with the brush, covering the entire plate thinly. Avoid flooding—primer should be sheer, not pooling.
Primer etches the nail for super-bonding. Acid primers (pink) for oily nails; acid-free (purple/clear) for sensitive ones. Success: Even, glossy thin layer that doesn't run.
💡 Tips:
- •Cap the bottle immediately to prevent thickening.
⚠️ Warnings:
- •Too much primer causes bubbling or lifting—less is more.
Step 6: Allow Primer to Dry or Cure
Let air dry for 30-60 seconds (acid primer) or cure under UV/LED lamp for 30-60 seconds (no-wipe types). It will turn tacky or fully dry.
Drying activates the bonding agents. What to expect: Sticky or matte finish, ready for extensions—no wet spots.
💡 Tips:
- •Test dryness by touch; if sticky, wait longer.
⚠️ Warnings:
- •Rushing causes poor adhesion.
Step 7: Proceed to Nail Extensions
Apply your extensions immediately—primer's tack lasts 5-10 minutes. Use acrylic, gel, or tips as per your method.
Final success: Extensions bond seamlessly, no gaps or movement after 24 hours.
💡 Tips:
- •Do both hands before full cure for consistency.
⚠️ Warnings:
- •Don't wait too long; re-prep if needed.
▸Pro Tips
- •Always shake primer bottle well for even consistency.
- •For oily nails, double-dehydrate for extra hold.
- •Use a fan on low to speed air-drying without dust.
- •Store primer in a cool, dark place to extend shelf life.
- •Practice on fake nails first to perfect thin application.
- •Layer primer on enhancement areas for 3D designs.
- •Moisturize cuticles post-application to prevent dryness.
▸Common Mistakes to Avoid
- •Applying primer on unclean/oily nails—leads to instant lifting; always dehydrate first.
- •Overloading primer—causes yellowing or bubbles; use sparingly.
- •Skipping buffing—shiny nails repel primer; always create texture.
- •Not removing dust—creates weak spots; brush twice if needed.
- •Using expired primer—loses potency; check date and smell.
▸Troubleshooting
Problem: Primer bubbles or lifts after application
Solution: Reduce amount used and ensure full dehydration; switch to acid-free if nail is healthy.
Problem: White spots or chalky finish
Solution: Wipe excess before drying; buff lightly and reapply thinner layer.
Problem: Extensions pop off after 1-2 days
Solution: Revisit prep steps—full buff and dust removal; consider stronger acid primer.
Problem: Primer won't dry
Solution: Expired product or too thick layer; thin with acetone or replace.
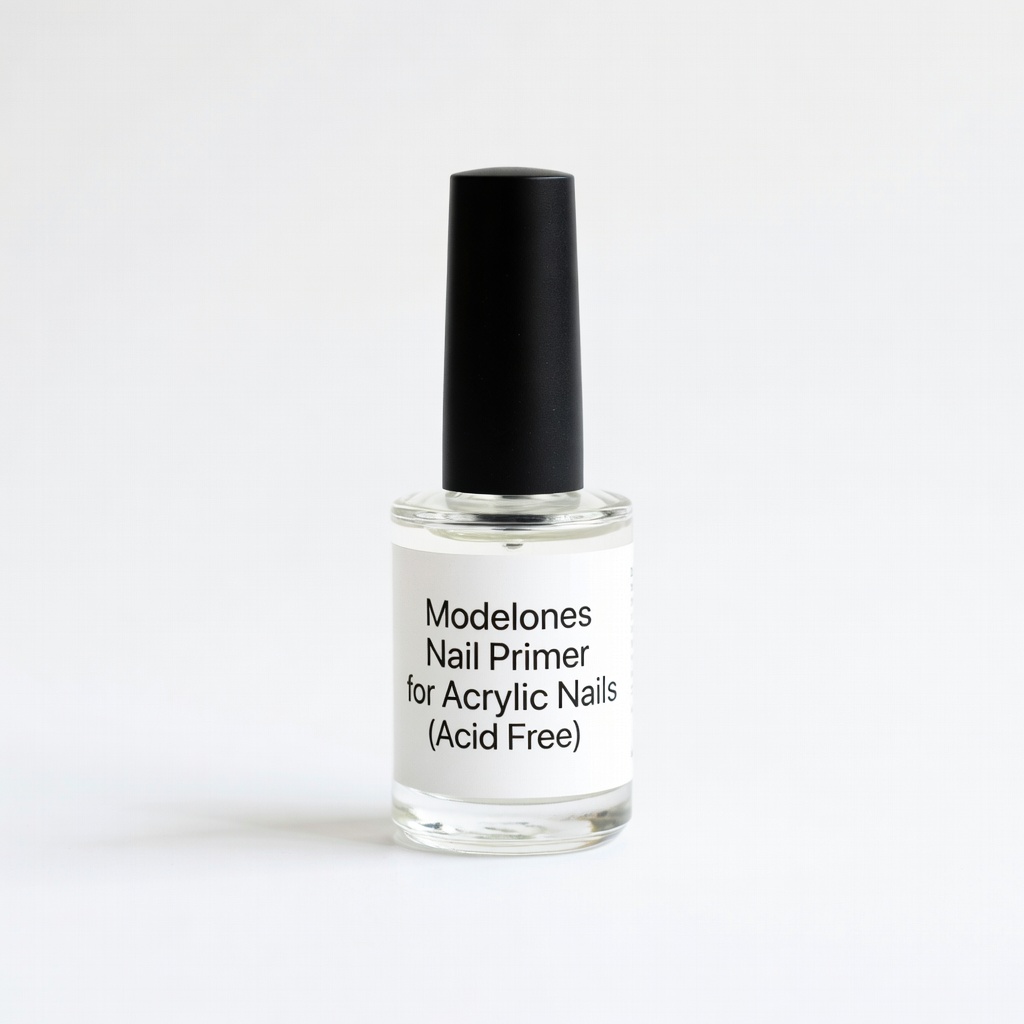
Modelones Nail Primer for Acrylic Nails (Acid Free)
Gentle on natural nails, strong bond without burning—ideal for intermediate users avoiding damage.
Best for: Daily DIY extensions on healthy or sensitive nails.
Price Range: $6.99
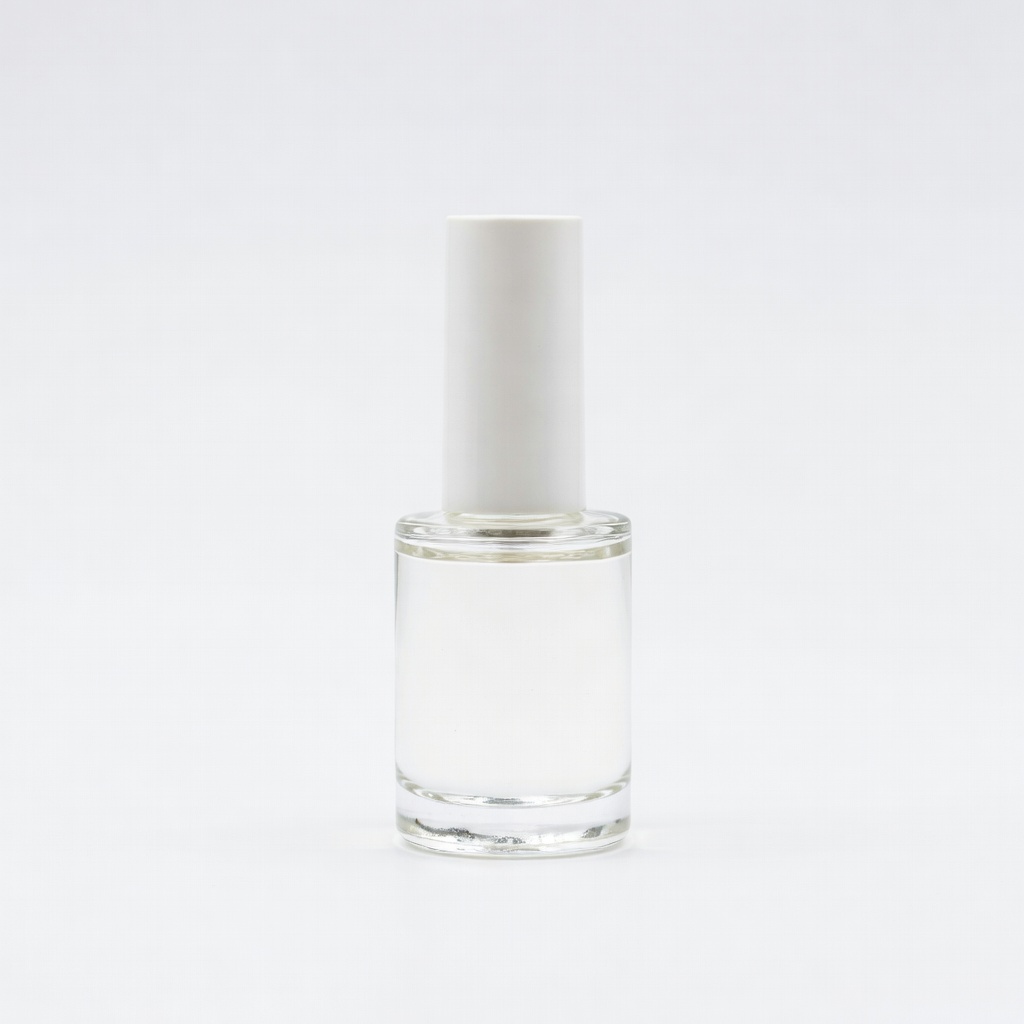
Beetles Professional Nail Primer
Quick-drying, no-wipe formula with UV curing for salon-speed results and long wear.
Best for: Gel or polygel extensions needing fast workflow.
Price Range: $7.99
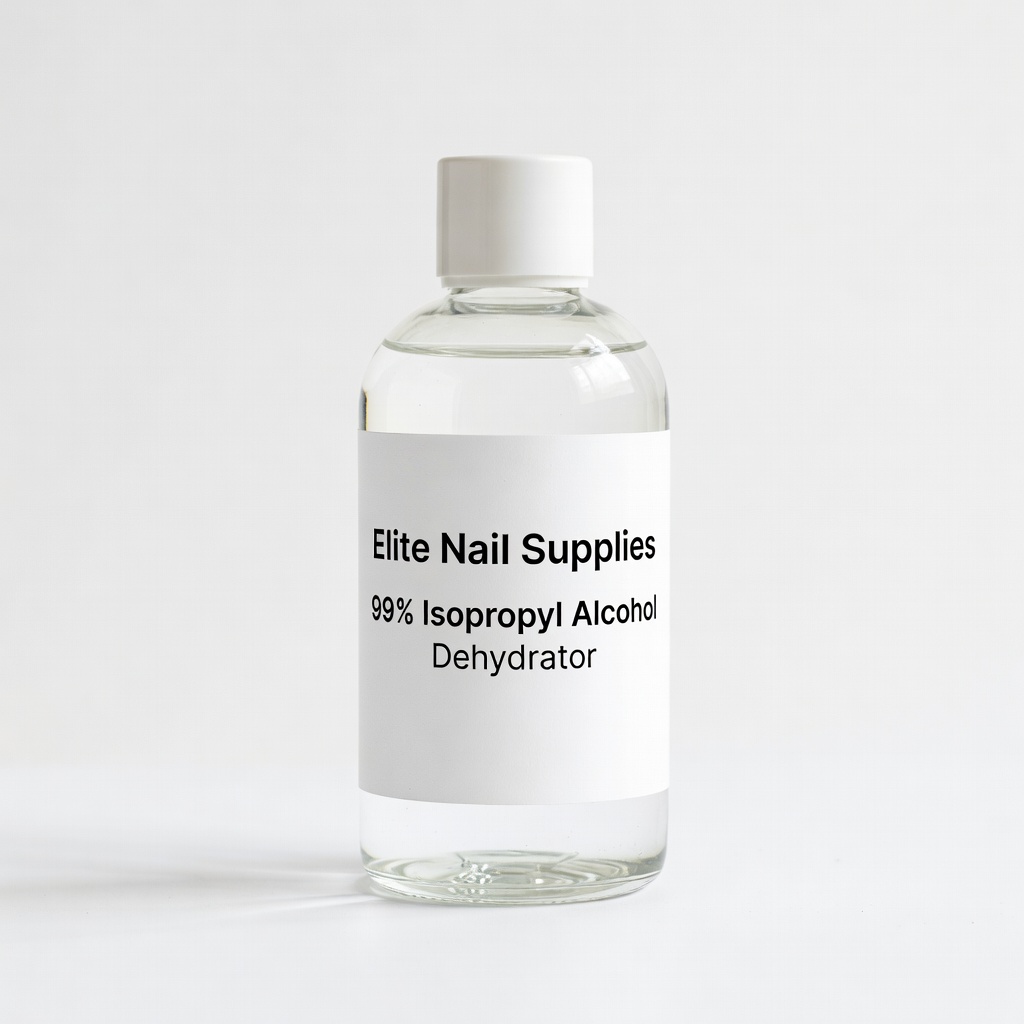
Elite Nail Supplies 99% Isopropyl Alcohol Dehydrator
Pairs perfectly with primers for oil-free prep; multi-use for cleaning tools too.
Best for: Pre-primer dehydration on all nail types.
Price Range: $9.99
Saviland Nail Primer and Dehydrator Kit
2-in-1 value set for beginners stepping up; consistent results without extras.
Best for: Budget full prep routine for acrylic tips.
Price Range: $12.99