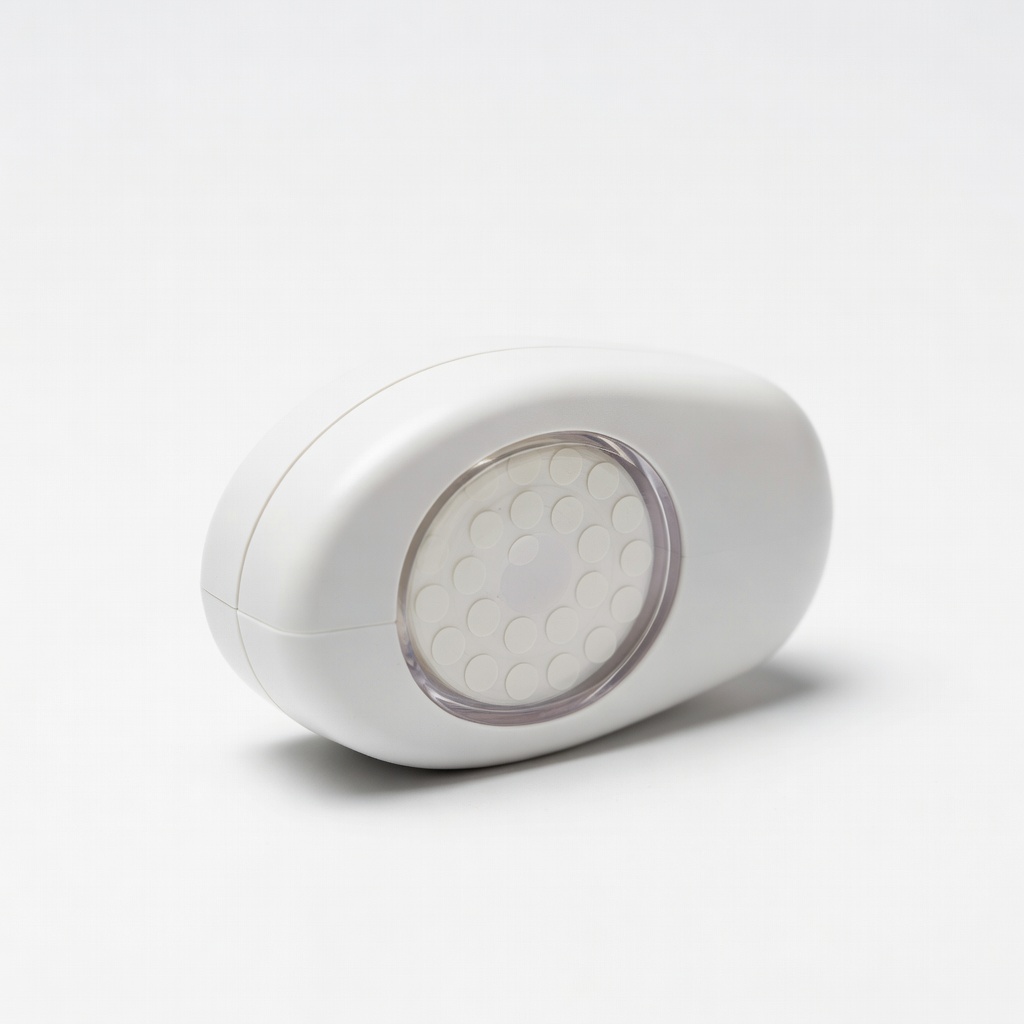
Therm-O-Web Zots Dots Dispenser
Applying single dots quickly on scrapbook pages.
$9.99
Therm-O-Web Zots Dots Dispenser Easy-to-use dispenser with precise control, perfect for beginners to avoid mess.
Get the App
Better experience on mobile
Master clean, precise adhesion for stunning scrapbook pages in minutes with this beginner-friendly step-by-step guide.
Struggling with messy glue sticks or tape that shifts your carefully placed photos and embellishments? Adhesive dots offer a game-changing solution for scrapbookers, providing invisible, strong bonds without the hassle. They're perfect for beginners who want professional results fast.
In this guide, you'll learn how to apply adhesive dots flawlessly to layer papers, photos, and decorations on your scrapbook pages. We'll cover everything from setup to finishing touches, so your projects stay flat, secure, and mess-free. Expect to complete a full page in just 10-15 minutes—ideal for quick crafting sessions.
No prior experience needed; just follow these simple steps for scrapbooking success.
Estimated Time: 10-15 minutes per scrapbook page Difficulty: beginner
Clear a flat, well-lit surface like a craft table or desk. Lay down a protective mat or scrap paper to catch any stray dots. This prevents adhesive from sticking to your table and keeps your project organized.
Why it matters: A tidy workspace reduces frustration and ensures precise application. Expect a clean area ready for crafting in under 2 minutes.
💡 Tips:
⚠️ Warnings:
Collect all items from your 'What You Need' list. Arrange scrapbook paper as your base, then sort photos and embellishments by size and placement.
This step sets you up for efficiency—think of it as planning your page layout mentally. You'll have everything at hand, avoiding mid-project searches.
💡 Tips:
Open the dispenser per manufacturer instructions (usually a twist or slide). Insert the refill roll of dots, ensuring it threads correctly through the applicator wheel. Close securely and test-dispense one dot onto scrap paper.
Proper loading prevents jams and ensures dots release smoothly. Success looks like a perfect 1/8-inch dot popping out cleanly.
⚠️ Warnings:
Lay out your base paper and position photos/embellishments without adhesive. Use a pencil to lightly mark spots if needed. Adjust until you're happy with the design.
This dry run saves dots and time—expect a balanced, visually appealing page ready to adhere.
💡 Tips:
Press the dispenser firmly onto the marked spot on your scrapbook paper base. Squeeze or roll to release one dot. It should appear as a small, clear circle (about 1/8 to 1/4 inch).
Dots provide instant tack without drying time. Why it matters: Precise placement keeps layers flat and prevents bubbling.
💡 Tips:
⚠️ Warnings:
Align your photo or die-cut over the dot and lower gently into place. Start from one edge to avoid air pockets.
The dot's double-sided stickiness bonds immediately. Expect a secure hold that won't shift during handling.
💡 Tips:
Use your finger or a bone folder to press down for 5-10 seconds, ensuring full contact. Add more layers by repeating steps 5-6.
Pressing activates full adhesion. Success: Flat, wrinkle-free layers that feel solid.
⚠️ Warnings:
Trim any overhanging edges with scissors. Let sit 1 minute, then admire your completed page.
Final trim gives a polished look. Your page is now ready to insert into an album.
💡 Tips:
Problem: Dots won't dispense
Solution: Check if roll is loaded correctly; gently clean applicator wheel with tweezers. Replace if tangled.
Problem: Adhesion weak on glossy paper
Solution: Roughen surface lightly with sandpaper or use primer dots; ensure full press.
Problem: Dispenser jams frequently
Solution: Use high-quality refills; avoid forcing. Seek refill instructions video.
Problem: Dots show through thin paper
Solution: Switch to smaller micro dots or opaque alternatives.
Easy-to-use dispenser with precise control, perfect for beginners to avoid mess.
Best for: Applying single dots quickly on scrapbook pages.
Price Range: $9.99
Reliable double-sided dots with strong hold on paper, photos, and vellum.
Best for: Refilling dispensers for multiple projects; great value pack.
Price Range: $4.99
Precision tip for tiny dots, acid-free for archival scrapbooking.
Best for: Detailed work like journaling or small embellishments.
Price Range: $7.49
Crystal-clear, repositionable initially for perfect placement.
Best for: Beginners adjusting layouts without commitment.
Price Range: $6.99
Applying single dots quickly on scrapbook pages.
Therm-O-Web Zots Dots Dispenser Easy-to-use dispenser with precise control, perfect for beginners to avoid mess.
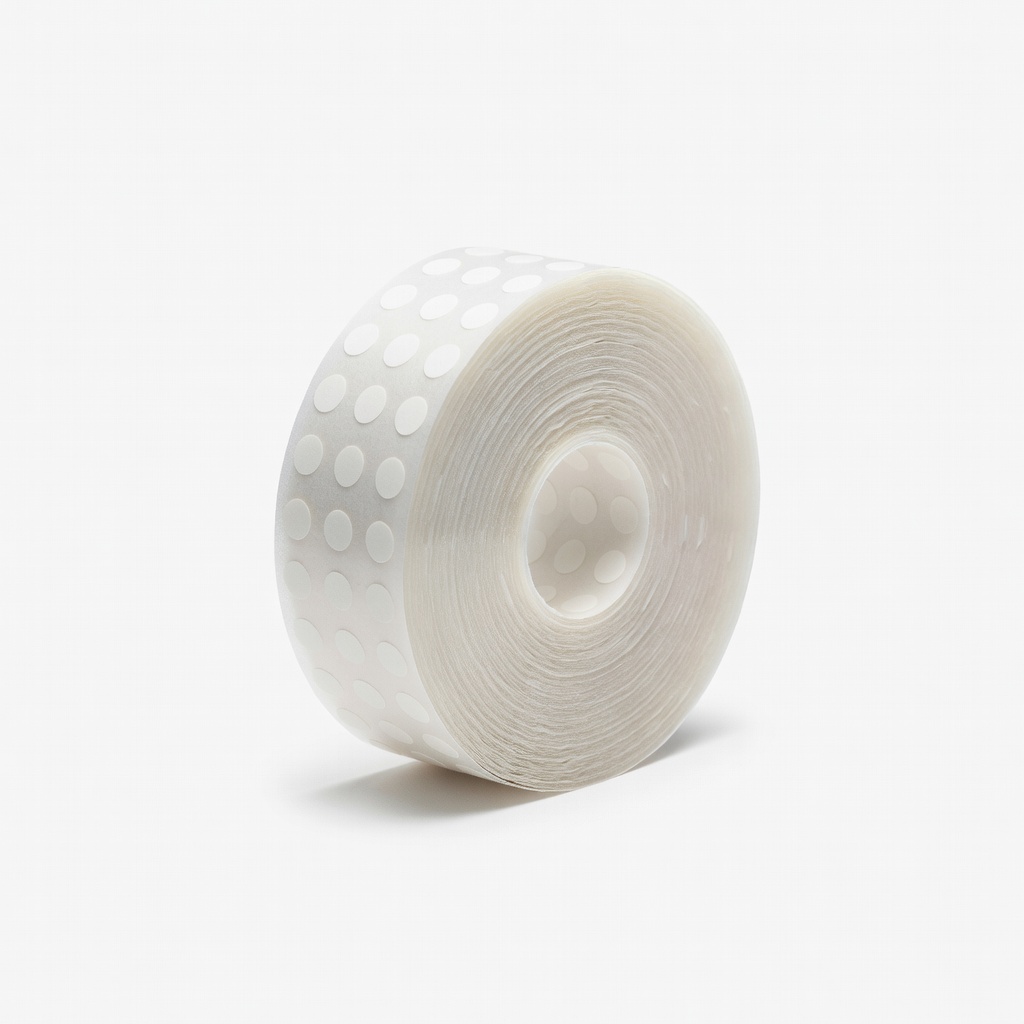
Refilling dispensers for multiple projects; great value pack.
Therm-O-Web Zots Medium Dots Refill, 300 Dots Reliable double-sided dots with strong hold on paper, photos, and vellum.
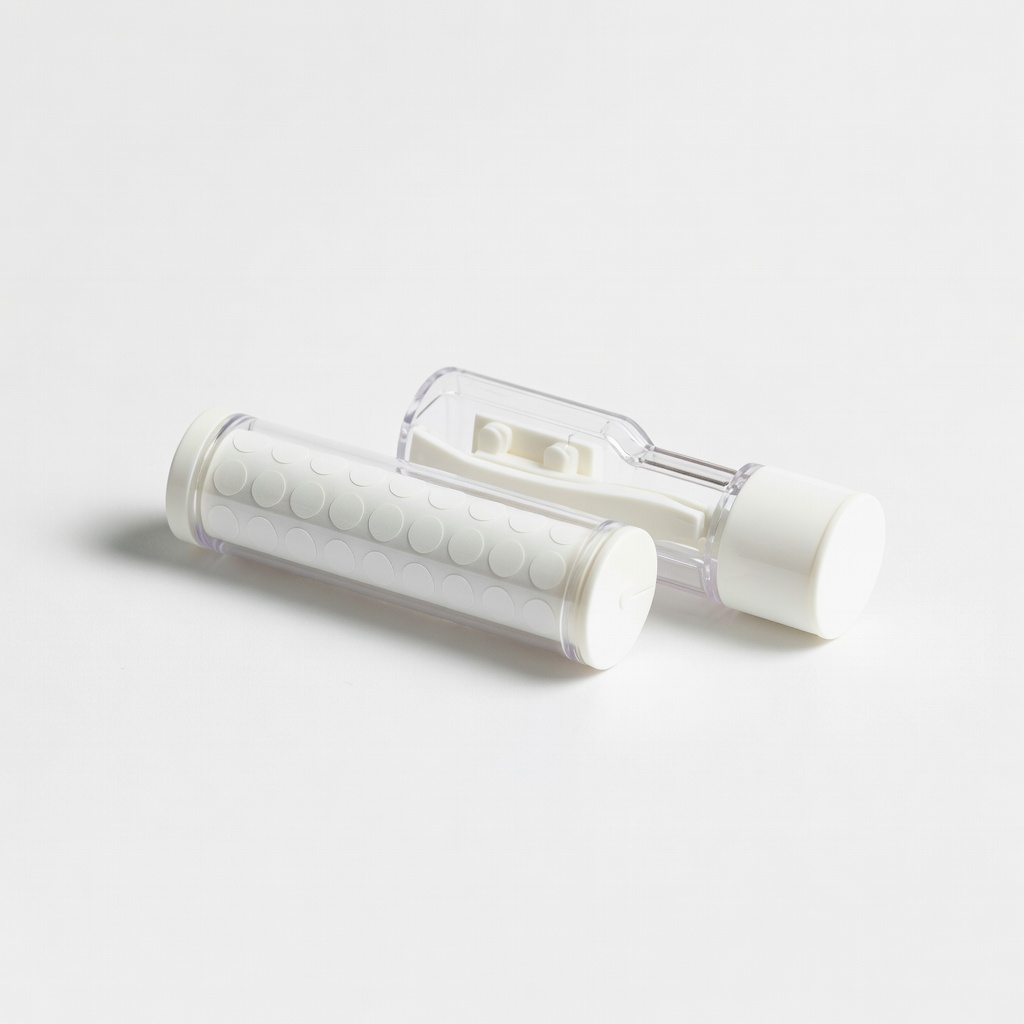
Detailed work like journaling or small embellishments.
Scrapbook Adhesives by 3L E-Z Dots Permanent Refill Precision tip for tiny dots, acid-free for archival scrapbooking.
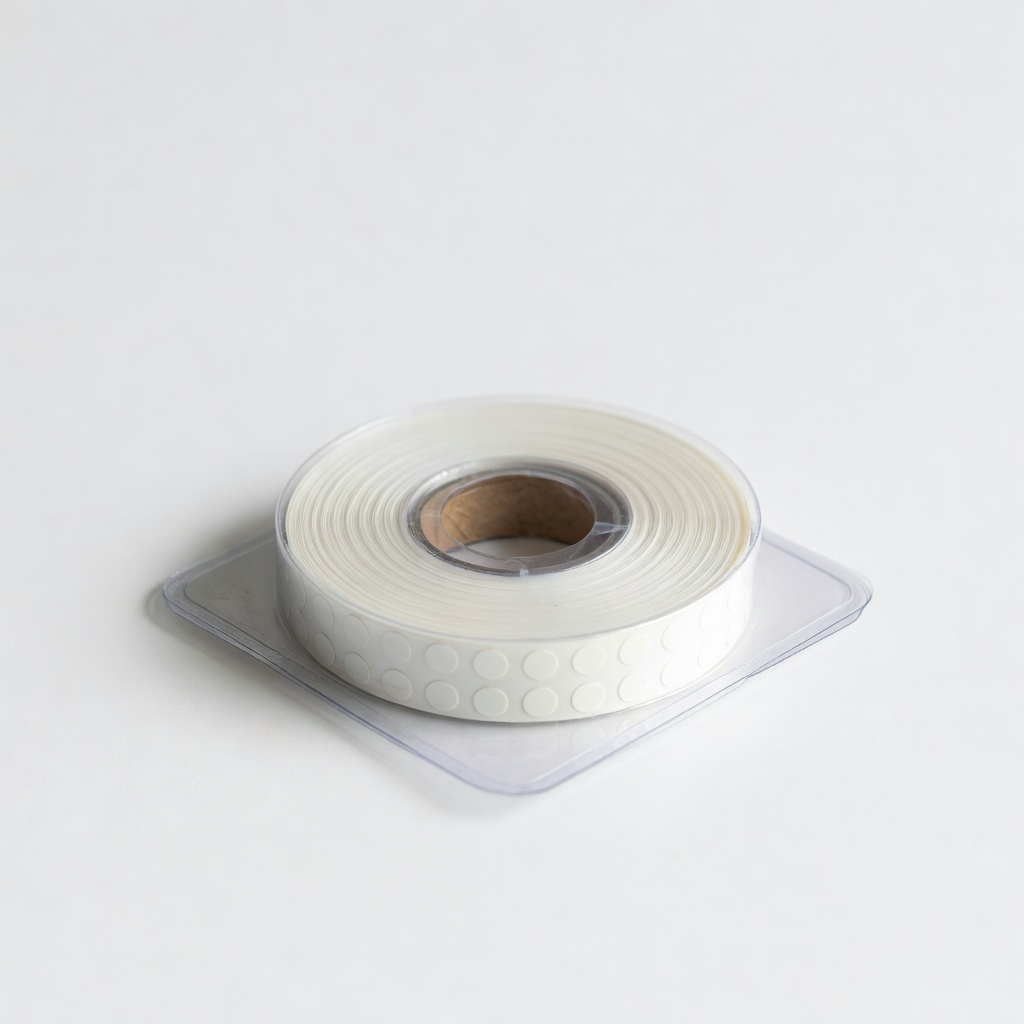
Beginners adjusting layouts without commitment.
X-Press It Double-Sided Adhesive Dots Refill Crystal-clear, repositionable initially for perfect placement.