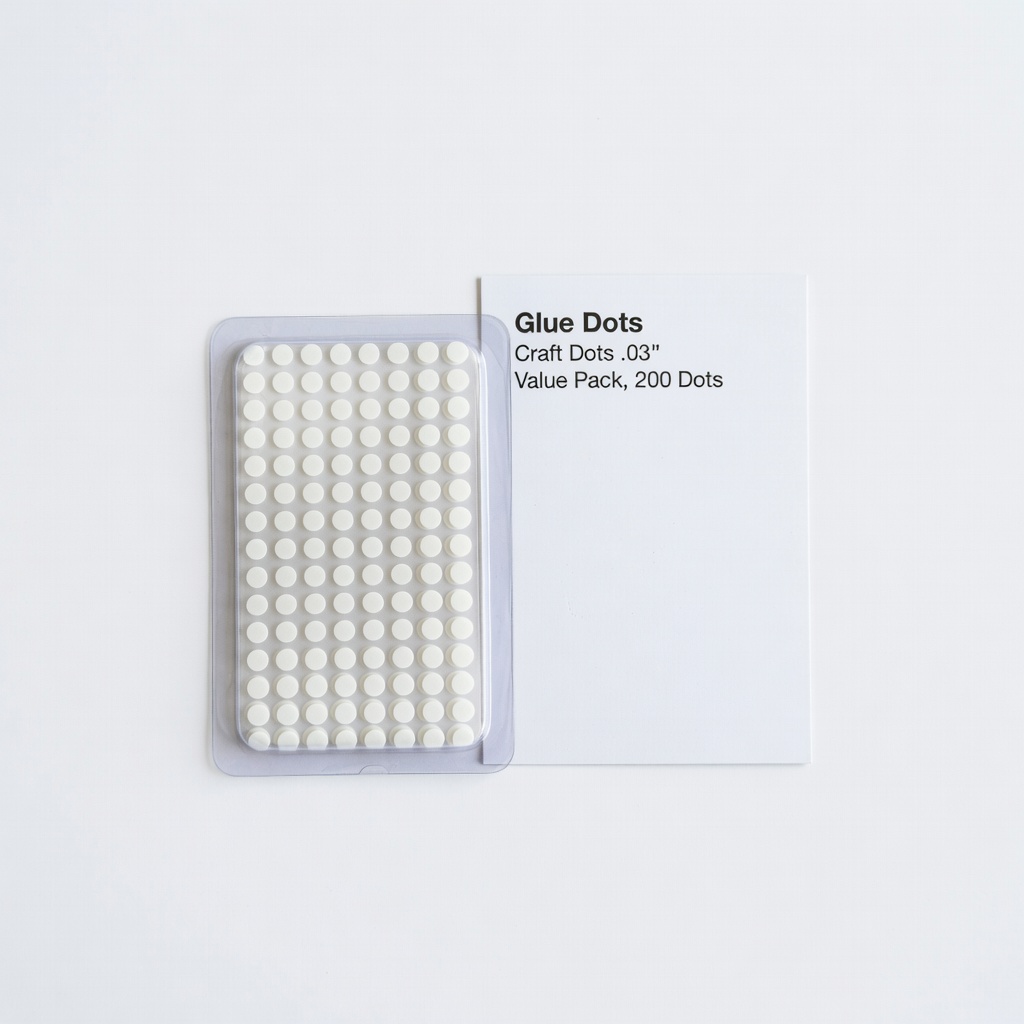
Glue Dots Craft Dots .03" Value Pack, 200 Dots
Best for photos and paper layers on beginner projects.
$4.99
Glue Dots Craft Dots .03" Value Pack, 200 Dots Ultra-fine size perfect for detailed scrapbooking; clear, permanent hold without bulk.
Get the App
Better experience on mobile
Master mess-free adhesion in minutes to create professional-looking scrapbook pages as a beginner.
Scrapbooking is a fun way to preserve memories, but messy glue can ruin your creative flow and damage delicate papers. Adhesive dots offer a clean, precise alternative that's perfect for beginners—no drying time, no sticky fingers.
In this guide, you'll learn step-by-step how to apply adhesive dots flawlessly, from prep to finish. Expect to complete a sample page in under 15 minutes with pro results: flat, bubble-free bonds that last.
This beginner-friendly process uses simple tools and techniques trusted by crafters worldwide. No prior experience needed—just follow along for frustration-free fun.
Estimated Time: 10-15 minutes Difficulty: beginner
Clear a flat, clean surface like a craft mat or table to avoid dust or debris sticking to your project. Lay out your scrapbook page and organize elements nearby.
Why it matters: A tidy space prevents contamination of adhesive dots, ensuring strong bonds.
You'll see a neat setup ready for action—no clutter distractions.
💡 Tips:
⚠️ Warnings:
Select photos or paper pieces, then trim to size using scissors. Handle edges carefully to keep them straight.
Why it matters: Precise cuts make adhesion easier and layouts professional.
Expect smooth, ready-to-stick pieces—test fit on your page without committing.
💡 Tips:
If using a roller, ensure it's loaded; peel back any cover. For dot dispensers, press to dispense a test dot on scrap paper.
Why it matters: Fresh adhesive ensures reliable stickiness.
Success: A clean dot dispenses easily without stringing.
⚠️ Warnings:
Place the element face-down. Roll or press dispenser along the back in a zigzag or grid pattern, focusing on edges and center.
Why it matters: Even coverage prevents lifting or bubbling.
Expect 4-6 dots per small item—translucent dots visible but not bulky.
💡 Tips:
Align the element on your page. Use tweezers for tiny pieces.
Why it matters: Precise placement avoids repositioning mishaps.
Success looks like a perfectly fitted layout before pressing.
Press down evenly with your finger or a bone folder for 5-10 seconds. Start from center outward.
Why it matters: Pressure activates the adhesive fully.
The element stays flat—no shifting when you lift your hand.
💡 Tips:
⚠️ Warnings:
Add more elements, layering as desired. Let sit 1 minute.
Why it matters: Builds dimension securely.
Your page now boasts a cohesive, archival-quality design.
Wipe dispenser tip with a dry cloth. Erase stray dots with a craft eraser.
Why it matters: Maintains tools for next use.
Everything's spotless, ready for storage.
💡 Tips:
Problem: Dots won't dispense
Solution: Check for clogs; gently clean tip or replace refill. Warm dispenser in hands.
Problem: Element lifts after adhering
Solution: Add more dots and repress for 30 seconds. Ensure surface is oil-free.
Problem: Bubbles under element
Solution: Lift and reapply with fewer dots in a grid; smooth from center.
Problem: Sticky residue on fingers
Solution: Roll off with scrap paper; avoid touching dots directly.
Ultra-fine size perfect for detailed scrapbooking; clear, permanent hold without bulk.
Best for: Best for photos and paper layers on beginner projects.
Price Range: $4.99
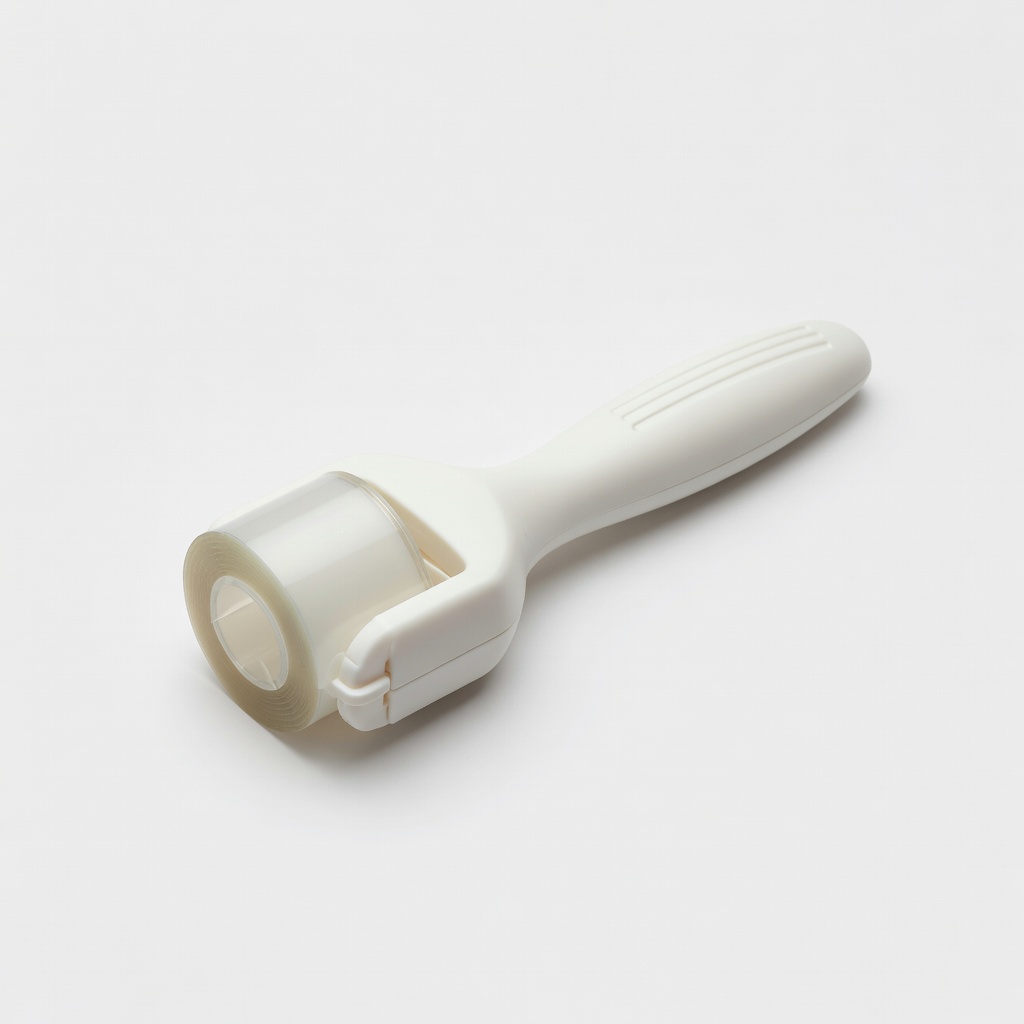
Easy-roll dispenser for mess-free application; acid-free for archival safety.
Best for: Quick adhesion of embellishments and borders.
Price Range: $5.99-$7.99
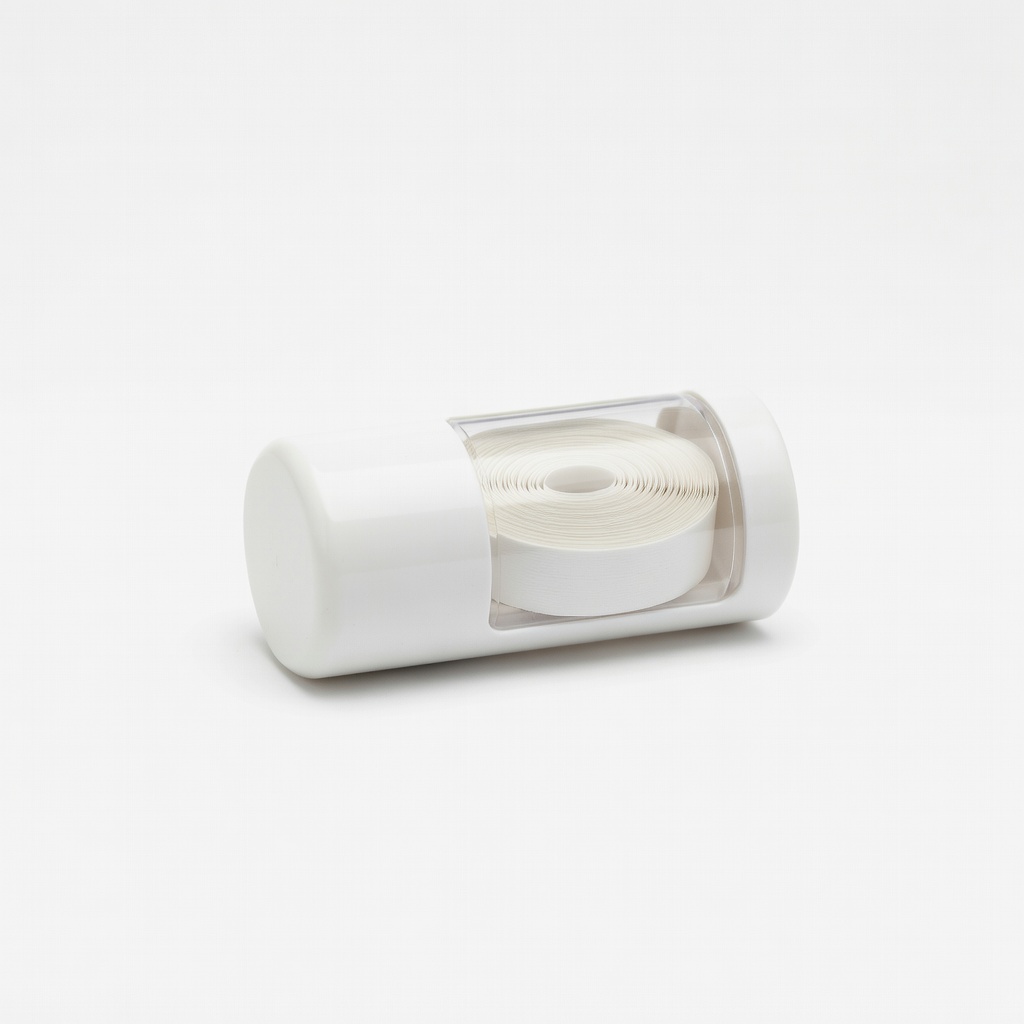
Generous refill for high-volume use; precise width reduces waste.
Best for: Refilling rollers for ongoing scrapbook albums.
Price Range: $6.99
Repositionable initially, then permanent; smooth rolling for beginners.
Best for: Adjustable layouts before final press.
Price Range: $8.99-$10.99
Best for photos and paper layers on beginner projects.
Glue Dots Craft Dots .03" Value Pack, 200 Dots Ultra-fine size perfect for detailed scrapbooking; clear, permanent hold without bulk.

Quick adhesion of embellishments and borders.
Scotch Create Double-Sided Adhesive Roller, 0.31" Easy-roll dispenser for mess-free application; acid-free for archival safety.
Refilling rollers for ongoing scrapbook albums.
Therm O Web Adhesive Dot Roller Refill, 49 ft Generous refill for high-volume use; precise width reduces waste.
Adjustable layouts before final press.
X-Press It Double-Sided Adhesive Roller, 0.31" Repositionable initially, then permanent; smooth rolling for beginners.