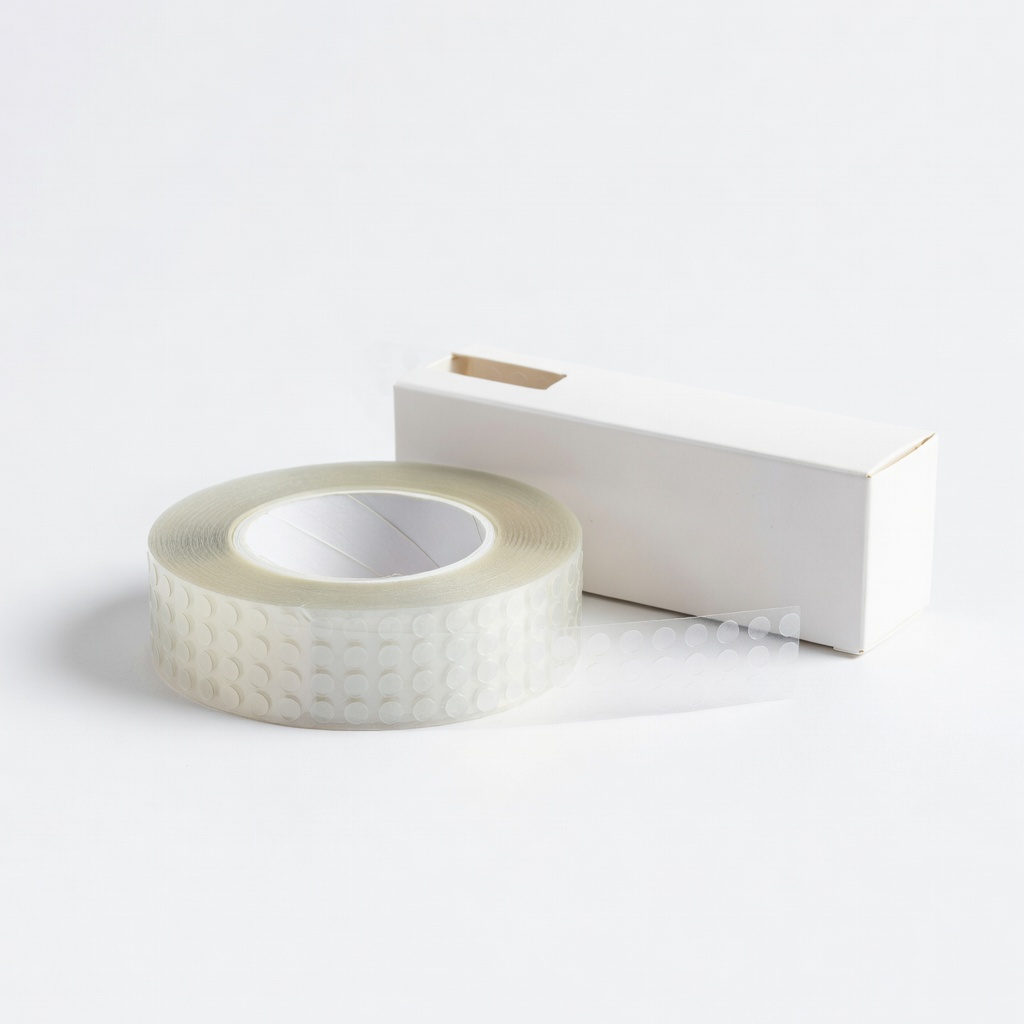
Glue Dots Clear Dot Roll (1/2", 200 count)
General scrapbooking and photo mounting.
$10-12
Glue Dots Clear Dot Roll (1/2", 200 count) Ultra-clear, strong hold for crafts; easy dispenser prevents waste.
Get the App
Better experience on mobile
Master mess-free crafting with our beginner-friendly step-by-step guide to applying adhesive dots perfectly every time.
Struggling with glue that oozes, tape that won't stick, or crafts that fall apart? Adhesive dots are a game-changer for beginners, offering precise, clean application without the mess. They're tiny, double-sided stickers perfect for scrapbooking, card making, and embellishments.
In this guide, you'll learn everything from workspace prep to pro tips for flawless results. Expect to complete a sample craft project in just 10-15 minutes—ideal for beginners with no prior experience needed.
We'll cover selecting dots, applying them correctly, and troubleshooting common issues, so your crafts stay secure and professional-looking.
Estimated Time: 10-15 minutes Difficulty: beginner
Clear a flat, clean surface like a craft mat or table to prevent dust or debris from sticking to your adhesive. Wipe it down with a dry cloth to ensure no oils or residues interfere with adhesion.
Why it matters: A contaminated surface can cause dots to fail later. Lay out your craft project and materials within arm's reach for efficiency.
💡 Tips:
⚠️ Warnings:
Choose dots matching your project's scale—small (1/16-inch) for delicate paper, medium (1/8-inch) for photos, or large (1/2-inch) for heavier embellishments. Check the backing liner for easy peeling.
Success looks like: Dots that fit without overlapping or wasting product. Test one dot on scrap material if unsure.
💡 Tips:
Gently bend the liner backing to lift a single dot's edge. Use tweezers to peel slowly, avoiding stretching the dot which reduces stickiness.
Why it matters: Rushing tears dots or leaves residue. Expect a clean, intact dot ready to apply—success is no adhesive left on the liner.
⚠️ Warnings:
Align the dot precisely where needed—center for symmetry or edges for joining pieces. Place it sticky-side down on the project surface.
What to expect: The dot should contact evenly without shifting. For multi-layer crafts, apply to the back of the top piece first.
💡 Tips:
Use your finger, tweezers, or bone folder to press the dot for 5-10 seconds with even pressure. This ensures full contact and maximum bond strength.
Success: No visible gaps or bubbles; the pieces feel secure when tugged gently.
⚠️ Warnings:
Run a soft cloth or fingernail edge over the area to flatten any air pockets. Tug lightly on the attached piece to test hold.
Why it matters: Bubbles weaken over time. Perfect result: Flat, invisible bond.
💡 Tips:
Repeat for all dots, then let sit 1-2 minutes for full adhesion. Handle gently at first.
Final success: Craft holds under normal use without shifting.
Problem: Dot not sticking
Solution: Clean surfaces with isopropyl alcohol; ensure no humidity; try fresh dots.
Problem: Bubbles under dot
Solution: Poke with pin and press out; prevent by slow application.
Problem: Residue on removal
Solution: Use removable dots; peel slowly at angle; clean with Goo Gone.
Problem: Dots stretching
Solution: Peel slower from liner edge; store properly.
Ultra-clear, strong hold for crafts; easy dispenser prevents waste.
Best for: General scrapbooking and photo mounting.
Price Range: $10-12
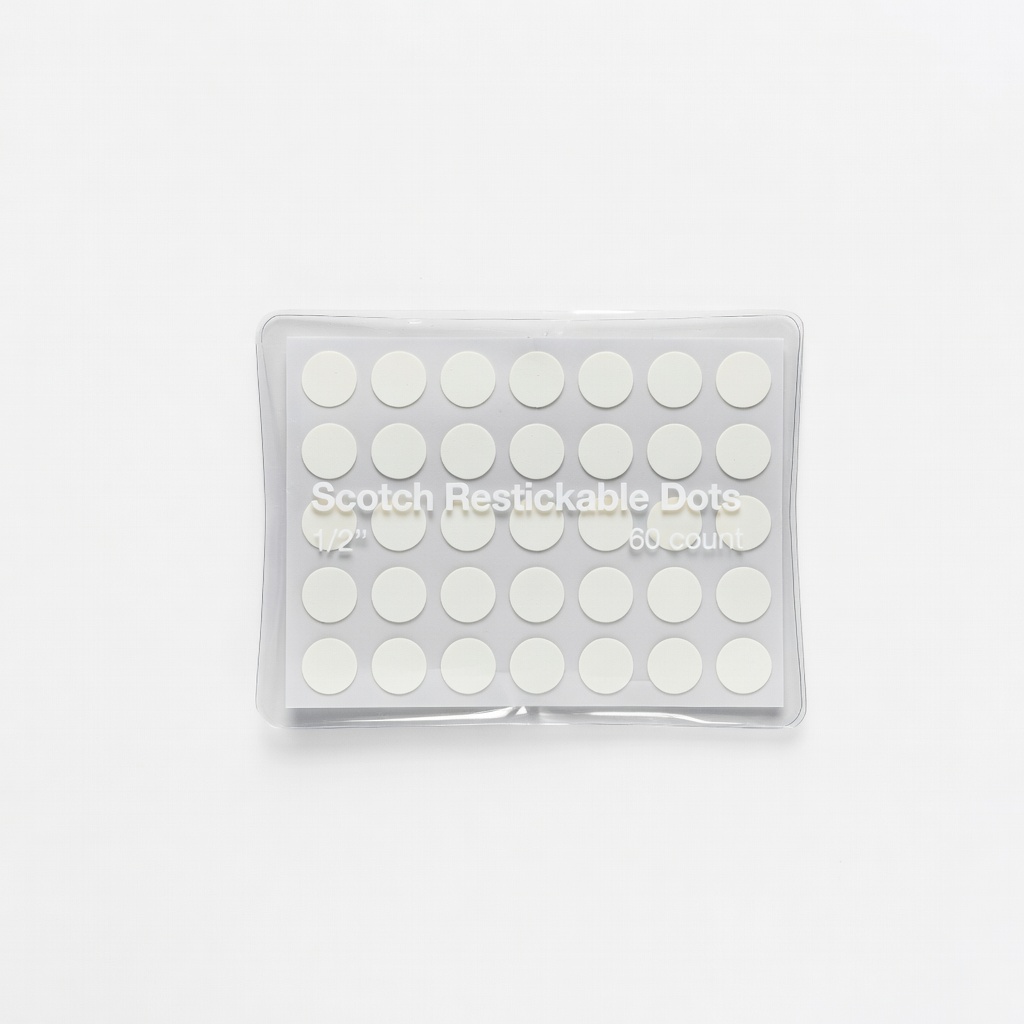
Repositionable without residue; beginner-friendly for trial-and-error.
Best for: Card making and temporary layouts.
Price Range: $5-7
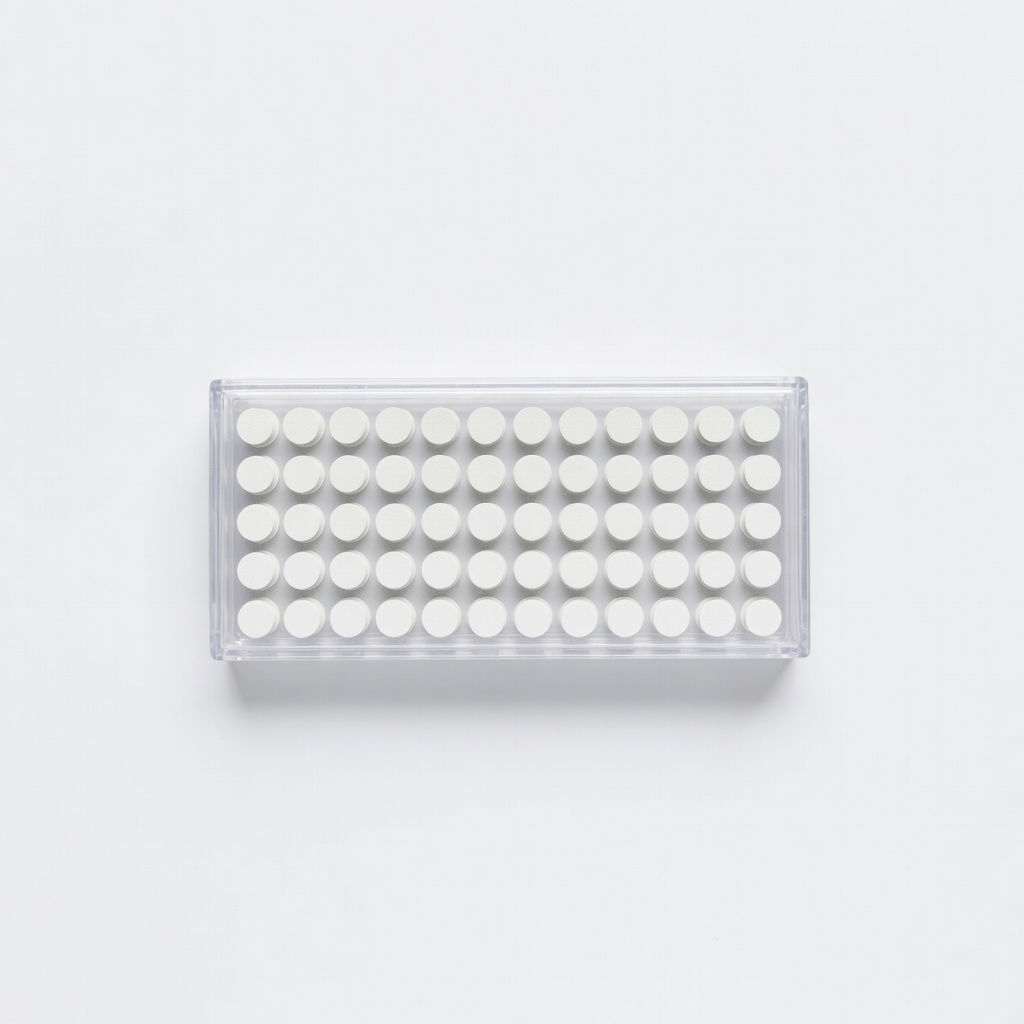
Adds dimension with foam-like thickness; precise for embellishments.
Best for: 3D crafts and heavy decorations.
Price Range: $4-6
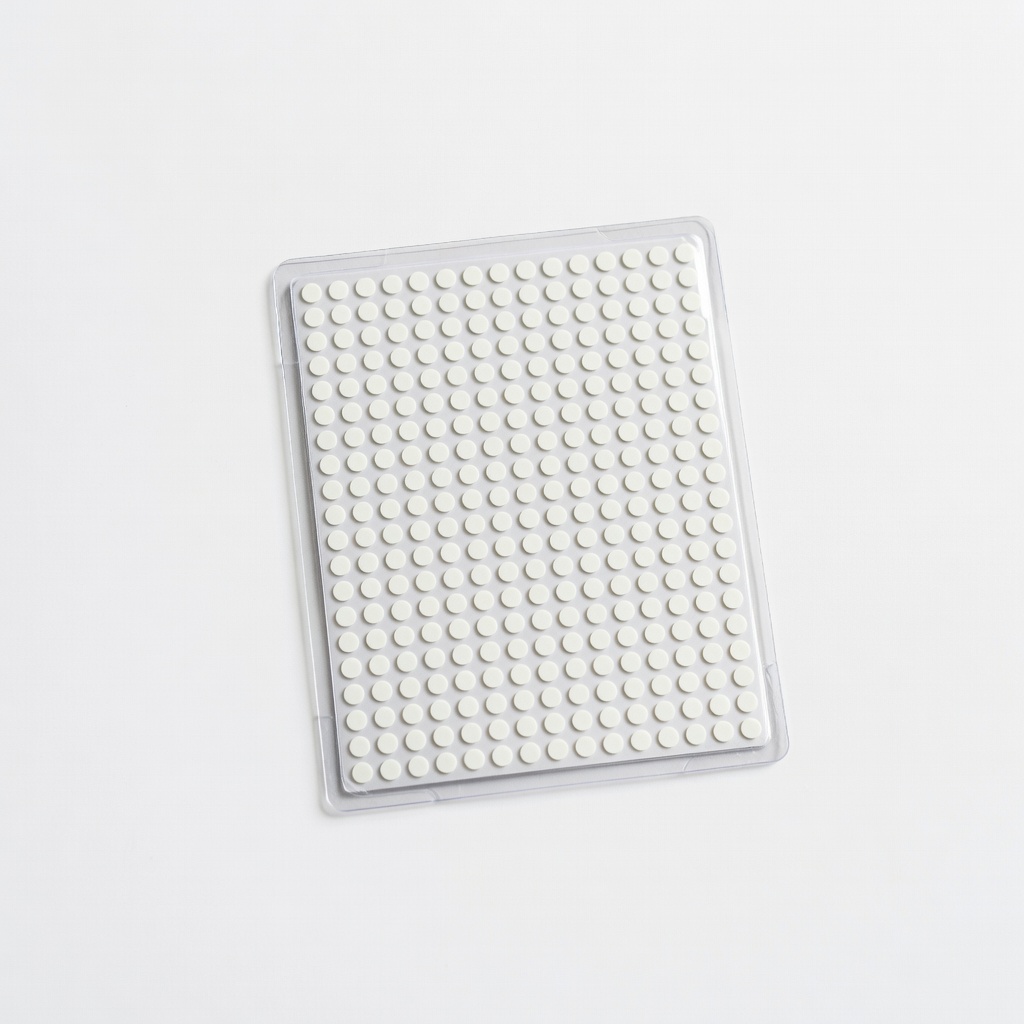
Tiny size for fine detail; high tack for permanent bonds.
Best for: Delicate paper crafts and quilling.
Price Range: $8-10
General scrapbooking and photo mounting.
Glue Dots Clear Dot Roll (1/2", 200 count) Ultra-clear, strong hold for crafts; easy dispenser prevents waste.
Card making and temporary layouts.
Scotch Restickable Dots (1/2", 60 count) Repositionable without residue; beginner-friendly for trial-and-error.
3D crafts and heavy decorations.
Therm O Web Zots 3D Adhesive Dots (8mm, 130 count) Adds dimension with foam-like thickness; precise for embellishments.
Delicate paper crafts and quilling.
X-Press It Adhesive Dots Refill (3mm, 520 dots) Tiny size for fine detail; high tack for permanent bonds.