
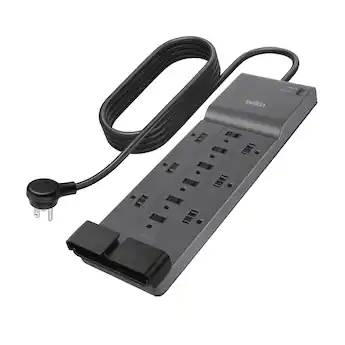
Belkin 12-Outlet Surge Protector Power Strip
Home office with multiple devices; high rating handles load.
$25-$30
Belkin 12-Outlet Surge Protector Power Strip 12 outlets with 2550 joules surge protection; ideal base for adding adapters safely.
Get the App
Better experience on mobile
Expand your home office outlets safely with step-by-step instructions to avoid overloads and fire risks in just 15 minutes.
Running out of power outlets in your home office? With laptops, monitors, chargers, and lamps all competing for plugs, it's tempting to stack adapters and multi-outlets on your power strip. But daisy-chaining them wrong can overload circuits, cause overheating, or even start fires— a common issue affecting thousands of homes yearly.
In this beginner-friendly guide, you'll learn how to properly apply adapters and multi-outlets to your power strip. We'll cover assessing needs, safe plugging techniques, and monitoring to keep everything running smoothly. No electrical expertise required.
Expect a quick 10-20 minute setup that's safe and organized, turning your cluttered desk into an efficient power hub.
Estimated Time: 10-20 minutes Difficulty: beginner
Start by listing all devices you'll power. Note their wattage (check labels or manuals—e.g., laptop charger 65W, monitor 50W). Add them up to get total load.
Why? Power strips have limits (usually 15 amps or 1875W max). Exceeding this risks trips or fires. Success: Total under 80% of strip's rating (e.g., 1500W max for safety).
Tip: Use a wattage meter app or device for accuracy.
💡 Tips:
⚠️ Warnings:
Unplug the strip. Check the label for max amps/watts, outlet count, and surge protection. Look for damage: frayed cords, bent prongs, burn marks.
Why? Old or faulty strips amplify risks with adapters. Success: Strip is undamaged, grounded (3-prong), and rated for your load.
If damaged, replace it first.
💡 Tips:
⚠️ Warnings:
Pick UL-listed, grounded adapters/multi-outlets matching your strip (e.g., 3-to-1 outlet taps). Avoid cheap no-name brands.
Why? Quality ones prevent arcing. Success: Products fit snugly, no wobble, rated for 15A.
Count: Limit to 1-2 layers max.
💡 Tips:
⚠️ Warnings:
Power off and unplug the strip from the wall, then all devices.
Why? Prevents shocks or shorts during setup. Success: All cords loose and safe.
Lay out on a non-flammable surface.
💡 Tips:
⚠️ Warnings:
Insert the multi-outlet firmly into a strip outlet. Alternate sides for balance.
Why? Distributes load evenly. Success: Secure fit, no gaps.
Start with one; add more only if needed.
💡 Tips:
⚠️ Warnings:
Snap adapters into remaining strip/multi-outlet sockets. Ensure full insertion.
Why? Maximizes outlets safely. Success: All snug, no loose prongs exposed.
Limit adapters per outlet to one.
💡 Tips:
⚠️ Warnings:
Plug devices starting with low-draw (chargers), then high (monitors). Spread across outlets.
Why? Balances load. Success: All powered without flicker.
Recheck total watts.
💡 Tips:
⚠️ Warnings:
Turn on devices, plug strip into wall outlet. Monitor for 5 mins: heat, smells, trips.
Why? Catches issues early. Success: Stable power, cool to touch.
Use a surge protector wall outlet.
💡 Tips:
⚠️ Warnings:
Bundle cords with ties, route away from walkways.
Why? Prevents trips and pulls. Success: Neat desk.
💡 Tips:
Check monthly for wear; unplug when away.
Why? Longevity. Success: Safe daily use.
💡 Tips:
Problem: Setup won't power on
Solution: Check wall outlet with lamp; reset GFCI; ensure no tripped breaker.
Problem: Overheating or buzzing
Solution: Unplug immediately, reduce load, replace strip.
Problem: Flickering lights
Solution: Spread devices; check total watts.
Problem: Adapter loose
Solution: Replace with snug-fit; avoid extensions.
12 outlets with 2550 joules surge protection; ideal base for adding adapters safely.
Best for: Home office with multiple devices; high rating handles load.
Price Range: $25-$30
Low-profile, grounded design expands one outlet safely without bulk.
Best for: Tight spaces on power strips; quick plug addition.
Price Range: $8-$12
Built-in 20W USB ports reduce adapter needs; slim for desks.
Best for: Charging-heavy offices; all-in-one solution.
Price Range: $35-$45
Flat plug, 1875W rating; UL-listed for reliable connections.
Best for: Behind desks; extends without blocking.
Price Range: $10-$15
Remote monitoring/app control prevents overloads.
Best for: Tech-savvy users wanting energy tracking.
Price Range: $25-$35
Home office with multiple devices; high rating handles load.
Belkin 12-Outlet Surge Protector Power Strip 12 outlets with 2550 joules surge protection; ideal base for adding adapters safely.
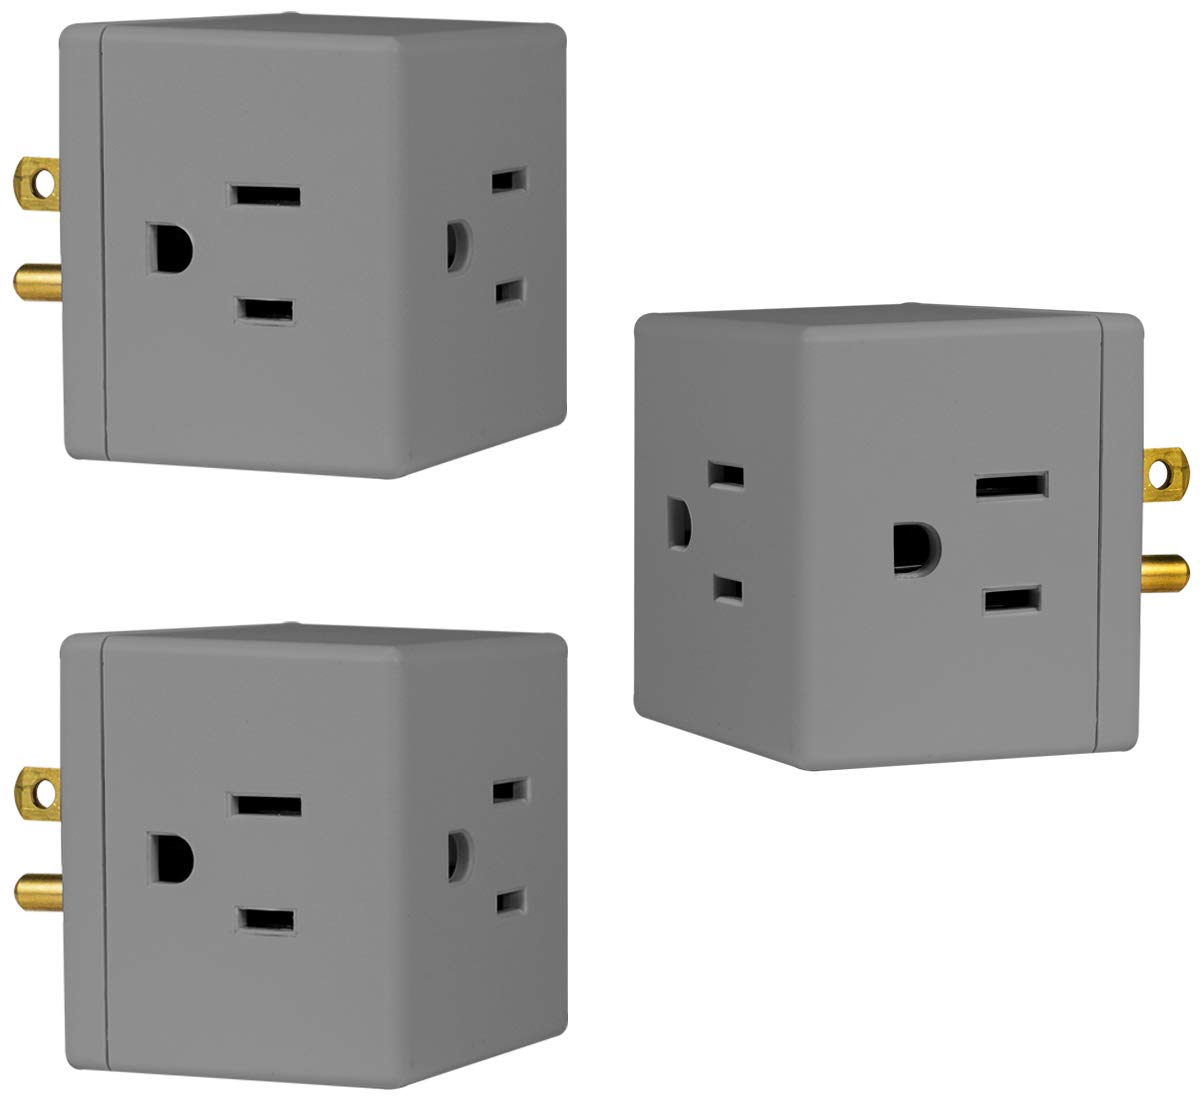
Tight spaces on power strips; quick plug addition.
GE 3-Outlet Wall Adapter Low-profile, grounded design expands one outlet safely without bulk.
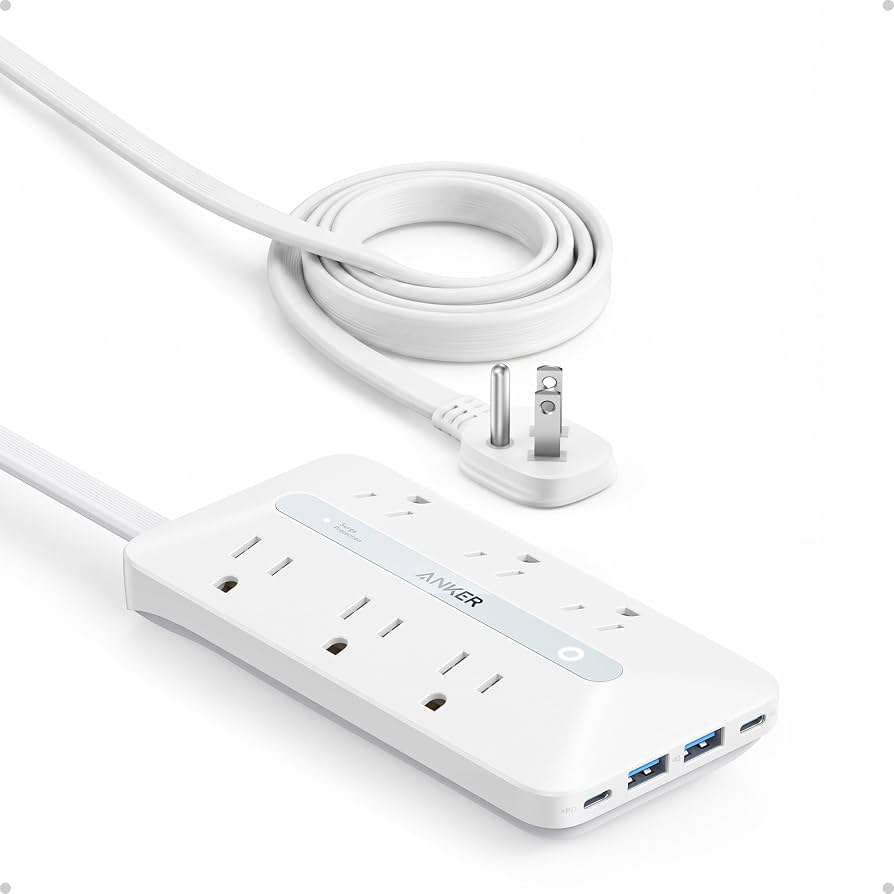
Charging-heavy offices; all-in-one solution.
Anker Power Strip 11 Outlets Built-in 20W USB ports reduce adapter needs; slim for desks.
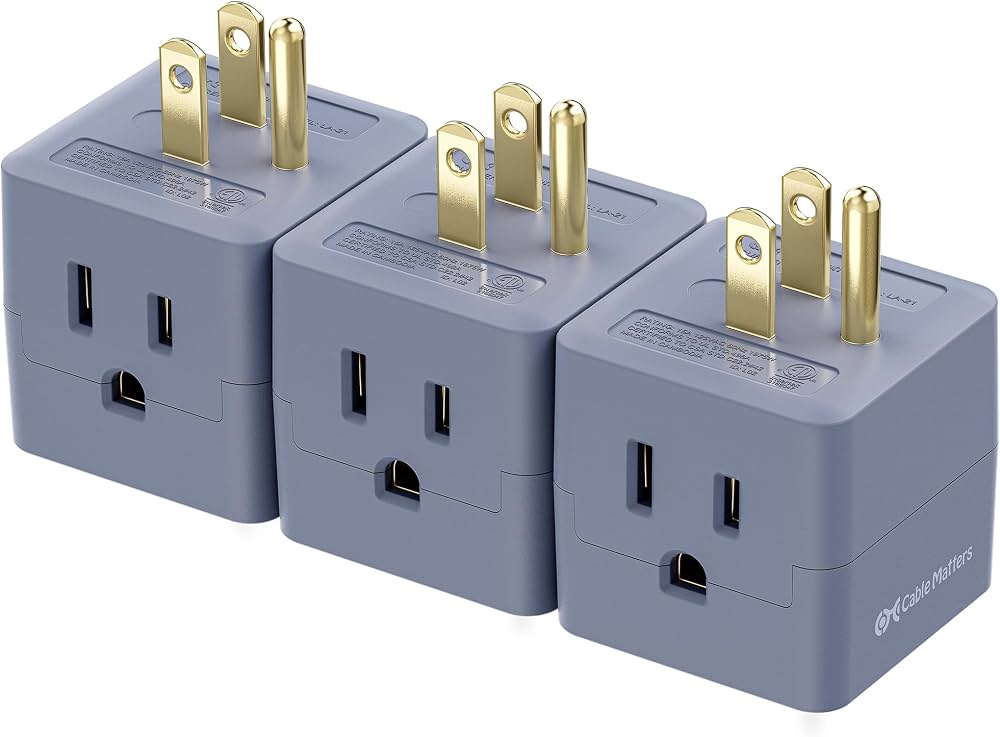
Behind desks; extends without blocking.
Cable Matters 3-Outlet Adapter Flat plug, 1875W rating; UL-listed for reliable connections.
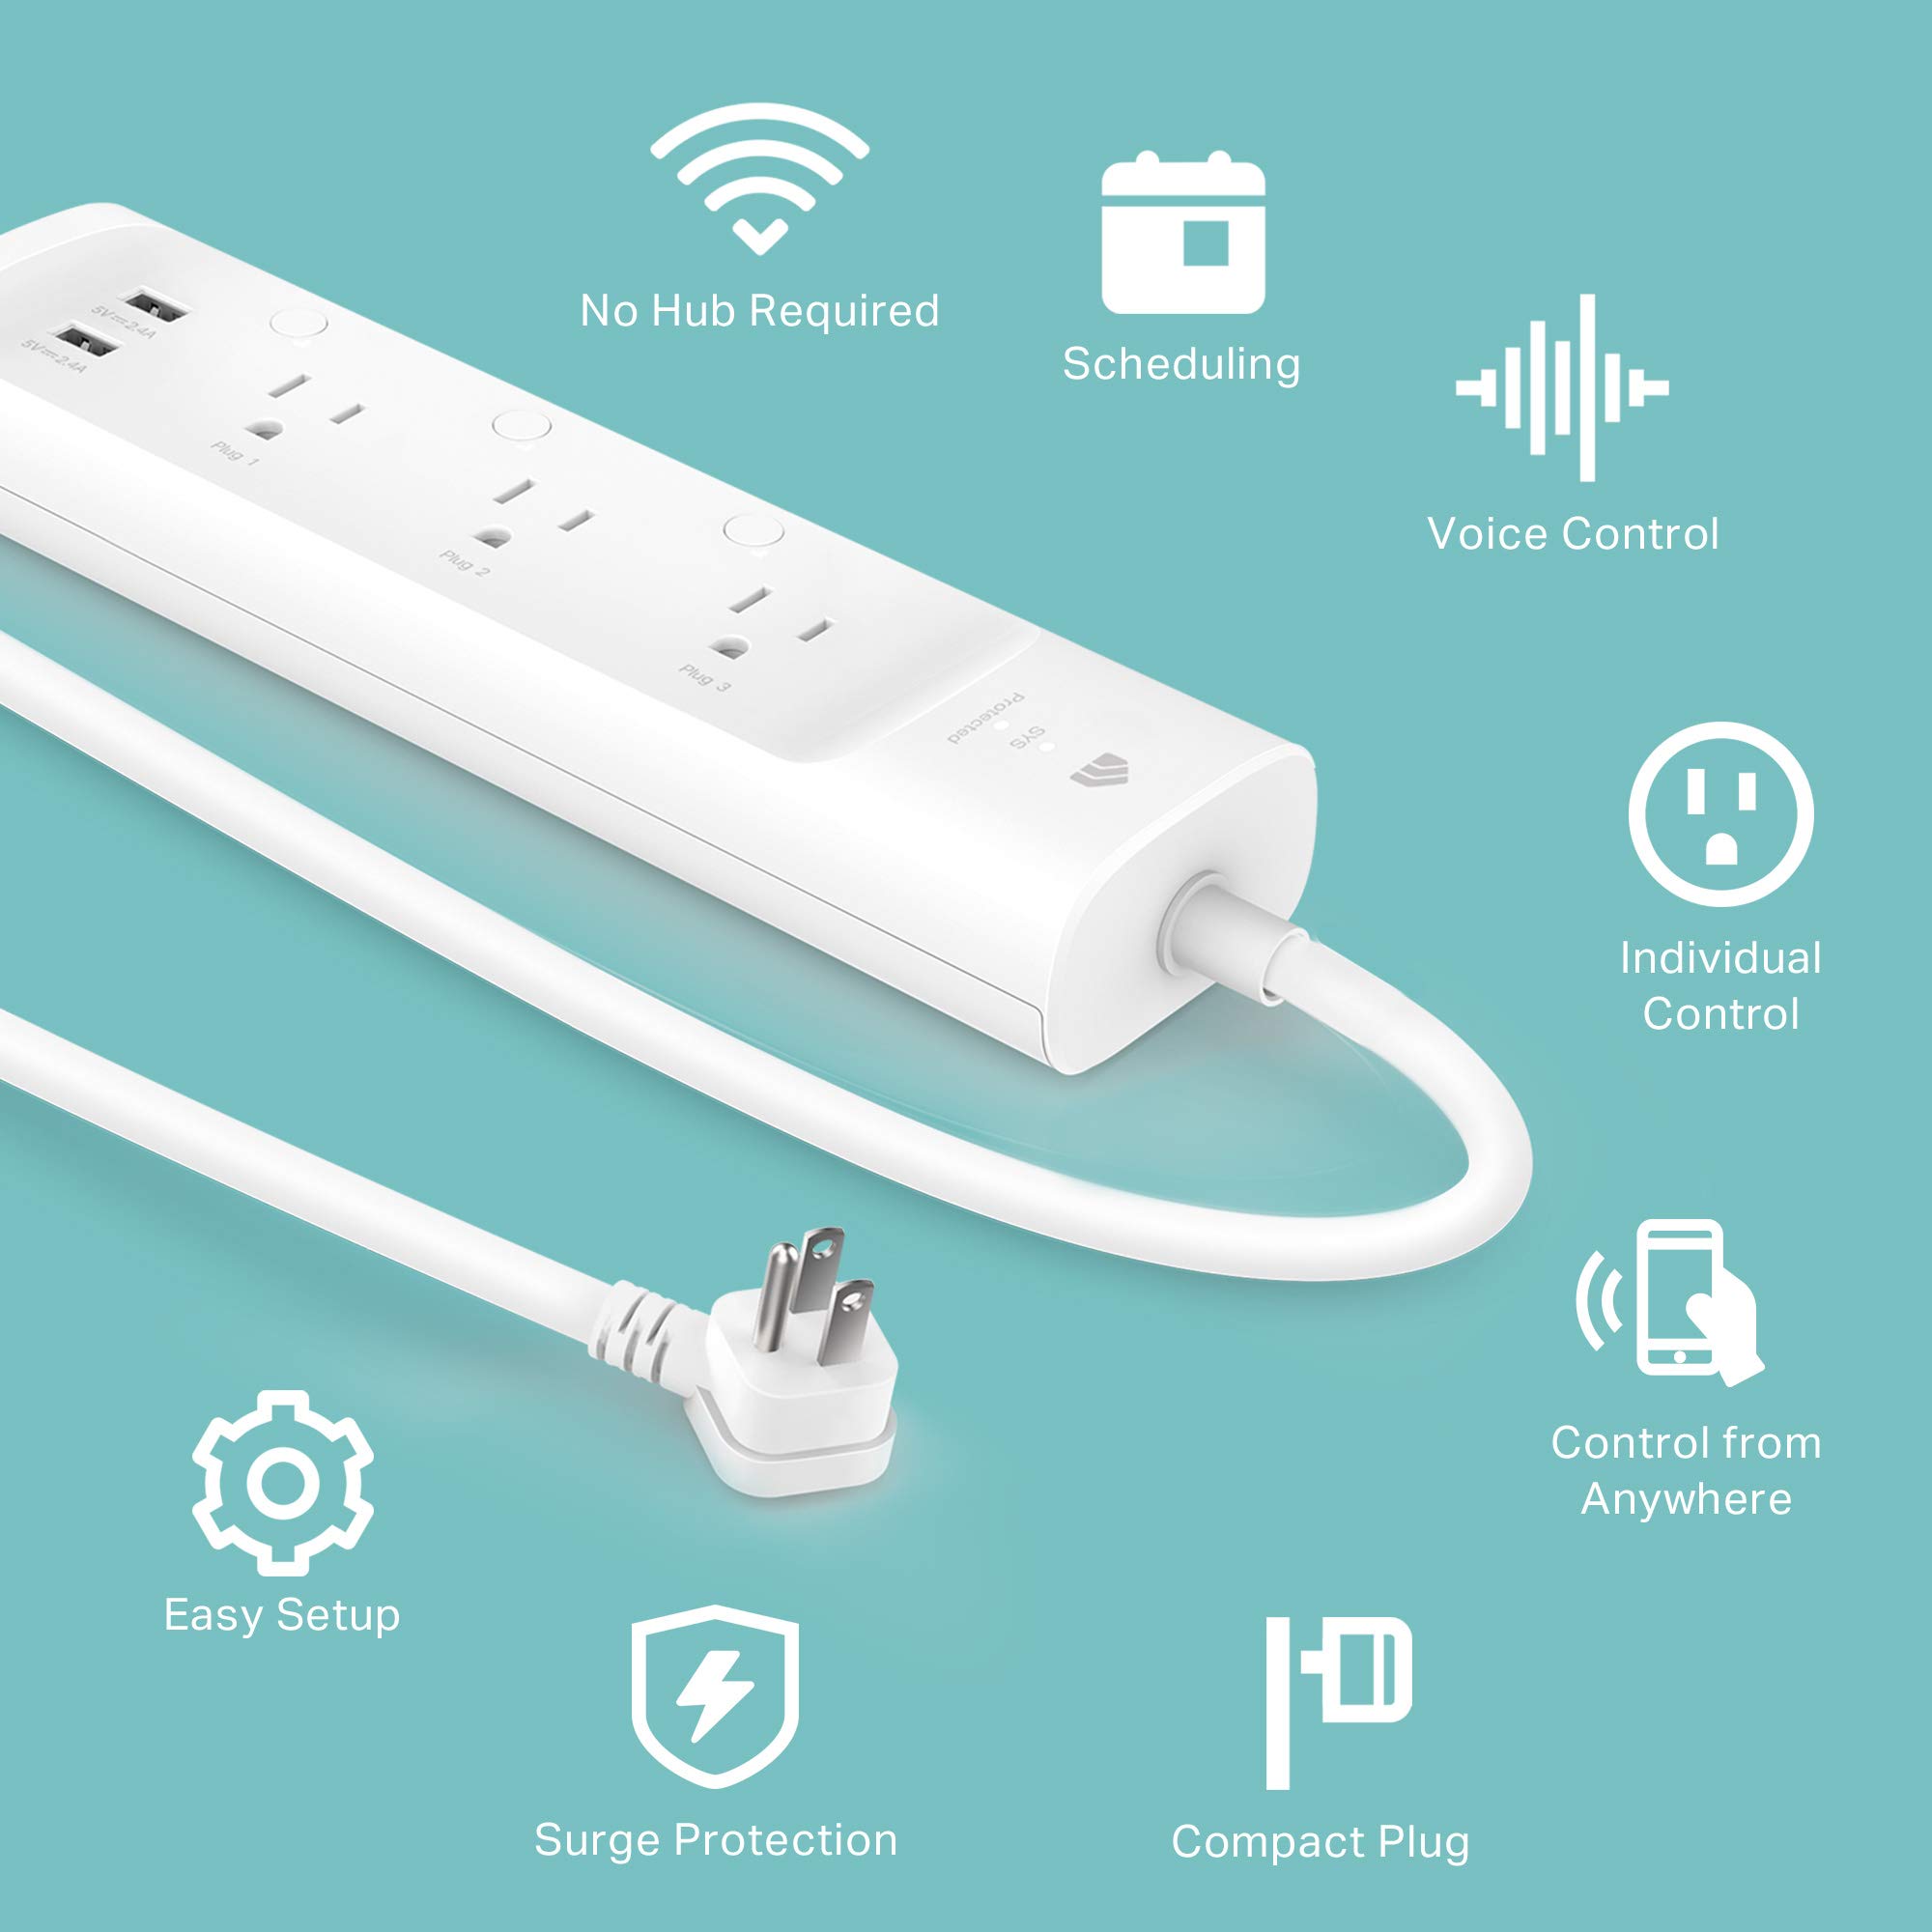
Tech-savvy users wanting energy tracking.
Kasa Smart WiFi Power Strip Remote monitoring/app control prevents overloads.