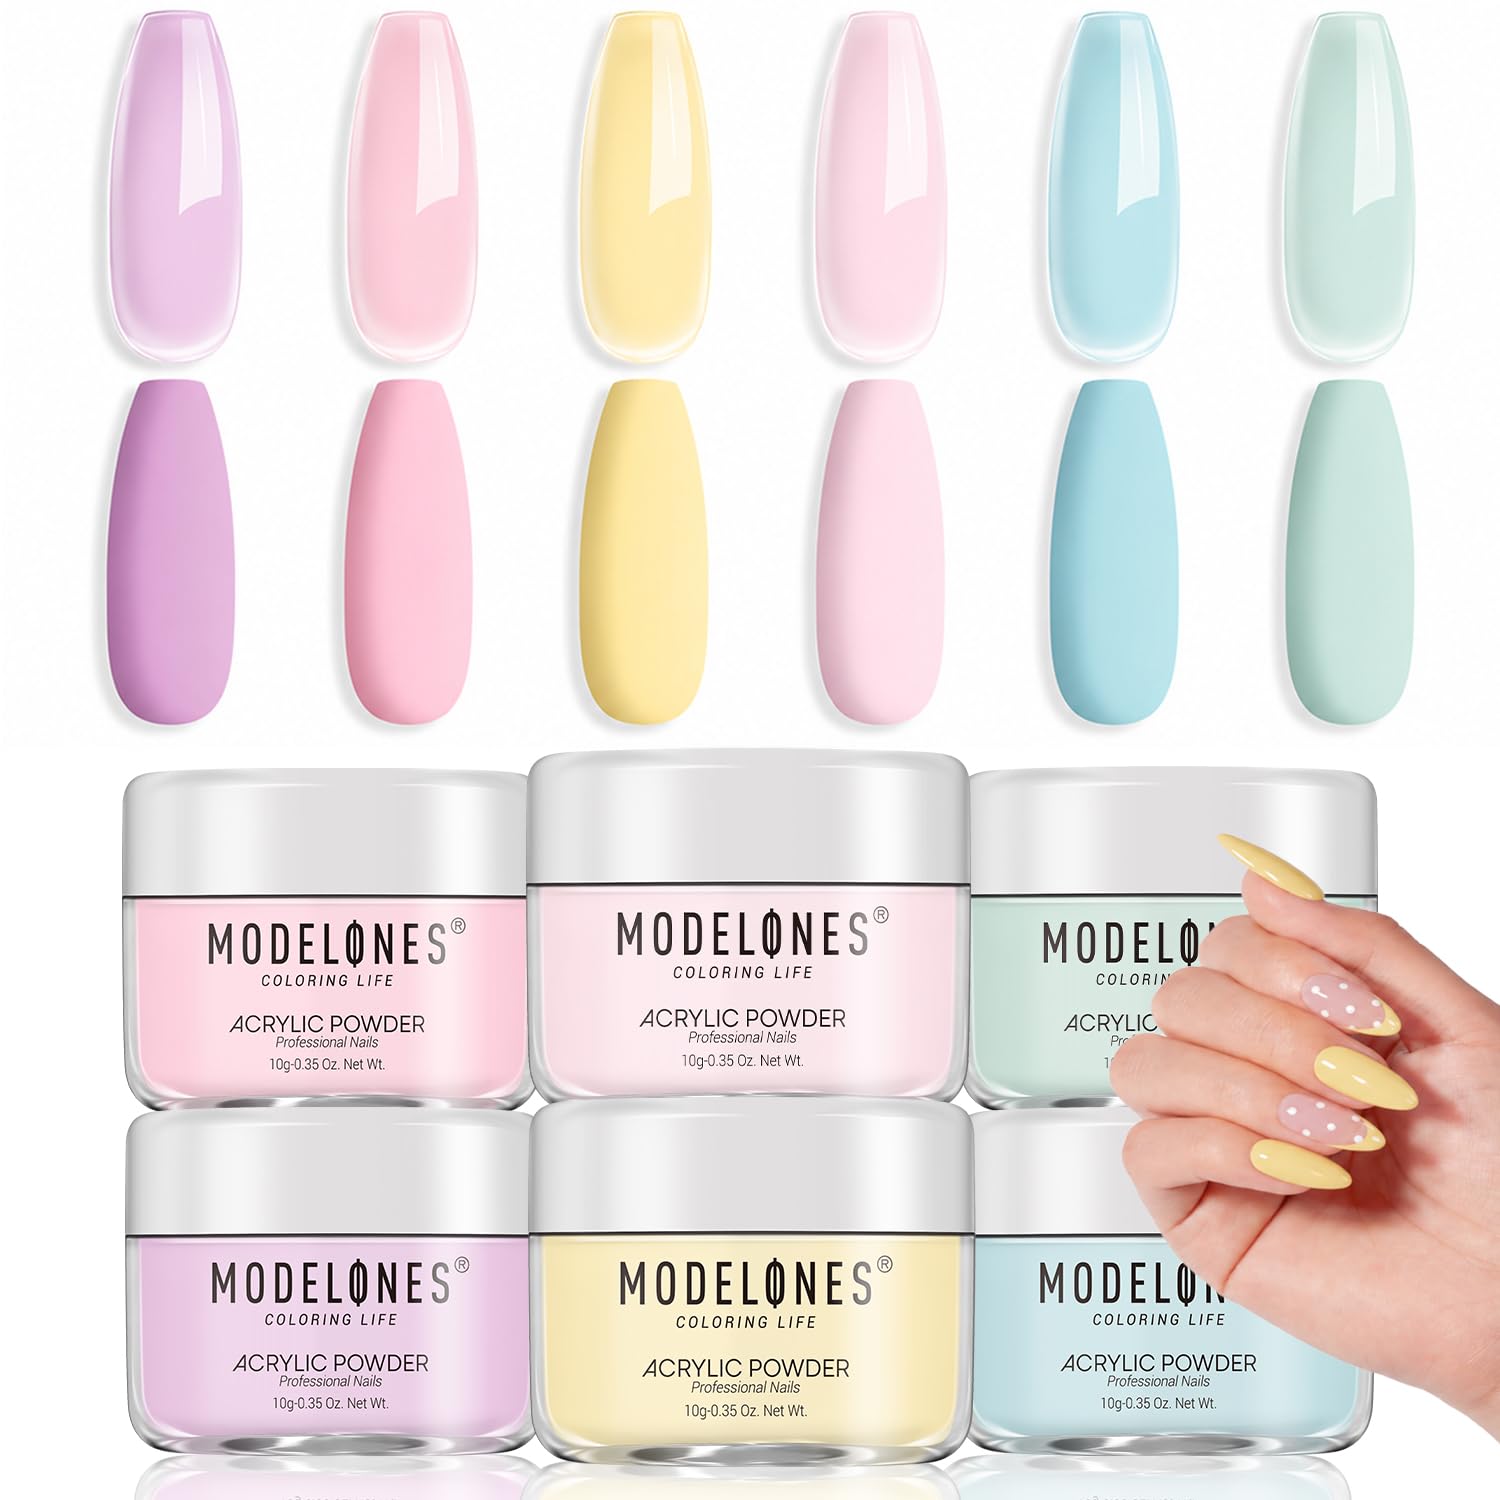
Modelones Acrylic Powder Set (24 Colors)
Ideal for creating custom gradients on all nail types.
$9.99-$12.99
Modelones Acrylic Powder Set (24 Colors) Versatile kit with ombre-perfect shades like white, pink, nude; fine texture for seamless blending.
Get the App
Better experience on mobile
Learn step-by-step to create flawless ombre acrylic nails at home, perfect for intermediate nail enthusiasts seeking salon-quality gradients.
Ombre nails are a timeless trend, blending soft gradients from light to dark for a sophisticated, eye-catching look. But achieving that seamless fade with acrylic powders can be tricky without the right technique—many home artists end up with choppy lines or uneven finishes. This guide solves that, teaching you pro-level ombre application.
You'll master prepping, layering powders for the perfect gradient, shaping, and sealing your design. Expect stunning, durable nails that last 2-3 weeks. The process takes practice but is intermediate-friendly, with clear visuals and tips to avoid pitfalls.
Total time: 45-60 minutes for both hands. Grab your supplies and let's dive in for nails that wow!
Estimated Time: 45-60 minutes for a full set Difficulty: intermediate
Start with clean, dry natural nails. Push back cuticles gently with a pusher and trim any hangnails. Wipe each nail with a dehydrator or 99% isopropyl alcohol to remove oils—this ensures adhesion.
File nails to your desired shape (coffin, almond, etc.) and lightly buff the surface for better grip. Dust off thoroughly with a brush. Why it matters: Poor prep leads to lifting. Expect smooth, matte nails ready for product.
Image description: Close-up of prepped natural nails on a manicure table with tools laid out.
💡 Tips:
⚠️ Warnings:
Brush a thin layer of primer on each nail plate, avoiding cuticles. Let it dry tacky (30 seconds). Slide a nail form under the free edge, matching your desired length and curve—secure with tape if needed.
Forms create the canvas for building. Success looks like a taut, bubble-free form flush against the nail. This step sets the foundation for even ombre buildup.
Image description: Nail with form taped in place, primer glistening.
💡 Tips:
Dip your brush in monomer (squeeze on a lint-free wipe to remove excess). Pat a bead on the form where the apex will be. Sprinkle white acrylic powder over the wet monomer, tap off excess, and let it self-level (10-20 seconds).
Apply more monomer beads along the nail bed, dipping in white powder each time. Build to medium length with even coverage—no puddles. Why: White base brightens the ombre fade. Expect a smooth, milky white extension.
Image description: Brush applying monomer bead, white powder being sprinkled.
⚠️ Warnings:
Once the base sets firm but tacky, re-wet the lower half (cuticle to middle) with a tiny monomer bead. Sprinkle your lighter ombre color (e.g., soft pink) and pat gently with the brush to blend into the white.
Keep the upper half dry. Success: Subtle shift from white to color, no harsh lines. This builds the fade gradually.
Image description: Half-dipped nail showing initial pink gradient on white base.
💡 Tips:
Wet the tip half with monomer. Dip into your darker powder (e.g., deeper pink or purple), apply, and blend downward by adding monomer drops and patting. Feather the edge into the lighter color.
Alternate monomer + powder until the full gradient forms. Let cure fully (firm, not sticky). Expect a smooth, watercolor-like ombre from light root to dark tip.
Image description: Completed ombre nail on form, showing perfect gradient.
⚠️ Warnings:
Pop off the form by sliding a tool underneath. Use a 180-grit file to rough-shape the sidewalls and free edge to your desired length.
File from side to center, maintaining curve. Why: Precise shaping now prevents cracking later. Look for even contours.
Image description: Filing shaped ombre nail post-form removal.
💡 Tips:
Refine with 180-grit file all over, then 100-grit for edges. Buff lightly with 220-grit buffer for shine. Dust thoroughly.
Inspect for dips or bumps—fill with tiny monomer + powder if needed. Smooth nails signal pro finish.
Image description: Buffing complete set of ombre nails.
⚠️ Warnings:
Apply base coat, cure 60 seconds in LED lamp. Then no-wipe top coat, cure 60 seconds. Wipe sticky layer with alcohol.
Optional: Add cuticle oil. Nails are now durable and glossy. Enjoy your ombre masterpiece!
Image description: Finished glossy ombre nails with top coat.
💡 Tips:
Problem: Uneven gradient
Solution: Re-wet and re-blend with dry brush; add more light powder to fade.
Problem: Cracking after 1 day
Solution: Check prep—re-do with better adhesion; avoid water exposure.
Problem: Powder not picking up
Solution: Monomer too old—replace; ensure brush is damp not wet.
Problem: Yellowing ombre
Solution: Use non-yellowing monomer and UV-protectant top coat.
Versatile kit with ombre-perfect shades like white, pink, nude; fine texture for seamless blending.
Best for: Ideal for creating custom gradients on all nail types.
Price Range: $9.99-$12.99
Low-odor, non-yellowing formula grips powders without flooding.
Best for: Essential for wet blending in ombre techniques.
Price Range: $14.99
Premium hair holds monomer perfectly for precise application.
Best for: Best for patting and blending powder gradients.
Price Range: $7.99
High-shine, long-lasting seal protects ombre from chipping.
Best for: Final step for salon durability.
Price Range: $8.99
Pro-grade for base building; self-levels smoothly.
Best for: Under ombre colors for strength.
Price Range: $19.99
Ideal for creating custom gradients on all nail types.
Modelones Acrylic Powder Set (24 Colors) Versatile kit with ombre-perfect shades like white, pink, nude; fine texture for seamless blending.
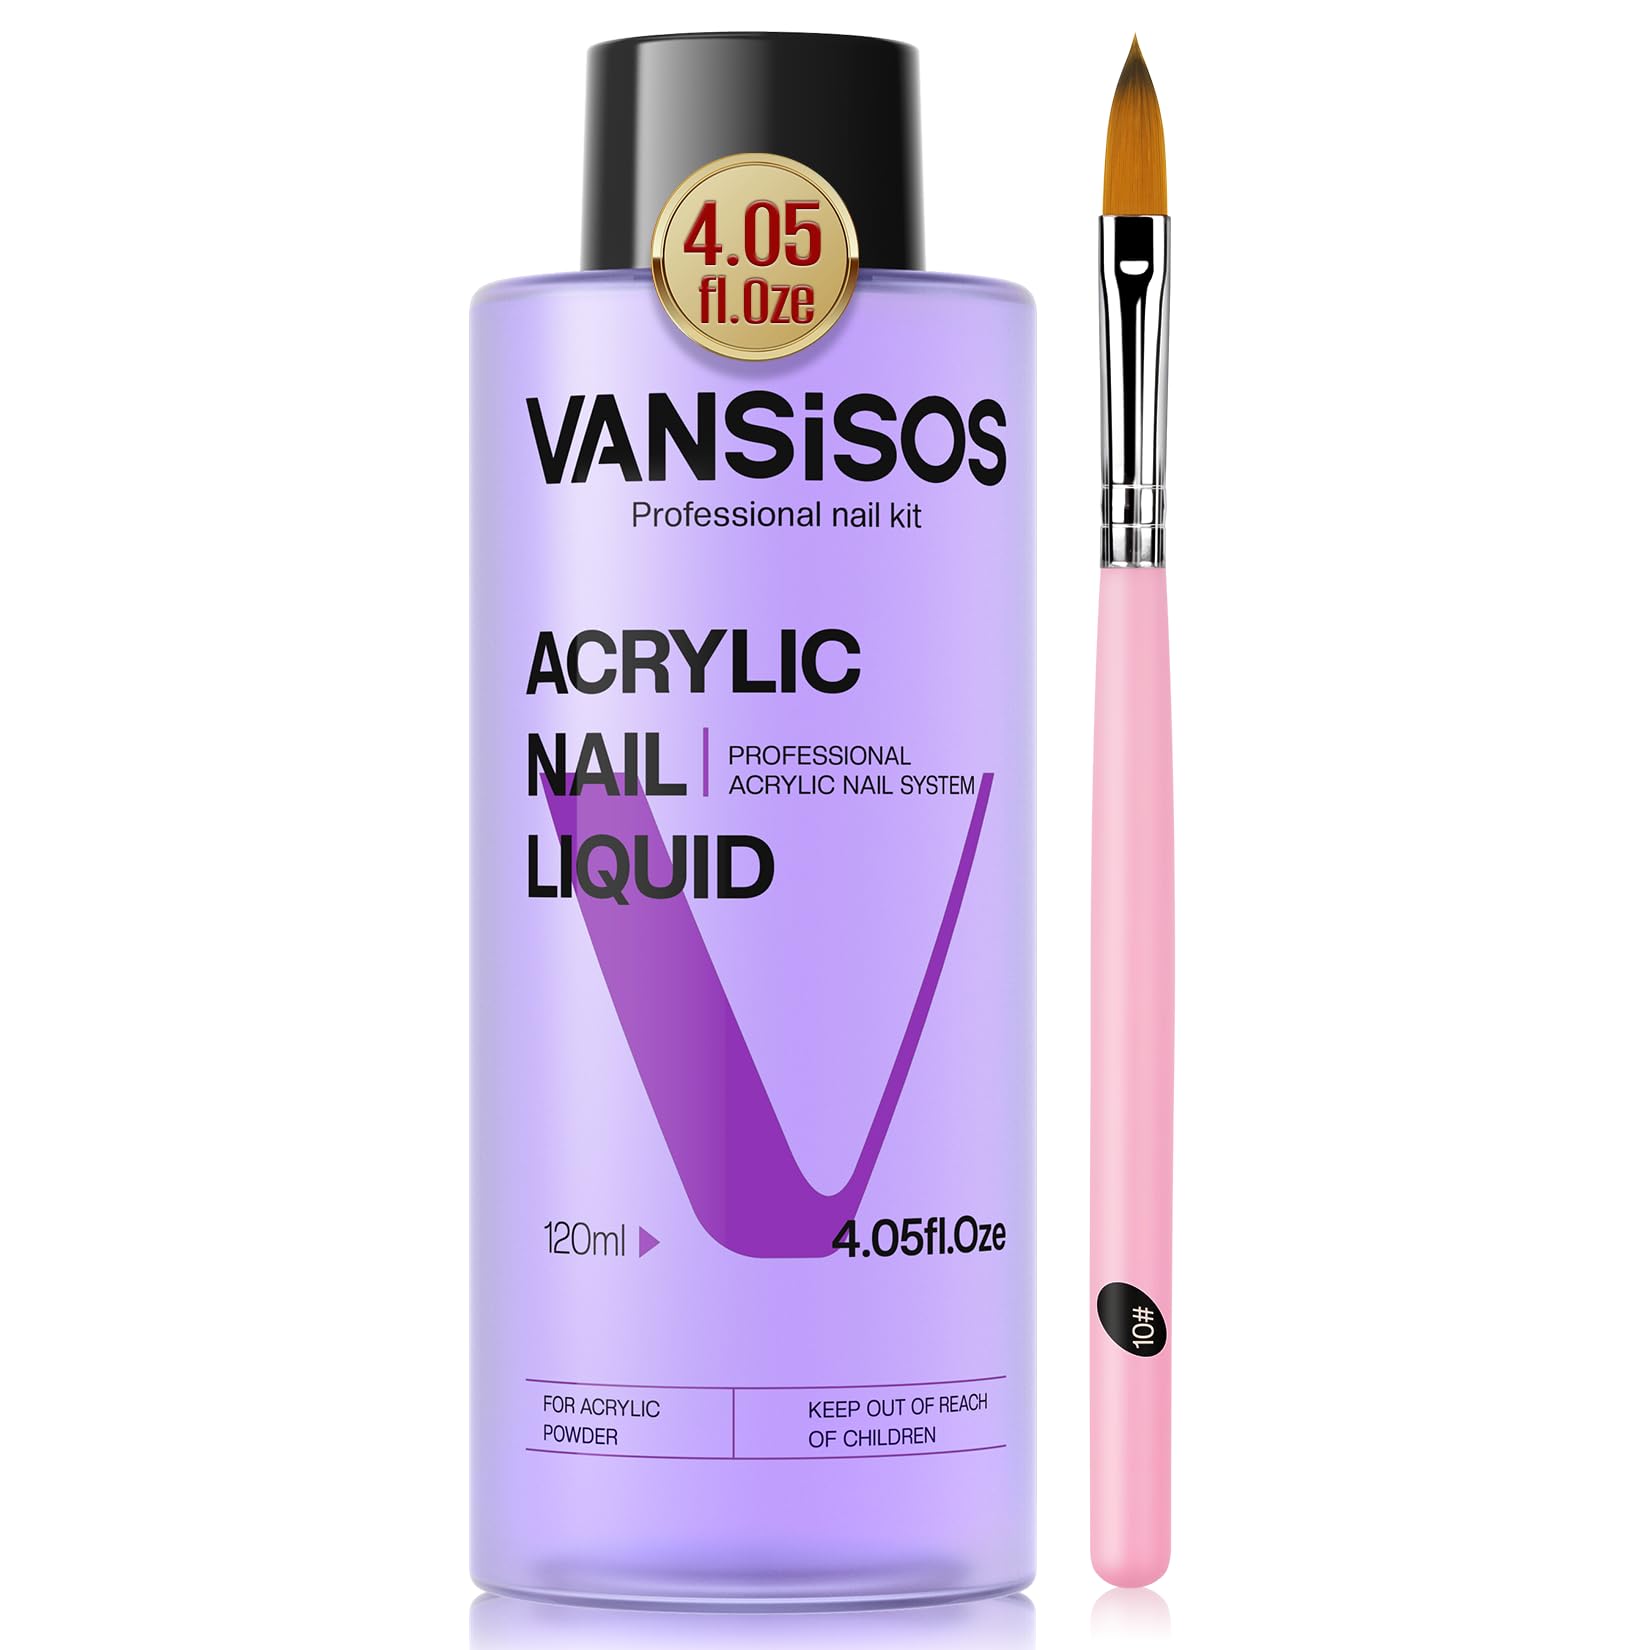
Essential for wet blending in ombre techniques.
Elite99 Acrylic Liquid Monomer Low-odor, non-yellowing formula grips powders without flooding.
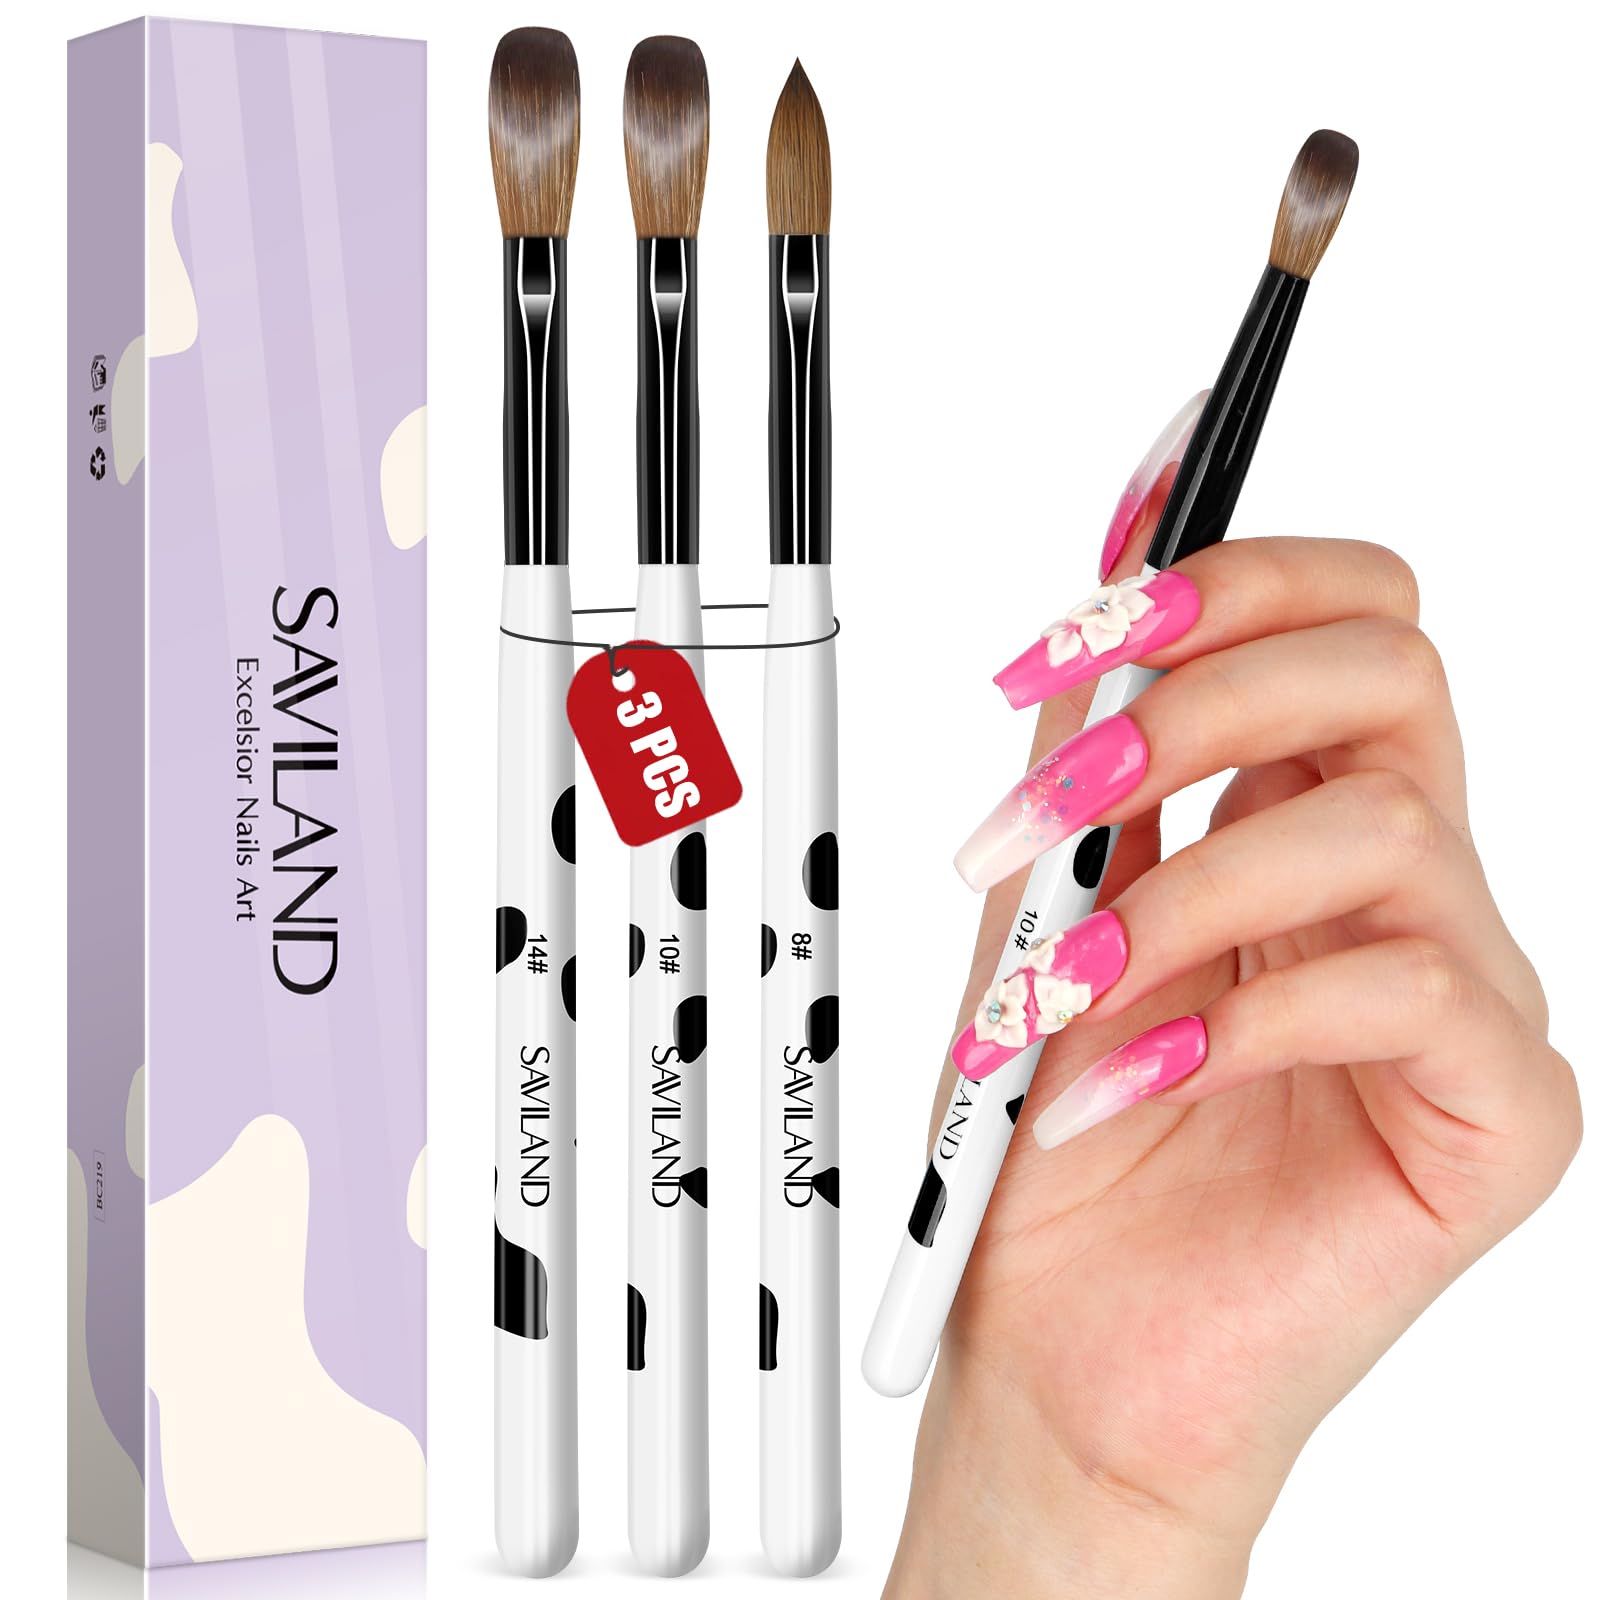
Best for patting and blending powder gradients.
Saviland Kolinsky Acrylic Nail Brush Size 8 Premium hair holds monomer perfectly for precise application.
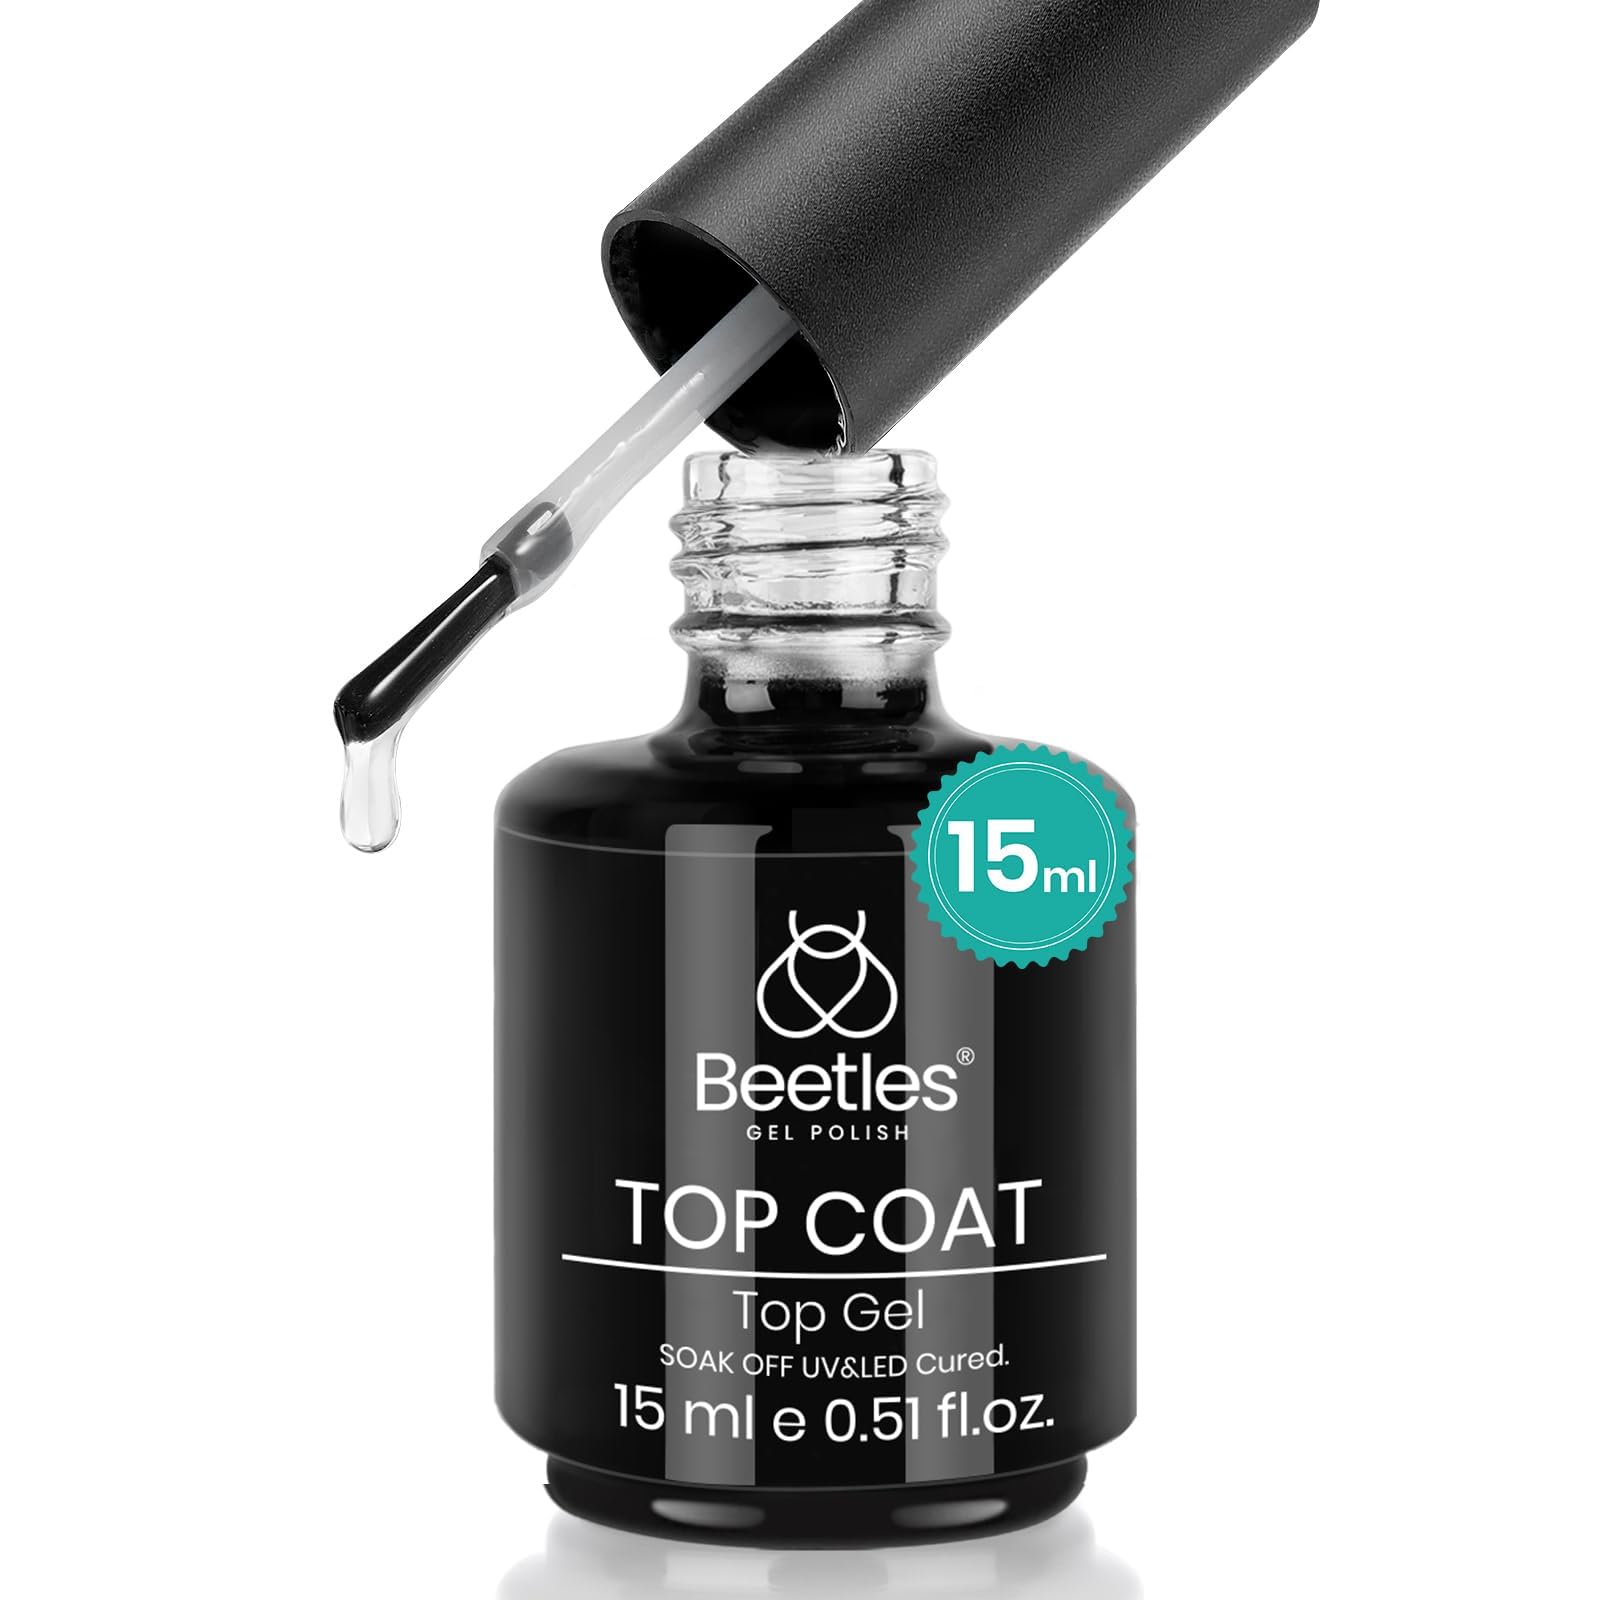
Final step for salon durability.
Beetles No-Wipe Gel Top Coat High-shine, long-lasting seal protects ombre from chipping.
Under ombre colors for strength.
MIA SECRET Professional Acrylic Powder (Clear) Pro-grade for base building; self-levels smoothly.