
Modelones Acrylic Nail Kit 350ml
Full extensions; non-yellowing clear/pink options.
$25.99
Modelones Acrylic Nail Kit 350ml All-in-one starter kit with powder, monomer, brush—perfect for beginners with pro formulas.
Get the App
Better experience on mobile
Master beginner-friendly acrylic nail extensions at home with step-by-step instructions for salon-quality results in under an hour.
Dreaming of long, durable nails but tired of salon prices and wait times? Applying acrylic nail extensions at home is an empowering skill that saves money and lets you customize your look anytime. Whether you're prepping for a special event or just want to experiment, this guide eliminates the guesswork.
You'll learn everything from prepping your natural nails to shaping perfect extensions using essential acrylic tools. No prior experience needed—we break it down into simple, sequential steps with tips for flawless results. Expect your first set to take 45-60 minutes; with practice, it'll be faster.
By the end, you'll have strong, beautiful acrylic nails that last 2-3 weeks. Let's dive in and transform your mani game!
Estimated Time: 45-60 minutes for both hands (first time) Difficulty: beginner
Start with a clean, well-lit area to avoid contamination, which can cause lifting or infections. Spray your hands, tools, and workspace with sanitizer. Lay out all materials in order.
Why it matters: Cleanliness ensures adhesion and safety. Expect a bacteria-free setup that mimics pro salons.
Work on one hand at a time for focus.
💡 Tips:
⚠️ Warnings:
Remove old polish with acetone. Gently push back cuticles with a pusher (don't cut unless overgrown). File natural nails to a rough surface with 180-grit file, then wipe with dehydrator.
Apply primer thinly—it's like glue for acrylic. Success looks like: Matte, dry nails ready for tips; no shine or oils.
This removes oils for max bond; skip it, and nails pop off.
💡 Tips:
⚠️ Warnings:
Choose tips matching your nail width (try multiple for fit). Apply a drop of glue to the tip's well, align with your free edge, and press for 10-15 seconds.
Blend the tip seam by filing gently where it meets your nail. What to expect: Secure tips extending 1-2mm past your natural nail.
Proper sizing prevents bulky looks.
💡 Tips:
⚠️ Warnings:
Dip brush in monomer (1/3 full), wipe excess on dish edge, then pick up a medium-sized bead of powder. Roll into a bead consistency like playdough.
Why: Wet consistency spreads easily without running. Practice on a test surface first.
Aim for no-stringy monomer—success is a smooth, shiny bead.
💡 Tips:
Pat bead on the tip where your natural nail ends, forming a curve (apex) for strength. Smile test: Curve should mimic a smile from side view.
Spread evenly toward cuticle and tip without touching skin. Success: Even layer, no floods near cuticles.
This creates the nail's strongest point.
💡 Tips:
Add smaller beads to cover the full tip and blend seamlessly. Build sidewalls for almond/square shape.
Let cure 1-2 minutes until hard. Expect: Solid, non-sticky nails ready for filing.
Layer thinly to avoid cracking.
💡 Tips:
⚠️ Warnings:
Once cured, file from apex down with 180-grit, then shape tips (square, coffin, etc.). Use 240-grit for smoothness.
Success looks like: Symmetrical, even lengths with no ridges.
Filing removes shine for better top coat grip.
💡 Tips:
Buff with 100/180 block for shine. Wipe dust, apply top coat if using, and cure under UV if required. Finish with cuticle oil.
Massage oil in. Final result: Glossy, professional extensions.
Buffing seals the deal for durability.
💡 Tips:
⚠️ Warnings:
Problem: Bubbles in acrylic
Solution: Dust or moisture—wipe nails drier, shake powder before use. Avoid over-mixing.
Problem: Nails lifting early
Solution: Poor prep—double-check dehydrator/primer. File seam better.
Problem: Cracking after a day
Solution: Too thick layers or weak apex—build thinner, higher curve.
Problem: Yellowing powder
Solution: Seek pro if infection signs (redness, pus).
All-in-one starter kit with powder, monomer, brush—perfect for beginners with pro formulas.
Best for: Full extensions; non-yellowing clear/pink options.
Price Range: $25.99
Pre-sized, flexible tips for easy fitting without breakage.
Best for: Quick tip application on all nail shapes.
Price Range: $9.99
Kolinsky hair brushes hold beads precisely, easy clean.
Best for: Mixing/applying beads smoothly.
Price Range: $12.99
Removes oils effectively for strong adhesion.
Best for: Prep step to prevent lifting.
Price Range: $8.99
Premium, self-leveling powder for durable, natural finish.
Best for: Advanced builds after starter kit.
Price Range: $15.99
Full extensions; non-yellowing clear/pink options.
Modelones Acrylic Nail Kit 350ml All-in-one starter kit with powder, monomer, brush—perfect for beginners with pro formulas.
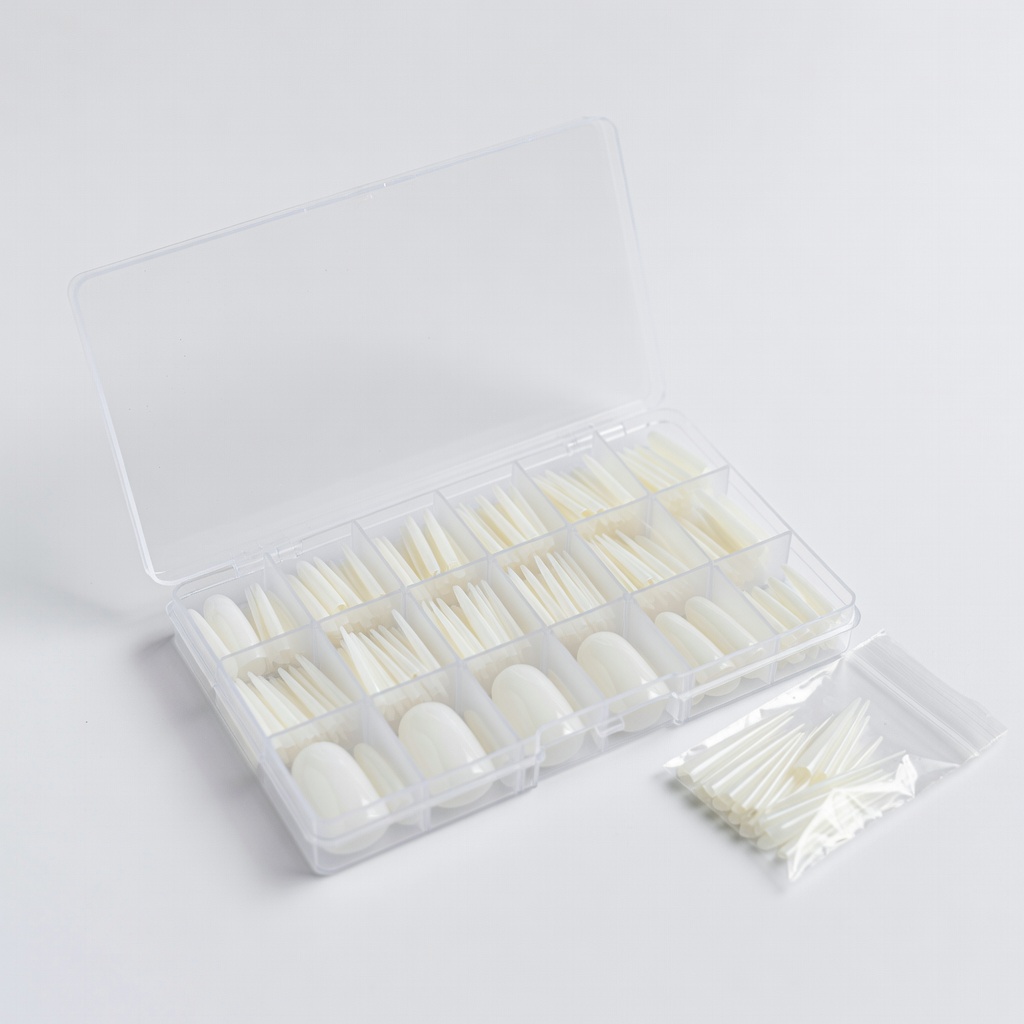
Quick tip application on all nail shapes.
Beetles Nail Tips 500pcs Pre-sized, flexible tips for easy fitting without breakage.
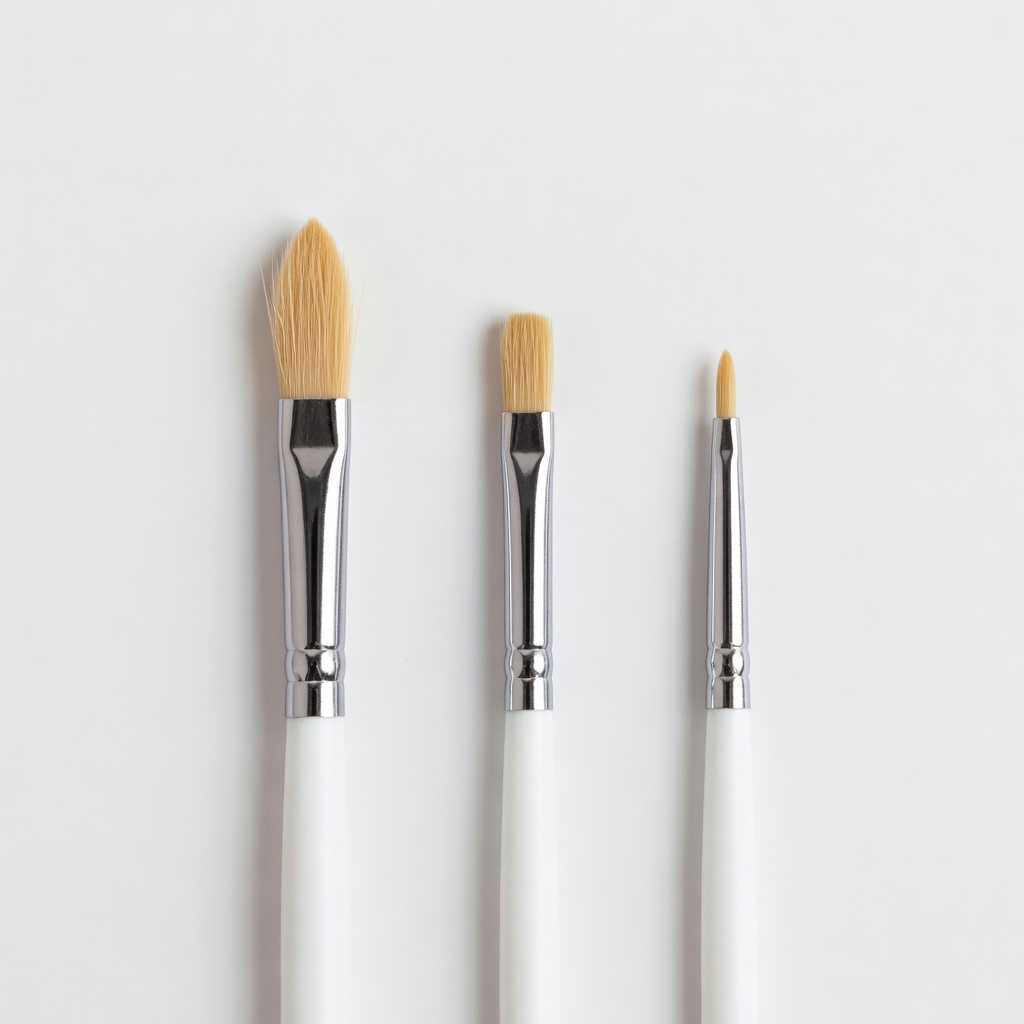
Mixing/applying beads smoothly.
Saviland Acrylic Nail Brush Set Kolinsky hair brushes hold beads precisely, easy clean.
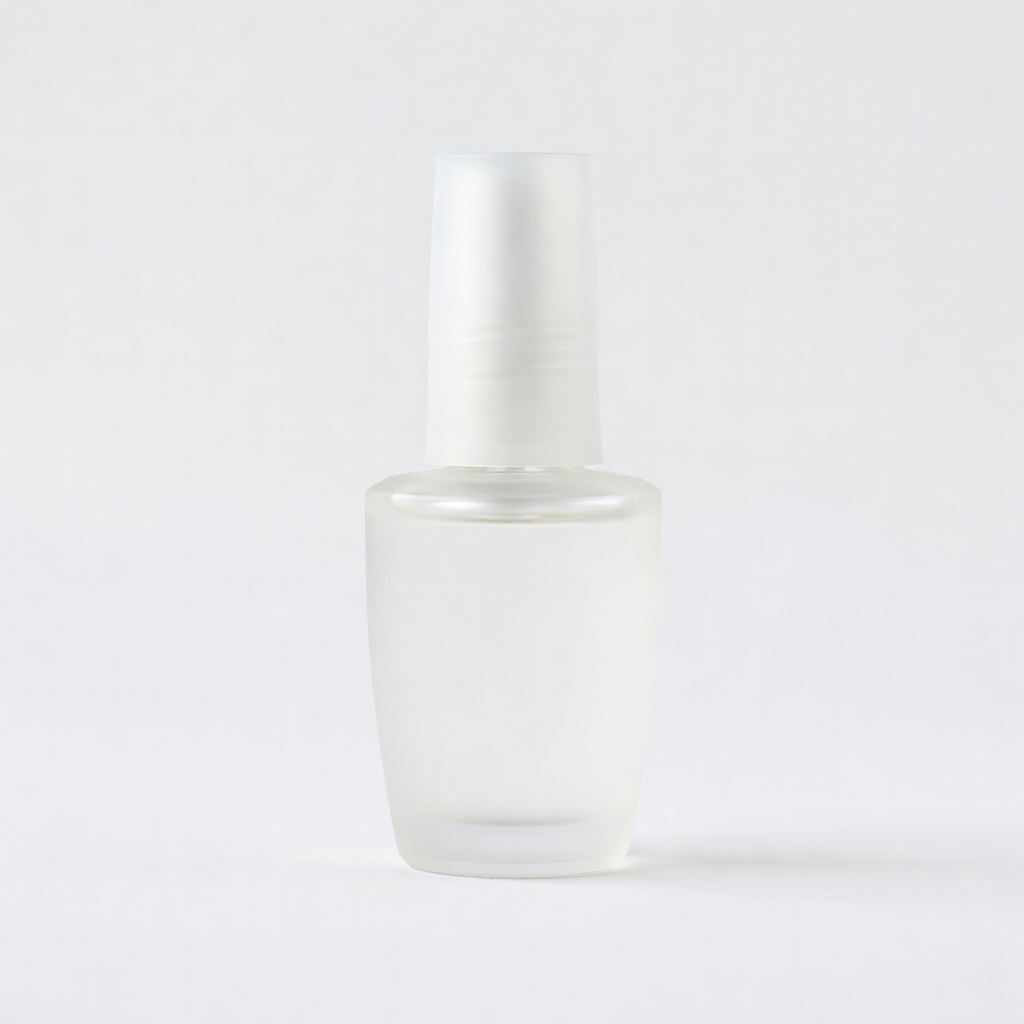
Prep step to prevent lifting.
OPI ProSpa Nail Dehydrator Removes oils effectively for strong adhesion.
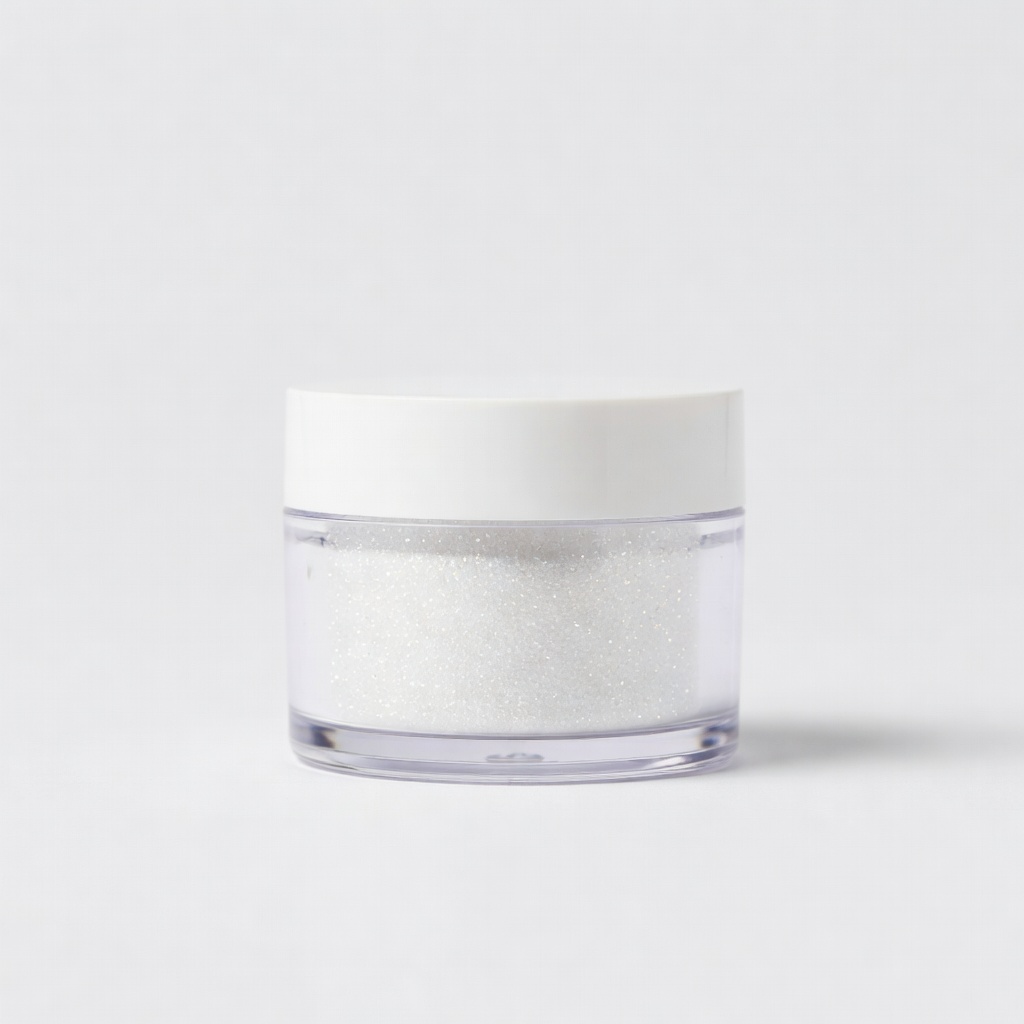
Advanced builds after starter kit.
Mia Secret Acrylic Powder Clear Premium, self-leveling powder for durable, natural finish.