Ancient artifacts from civilizations like the Egyptians, Maya, or Romans hold untold stories etched in stone, pottery, or metal. But physical handling risks irreversible damage, while traditional methods limit depth of insight. Digital analysis bridges this gap, allowing advanced archaeologists, historians, and enthusiasts to reveal micro-wear, inscriptions, and structures invisible to the naked eye.
In this guide, you'll master a complete workflow: from capturing data to advanced AI-driven interpretations. Expect to create publication-ready 3D models, measurements, and reports. This advanced tutorial assumes familiarity with basic 3D software and scripting; total time is 4-6 hours for your first project, less with practice.
The process uses free/open-source tools for accessibility, scaling to pro results with recommended hardware.
▸What You'll Need
- •Computer with NVIDIA GPU (8GB+ VRAM recommended for photogrammetry)
- •High-resolution camera (DSLR/mirrorless or smartphone with macro lens)
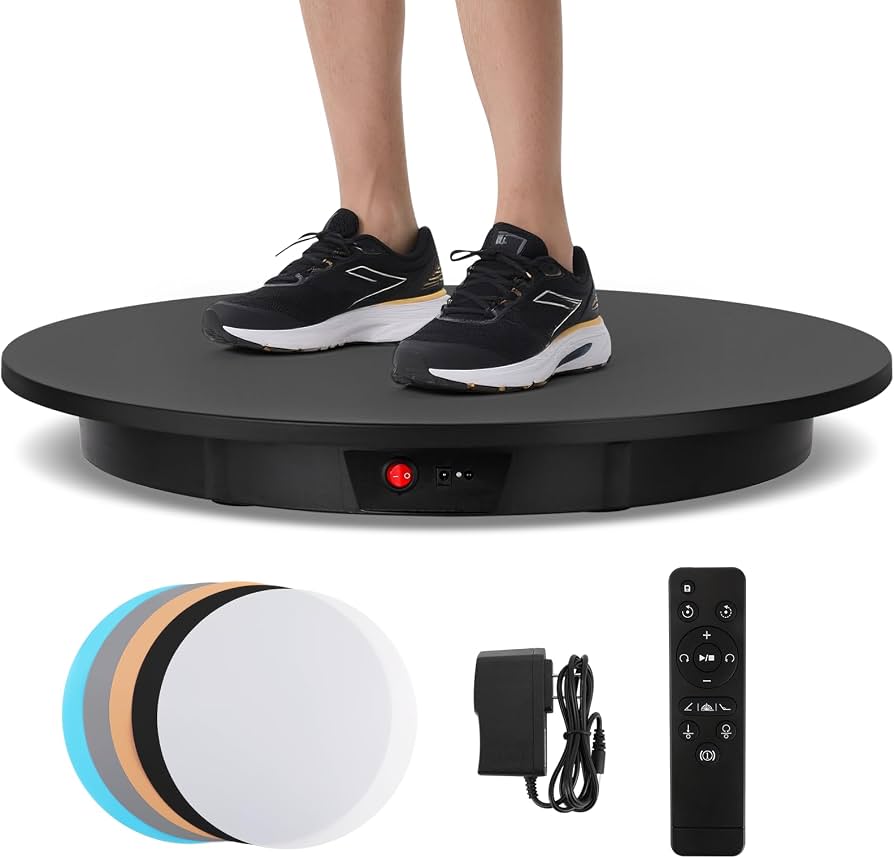
- •Tripod, turntable, and diffused LED lights for capture
- •Free software: Meshroom (photogrammetry), Blender (modeling), Fiji/ImageJ (image analysis), Python 3.10+ with OpenCV and scikit-image
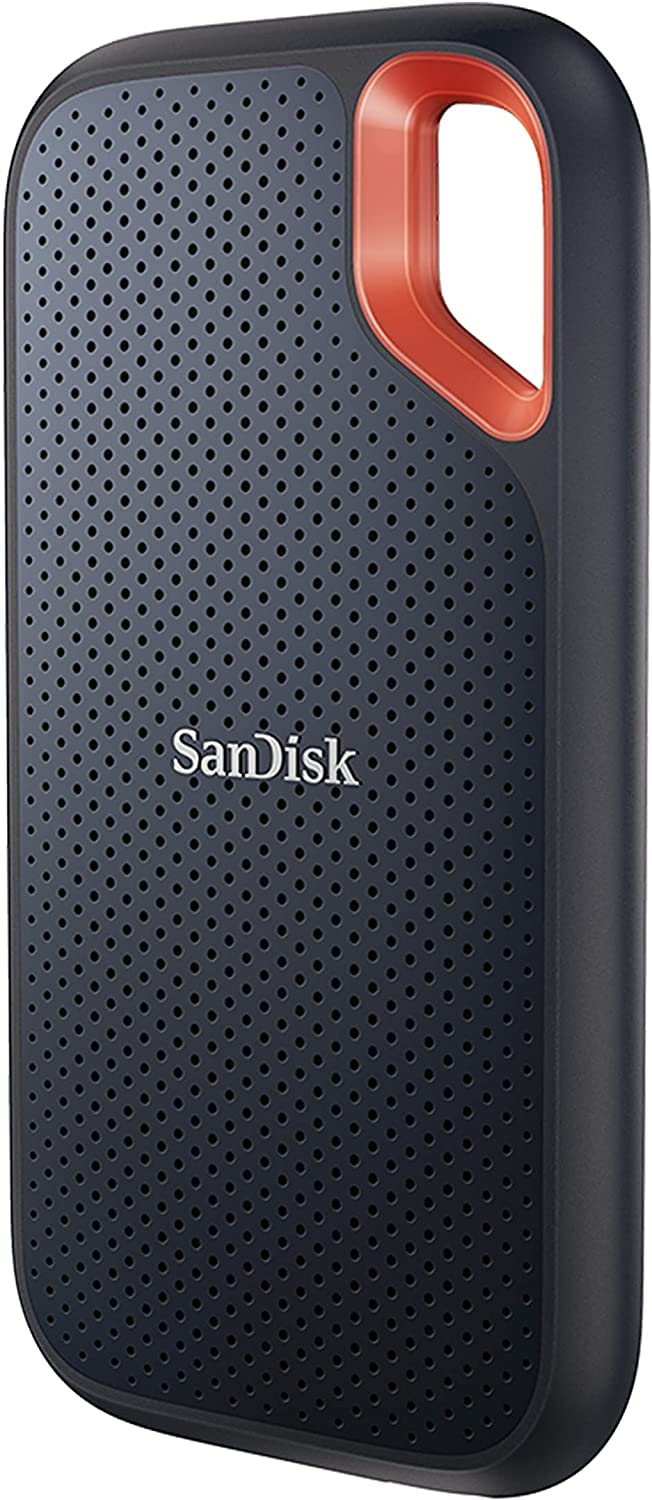
- •External SSD (1TB+) for large datasets
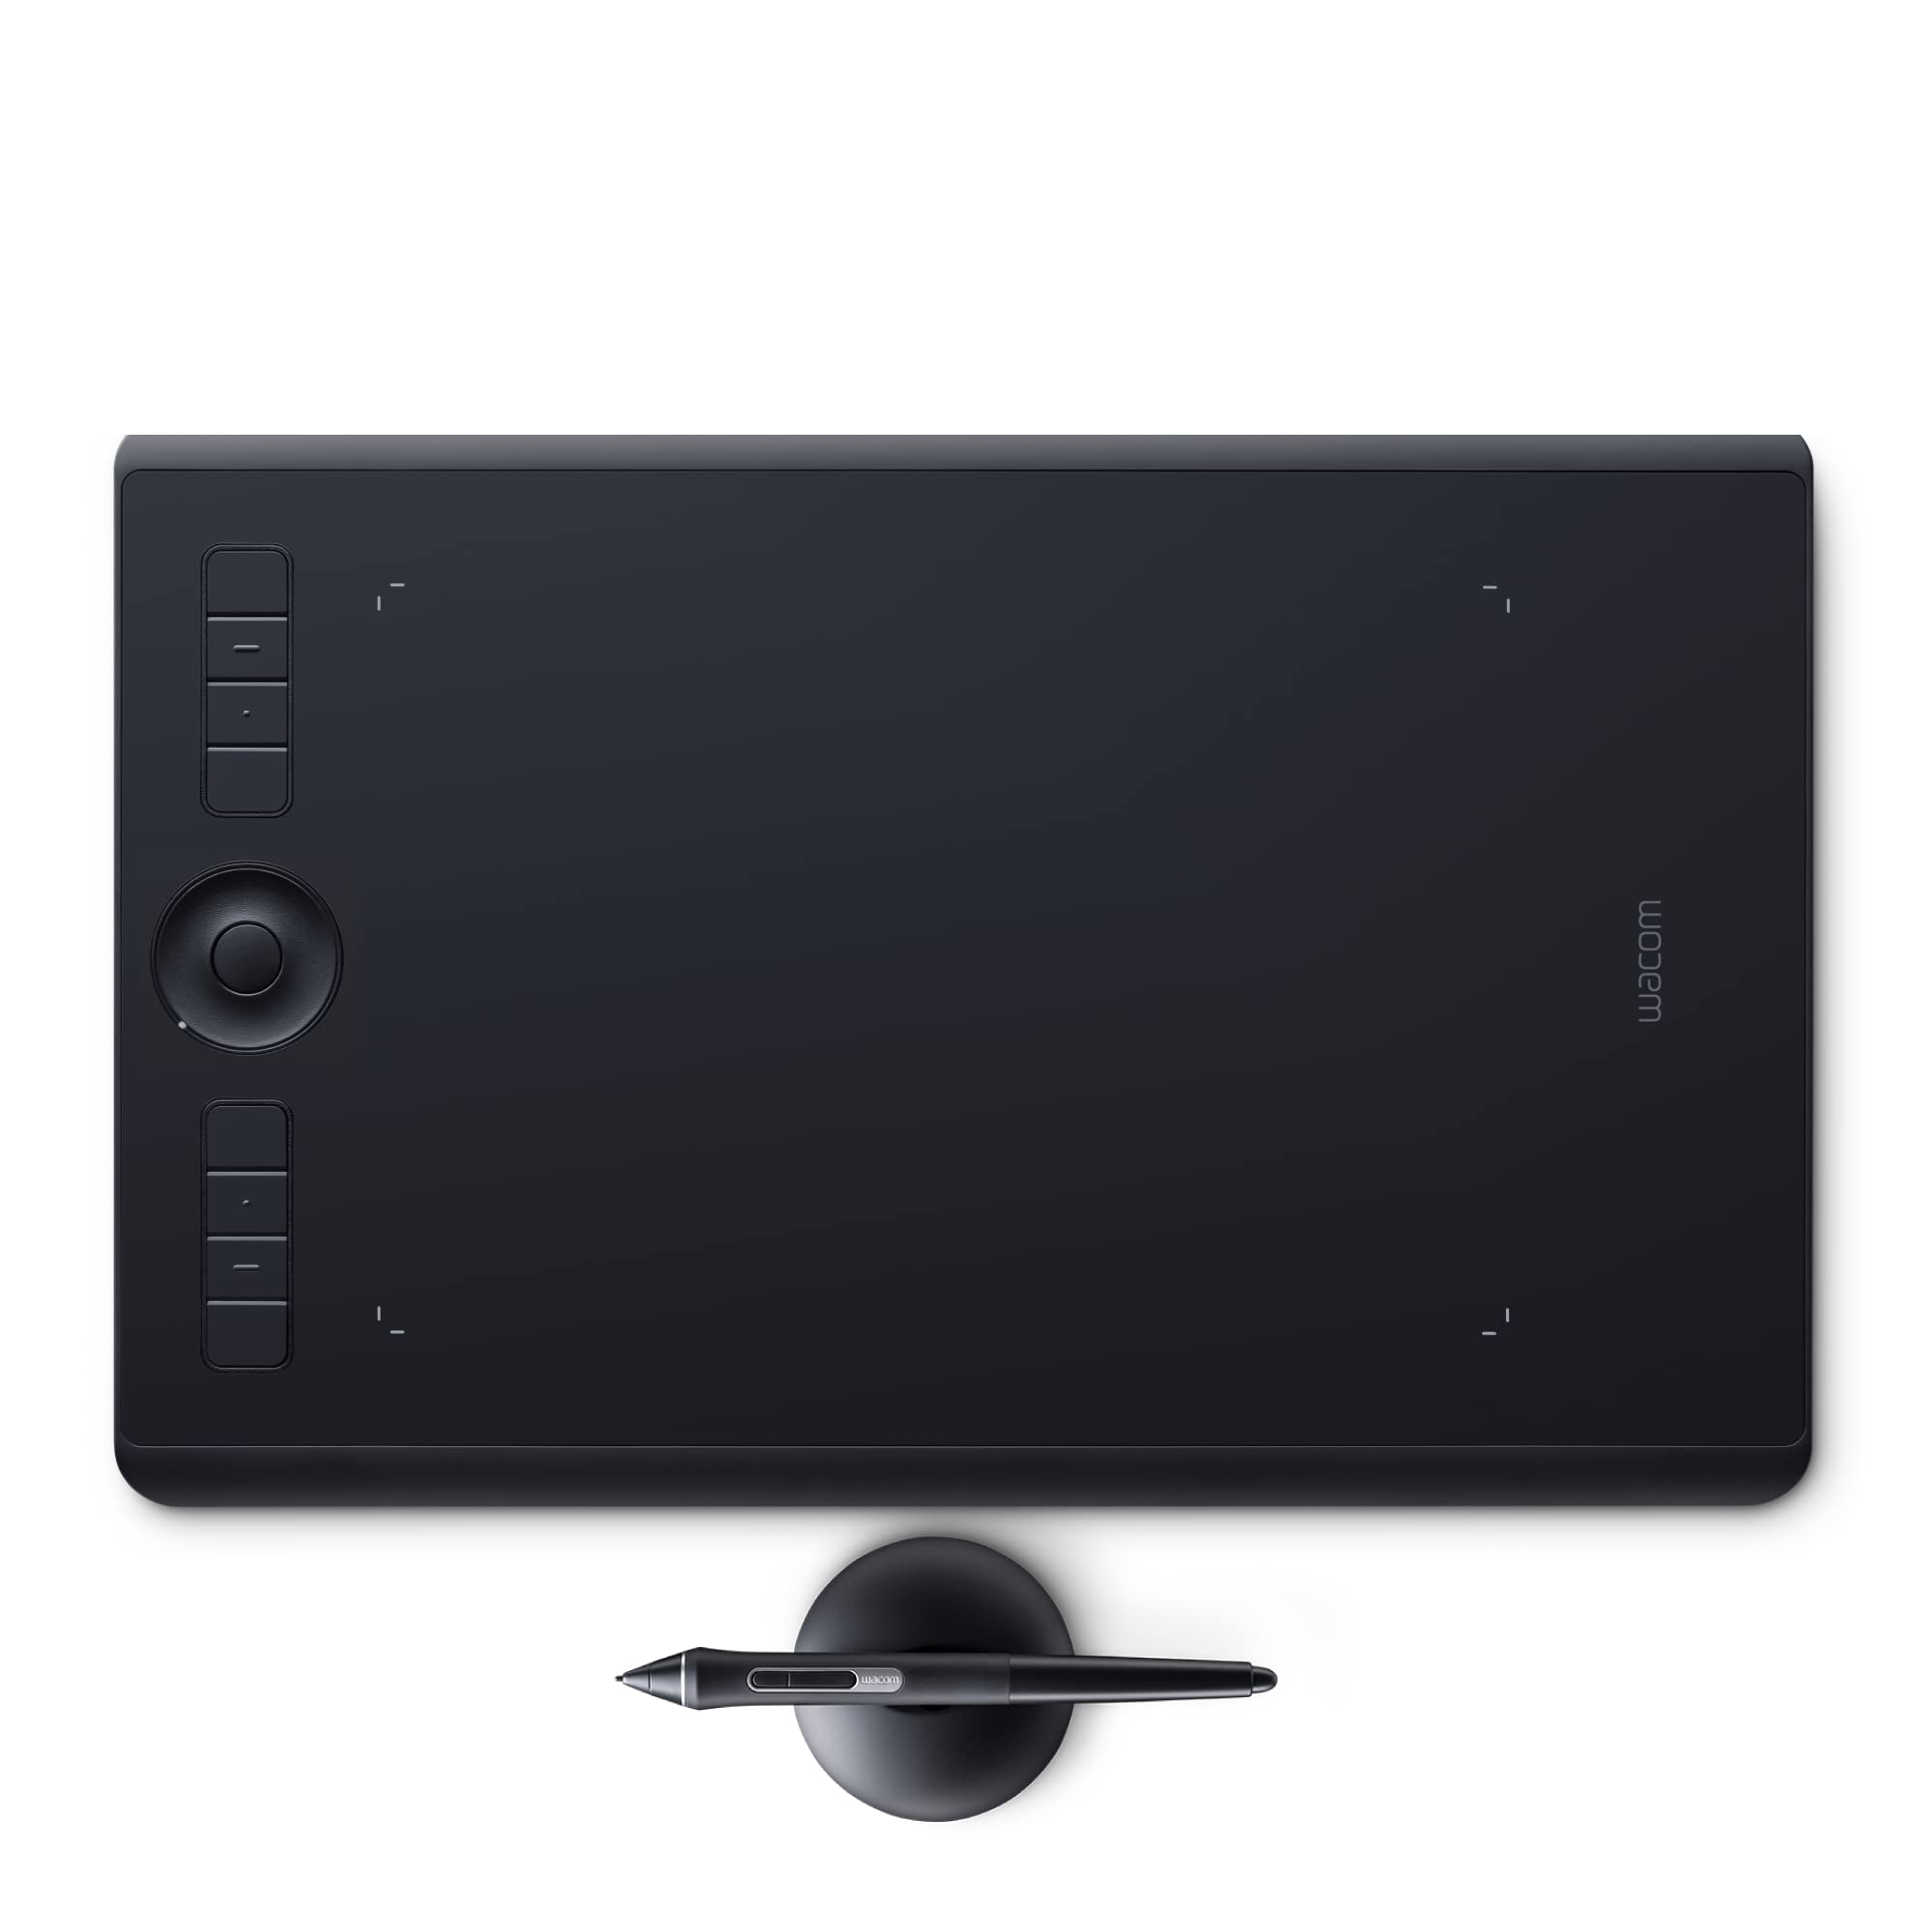
- •Optional: Graphics tablet for precise annotations
Estimated Time: 4-6 hours
Difficulty: advanced
▸Step-by-Step Instructions
Step 1: Prepare Workspace and Artifact
Set up a controlled environment to mimic professional scanning labs. Place a replica or permitted artifact (never originals without clearance) on a rotating turntable under even, diffused lighting to avoid shadows.
Why it matters: Consistent conditions ensure accurate photogrammetry. Calibrate scale with a reference object like a 10cm checkerboard.
Success: Uniform illumination—no hotspots/glare; artifact stable for 360° rotation.
Image description: Clean desk with black backdrop, LED panels, turntable holding a pottery shard, tripod-mounted camera.
💡 Tips:
- •Use matte black cloth backdrop to reduce reflections.
- •RAW format for max dynamic range.
⚠️ Warnings:
- •Avoid direct sunlight—causes inconsistent exposure.
Step 2: Capture Multi-Angle Photographs
Shoot 100-200 photos in overlapping sequences: 360° orbit at 5-10° intervals, multiple heights (top, mid, bottom), and close-ups for details. Use manual focus, f/8 aperture, ISO 100.
Why: Structure-from-Motion (SfM) needs 80%+ overlap for alignment.
Success: Sharp, evenly lit images covering all surfaces; preview for blur-free shots.
Export as high-res JPEG/TIFF to SSD.
💡 Tips:
- •Automate with camera intervalometer or apps like Polycam.
- •Include scale markers in 20% of shots.
⚠️ Warnings:
- •Insufficient angles lead to incomplete models—aim for 150+ photos.
Step 3: Install and Launch Photogrammetry Software
Download Meshroom (free, AliceVision-based). Import photo set into new project. Run initial 'StructureFromMotion' node to generate camera poses and sparse point cloud.
Why: Automates 3D reconstruction from 2D images.
Success: Progress bar completes; visualize aligned cameras in 3D viewer—no major outliers.
💡 Tips:
- •Use GPU acceleration: enable CUDA in settings.
- •Pre-filter blurry images with Fiji.
Step 4: Generate Dense Point Cloud and Mesh
Execute 'DepthMap' and 'Meshing' nodes. This creates millions of points then a watertight mesh. Export OBJ.
Why: Point cloud captures geometry; meshing makes it usable.
Success: Dense cloud (1M+ points); mesh without major holes. Takes 1-2 hours.
💡 Tips:
- •Downsample if RAM-limited: set max features to 20k.
⚠️ Warnings:
- •Low overlap fails here—restart capture if <50% cameras align.
Step 5: Refine Model in Blender
Import OBJ to Blender. Clean topology: remove noise with Decimate modifier, fill holes via Remesh. Apply UV unwrap and bake textures.
Why: Raw meshes are noisy; refinement enables analysis.
Success: Smooth, scaled model (use MeasureIt addon for verification).
💡 Tips:
- •Assign material with high-res texture for realism.
- •Set units to cm for accurate scaling.
Step 6: Enhance and Analyze Images in Fiji/ImageJ
Stack close-up photos in Fiji. Apply filters: unsharp mask, CLAHE for contrast, edge detection for inscriptions. Measure features with ROI tools.
Why: Reveals micro-details like tool marks or pigments.
Success: Enhanced stack showing hidden engravings; quantified erosion (e.g., 0.2mm depth).
💡 Tips:
- •Macro script for batch processing.
- •Combine with model orthophotos.
Step 7: Annotate and Measure Digitally
In Blender or CloudCompare, add annotations, cross-sections, curvature maps. Use Python script for automated feature detection (OpenCV contours).
Why: Precise, repeatable metrics replace calipers.
Success: Labeled model with dimensions, exported PDF report.
💡 Tips:
- •Graphics tablet shines here for freehand marks.
⚠️ Warnings:
- •Forget scale? Measurements invalidate—double-check references.
Step 8: Advanced AI Analysis and Export
Run Python ML: classify motifs with pre-trained models (e.g., ResNet on pottery shards). Export GLB for web viewers like Sketchfab.
Why: Automates pattern recognition across datasets.
Success: Insights like '90% match to Sumerian style'; shareable model.
💡 Tips:
- •Use Google Colab for GPU if local weak.
- •Version control with Git.
▸Pro Tips
- •Always shoot RAW and convert to 16-bit TIFF for max detail retention.
- •Calibrate camera intrinsics with OpenCV for sub-mm accuracy.
- •Batch process multiple artifacts in Meshroom queues to save time.
- •Use orthographic projections in Blender for planimetric maps like ancient carvings.
- •Integrate LiDAR scans from phone (e.g., iPhone) for hybrid datasets.
- •Backup intermediates—photogrammetry is compute-heavy and iterative.
- •Share via Sketchfab for collaborative annotations.
▸Common Mistakes to Avoid
- •Inadequate photo overlap (<70%) causing SfM failure—solution: reshoot with tighter intervals.
- •Ignoring lighting consistency, leading to texture seams—use color checker cards.
- •Skipping scale references, resulting in useless measurements—include in every session.
- •Overlooking GPU drivers, slowing processing 10x—update CUDA.
- •Analyzing without cleaning mesh, amplifying noise in AI—refine first.
▸Troubleshooting
Problem: Meshroom crashes on meshing
Solution: Reduce image resolution or features; allocate more RAM/swap.
Problem: Blurry textures or holes in model
Solution: Add 50+ close-ups; increase depth map resolution.
Problem: AI classification inaccurate
Solution: Fine-tune on domain-specific dataset; check normalization.
Problem: Software compatibility issues
Solution: Use Docker containers for Meshroom/Blender; verify Python env.
Wacom Intuos Pro Medium Graphics Tablet
Pressure-sensitive pen offers pixel-perfect control for annotations and sculpting in Blender—essential for advanced detailing.
Best for: Steps 7-8: Measuring inscriptions or refining 3D features.
Price Range: $249.95
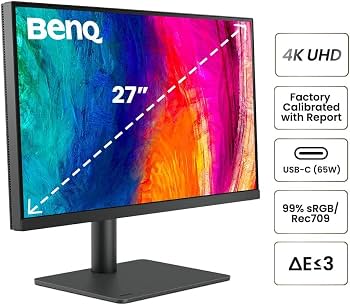
BenQ PD2705U 27" 4K IPS Designer Monitor
100% sRGB coverage and hardware calibration ensure accurate color/detail for spotting subtle artifact wear.
Best for: Image review and texture baking across all steps.
Price Range: $499-$549
SanDisk 2TB Extreme Portable SSD V2
IP55 rugged, 1050MB/s speeds handle massive photo/model files without bottlenecks.
Best for: Storing 100GB+ datasets from capture to export.
Price Range: $149.99
Neewer Motorized Turntable for Photography
Precise 360° rotation at 1RPM automates even capture sequences.
Best for: Step 2: Consistent orbiting shots.
Price Range: $29.99
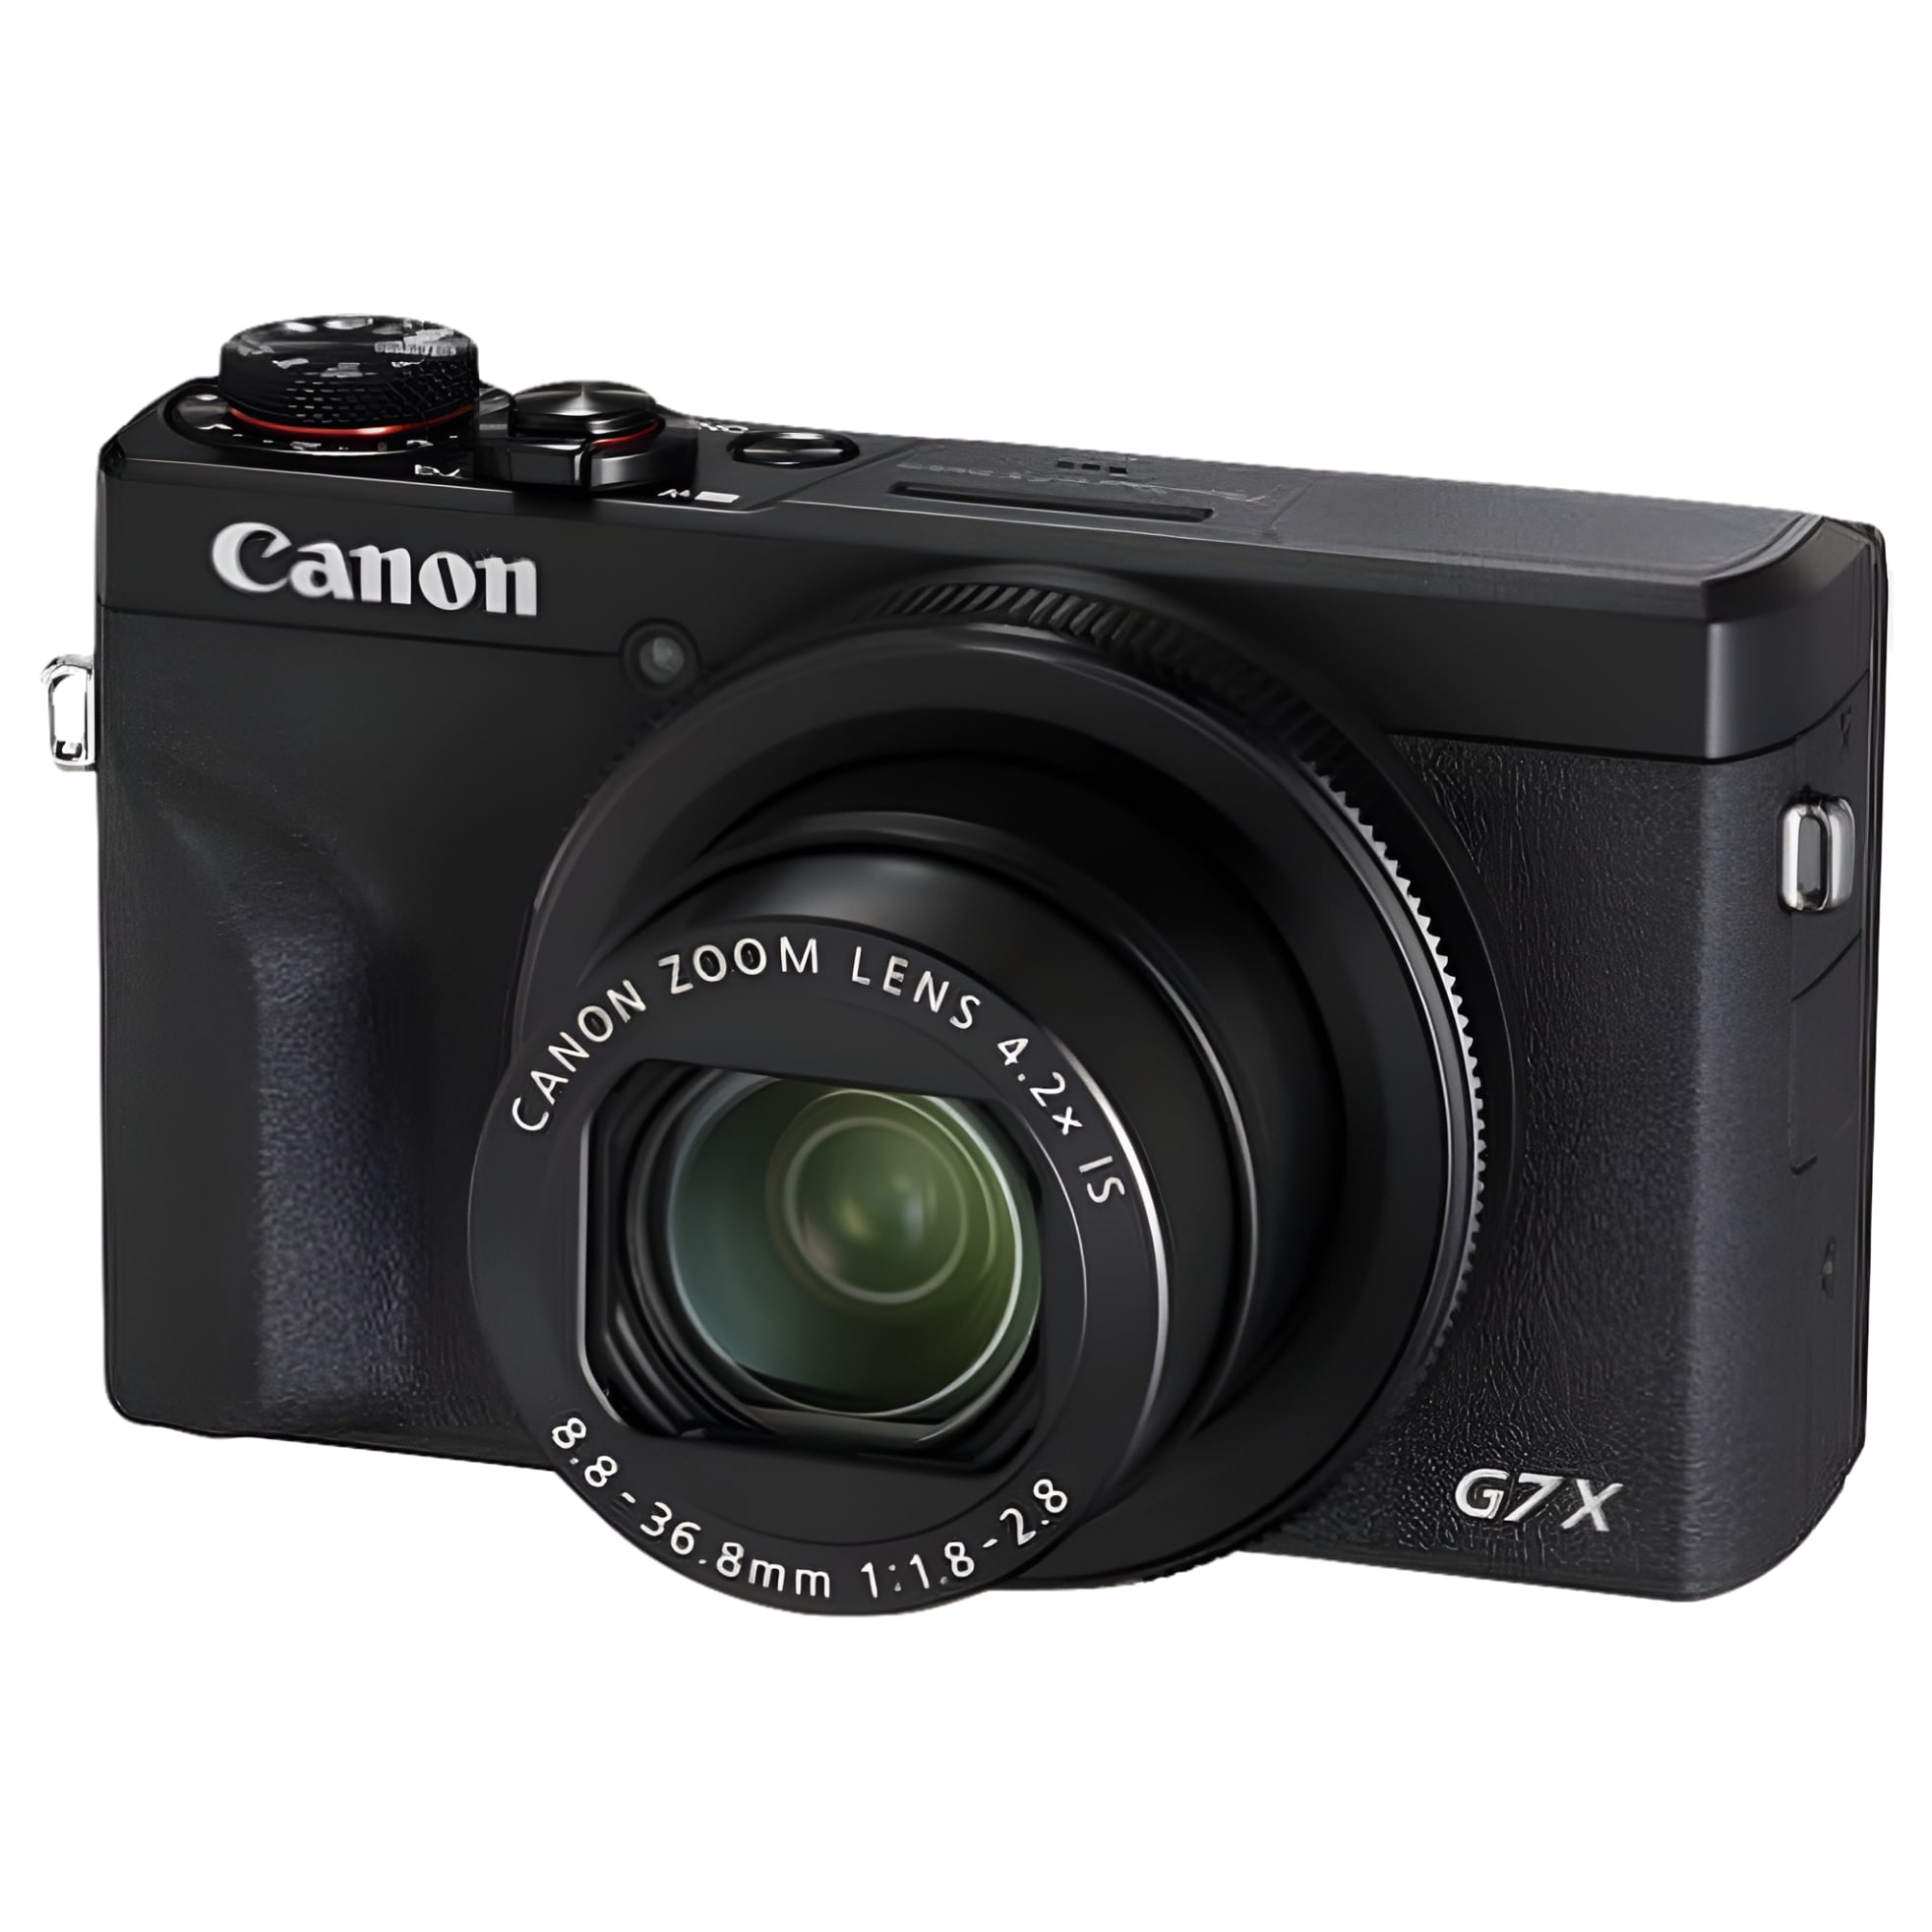
Canon PowerShot G7 X Mark III
20MP 1-inch sensor with RAW and macro delivers pro photogrammetry images portably.
Best for: Step 2: High-quality capture without full DSLR setup.
Price Range: $749