Nothing kills a live acoustic performance faster than piercing feedback squeals from your amp. If you're an intermediate player tired of wrestling with unwanted howl when plugging in your acoustic-electric guitar, this guide is your solution. Feedback occurs when amplified sound loops back into your guitar's pickup or mic, creating a vicious cycle.
In this step-by-step tutorial, you'll learn how to position gear, shape your EQ, use suppressors, and stage your signal chain for clean, professional tone. Expect pro-level results without complex mods. The process takes 30-45 minutes initially, plus testing time, and builds on basic amp knowledge.
By the end, you'll amp up confidently at gigs, open mics, or rehearsals—no more sudden squeals derailing your set.
▸What You'll Need
- •Acoustic-electric guitar with onboard preamp or external pickup/mic
- •Acoustic amp or PA system (e.g., Fishman Loudbox series)
- •Instrument cable (1/4-inch TS, 10-20 ft)
- •DI box or acoustic preamp (optional but recommended)
- •Graphic EQ pedal or rack unit
- •Feedback suppressor (e.g., single/dual channel)
- •Tuner and volume pedal (optional)
- •Screwdriver for battery access if needed
Estimated Time: 30-45 minutes for setup and initial testing; 10-15 minutes per gig tweak
Difficulty: intermediate
▸Step-by-Step Instructions
Step 1: Understand Feedback Causes
Before plugging in, grasp why feedback happens: sound from your amp's speaker re-enters your guitar's piezo pickup, soundhole mic, or external mic, amplifying at specific frequencies (often 200-500Hz for body resonance or 2-5kHz for highs).
Success looks like: You can identify hot spots by knowing your guitar's resonant frequencies. Test by playing loudly near the amp without plugging in—note where squeals start.
This foundation prevents trial-and-error later.
💡 Tips:
- •Play a low E string to quickly find bass feedback frequencies.
⚠️ Warnings:
- •Don't ignore this—rushing leads to repeated fixes mid-gig.
Step 2: Optimize Stage Positioning
Place your amp behind you and slightly to the side, aimed at the audience—not your guitar. Position yourself between amp and guitar, blocking direct sound path. Elevate amp off floor if possible.
Why? This minimizes sound spilling back into pickups. Expect 50% feedback reduction immediately. Test by cranking volume and strumming—listen for clean sustain without howl.
For soundhole mics, angle guitar away from amp.
💡 Tips:
- •Use amp stands for floor clearance; face monitors away if using them.
⚠️ Warnings:
- •Avoid pointing amp at your feet or guitar body—common squeal source.
Step 3: Assemble Your Signal Chain
Connect: Guitar → Preamp/DI → EQ/Feedback Suppressor → Amp/PA. Use balanced XLR from DI to PA for longer runs.
Why it matters: Proper order lets EQ suppress before amplification. Success: Signal flows without hum or ground loops. Buffer weak piezo signals with a preamp.
Plug in loosely first, then tighten—no loose jacks cause noise.
💡 Tips:
- •Shielded cables reduce interference.
Step 4: Set Initial EQ and Gain
Start flat on EQ. Set guitar volume to 70%, preamp gain low. Bring amp master up slowly while playing chords.
Cut bass below 100Hz (muddiness), notch mids (250-400Hz) by 3-6dB if rumble starts. Boost highs sparingly.
Expect balanced tone; gain staging prevents clipping, key to feedback control.
💡 Tips:
- •Use guitar's onboard EQ first for quick cuts.
⚠️ Warnings:
- •Over-boosting highs invites shrill feedback.
Step 5: Ring Out Feedback Frequencies
Increase volume until feedback starts. Identify the ringing note (e.g., via tuner). Use graphic EQ to sweep and notch that frequency by 6-12dB (narrow Q).
Repeat for 3-5 frequencies. Why? Precise cuts kill feedback without ruining tone. Success: Max volume with sustain, no squeal.
Play dynamically to find multiple rings.
💡 Tips:
- •Start with loudest note; apps like AudioTool help identify Hz.
Step 6: Activate Feedback Suppressor
Power on suppressor (after EQ). Set to auto-detect; it locks out problem frequencies dynamically.
Test by playing aggressively. Expect hands-free control—device learns room/guitar quirks. Fine-tune sensitivity.
💡 Tips:
- •Bypass during soundcheck to compare.
⚠️ Warnings:
- •Over-sensitive settings cut too much tone.
Step 7: Test in Performance Context
Simulate gig: Play full songs, move around stage, sing. Adjust notches live if needed.
Success: Seamless playthrough at gig volume. Refine for room acoustics (dampen reverb-heavy spaces).
💡 Tips:
- •Record test for playback review.
Step 8: Refine for Your Setup
Save presets on multi-EQ units. Note settings per venue. Use DI direct to PA for larger stages.
Why? Consistency across gigs. Final check: No feedback at 110% volume.
💡 Tips:
- •Label cables for quick swaps.
▸Pro Tips
- •Use under-saddle piezo pickups over soundhole mics for less feedback sensitivity.
- •Duct tape or foam over guitar's soundhole reduces internal resonance.
- •Position mic (if blended) 6+ inches from strings, perpendicular to soundboard.
- •Lower guitar action reduces string buzz that mimics feedback.
- •Invest in a volume loop pedal to swell in/out without popping feedback.
- •Rehearse with backing tracks to mimic band dynamics.
- •Dry rooms? Add subtle reverb post-EQ to avoid harshness.
▸Common Mistakes to Avoid
- •Amp facing player: Causes immediate loop—always behind.
- •Flat EQ: Doesn't address guitar-specific resonances—always notch.
- •High gain first: Clips signal early—set volumes low to high.
- •Ignoring room: Reflections amplify feedback—test in venue.
- •Cheap cables: Introduce noise—use quality shielded ones.
▸Troubleshooting
Problem: Persistent low-end rumble
Solution: Cut 80-120Hz sharply; check amp placement on floor. Use high-pass filter on preamp.
Problem: High-pitched squeal on strums
Solution: Notch 2-4kHz; cover soundhole or switch to magnetic pickup.
Problem: Feedback only when singing
Solution: Mic bleed—use supercardioid vocal mic, position guitar away.
Problem: Suppressor mutes too much
Solution: Lower sensitivity or manual bypass; ring out manually first.
Problem: Hum with DI
Solution: Ground lift switch; balanced cables. Seek pro if phantom power issue.
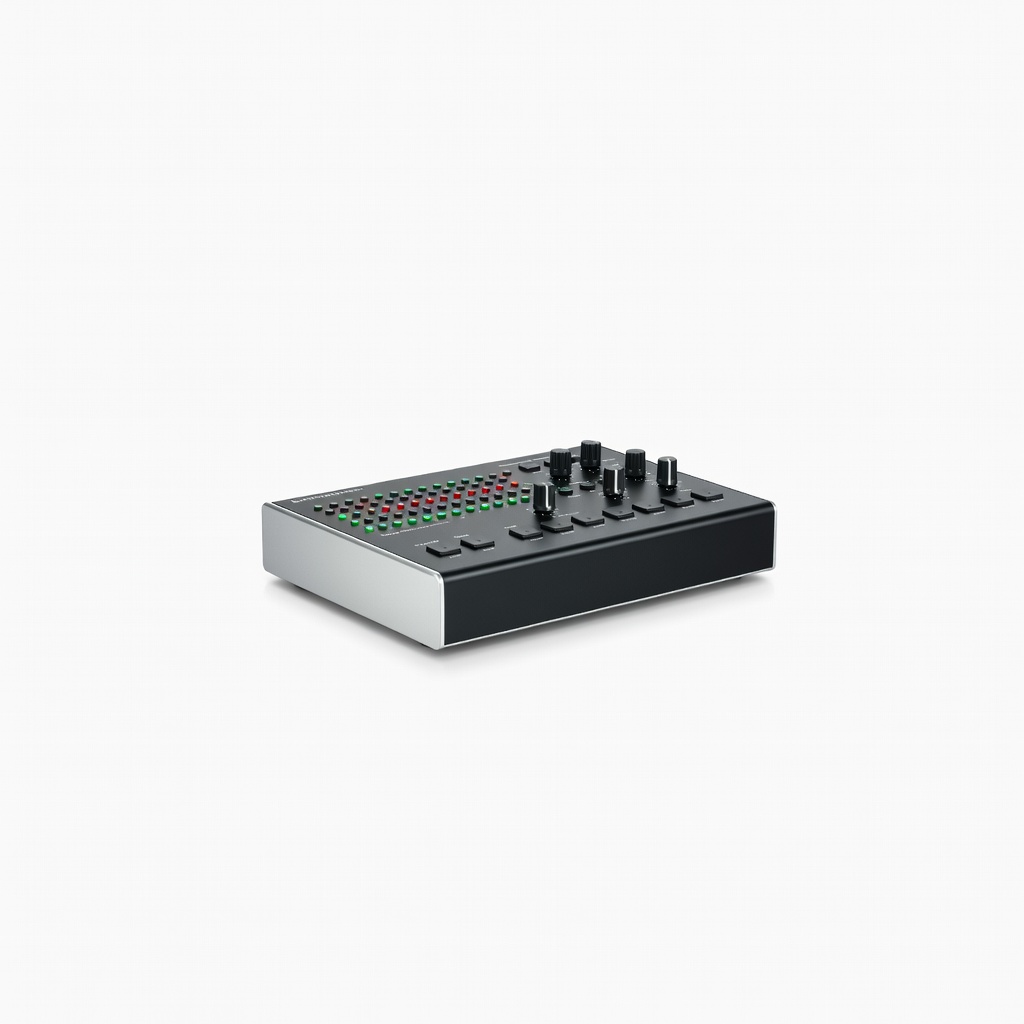
Behringer Feedback Destroyer FBQ1000
Automatically detects and kills up to 24 feedback frequencies in real-time, perfect for live acoustic use.
Best for: Gigging musicians needing hands-free suppression after manual EQ.
Price Range: $99.99
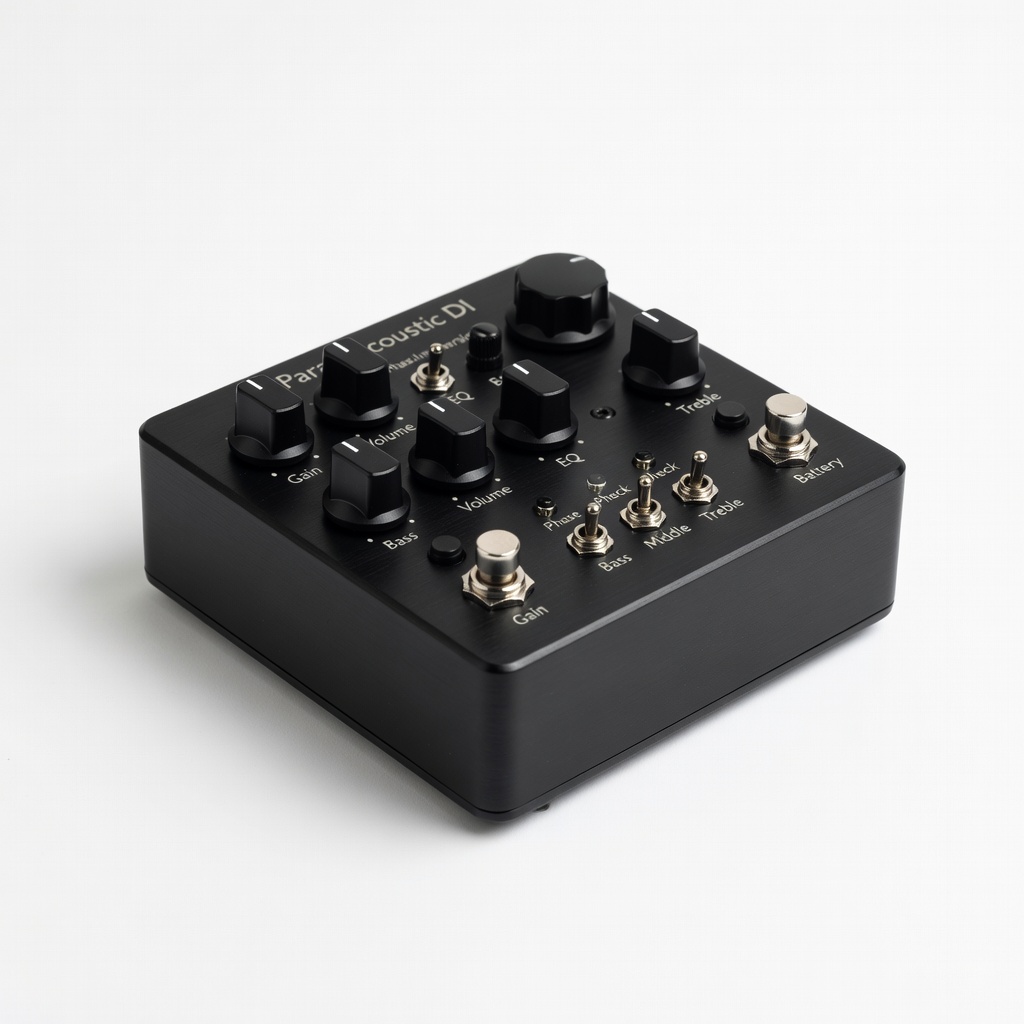
LR Baggs Para Acoustic DI
Premium preamp with EQ, notch filter, and phase invert tailored for acoustics to prevent feedback at source.
Best for: Studio or stage direct to PA/mixer for clean signal.
Price Range: $179-$200
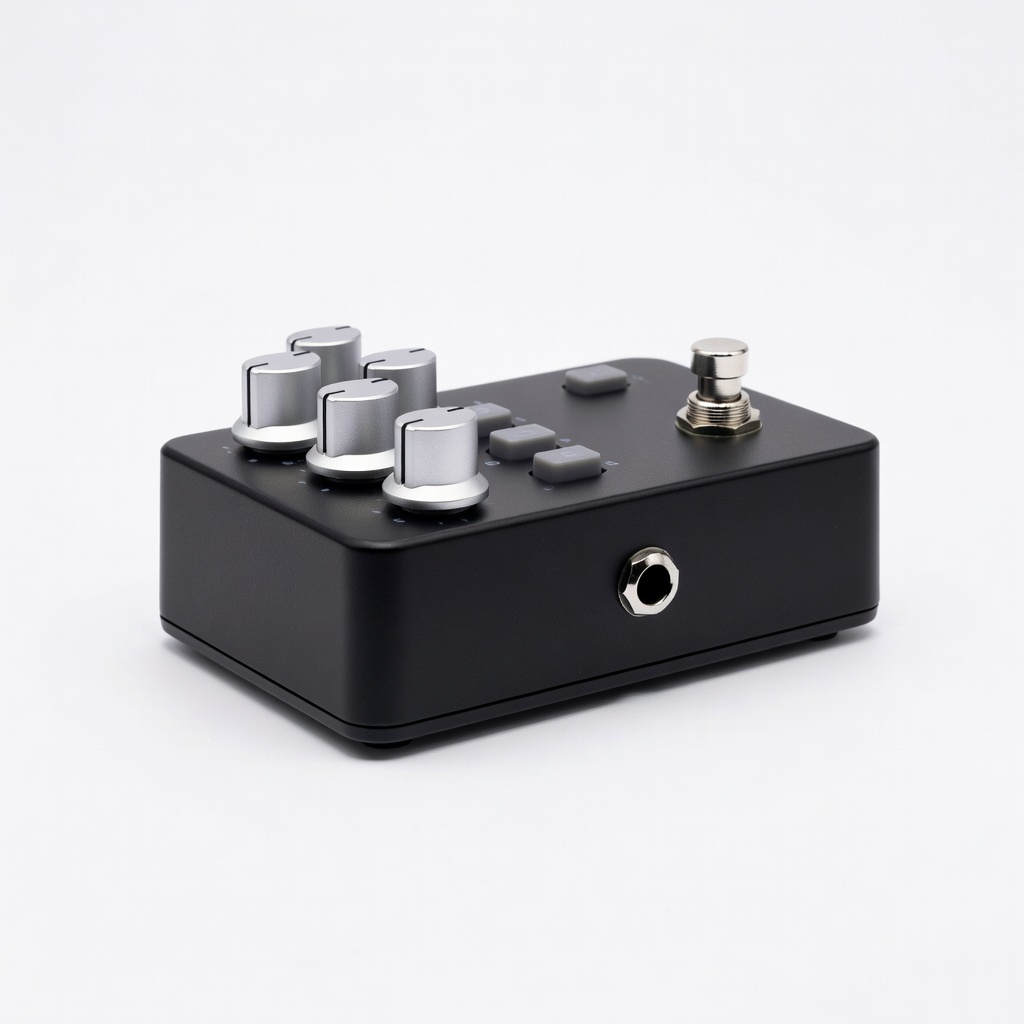
Fishman Platinum Pro EQ Pedal
Onboard tuner, boost, notch filter, and phase switch for precise acoustic tone shaping without rack gear.
Best for: Pedalboard integration for intermediate players.
Price Range: $169.99
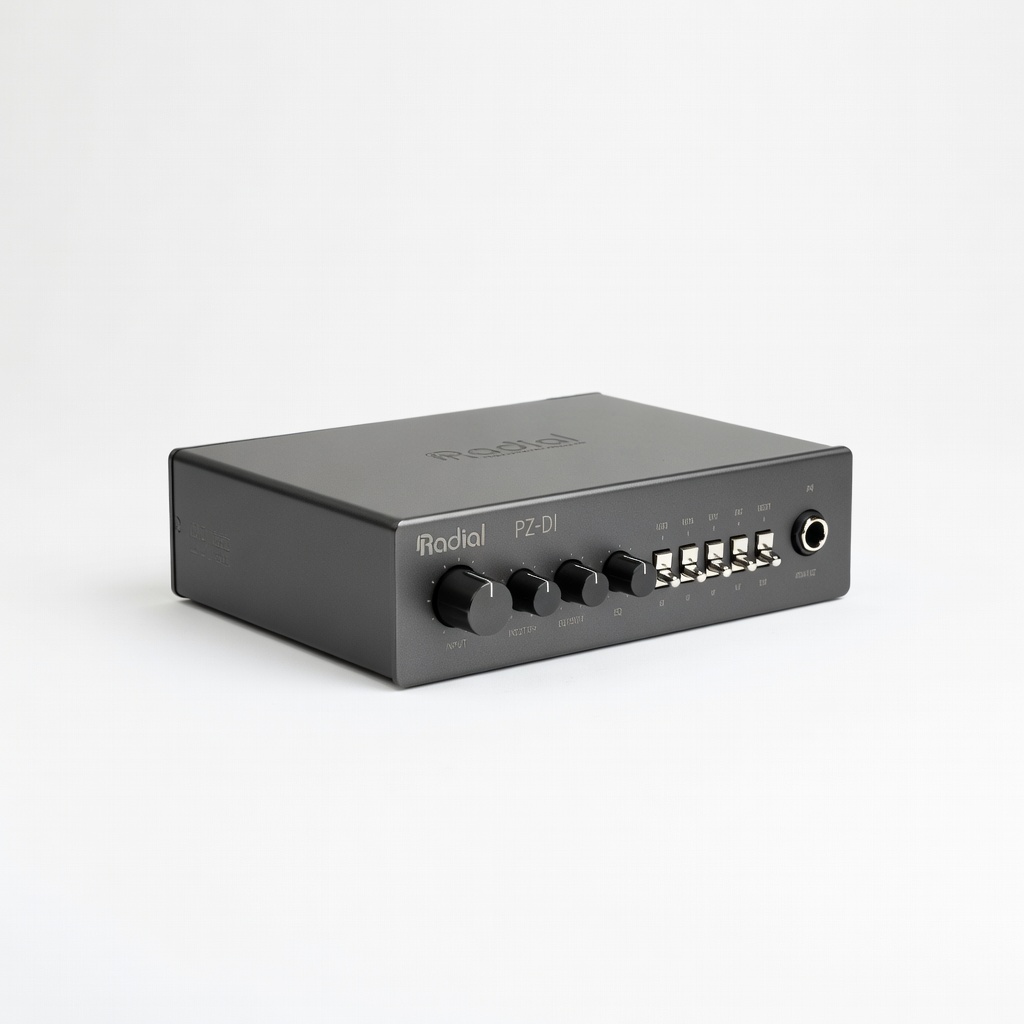
Radial PZ-DI Acoustic Preamp
Variable impedance matching kills piezo quack and feedback, with EQ for pro results.
Best for: High-end setups needing impedance control.
Price Range: $199-$220
Fishman Loudbox Artist Amp
Acoustic-specific amp with anti-feedback filters, twin channels, and effects loop.
Best for: Portable practice/gig amp for solo/duo acts.
Price Range: $699-$750