Nothing ruins a bike ride faster than wobbly wheels that cause vibrations, poor handling, or even accidents. Misaligned wheels are common after rough terrain, crashes, or simply from loose spokes over time. If you've noticed your bike pulling to one side or feeling unstable, aligning (or 'truing') your wheels can restore smooth, safe performance without a pricey bike shop visit.
In this beginner-friendly guide, you'll learn how to inspect and adjust your bicycle wheels step by step. We'll cover the essentials of lateral and radial truing using simple tools. By the end, your wheels will spin true, giving you confidence on every pedal. The process takes 30-60 minutes per wheel and requires no advanced skills—just patience and basic tools.
Expect a hands-on tutorial that builds from preparation to testing. If your wheels are severely damaged, consider professional help, but most minor issues are DIY-fixable.
▸What You'll Need
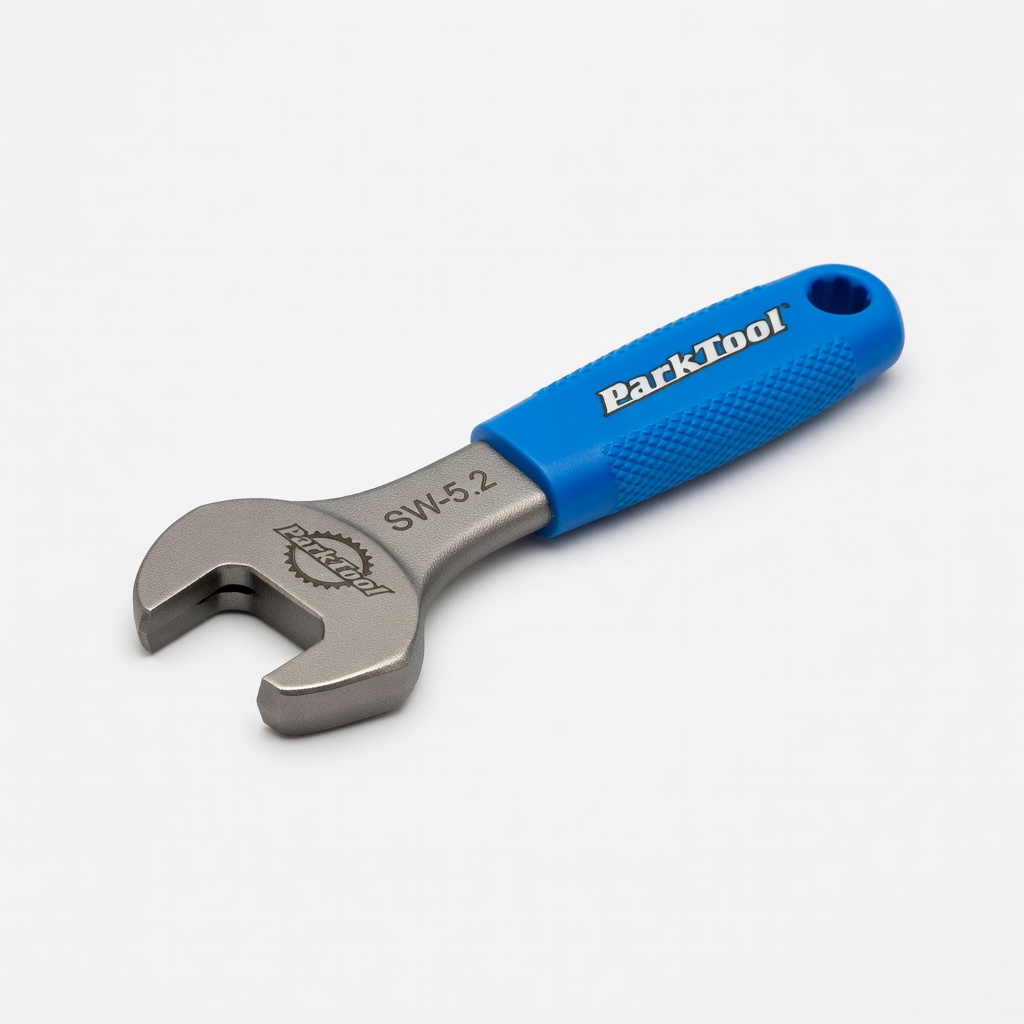
- •Spoke wrench (specific to your spoke nipple size, e.g., Park Tool SW-5.2 for 3.23mm nipples)
- •Allen keys (3mm and 5mm for axle nuts/quick releases)
- •Flathead screwdriver or tire levers (for removing tires if needed)
- •Bicycle repair stand or sturdy chair to hang the wheel (optional but recommended)
- •Zip ties or string (for makeshift truing gauge)
- •Clean rags and bike lubricant (for post-adjustment cleanup)
Estimated Time: 30-60 minutes per wheel
Difficulty: beginner
▸Step-by-Step Instructions
Step 1: Prepare Your Workspace and Bike
Start by finding a well-lit, flat area like a garage or patio where you can work comfortably. Clean your bike's wheels with a rag to remove dirt, as grime can hide issues or make adjustments slippery. Secure your bike upside down on a repair stand or by placing the seat and handlebars on a soft surface to elevate the wheels off the ground—this allows them to spin freely without interference.
Why this matters: A stable setup prevents scratches or drops, and clean wheels let you spot true problems clearly. Expect the bike to feel awkward at first, but once elevated, you'll have easy access to the rims and spokes. If using a chair to hang the wheel later, ensure it's stable.
Image Description: A bicycle flipped upside down on a repair stand in a garage, with wheels elevated and tools laid out nearby.
💡 Tips:
- •Work in good lighting to see spoke tensions accurately.
- •Have a bike stand if possible—it saves time over propping the bike.
⚠️ Warnings:
- •Avoid working on uneven surfaces to prevent the bike from tipping.
Step 2: Remove the Wheel from the Bike
Loosen the quick-release skewer or axle nuts using your Allen keys (typically 5mm for front, 3mm for rear). For quick-release, open the lever and unscrew the nut slightly, then pull the wheel free. If it's a rear wheel with gears, shift to the smallest cog first to ease removal. Gently lift the wheel out, noting any brake pads or chain positioning for reinstallation.
This step is crucial because truing is easier off the bike, allowing full rotation without frame interference. Success looks like the wheel detaching smoothly without forcing parts. If stuck, double-check for hidden brakes or disc rotors.
Image Description: Hands loosening a quick-release skewer on a bicycle wheel, with the wheel partially removed.
💡 Tips:
- •Label left/right wheels to avoid mix-ups during reinstall.
- •For disc brakes, avoid touching the rotor to keep it clean.
⚠️ Warnings:
- •Don't force the wheel if it's caught on the chain—shift gears first.
Step 3: Inspect the Wheel for Damage
Spin the wheel slowly by hand and observe the rim's path. Look for wobbles side-to-side (lateral trueness) or up-and-down (radial trueness). Use your finger or a zip tie taped to the frame/fork as a gauge— the rim should pass within 1-2mm without rubbing. Check spokes for looseness by plucking them (they should 'ping' like a guitar string) and visually scan for bent rims or broken spokes.
Inspection identifies the issue's severity; minor wobbles are beginner-fixable, while dents may need a pro. Expect to see small deviations—perfectly true wheels are rare on home bikes. This step takes 5 minutes but saves time later.
Image Description: Close-up of a spinning bicycle wheel with a zip tie as a trueness gauge, showing a slight wobble.
💡 Tips:
- •Pluck spokes from the hub outward to test tension evenly.
- •Mark problem areas on the rim with tape for reference.
⚠️ Warnings:
- •If you find broken spokes, stop and replace them before truing.
Step 4: Set Up for Truing
Hang the wheel vertically using the axle holes on a chair back or truing stand. Ensure it spins freely. If no stand, secure the axle with clamps or string. For better precision, deflate the tire slightly or remove it with levers to access the rim directly—this isn't always needed for beginners.
Proper setup ensures accurate adjustments without frame bias. Success: The wheel rotates smoothly, and you can access all spokes. This prep takes 5 minutes but makes the process frustration-free.
Image Description: Bicycle wheel mounted on a simple truing stand or chair, ready for adjustment.
💡 Tips:
- •A cheap foam pool noodle over the chair protects the rim.
- •Remove the tire only if wobbles are severe—it's optional for light work.
⚠️ Warnings:
- •Don't overtighten clamps, as they can dent the hub.
Step 5: True for Lateral Alignment
Focus on side-to-side wobbles. Spin the wheel and identify where the rim pulls left or right. To correct a rim bulging left, tighten spokes on the left side (clockwise with wrench) by 1/4 turn— this pulls the rim left. For right bulges, tighten right-side spokes. Work in threes: Adjust three adjacent spokes, then spin and check. Alternate sides to maintain balance.
Lateral trueness affects steering stability; aim for under 1mm deviation. Expect gradual improvement—don't over-tighten, as it can warp the other way. This is the core step, taking 15-30 minutes.
Image Description: Close-up of a spoke wrench tightening a nipple on the wheel's rim, with the wheel spinning in the background.
💡 Tips:
- •Always tighten in small increments to avoid over-correction.
- •Start at the valve stem and work around clockwise.
⚠️ Warnings:
- •Loosening spokes reduces tension—only tighten for corrections unless the wheel is too tight overall.
Step 6: Check and Adjust Radial Trueness
Now address up-down wobbles by sighting along the rim's edge while spinning. For a high spot (bulge out), tighten adjacent spokes on the high side by 1/4 turn. For low spots, loosen nearby spokes slightly (counterclockwise). Again, adjust in groups of three and recheck frequently.
Radial issues cause bumpy rides; fixing them ensures even tire wear. Success: The rim looks flat when sighted. This complements lateral work and takes 10-20 minutes.
Image Description: Person sighting along the rim of a spinning wheel to check radial trueness.
💡 Tips:
- •Use a straight edge like a ruler against the rim for precision.
- •Re-tension all spokes evenly after major adjustments.
⚠️ Warnings:
- •Over-loosening can cause spoke failure—never loosen more than 1/2 turn at a time.
Step 7: Final Tension Check and Reinstall
Pluck all spokes for even 'ping' tones, then spin the wheel one last time with your gauge. If true within 1mm, reinstall: Slide the wheel back into the dropouts, secure with quick-release or nuts (torque to 5-7 Nm), and ensure brakes/chain align. Inflate the tire to recommended PSI and spin to confirm no rubbing.
Even tension prevents future wobbles. Expect a smooth spin and stable feel. This wraps up in 5-10 minutes.
Image Description: Reinstalling the wheel into the bike frame, securing the quick-release.
💡 Tips:
- •Lube the quick-release after reinstall for easy future removals.
- •Test brakes immediately to ensure pad clearance.
⚠️ Warnings:
- •Don't overtighten axle nuts—use a torque wrench if available.
Step 8: Test Ride and Verify
Take a short, flat test ride (5-10 minutes) at low speed. Check for pulling, vibrations, or rubbing noises. If all feels smooth, you're done! If issues persist, repeat adjustments or consult a pro.
Testing confirms your work; a successful ride means straight tracking and no shakes. This ensures safety before longer outings.
Image Description: Cyclist on a quiet road testing the aligned bicycle wheels.
💡 Tips:
- •Ride in a safe area without traffic for the first test.
- •Listen for unusual noises that might indicate loose parts.
⚠️ Warnings:
- •If wobbles worsen, stop riding and recheck your work.
▸Pro Tips
- •Work slowly—small adjustments prevent over-corrections and save time.
- •Invest in a quality spoke wrench matched to your bike's nipple size for easier turns.
- •True wheels every 6 months or after rough rides to maintain performance.
- •Use a mirror behind the wheel for better visibility of wobbles.
- •For mountain bikes, prioritize lateral trueness due to off-road impacts.
- •Keep a log of adjustments to track spoke tension over time.
- •Combine truing with a full bike tune-up for best results.
▸Common Mistakes to Avoid
- •Over-tightening spokes, which warps the rim the opposite way—avoid by making only 1/4 turns and rechecking.
- •Ignoring spoke tension balance, leading to uneven wear—always adjust in groups of three.
- •Truing on the bike without removing it, causing frame interference—remove for accuracy.
- •Skipping the test ride, missing subtle issues—always verify on the road.
- •Using the wrong size wrench, stripping nipples—measure your spokes first.
▸Troubleshooting
Problem: Wheel still wobbles after adjustments
Solution: Double-check for bent rim or loose hub; make smaller spoke tweaks or seek a bike shop for professional truing.
Problem: Spokes feel too loose or too tight overall
Solution: Evenly tighten all spokes by 1/4 turn if loose, or loosen if overly taut; use a tension meter for precision if available.
Problem: Brakes rub after reinstall
Solution: Recentering the wheel in the frame by loosening one side's nuts slightly, aligning, then retightening evenly.
Problem: Broken spoke during process
Solution: Replace immediately with matching length/type; true the wheel after to compensate.
Park Tool SW-5.2 Spoke Wrench
Precision-machined for 3.23mm/0.127" nipples common on most bikes, ensuring you don't strip or round off nipples during adjustments.
Best for: Essential for all spoke tightening/loosening in truing; ideal for beginners needing a reliable, affordable tool.
Price Range: $7.95
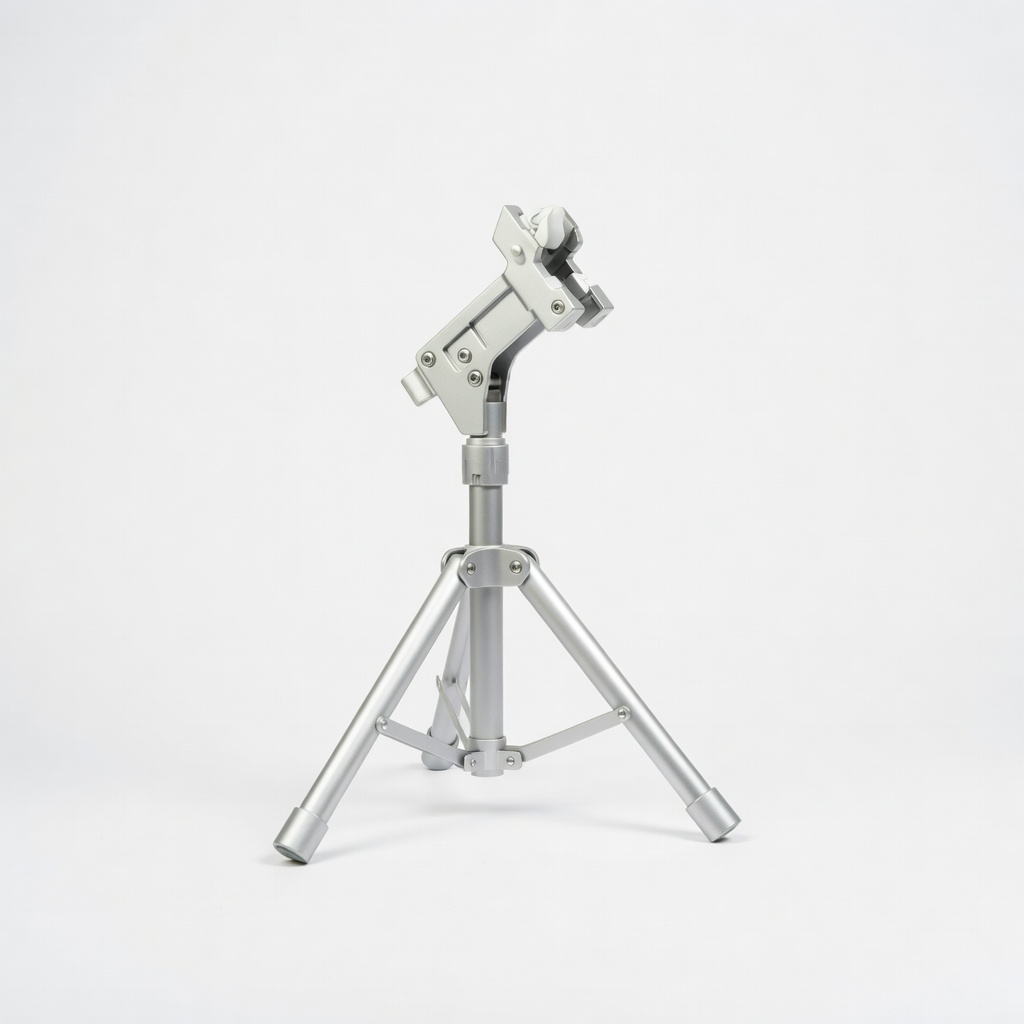
Feedback Sports Sport Mechanic Bicycle Repair Stand
Sturdy and adjustable, it holds the bike securely for easy wheel access without propping hassles, making truing more accurate.
Best for: Great for home mechanics doing frequent maintenance; elevates wheels perfectly for spinning and adjustments.
Price Range: $200-$250
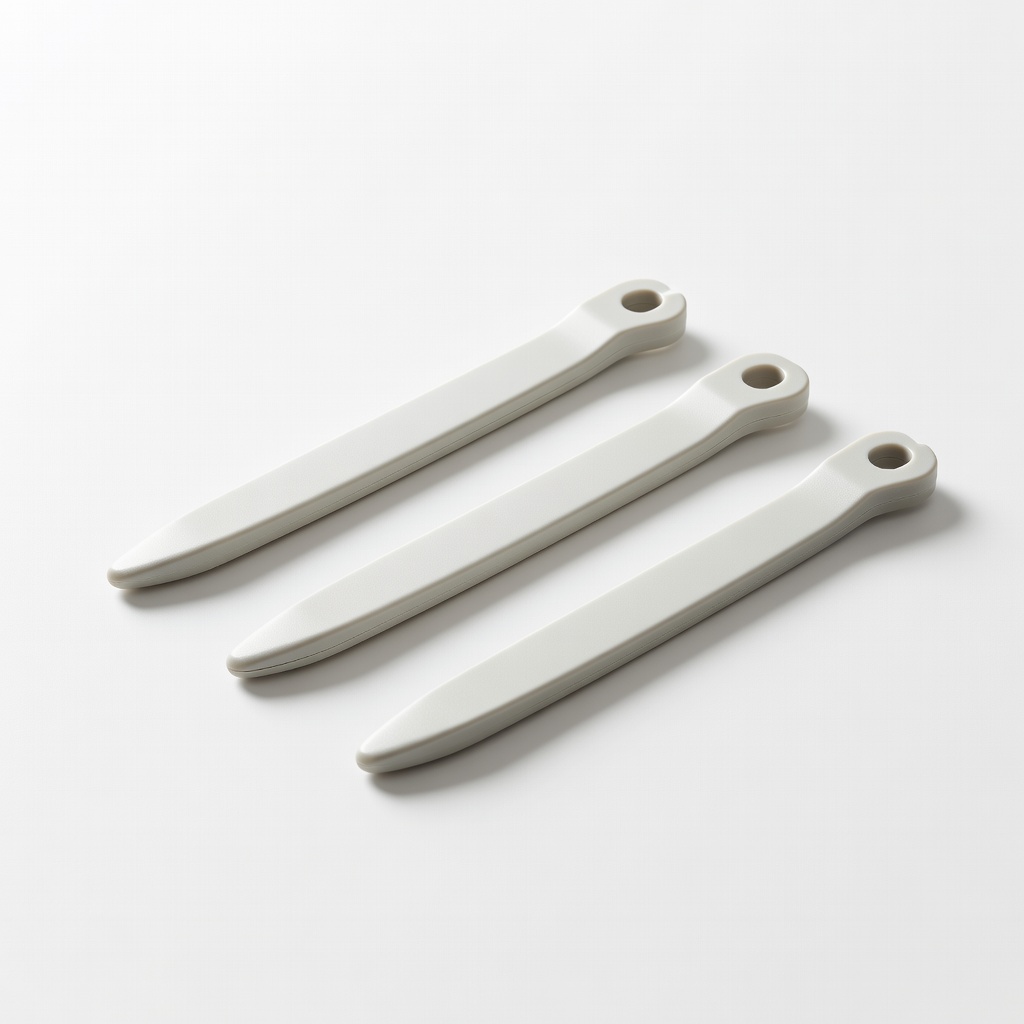
Pedro's Tire Levers Set
Durable nylon levers that won't scratch rims, perfect for removing tires to access the rim during detailed truing.
Best for: Use when inspecting inside the rim or for severe wobbles; lightweight and portable for on-the-go fixes.
Price Range: $5-$10
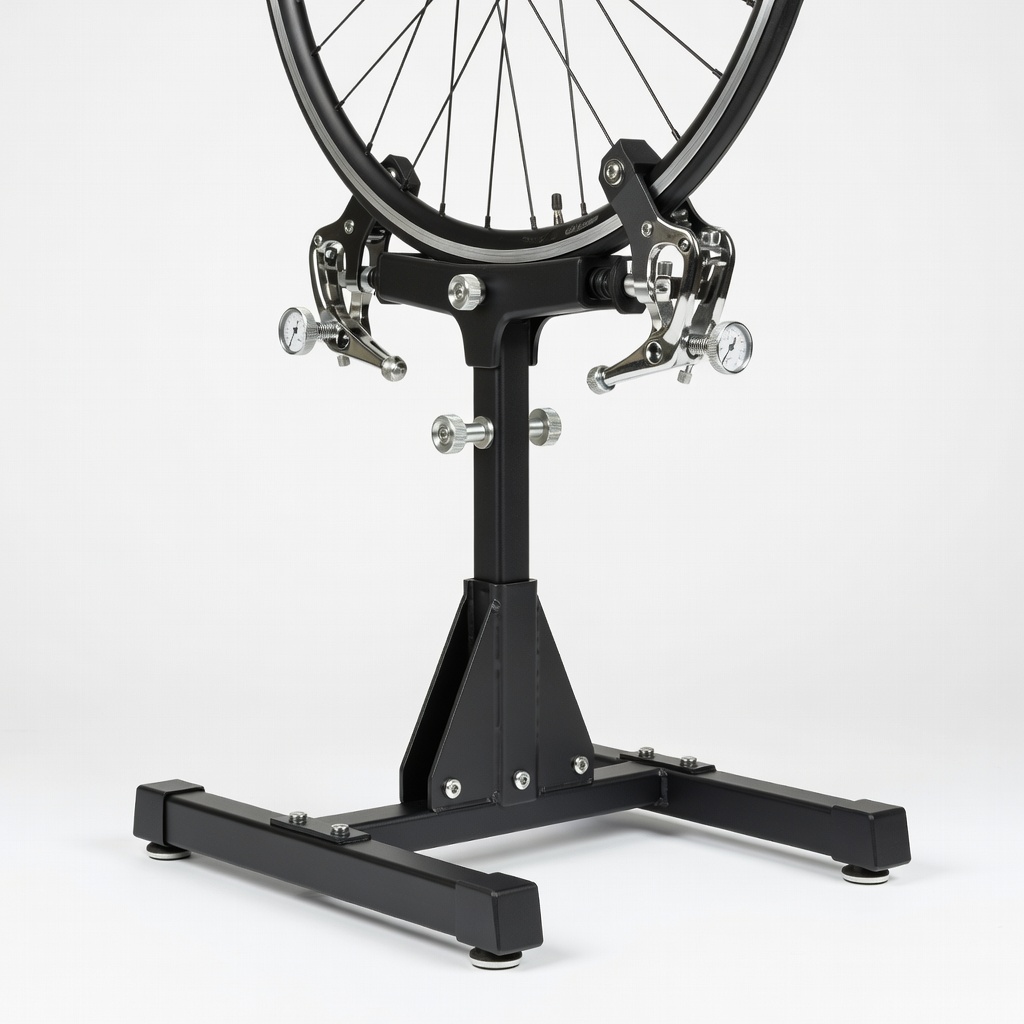
Park Tool TS-2.2 Wheels Truing Stand
Professional-grade stand with gauges for precise lateral/radial measurements, far better than DIY methods for consistent results.
Best for: For serious hobbyists upgrading from basic setups; handles both wheels easily for full alignments.
Price Range: $140-$160
Finish Line Bike Wet Lubricant
Applies to axles and quick-releases post-truing for smooth operation and rust prevention.
Best for: After reinstalling wheels to ensure easy future removals and quiet rides.
Price Range: $8-$12