Are you finding yourself flashing oncoming drivers at night, or struggling to see far enough down the road? Misaligned headlights are one of the most common automotive issues—they reduce your visibility and can compromise your safety. Over time, bumps, dirt, or even normal wear can shift your headlight beams, leaving them pointing at the sidewalk or into the eyes of other drivers.
This guide will walk you through the process of aiming your headlights correctly, step by step. You'll learn what tools you need, how to set up a proper aiming wall, and how to make vertical and horizontal adjustments to match manufacturer specifications. We'll also share common mistakes to avoid, troubleshooting tips, and a few helpful products to make the job easier.
▸What You'll Need
- •Screwdriver (Phillips or flathead, based on your vehicle's adjustment screws)
- •25-foot tape measure
- •Masking tape or chalk
- •Vehicle owner’s manual
- •Level surface and a blank wall or garage door
- •Optional: Headlight aiming tool or bubble level
- •Optional: Wearable work light
Estimated Time: 30-60 minutes
Difficulty: intermediate
▸Step-by-Step Instructions
Step 1: Prepare Your Vehicle and Workspace
Park your car on a level, flat surface facing a wall or garage door. Remove any extra weight from the trunk or cargo area, as a heavy load can change your vehicle's ride height and throw off the beam alignment. Inflate your tires to the recommended pressure (check the sticker on the driver's door jamb or owner's manual), since low tires can also affect headlight angle.
Start the engine and turn off the vehicle’s automatic leveling system (if equipped) if possible, then turn on your low-beam headlights. For best results, do this at dusk or in a dimly lit garage so you can clearly see the beam pattern on the wall. Make sure the wall is smooth and light-colored—a white garage door works great.
Tip: If you're working alone, set your phone on the floor against the wall and use a flashlight to illuminate the adjustment screws from underneath.
💡 Tips:
- •Use a wall without siding or brick, as uneven surfaces distort the beam pattern.
- •If your car has load-leveling suspension, check the owner’s manual to know how to disable it temporarily.
⚠️ Warnings:
- •Never work with your headlights on for long periods with the engine off—you'll drain the battery. Keep the engine running.
Step 2: Locate the Headlight Adjustment Screws
Open the hood and find the headlight assembly for the left or right side. Look for a white or gold plastic gear, nut, or screw on the top or side of the headlight housing. Most cars have two adjustment points: one for vertical (up/down) and one for horizontal (left/right). These are usually hex or Phillips-head screws surrounded by a plastic housing.
Check your owner's manual for the exact location and the type of tool required. Some vehicles use a common Phillips-head screwdriver, while others need a 6-point socket or even a specialty tool. If you don't have the right screwdriver, grab a set with multiple sizes to ensure a secure fit. Before adjusting, clean the headlight lens and the adjustment screw area—dirt can cause the screw to slip.
💡 Tips:
- •Take a photo of the screw location and surrounding area with your phone for reference.
- •Use a flashlight or headlamp to see the screws clearly in tight spaces.
⚠️ Warnings:
- •Don't turn the screws yet. Just identify them first, and be gentle to avoid stripping.
Step 3: Measure the Headlight Height
Measure the distance from the center of the headlight lens (the exact middle of the lamp) to the ground. Record this measurement for both sides—they should be nearly identical, but don't assume. Jot these numbers down; you'll use them to mark the wall.
Stand with the tape measure and make sure it's vertical. If you're measuring by yourself, use a piece of tape to hold the end of the tape measure against the headlight, or have a helper assist. For typical sedans, this height will be between 20 and 30 inches, but always use the actual measurement.
Tip: Measure from the center of the lens, not the top or bottom. If in doubt, look at the bulb location through the lens or check the owner's manual.
💡 Tips:
- •Measure both sides even if they seem the same—minor manufacturing differences are common.
- •Write each measurement on the wall with chalk or on a sticky note to avoid mix-ups.
⚠️ Warnings:
- •Don't measure from the ground to the top of the headlight housing—this will give a misleading beam height.
Step 4: Set Up the Aiming Wall
Position your car so the front of the headlights is 10 to 15 feet from the wall (3 to 4.5 meters). The exact distance isn't critical, but it must be the same for both sides. Use a tape measure to ensure the car is perpendicular to the wall and the front is equally spaced.
On the wall, mark three horizontal lines: one for each headlight center height (from Step 3) and one line about 2 to 3 inches below those. These are your vertical aiming guides. Then mark vertical lines that align with the centerline of the car and the center of each headlight. A simple way to find the headlight centers is to measure the distance between the headlights and divide by two, then transfer that to the wall.
Use painter's tape or chalk to make clean, visible marks. If you're using tape, tear off pieces long enough to span the height of the beam pattern. The result should look like a crosshair for each headlight, with the horizontal line at the correct drop height.
💡 Tips:
- •Use a laser level or a string plumb bob for perfectly straight vertical lines.
- •Make the horizontal drop line about 2 inches below the headlight center; this is the recommended low-beam cutoff drop for most vehicles at 15 feet.
⚠️ Warnings:
- •Don't place the car too close to the wall (under 5 feet) or too far (over 25 feet)—both make the beam pattern hard to interpret.
Step 5: Adjust the Vertical Aim
Now the actual alignment begins. Turn the vertical adjustment screw slowly (counterclockwise or clockwise—depending on your vehicle) while watching the beam pattern on the wall. The sharp cutoff line of low-beam light (the line between lit and dark) should align with the lower horizontal mark (2-3 inches below the headlight center).
If the cutoff line is too high, it will blind oncoming drivers; too low, and you'll have poor visibility. Go slowly, about a quarter turn at a time, checking the wall after each adjustment. Have a helper sit in the driver’s seat to keep the engine running and the headlights on while you turn the screws.
For an exact spec, consult your owner's manual. Some vehicles have a precise drop measurement (e.g., 2 inches at 15 feet) and sometimes the manual gives a percentage for light beam drop per distance. Use the lower mark as your general target.
💡 Tips:
- •If you're using a Level app on your phone, set it on the assembly to double-check the vertical angle after adjustment.
- •Turn the screw a quarter turn at a time and stop; let the beam settle before assessing.
⚠️ Warnings:
- •Do not unscrew the adjustment screw completely—it could detach the assembly internally. If it feels loose, stop and re-seat it.
Step 6: Adjust the Horizontal Aim
Once vertical alignment is correct, focus on the horizontal angle. Turn the horizontal adjustment screw to move the beam left or right. For vehicles with an LHD (left-hand drive) standard, the low-beam pattern should be symmetrical with a sharp vertical step that is slightly to the right of the centerline for the left headlight (or the opposite for right-hand traffic). The goal is to ensure that the beam pattern is not pointing toward the opposing lanes.
On the wall, use your vertical centerline marks. The cutoff of the beam should cross the wall at the same height on both sides, and the angle should be perpendicular to the axis of the car. If the beam is shifted too far left, adjust it to the right; too far right, move it left. Turn the horizontal screw in small increments and make the beam pattern align with the corresponding vertical tape line.
After adjusting, step back and look at the overall pattern on the wall. The two light distributions should be symmetric and equal in intensity.
💡 Tips:
- •Use a piece of tape to mark where the beam's cutoff line meets the vertical line, then compare with the other side.
- •For projector headlights, the step in the beam pattern is sharper; for reflector headlights, look for the brightest point and center it.
⚠️ Warnings:
- •Don't adjust horizontal aim when the headlight is near the wall—move the car to at least 10 feet for accurate results.
Step 7: Test and Verify Both Sides
Now that both vertical and horizontal are set, do a final check. Cover one headlight (a towel or jacket over the lens) to inspect the other beam's pattern on the wall. The cutoff should be at the correct height and horizontal position. Repeat for the other side, then uncover both to see the total beam pattern. Both low beams should be symmetrical and not too high or too far toward the driver's lane.
Once satisfied, take your car for a short test drive on a dark road. Simulate real driving: faced with oncoming traffic, notice if you’re flashing any cars. If you see your low beams reflecting off road signs to the point of glare, you may need to aim slightly lower. If you have a box or curb, pull up to it and see where the beam cuts off.
After the test drive, re-check that the adjustment screws are snug (but not overtightened) and close the hood.
💡 Tips:
- •If you're mechanically inclined, use a small level on the adjustment screw to ensure equal angles on both sides.
- •Take a photo of the beam pattern on the wall before and after driving to confirm no shift occurred.
⚠️ Warnings:
- •Do not stand in front of the headlights while they're on to avoid glare and eye strain.
- •If you're using HID or LED upgrade bulbs, be aware that the beam pattern may differ; use a licensed recovery for accurate alignment.
▸Pro Tips
- •Always park on a truly level surface—even a slight slope will misalign your measurements.
- •Use painter's tape instead of chalk; it's easier to remove from walls and doesn't rub off in the wind.
- •If your car has LED or laser headlights, the self-leveling system often takes care of alignment, but low-beam aim is still worth checking.
- •Turn the car's wheels straight and center the steering wheel before measuring—this ensures the optical axis is not skewed.
- •For a quick check at home, place the car 25 feet from the wall and test that the beam drop is about 3 inches below the headlight center. Adjust accordingly.
- •If you can't find the adjustment screws, try adjusting the whole headlight assembly via its mounting brackets—some older cars use a double-sided bolt at the sides.
- •Take note of the beam's color and spread; if the cutoff is fuzzy, the lens may be foggy and glare will result even after perfect aim.
▸Common Mistakes to Avoid
- •Adjusting headlights on a slope or unlevel surface—this completely invalidates your measurements.
- •Setting the beam too high to 'see farther'—this blinds other drivers and could be illegal.
- •Using the wrong screwdriver size and stripping the adjustment gear—use the perfect-fit bit and go gently.
- •Failing to adjust both horizontal and vertical—they interact; always do one then the other.
- •Ignoring the effect of a heavy load in the trunk—heading straight to the beach with a full trunk will change the aim, so re-calibrate for your typical load.
▸Troubleshooting
Problem: The adjustment screw spins but the beam doesn't move.
Solution: The screw may be stripped or the gear is broken. First, try turning with a slightly larger tool; if it still slips, you may need to replace the headlight assembly or repair the adjuster.
Problem: The beam pattern appears uneven or scattered.
Solution: This often indicates a damaged or dirty lens, or a burnt-out bulb. Clean the lens, replace the bulb, and check again. If the pattern remains distorted, look for cracks in the projector lens.
Problem: After adjusting, the headlights look aligned on the wall but while driving they seem off.
Solution: The road may have a slope or your car has a load-related level. Re-check with the car handbrake on and the suspension settled. Also, ensure you didn't move the car during adjustment.
Problem: Both sides are aligned, but there's still a dark spot on the road.
Solution: Check the type of bulbs you've installed. Some aftermarket bulbs have different filament/shield positions, which can alter the beam pattern. Use original equipment bulbs or those compatible with your housing.
Problem: The headlights are extremely difficult to reach.
Solution: Remove the air intake duct or other nearby parts if necessary. If that’s too risky, seek professional assistance—many shops charge a nominal fee for headlight alignment.
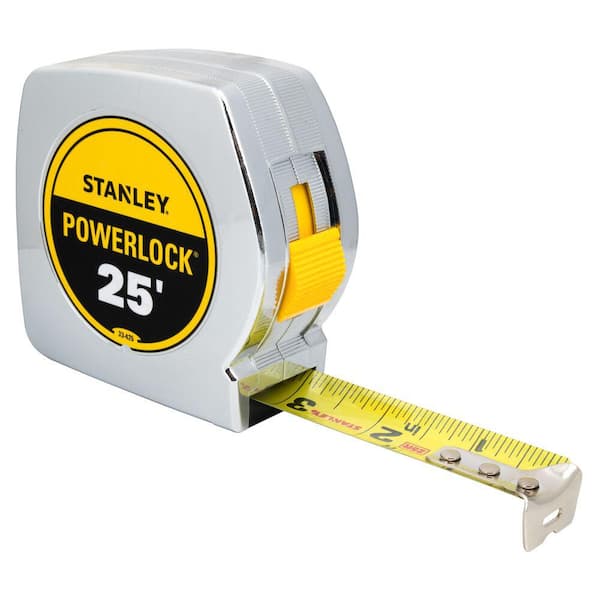
Stanley 25-Foot Tape Measure
A reliable, bright, easy-to-read tape measure is essential for measuring headlight height and wall distances. This model has a powerful magnet and sturdy clip, making it comfortable to use while working around the car.
Best for: Measure the headlight center height and set the 10–15 foot aiming distance.
Price Range: $10–$25
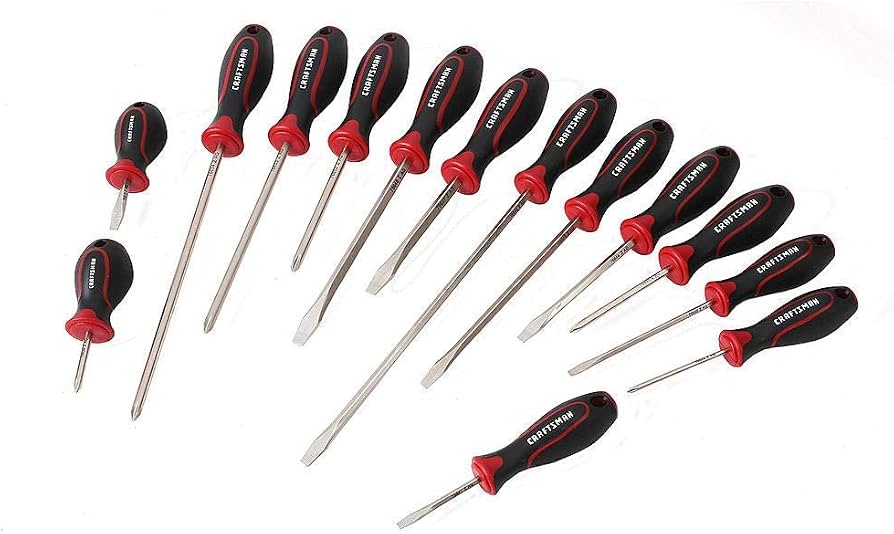
CRAFTSMAN Screwdriver Set (14-Piece)
A durable set with both Phillips and flathead bits in various sizes ensures you have the right fit for any adjustment screw. The cushioned grips reduce hand fatigue during the precise turns.
Best for: Locate and adjust the vertical and horizontal screws on most headlight assemblies.
Price Range: $20–$40
3M Multi-Surface Painter's Tape
Unlike chalk, painter's tape leaves crisp, residue-free lines on your garage wall or door, making it easy to mark aiming reference points and later remove them without leaving marks.
Best for: Mark the center height and drop lines on the wall during the aiming setup.
Price Range: $5–$15
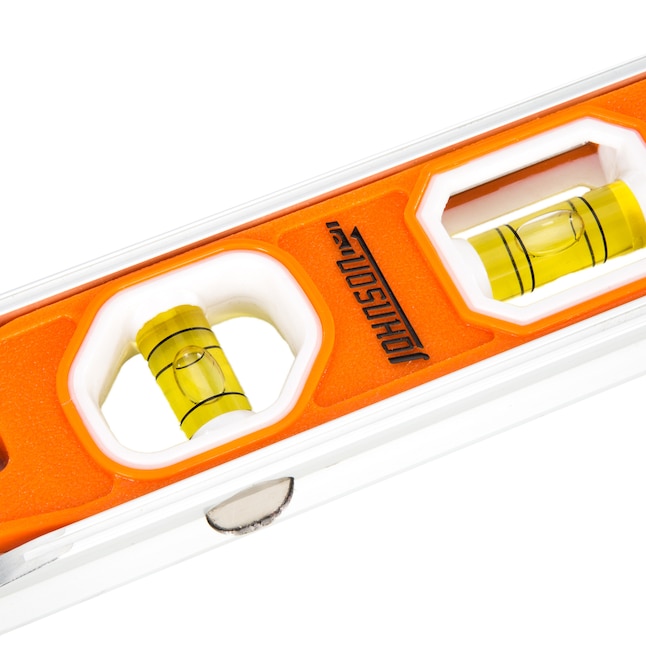
Johnson Levels Torpedo Level
A compact, magnetic torpedo level helps you verify that the headlight bracket or the beam's cutoff is truly horizontal. Its magnet sticks to the car's metal body, keeping your hands free.
Best for: Optional but helpful: ensuring the adjustment screws are level and the car is perfectly flat.
Price Range: $5–$20
Energizer Vision HD Headlamp
A hands-free headlamp is a game-changer when you're reaching into tight engine bays to see the adjustment screws. It provides a powerful, focused beam that lights up exactly where you look.
Best for: Illuminate the adjustment screws clearly while you turn them, especially in dim garages.
Price Range: $15–$35