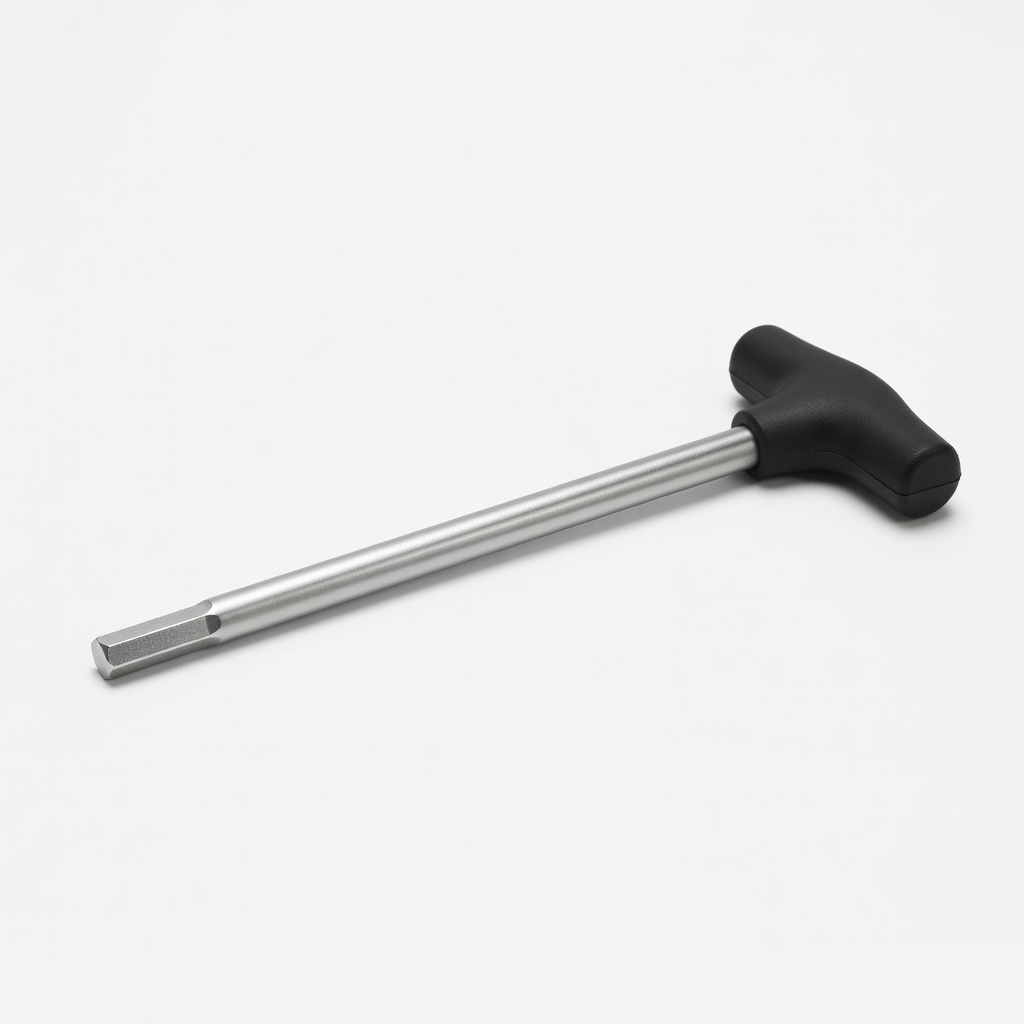
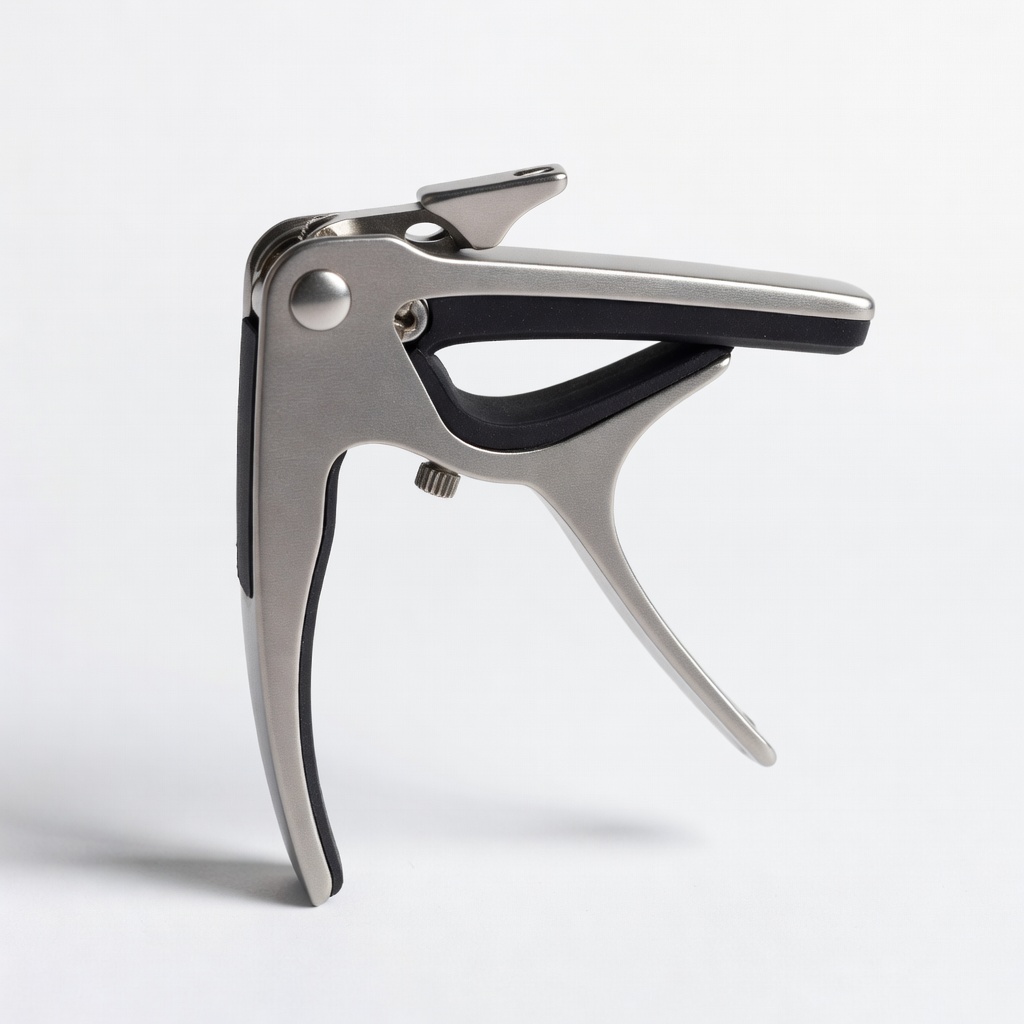
Fender Truss Rod Wrench for Bass (5/32")
Headstock truss rod access on most 4/5-string basses.
$8.99
Fender Truss Rod Wrench for Bass (5/32") Precision-fit hex wrench prevents stripping; essential for Fender-style acoustic basses.
Get the App
Better experience on mobile
Master precise truss rod adjustments on your acoustic or acoustic-electric bass to achieve optimal neck relief, playability, and tone in under 30 minutes.
If your acoustic bass neck feels too bowed or straight, causing fret buzz, high action, or sluggish playability, it's time to adjust the truss rod. As an advanced player, you know neck relief directly impacts intonation, string height, and overall setup. Poor relief leads to uneven fretting and compromised tone, especially on acoustic-electrics where amplified output suffers from setup issues.
In this guide, you'll learn to diagnose relief issues, make safe micro-adjustments, and verify results for a perfect 0.010-0.015-inch relief—the sweet spot for most basses. The process uses sequential checks to avoid over-tightening, a common pro pitfall. Expect 15-30 minutes total, assuming familiarity with basic setup.
We'll cover tools, steps, pro tips, and troubleshooting, empowering you to maintain your bass like a luthier without a shop visit.
Estimated Time: 15-30 minutes Difficulty: advanced
Start by tuning all strings to standard pitch (e.g., EADG for 4-string bass) using a reliable clip-on tuner. Tension must be correct as truss rod adjustments interact with string pull.
Why it matters: Untuned strings give false relief readings since slack or over-tight strings warp perceived neck curve. Play each string open and fretted to ensure stability.
Success: All strings hold pitch; no buzzing on open notes.
💡 Tips:
⚠️ Warnings:
Clamp a capo lightly on the 1st fret. Press down the low E string at the last fret (or fret 17+ on longer-scale basses). Visually inspect the gap between the string bottom and the top of the 7th-9th fret.
Ideal relief for acoustic basses: 0.010-0.015 inches (0.25-0.38mm)—about the thickness of a business card edge. Too much gap (>0.020") means excessive concave bow (relief); no gap or string touching means backbow/convex.
Success: You see a small, even gap across all strings.
💡 Tips:
⚠️ Warnings:
Insert the 0.010" feeler gauge blade under the string at the 7th-9th fret while capoed and fretted at the end. It should slip in with slight drag on all strings; 0.015" max for slapping styles.
Note variances: Acoustic basses may need less relief (0.008") due to lower action; electric-acoustics tolerate more.
Success: Consistent gauge fit across strings; record measurement for reference.
💡 Tips:
⚠️ Warnings:
Most acoustic basses have the nut at the headstock (under a cover) or fretboard end. Remove any cover plate with screwdriver. Confirm wrench size—basses often use 5mm/3/16" hex or 7mm nut driver.
Insert wrench fully; it should seat snugly without play.
Success: Wrench engages smoothly, no stripping risk.
💡 Tips:
⚠️ Warnings:
Determine direction: Clockwise (tighten) reduces relief (flattens neck); counterclockwise (loosen) increases relief (more bow). Turn 1/8 to 1/4 turn only—basses have high string tension.
Hold neck steady; turn slowly. Remove wrench.
Success: Adjustment complete without resistance.
💡 Tips:
⚠️ Warnings:
Strum lightly across all strings for 1-2 minutes to reload tension. Retune to pitch—adjustments shift intonation slightly.
Wait 5-10 minutes for wood to respond; humidity affects speed.
Success: Strings stable at pitch; no wild pitch swings.
💡 Tips:
⚠️ Warnings:
Repeat steps 2-3. Adjust further in 1/8 turns if needed—rarely more than 1/2 turn total. Target 0.012" average.
Final check: Play scales/chords; no buzz, even action.
Success: Perfect gap, buzz-free fretting across neck.
💡 Tips:
⚠️ Warnings:
Replace cover, remove capo. Play full range: check action, intonation at 12th fret (octave purity).
Fine-tune action/nuts if needed post-relief.
Success: Smooth, effortless play; great sustain and tone.
💡 Tips:
⚠️ Warnings:
Problem: No change after adjustments
Solution: Verify wrench engagement; if stuck, truss rod may be seized—lubricate with graphite or call luthier.
Problem: Increased buzz after tightening
Solution: You over-flattened; loosen 1/8 turn and recheck.
Problem: Neck cracks or popping sounds
Solution: Stop immediately; back off adjustment and seek professional repair.
Problem: Relief uneven across strings
Solution: Check saddle/nut height first; truss rod affects whole neck.
Problem: Action too high post-adjust
Solution: Relief optimized; lower bridge/saddle next—see intonation guide.
Precision-fit hex wrench prevents stripping; essential for Fender-style acoustic basses.
Best for: Headstock truss rod access on most 4/5-string basses.
Price Range: $8.99
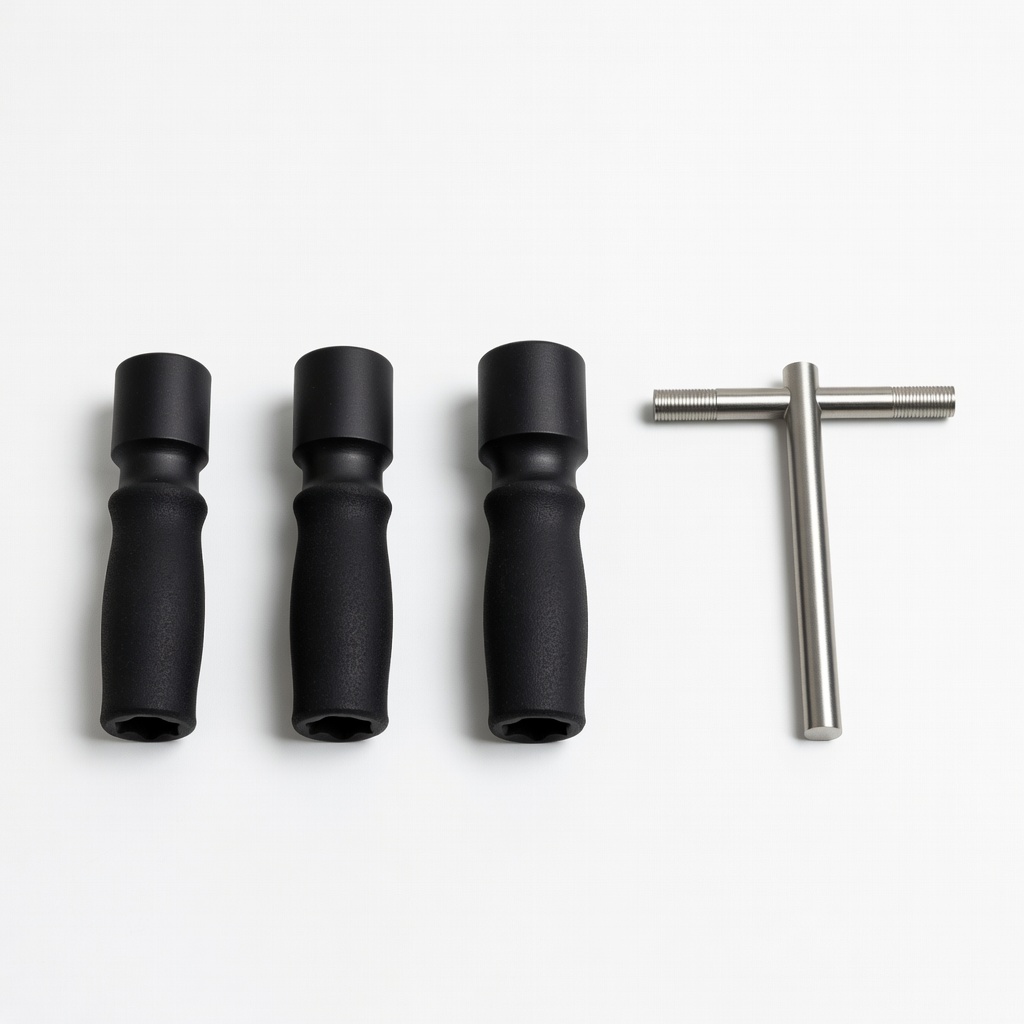
Multi-size set (4-7mm) covers all bass models; magnetic tip for easy insertion.
Best for: Versatile for Taylor, Godin acoustic-electrics.
Price Range: $24.99
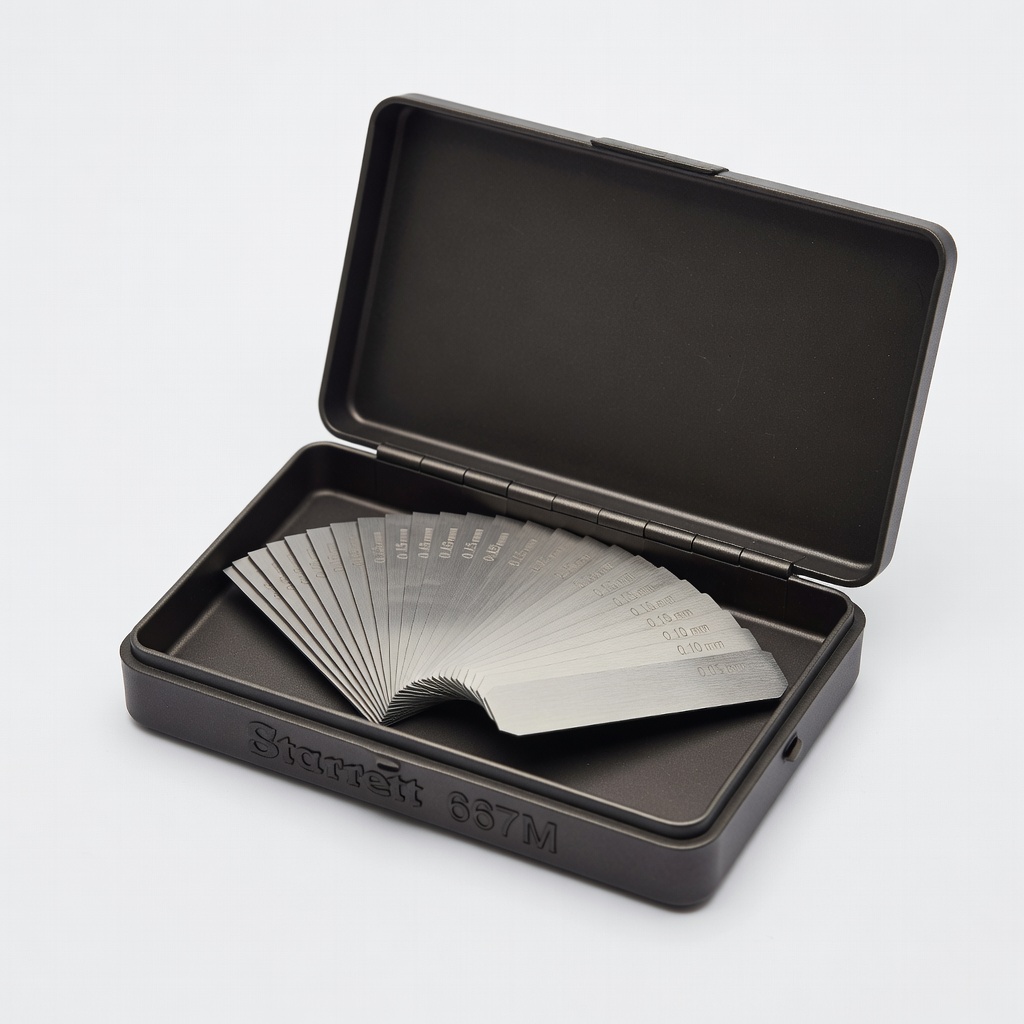
Professional-grade thin blades (0.0015-0.035") for exact relief measurement.
Best for: Repeated checks during iterative adjustments.
Price Range: $50-$60
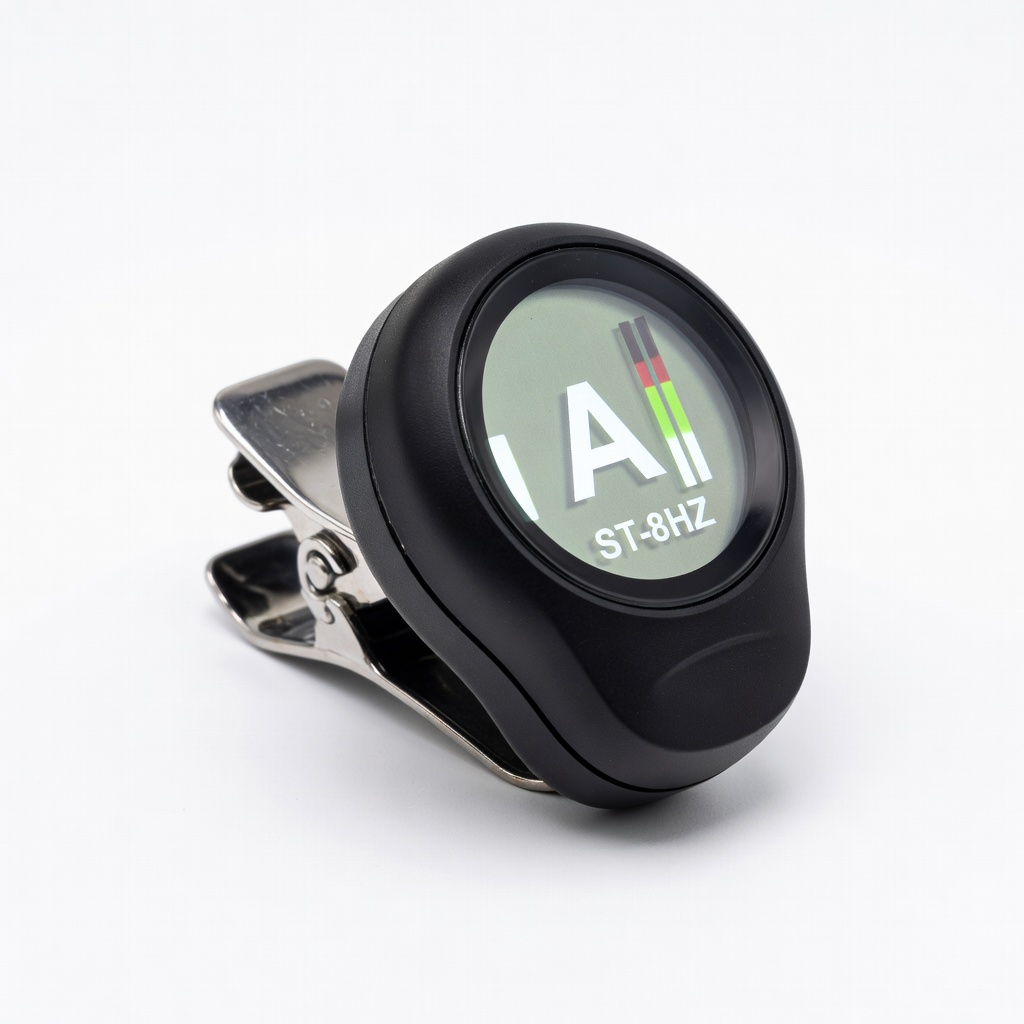
High-accuracy strobe tuner with bass mode; vibration-resistant for strumming checks.
Best for: Pitch stability during settling phase.
Price Range: $19.99
Heavy-duty for thick bass strings; precise clamping without detuning.
Best for: Fretted-end relief checks.
Price Range: $29.95
Headstock truss rod access on most 4/5-string basses.
Fender Truss Rod Wrench for Bass (5/32") Precision-fit hex wrench prevents stripping; essential for Fender-style acoustic basses.
Versatile for Taylor, Godin acoustic-electrics.
MusicNomad MNTRW-01 Truss Rod Wrench Set Multi-size set (4-7mm) covers all bass models; magnetic tip for easy insertion.
Repeated checks during iterative adjustments.
Starrett 667M Feeler Gauge Set Professional-grade thin blades (0.0015-0.035") for exact relief measurement.
Pitch stability during settling phase.
Snark ST-8HZ Clip-On Tuner High-accuracy strobe tuner with bass mode; vibration-resistant for strumming checks.
Fretted-end relief checks.
Shubb BC-40 Bass Capo Heavy-duty for thick bass strings; precise clamping without detuning.