
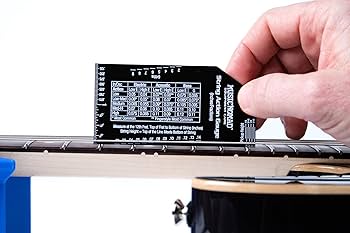
Music Nomad String Action Gauge
Measuring current action and tracking changes during setup.
$10–$15
Music Nomad String Action Gauge Provides precise measurements in both imperial and metric, with multiple scales for easy reading at any fret.
Get the App
Better experience on mobile
Learn step-by-step how to lower your acoustic guitar's action for easier playability without buzz.
High guitar action—where the strings sit too far above the frets—can make playing painful and slow you down. Whether you're a beginner struggling to press strings or an experienced player seeking faster fretting, lowering the action is one of the most rewarding adjustments you can make. This guide walks you through measuring your current action, checking neck relief, adjusting the truss rod, and modifying the saddle and nut to achieve a lower, comfortable string height without causing fret buzz. With basic tools and patience, you can transform your guitar's playability in about an hour.
Estimated Time: 45–60 minutes Difficulty: intermediate
Tune your guitar to pitch. Use a capo at the 1st fret. At the 12th fret, measure the distance from the top of the fret to the bottom of the string. For acoustic guitars, a typical starting action is around 3/32" (2.4mm) for the low E and 2/32" (1.6mm) for the high E. Use a string action gauge or ruler. Write down these numbers—they’re your baseline.
💡 Tips:
⚠️ Warnings:
With the capo still at the 1st fret, press the low E string down at the 14th fret. At the 7th fret, you should see a tiny gap between the string and the fret. Use a feeler gauge to measure this gap. A typical acoustic guitar relief is 0.006–0.010 inches. Too much relief (large gap) raises action; too little (string touches fret) causes buzz.
💡 Tips:
⚠️ Warnings:
If neck relief is too high (gap >0.010"), tighten the truss rod (turn clockwise) to reduce relief. If too low (gap <0.005"), loosen it (counterclockwise). Use the correct wrench. Make quarter-turn adjustments, then re-measure relief. Wait a few minutes for the wood to respond. Small adjustments can have big effects.
💡 Tips:
⚠️ Warnings:
Re-tune and re-measure the action at the 12th fret. The truss rod adjustment may have lowered it slightly. If you’re close to your target height (e.g., 2/32" low E), you may only need to lower the saddle. If still high, proceed to saddle work.
Loosen and remove all strings. For acoustic guitars, the saddle is held in the bridge slot by string tension. Carefully lift it out using your fingers or a small tool. Place it on a flat surface and mark the bottom where you’ll remove material. Only remove material from the bottom—never the top, as that changes the intonation contact point.
💡 Tips:
⚠️ Warnings:
To lower action by 1/32" at the 12th fret, you need to remove 1/16" (0.0625") from the saddle bottom—twice the desired reduction. Use sandpaper (180-400 grit) on a flat surface or a diamond file. Sand evenly, checking often. Keep the bottom perfectly flat. Reinstall the saddle and strings temporarily to check action. Repeat if needed.
💡 Tips:
⚠️ Warnings:
High nut slots can make first-fret action feel high. With the strings on, capo at the 3rd fret and check the gap between the 1st fret and each string. Ideally, a feeler gauge of 0.001–0.005" should just slide under. If the gap is too large, the nut slot is too high. Use nut files to deepen the slot carefully. Only remove a tiny amount at a time.
💡 Tips:
⚠️ Warnings:
Re-tune the guitar and measure action at the 12th fret again. Play every fret on every string to check for buzzing. Bend strings, play chords up the neck. If you hear buzzing, the action may be too low, or there may be a high fret. If action is still high, you may need to repeat saddle sanding or consider a professional setup.
💡 Tips:
⚠️ Warnings:
Problem: Buzzing on first few frets only
Solution: Check nut slots—they may be too low. You may need a new nut or a small shim under the string.
Problem: Buzzing on higher frets (12th and above)
Solution: Neck relief too low (backbow). Loosen the truss rod slightly to add relief.
Problem: Action still high after all adjustments
Solution: The neck angle may be incorrect (e.g., need a neck reset) or the bridge needs lowering (drill-out bridge pins). This requires a luthier.
Problem: Intonation is off after lowering saddle
Solution: The saddle compensation (placement of the peak) may no longer be correct. Consider a compensated saddle or visit a pro for intonation adjustment.
Provides precise measurements in both imperial and metric, with multiple scales for easy reading at any fret.
Best for: Measuring current action and tracking changes during setup.
Price Range: $10–$15
Includes a wide range of thin blades (0.0015" to 0.025") necessary for checking neck relief and nut slot height.
Best for: Measuring neck relief and nut clearance.
Price Range: $12–$20
Precision files in common string gauges (e.g., .010, .013, .017) make nut slot adjustments accurate and clean.
Best for: Deepening nut slots safely without damaging the slot walls.
Price Range: $25–$40
Includes common hex sizes (4mm, 5mm, 6mm) and a Phillips head for most acoustic guitars.
Best for: Turning the truss rod nut securely without stripping.
Price Range: $8–$15
A strong, adjustable capo that holds down all strings evenly at the 1st fret, freeing your hands for measurements.
Best for: Holding strings down while checking neck relief and nut height.
Price Range: $15–$25
Measuring current action and tracking changes during setup.
Music Nomad String Action Gauge Provides precise measurements in both imperial and metric, with multiple scales for easy reading at any fret.
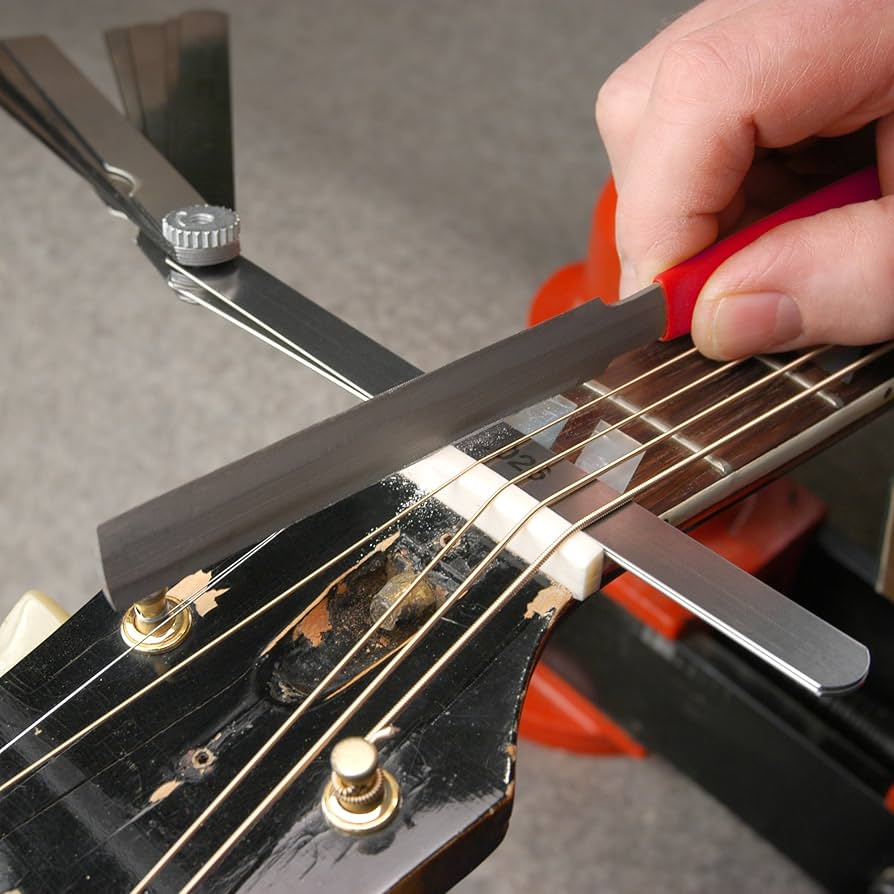
Measuring neck relief and nut clearance.
StewMac Feeler Gauge Set Includes a wide range of thin blades (0.0015" to 0.025") necessary for checking neck relief and nut slot height.
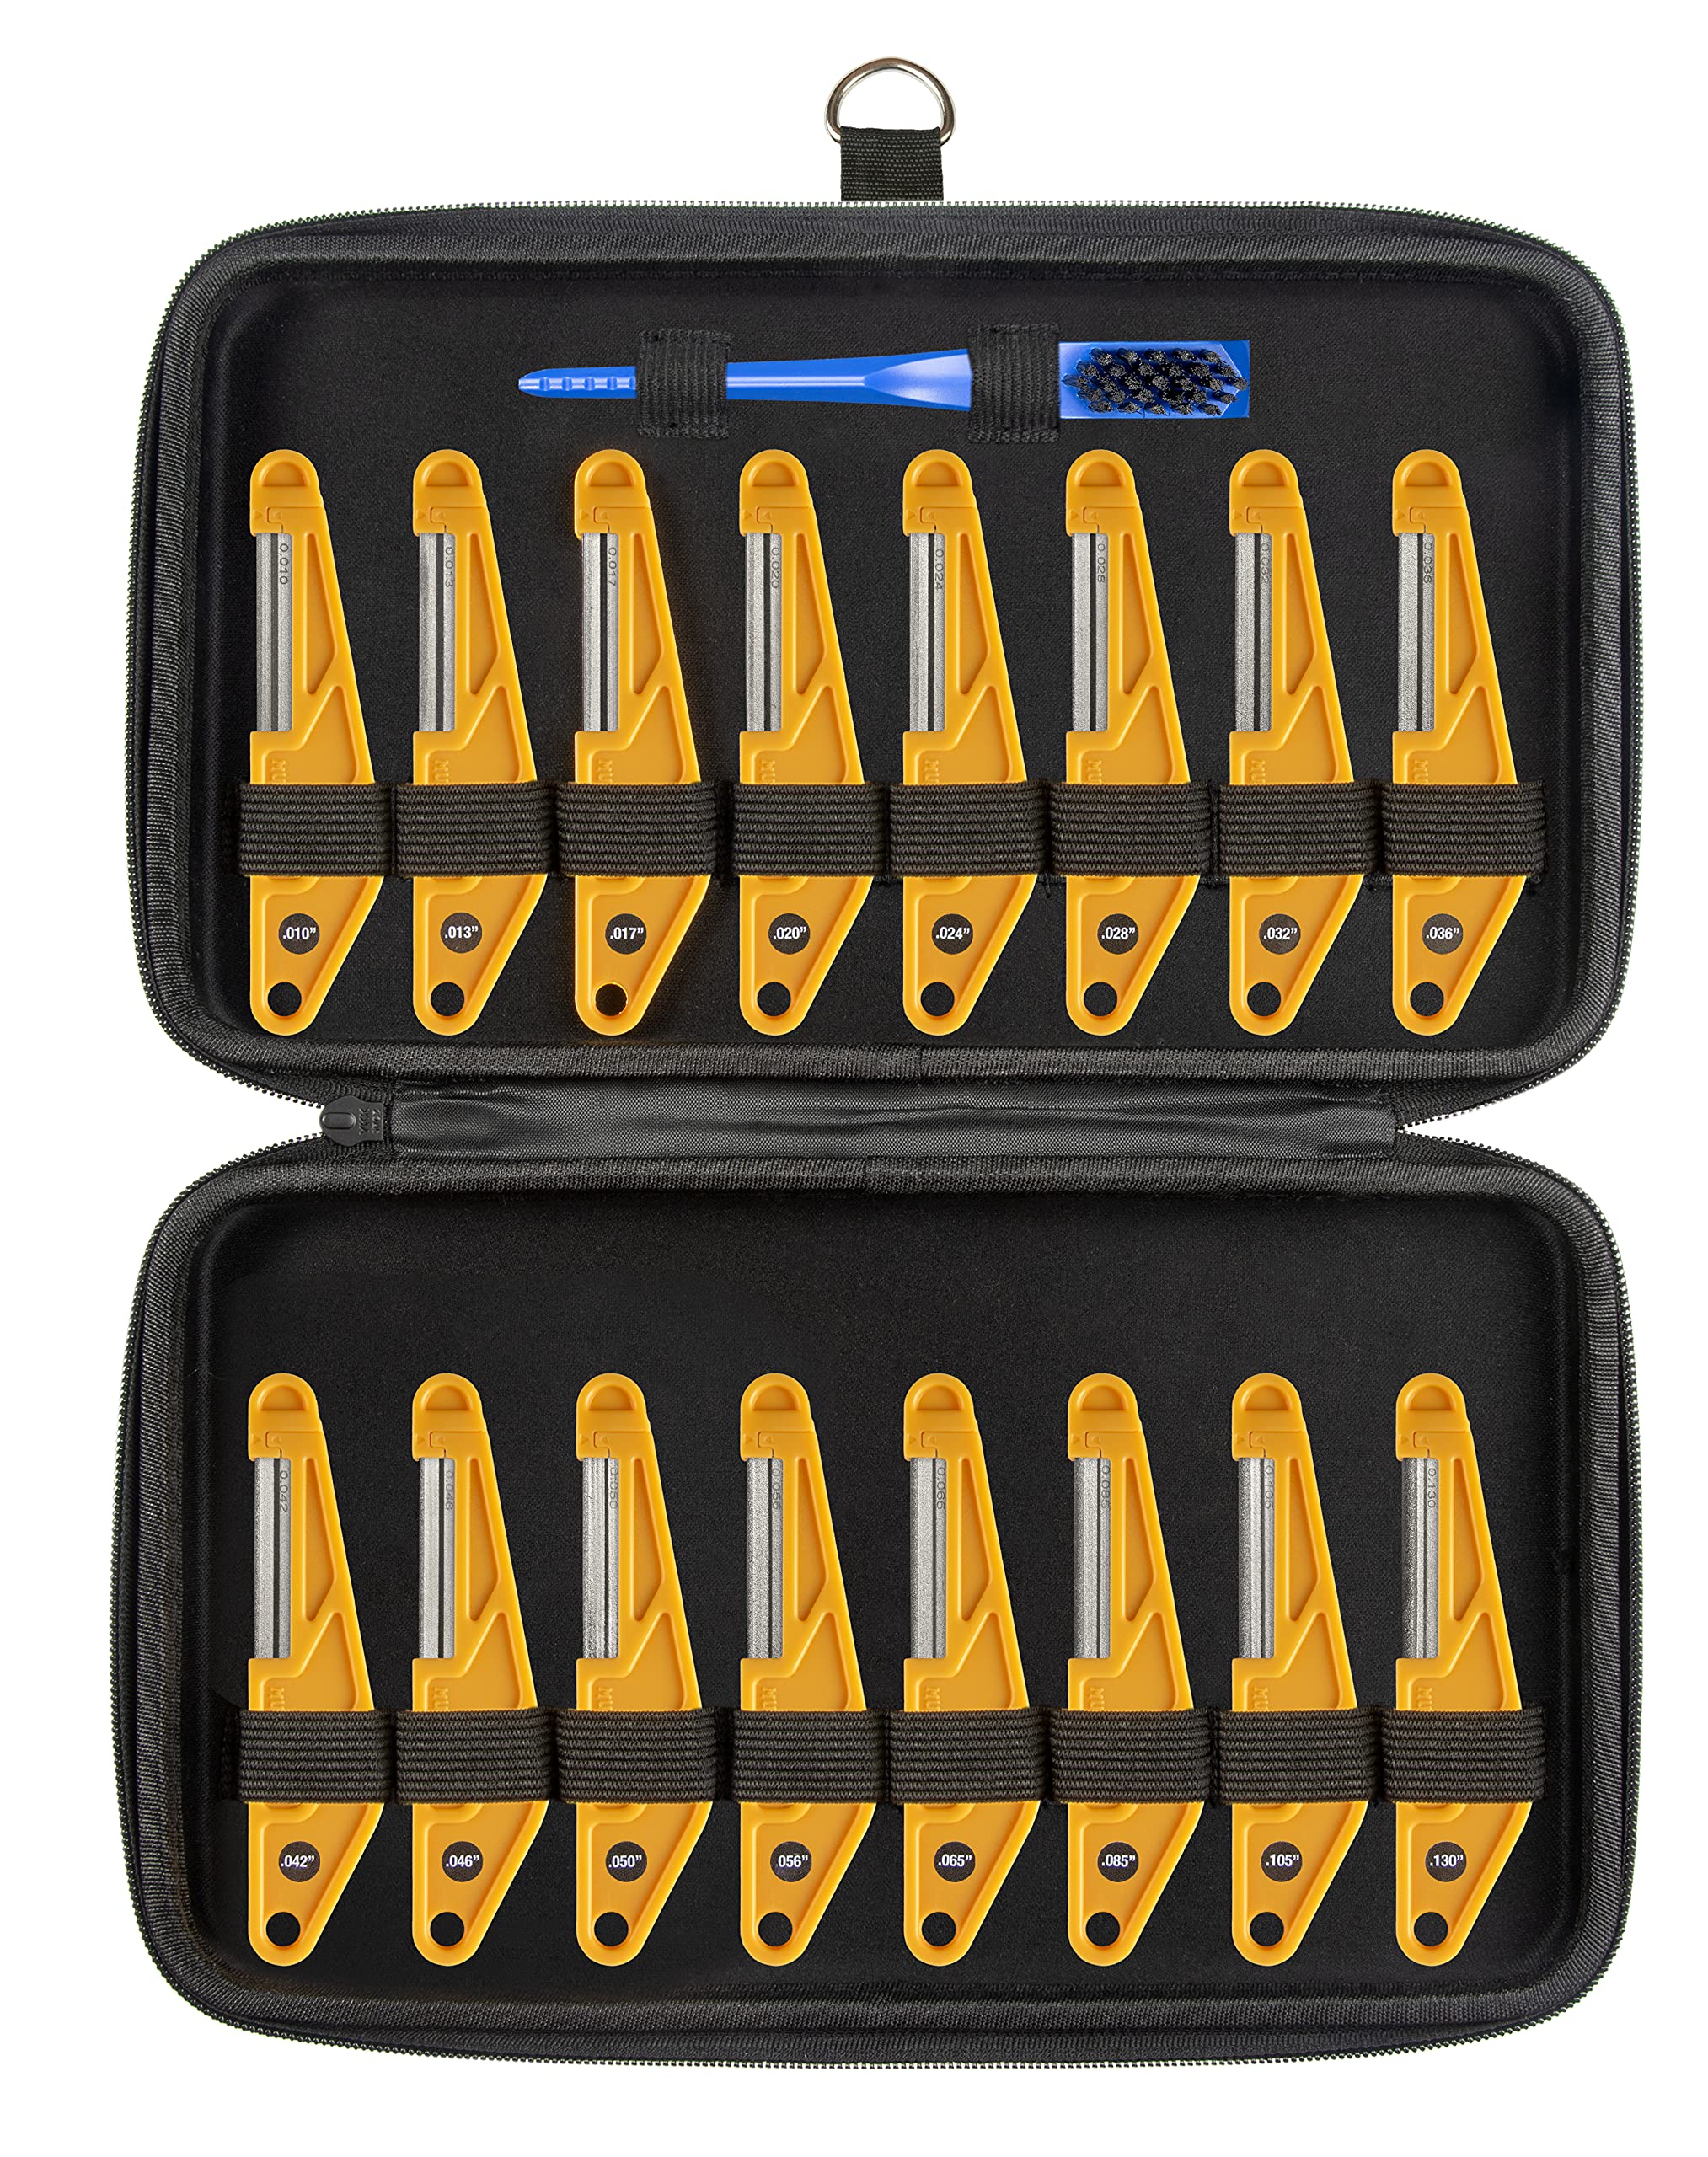
Deepening nut slots safely without damaging the slot walls.
Music Nomad Nut Slotting File Set Precision files in common string gauges (e.g., .010, .013, .017) make nut slot adjustments accurate and clean.
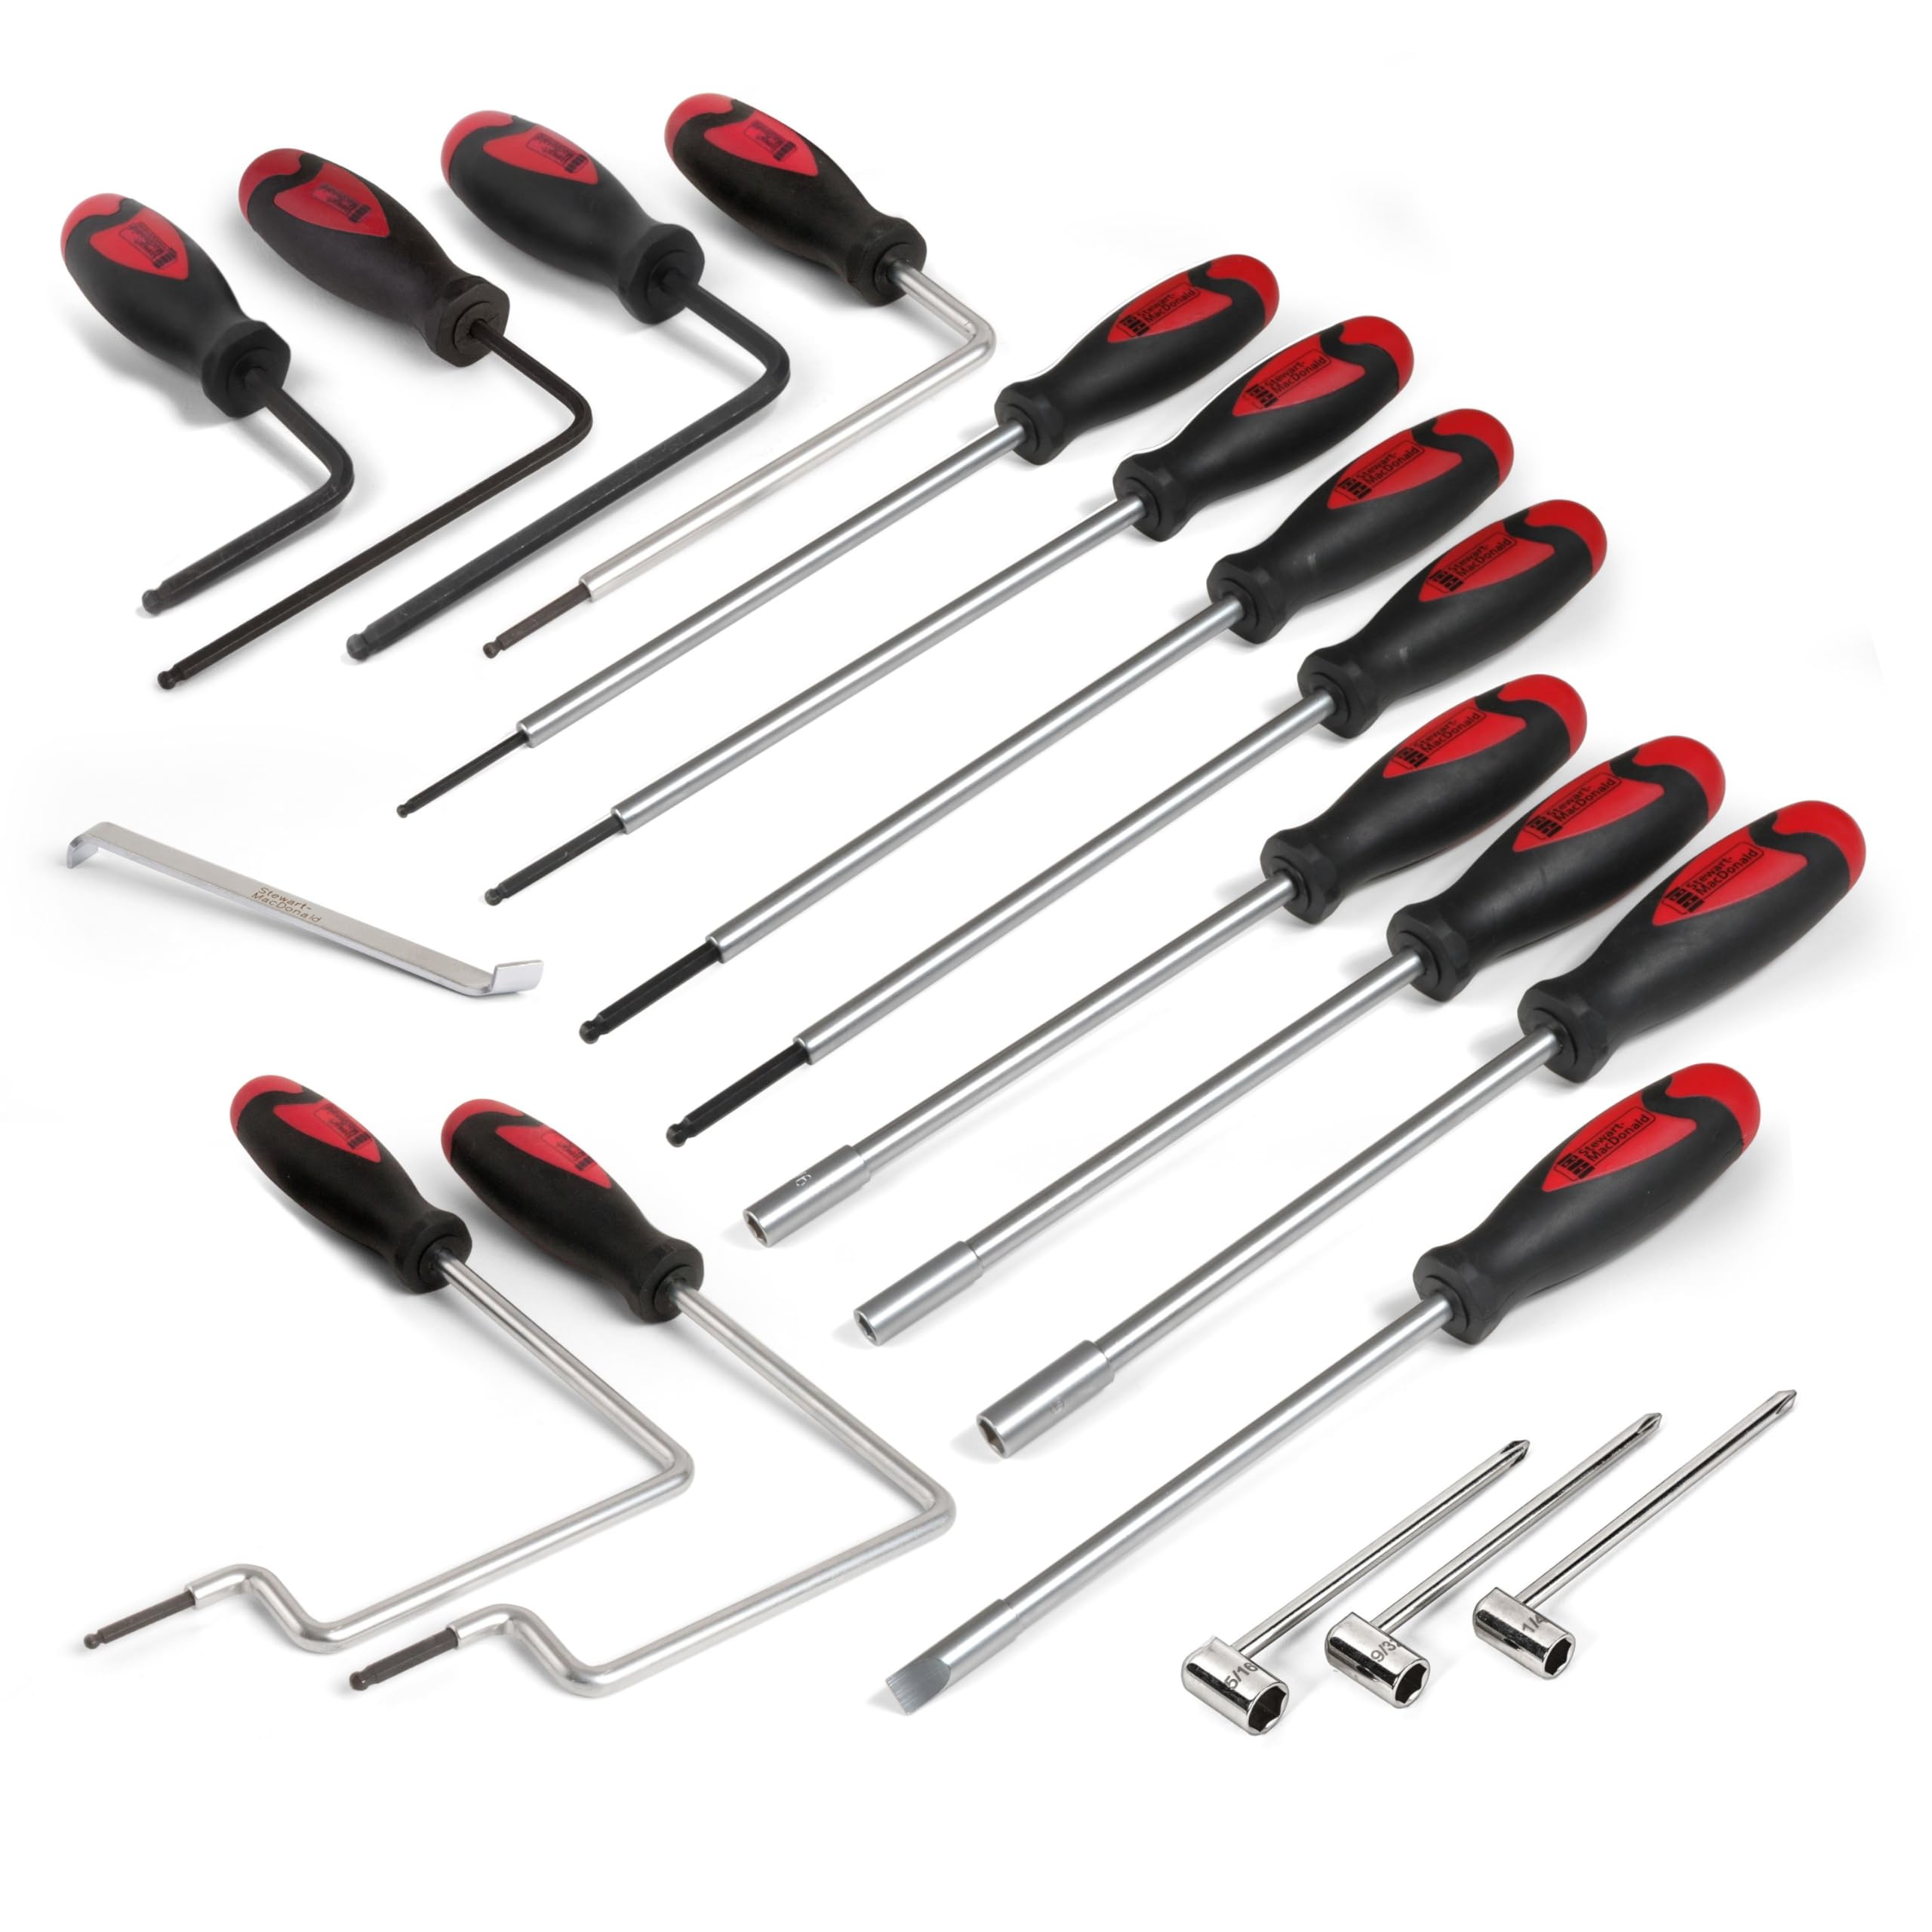
Turning the truss rod nut securely without stripping.
Guitar Workshop StewMac Truss Rod Wrench Set Includes common hex sizes (4mm, 5mm, 6mm) and a Phillips head for most acoustic guitars.
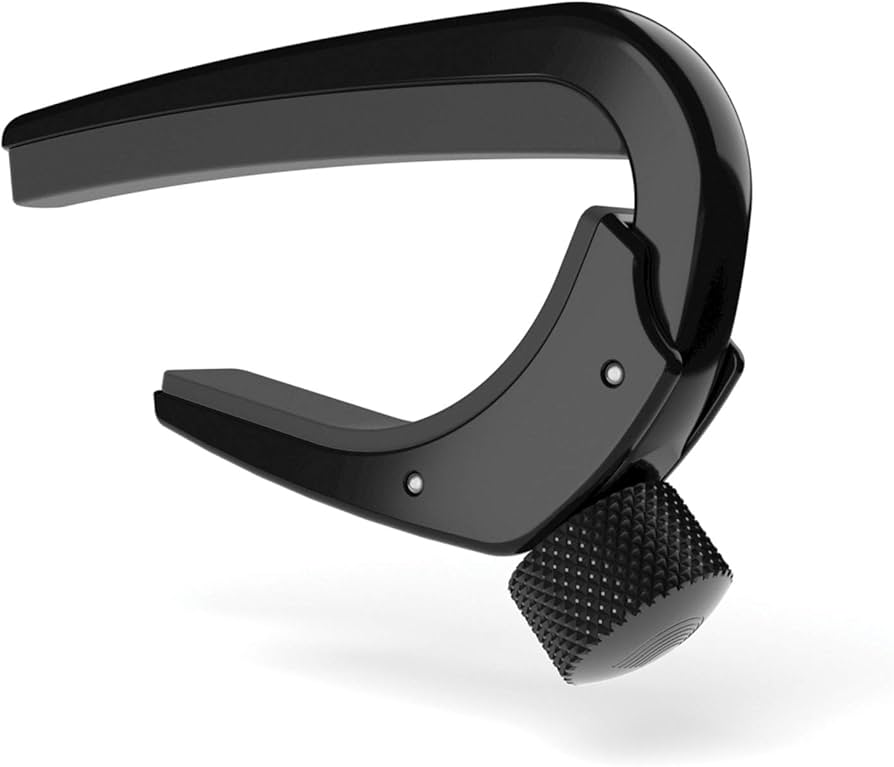
Holding strings down while checking neck relief and nut height.
Planet Waves Pro-Winder Capo A strong, adjustable capo that holds down all strings evenly at the 1st fret, freeing your hands for measurements.