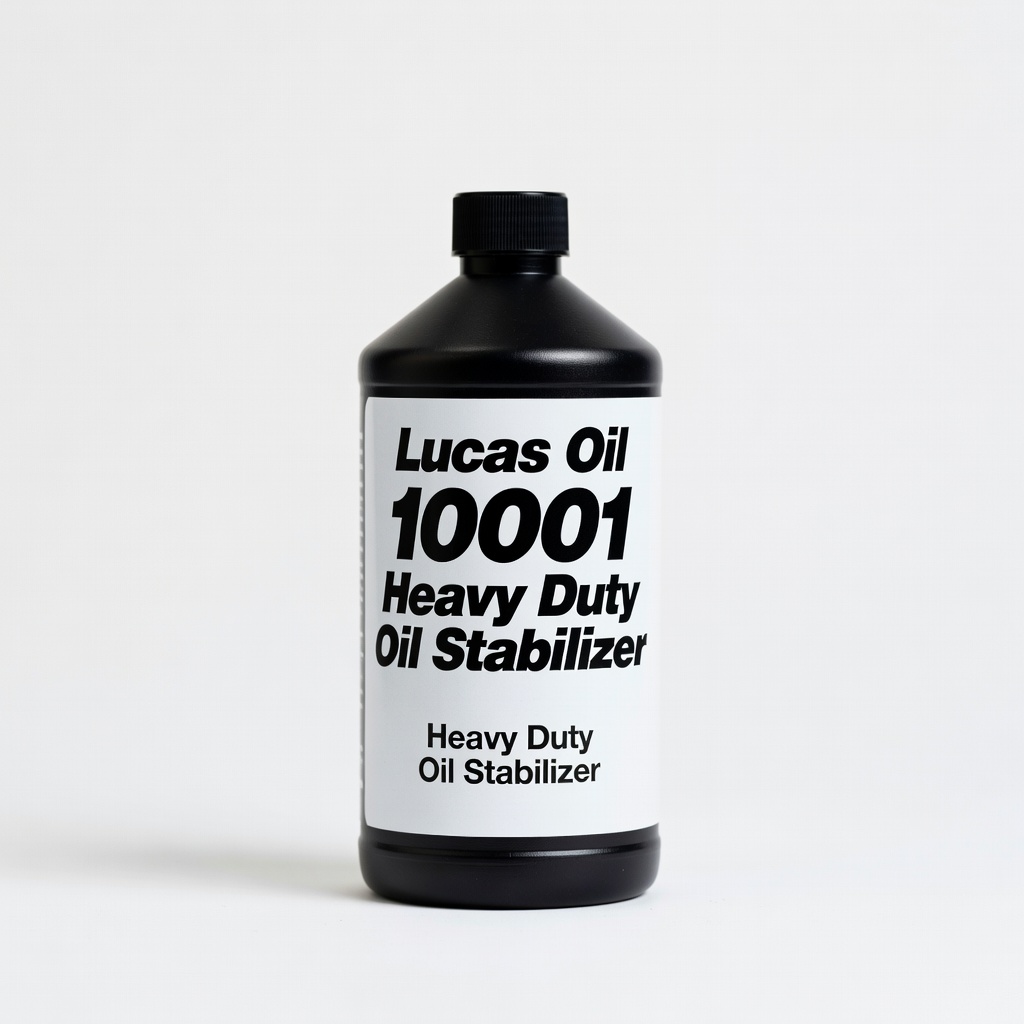
Lucas Oil 10001 Heavy Duty Oil Stabilizer
Noisy engines or heavy towing; add 20% of capacity.
$12.99
Lucas Oil 10001 Heavy Duty Oil Stabilizer Proven to quiet valvetrain and reduce wear in high-mileage engines; mixes with all oils.
Get the App
Better experience on mobile
Boost engine performance and extend oil life safely with this step-by-step guide for intermediate DIYers.
Engine oil additives can reduce wear, improve fuel efficiency, and quiet noisy engines, but adding them incorrectly risks damage or voided warranties. Many drivers struggle with overfilling or using incompatible products, leading to costly repairs. This guide solves that by teaching you the precise process.
You'll learn how to select, measure, and add additives correctly, whether during an oil change or top-up. Expect clear steps, pro tips, and warnings to avoid pitfalls. The whole process takes 15-30 minutes and requires basic mechanical knowledge—no full oil change needed unless specified.
By the end, your engine will run smoother, with better protection, and you'll know when to reapply for optimal results.
Estimated Time: 15-30 minutes Difficulty: intermediate
Start by reviewing your vehicle's owner's manual or service guide. Look for the recommended oil type (e.g., 5W-30 synthetic), total capacity (usually 4-6 quarts), and any warnings about additives. Note the dipstick location and safe operating temperatures.
This step ensures compatibility—most modern engines are fine with additives, but some turbocharged or high-performance models have restrictions. Success looks like confirming your additive matches the oil spec (e.g., no diesel additive in a gas engine).
Why it matters: Wrong additives can cause sludge or foaming, leading to engine failure.
💡 Tips:
⚠️ Warnings:
Select an additive based on your needs: friction modifiers for noise/heat, cleaners for sludge, or stabilizers for high-mileage engines. Check labels for compatibility (e.g., for gasoline vs. diesel) and dosage (often 1 oz per quart).
Measure the exact amount using the bottle instructions—overdosing is common. Pour a test amount into a clear container to verify mixing with your oil sample.
Success: Additive dissolved evenly, no separation.
💡 Tips:
⚠️ Warnings:
Drive 10-15 minutes to warm the oil (ideal 100-150°F for flow). Park on a flat surface, turn off the engine, and let it cool 5-10 minutes—hot oil burns!
Engage parking brake, chock wheels for safety. If needed, jack up the front and secure on stands for under-car access.
Expect: Engine ticking as it cools, oil level stable on dipstick.
💡 Tips:
⚠️ Warnings:
Wipe dirt/debris around the cap with a rag to prevent contamination. Unscrew counterclockwise slowly.
Insert funnel securely. This keeps the valvetrain clean.
Success: Clean opening, no rag fibers inside.
💡 Tips:
⚠️ Warnings:
Pour the pre-measured additive through the funnel directly into the oil filler neck. Go slow to avoid spills—most bottles treat 4-6 quarts.
If during oil change, add to new oil before pouring. Rotate bottle to get all contents.
Expect: Additive mixes quickly with warm oil.
💡 Tips:
⚠️ Warnings:
Secure cap tightly clockwise. Start engine, idle 2-5 minutes, then rev gently to 2000 RPM briefly for circulation.
Shut off, wait 5 minutes, recheck dipstick—level may rise slightly.
Success: No leaks, smooth idle, level stable.
💡 Tips:
⚠️ Warnings:
Take a 10-20 mile drive mixing highway/city. Park, recheck level after cooling.
Note improvements over 100-500 miles: quieter valvetrain, better MPG.
Success: No leaks, improved performance.
💡 Tips:
⚠️ Warnings:
Problem: Oil level rises too high after adding
Solution: Siphon out excess with extractor; don't drive until corrected.
Problem: Engine smokes or knocks post-add
Solution: Drain oil fully, refill standard; additive incompatible—flush system.
Problem: No improvement after 100 miles
Solution: Wrong additive for issue; try different type or consult mechanic.
Problem: Leak from filler cap
Solution: Replace cap (cheap part); clean threads.
Proven to quiet valvetrain and reduce wear in high-mileage engines; mixes with all oils.
Best for: Noisy engines or heavy towing; add 20% of capacity.
Price Range: $12.99
Excellent cleaner/stabilizer; safe for gas/diesel, prevents dry starts.
Best for: Sludgy oil or storage vehicles; 1.5 oz per quart.
Price Range: $9.99
Reduces friction by 20-40%, boosts MPG/compression; nanoborate tech.
Best for: Performance tuning or older engines; full bottle per change.
Price Range: $29.99
Budget-friendly viscosity improver; easy for beginners.
Best for: Quick top-ups between changes; affordable entry-level.
Price Range: $4.99
Noisy engines or heavy towing; add 20% of capacity.
Lucas Oil 10001 Heavy Duty Oil Stabilizer Proven to quiet valvetrain and reduce wear in high-mileage engines; mixes with all oils.
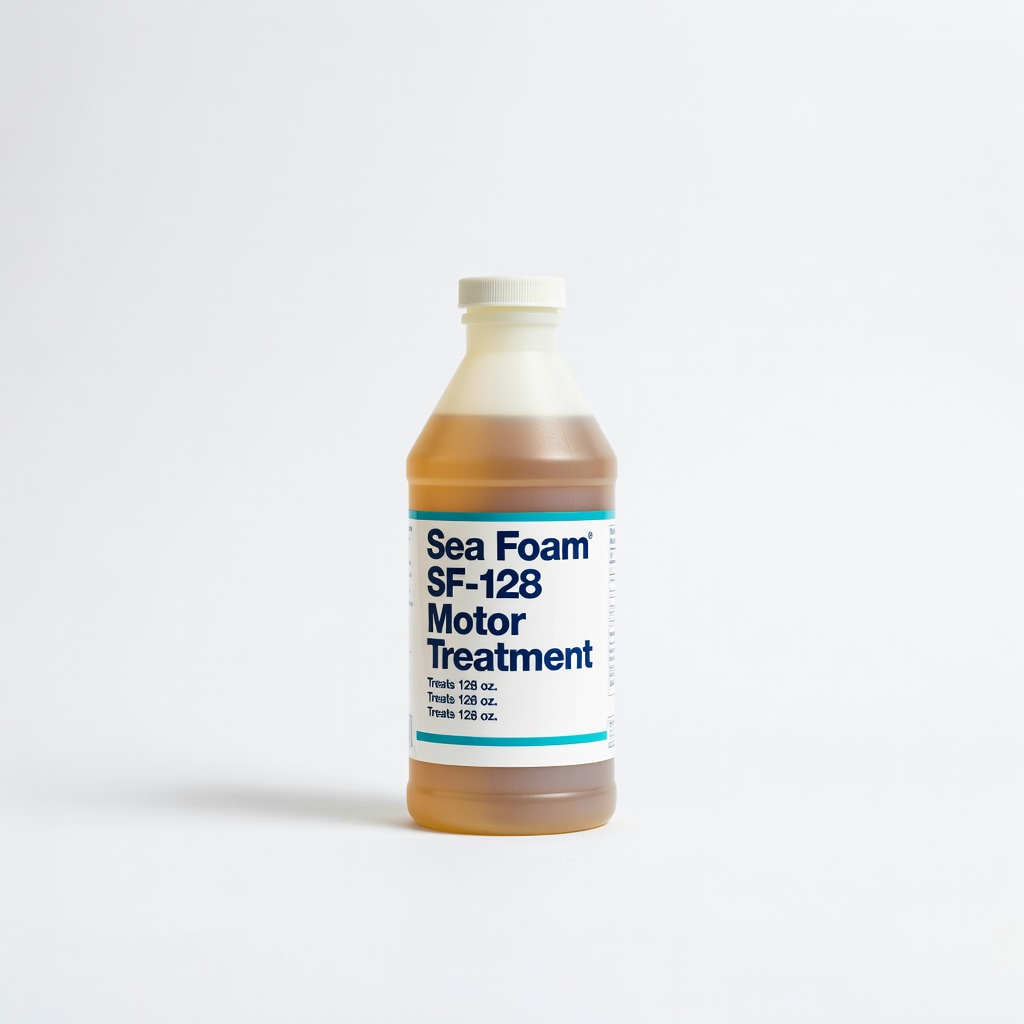
Sludgy oil or storage vehicles; 1.5 oz per quart.
Sea Foam SF-128 Motor Treatment Excellent cleaner/stabilizer; safe for gas/diesel, prevents dry starts.
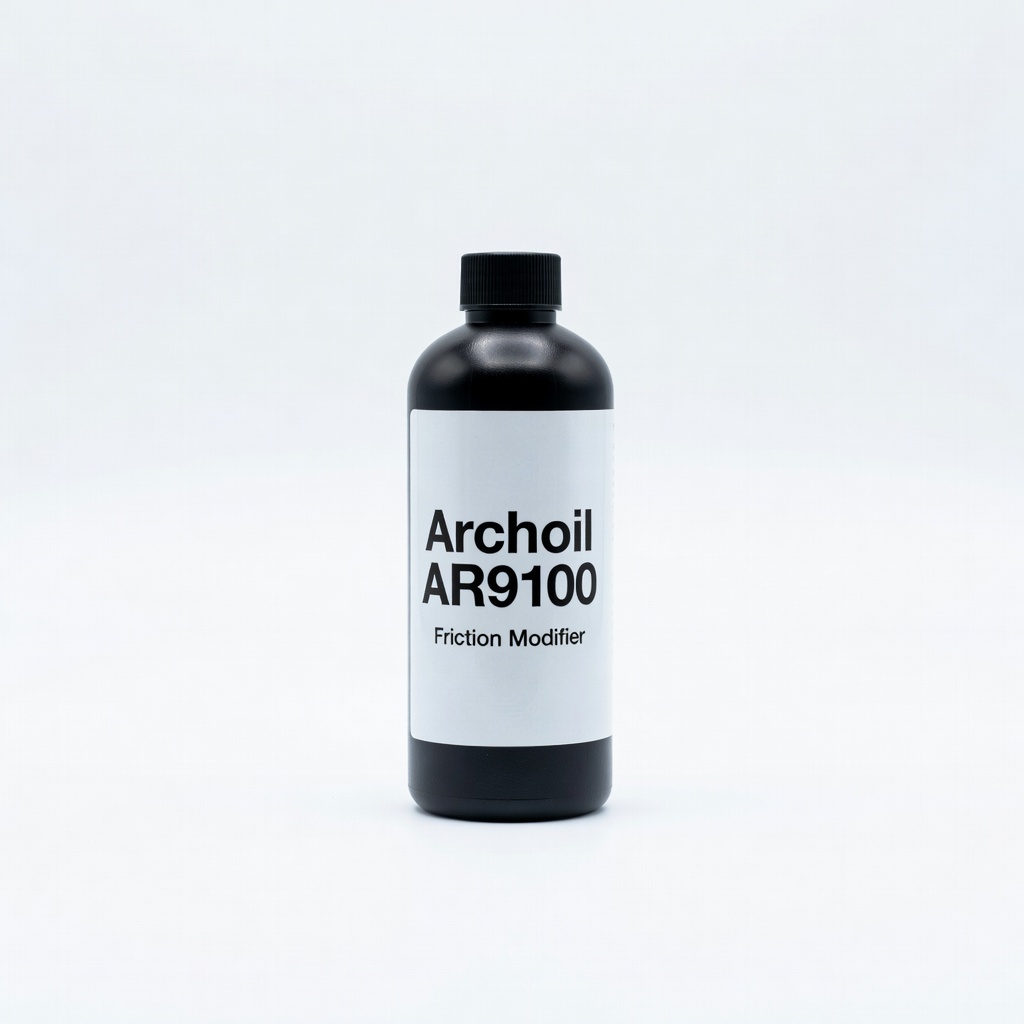
Performance tuning or older engines; full bottle per change.
Archoil AR9100 Friction Modifier Reduces friction by 20-40%, boosts MPG/compression; nanoborate tech.
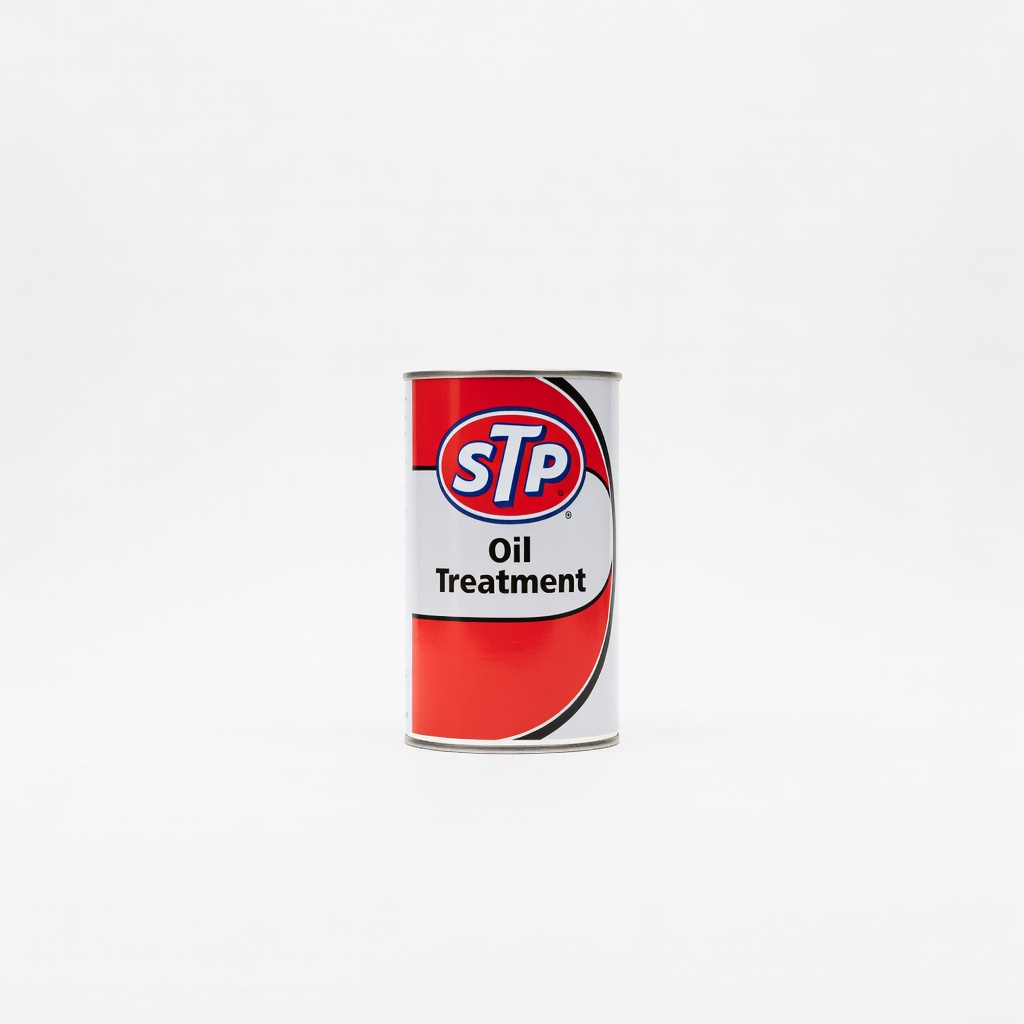
Quick top-ups between changes; affordable entry-level.
STP Oil Treatment Budget-friendly viscosity improver; easy for beginners.