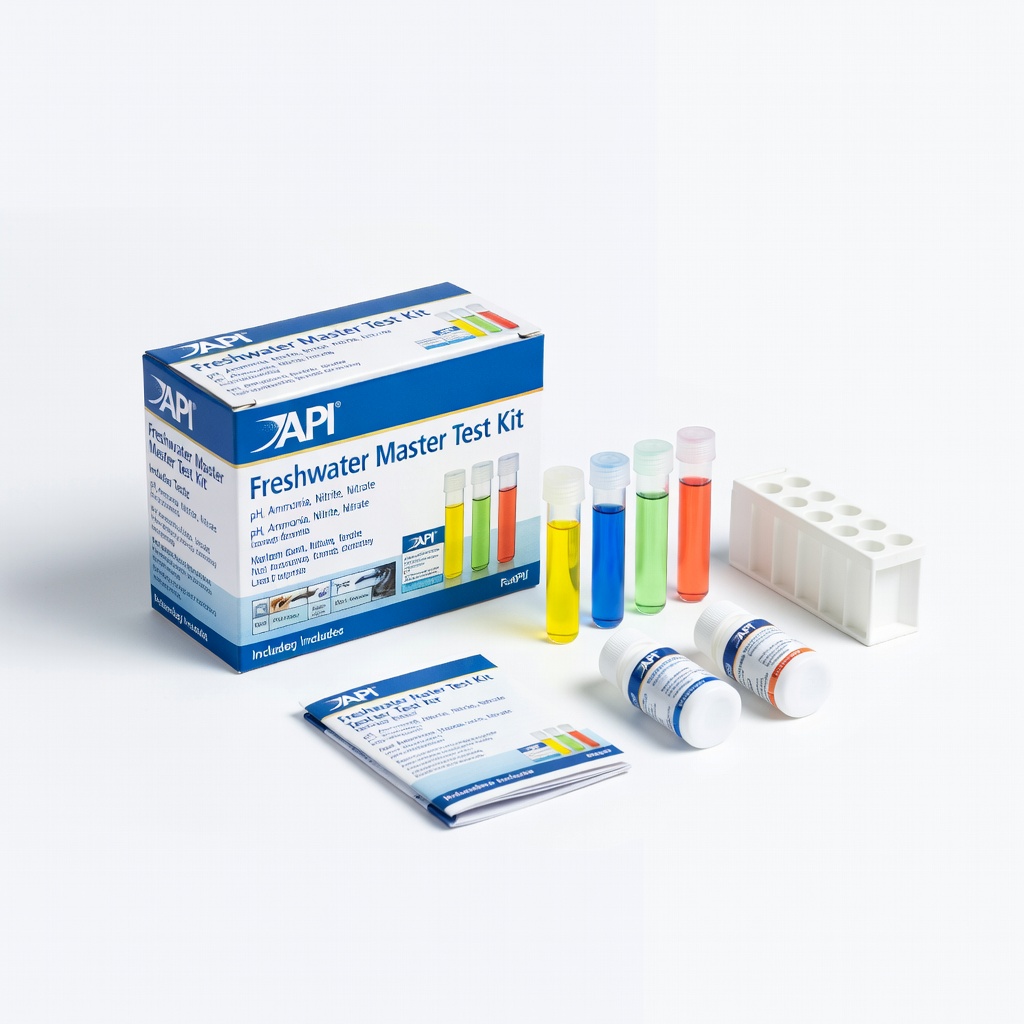
API Freshwater Master Test Kit
Testing tank and bag water before/after dripping.
$25-$35
API Freshwater Master Test Kit Essential for matching pH, ammonia, nitrite accurately—prevents shock.
Get the App
Better experience on mobile
Master the drip acclimation method to prevent shock and ensure your fish thrive in their new aquarium—perfect for beginners.
Adding new fish to your aquarium is exciting, but doing it wrong can lead to deadly pH shock, temperature stress, or ammonia poisoning. Many beginners lose fish within days because they skip proper acclimation. This guide shows you how to do it right.
You'll learn the proven drip acclimation technique, step-by-step, to gradually match your fish's water to the tank's conditions. It's simple, takes about 45-60 minutes, and requires minimal tools. By the end, your fish will swim happily with zero stress.
Expect a beginner-friendly process: no advanced skills needed, just patience and attention to detail.
Estimated Time: 45-60 minutes per batch of fish Difficulty: beginner
Before anything, ensure your new tank is fully cycled and stable. Turn off lights and heaters to avoid stressing fish later.
Use your test kit to check key parameters: pH (6.8-7.6 ideal for most freshwater), ammonia (0 ppm), nitrite (0 ppm), nitrate (<20 ppm), and temperature (match store tank, usually 75-82°F). Record these values—they're your targets.
Success looks like stable readings matching the fish store's water report (ask them!). This prevents chemical shock.
💡 Tips:
⚠️ Warnings:
Place the unopened fish bag in the aquarium. Clip it to the side so it floats.
Wait 15-20 minutes for temperatures to equalize. Check with your thermometer: bag water should match tank water within 2°F.
Why? Sudden temp changes cause osmoregulatory shock. Expect bubbles as the bag adjusts—no need to open yet.
💡 Tips:
⚠️ Warnings:
Open the bag and pour some tank water into it (1/4 volume). This starts mixing.
Attach airline tubing: one end high in the tank (siphon start), knot the other into the bucket/bag for slow drip (1-2 drops/second). Use airline valve if you have one.
Test drip rate into a measuring cup—aim for 1-2 ml/minute per gallon of bag water.
💡 Tips:
⚠️ Warnings:
Let tank water slowly drip into the bag/bucket. Volume should double before adding fish.
Gently stir every 10 minutes to mix. Monitor temp—add warm/cold tank water if needed.
Success: Water clears, fish swim actively (not gasping). This matches pH, salinity gradually.
💡 Tips:
⚠️ Warnings:
Now test bag water parameters—they should closely match the tank (within 0.2 pH, 0 ammonia).
If off, continue dripping 10-15 more minutes. Add conditioner if chloramines detected.
Fish should look perky; discard bag water after.
💡 Tips:
⚠️ Warnings:
Use a net to scoop fish from bag/bucket into the tank—avoid pouring water.
Repeat for all fish. Dim lights to ease transition.
Success: Fish explore calmly within minutes.
💡 Tips:
⚠️ Warnings:
Observe for 24-48 hours: normal swimming, eating? Check params daily.
Feed lightly day 2—no food day 1.
Success: Healthy behavior, stable params.
💡 Tips:
⚠️ Warnings:
Problem: Fish gasping at surface
Solution: Increase aeration; do 25% water change with matched temp water. Check ammonia.
Problem: Fish hiding/not eating after 48 hours
Solution: Test params; add hiding spots. Give 3-5 more days—stress common.
Problem: White spots or lethargy
Solution: Isolate if possible; treat for ich. Prevent with proper quarantine.
Problem: Drip too fast/slow
Solution: Adjust knot/valve. Aim 1 hour per gallon of bag water.
Essential for matching pH, ammonia, nitrite accurately—prevents shock.
Best for: Testing tank and bag water before/after dripping.
Price Range: $25-$35
Precise temp monitoring with suction cup—easy for floating bags.
Best for: Matching bag to tank temp during float and drip.
Price Range: $10-$15
Removes chlorine/ammonia instantly + protects fish slime coat.
Best for: Add to tank post-transfer or if params off.
Price Range: $10-$20
Durable, kink-resistant for reliable drip setup.
Best for: Creating slow drip from tank to bag.
Price Range: $5-$10
Rebuilds slime coat lost in transport—boosts survival.
Best for: Dose in tank after adding fish.
Price Range: $8-$15
Testing tank and bag water before/after dripping.
API Freshwater Master Test Kit Essential for matching pH, ammonia, nitrite accurately—prevents shock.
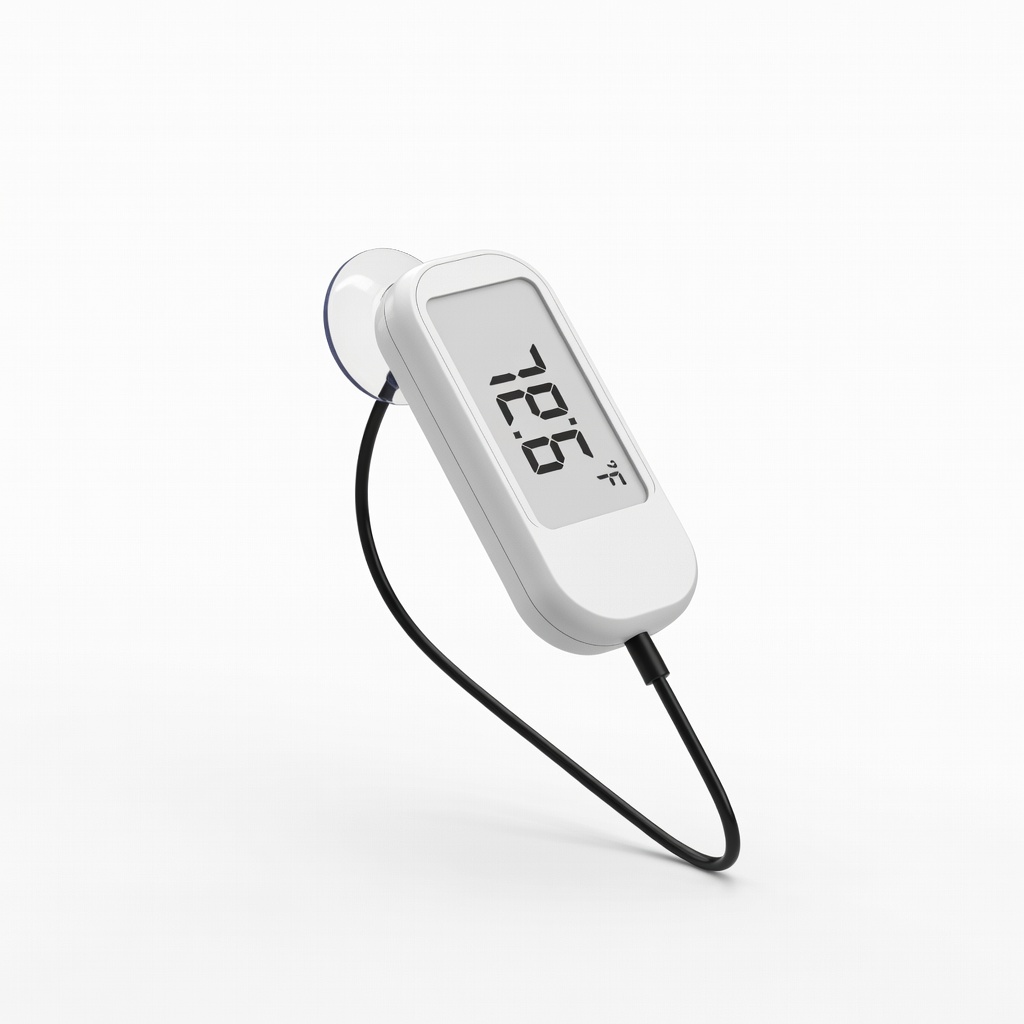
Matching bag to tank temp during float and drip.
Hygger Digital Aquarium Thermometer Precise temp monitoring with suction cup—easy for floating bags.
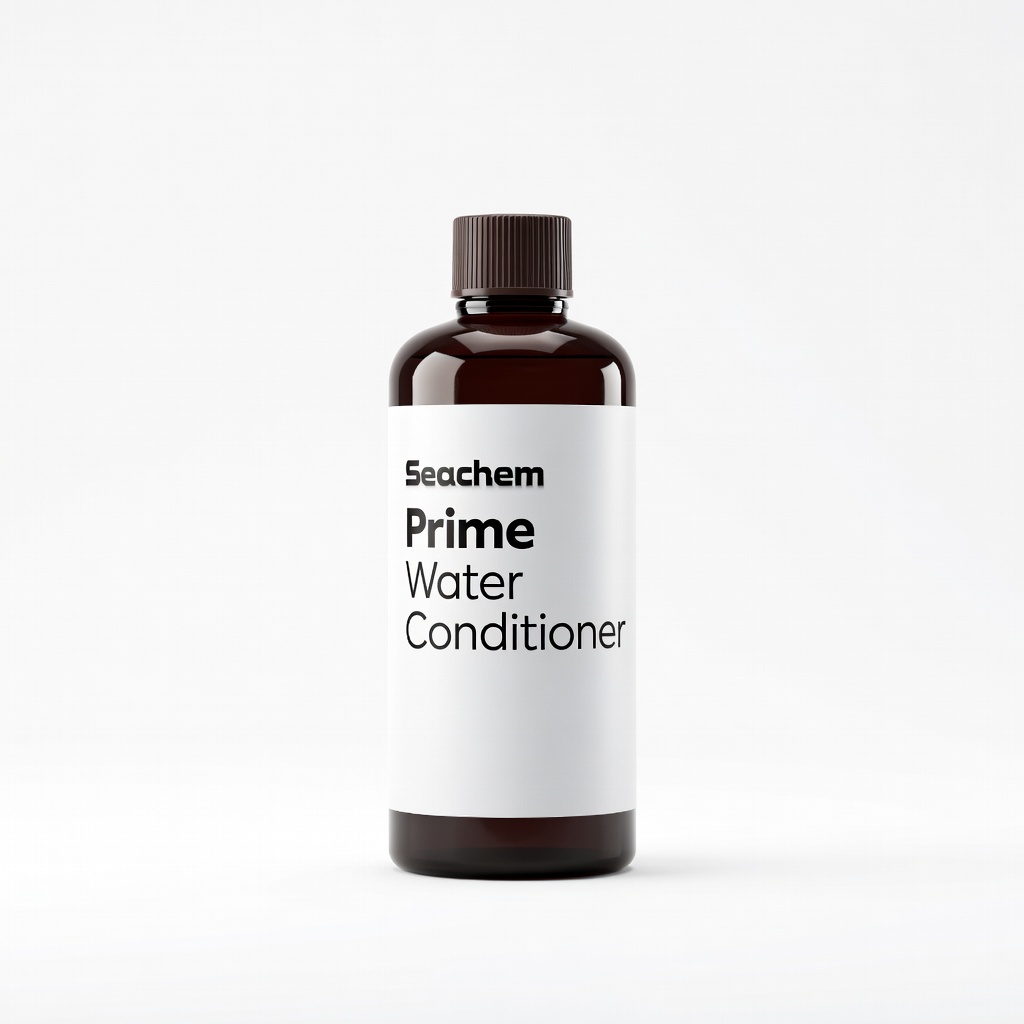
Add to tank post-transfer or if params off.
Seachem Prime Water Conditioner Removes chlorine/ammonia instantly + protects fish slime coat.
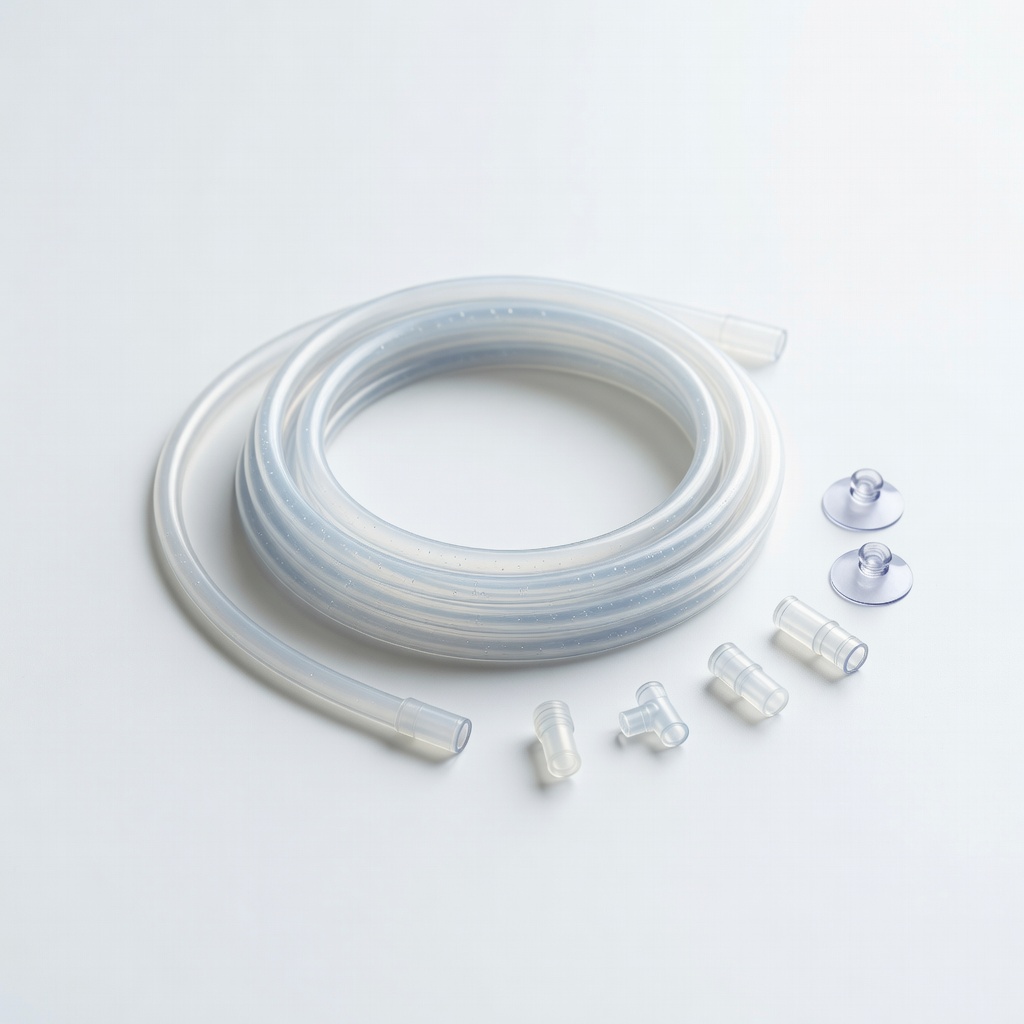
Creating slow drip from tank to bag.
Fluval Airline Tubing Kit Durable, kink-resistant for reliable drip setup.
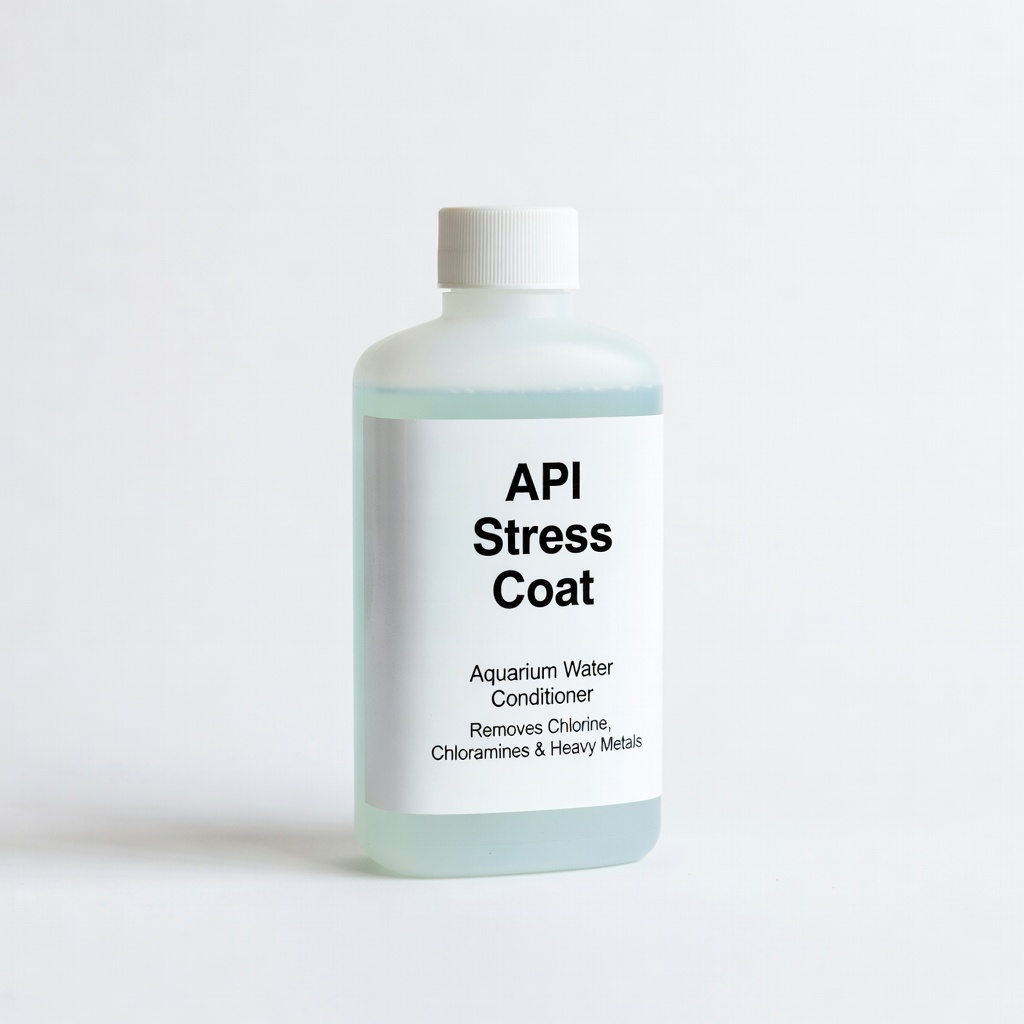
Dose in tank after adding fish.
API Stress Coat Rebuilds slime coat lost in transport—boosts survival.