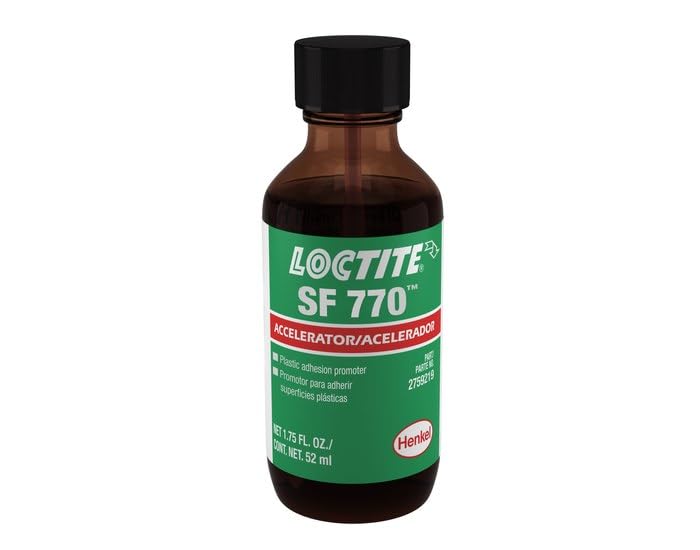
Loctite SF 7455 Activator
High-speed assembly of automotive parts or electronics.
$25-$35
Loctite SF 7455 Activator Industry standard for cyanoacrylates; reduces cure from 30s to 5s on metals/plastics.
Get the App
Better experience on mobile
Learn advanced techniques to slash curing times by 80-90% using adhesive accelerators for faster production and stronger bonds.
In high-volume manufacturing or repair scenarios, slow adhesive curing can bottleneck workflows, leading to delays and increased costs. Adhesive accelerators solve this by chemically initiating or speeding polymerization, turning hours-long cures into seconds. This guide targets advanced users like engineers and technicians who need precise control over bonding processes.
You'll master selecting, testing, and applying accelerators for cyanoacrylate, anaerobic, and UV adhesives. Expect to achieve instant cures on difficult substrates like metals, plastics, and rubbers. The process takes 20-30 minutes per application cycle and requires intermediate chemistry knowledge.
By the end, you'll reduce assembly times dramatically while ensuring bond integrity—perfect for aerospace, automotive, or electronics assembly.
Estimated Time: 20-30 minutes per bonding cycle (plus 1 hour initial testing) Difficulty: advanced
Identify your adhesive type (cyanoacrylate, anaerobic, acrylic, or UV) and match it to an accelerator. Cyanoacrylates pair with amine-based activators like Loctite 7455; anaerobics need metal-ion activators. Check TDS for compatibility—mismatches cause weak bonds or corrosion.
Review substrate challenges: acidic surfaces (e.g., galvanized steel) need stronger activators. Success: Accelerator lists confirm 5-30 second cure times vs. 24 hours unaided.
💡 Tips:
⚠️ Warnings:
Clean surfaces with IPA wipes and abrade lightly for micro-roughness (400-600 grit). Ensure <5% humidity and 20-25°C temp for consistent results. Set up a ventilated fume hood.
Success: Water-break test passes (water sheets evenly, no beading). This prevents contamination-induced failures, mimicking production conditions.
💡 Tips:
Apply accelerator to one substrate half, adhesive to the other, mate within 10 seconds. Time cure (target: <10s for cyano). Shear-test 5 samples.
Expect tack-free in seconds; full strength in 24h. Log results: >80% unaided strength indicates success. Adjust dilution if over-cure cracks appear.
💡 Tips:
⚠️ Warnings:
For sprays: 0.1-0.5s mist from 15cm, evaporate 5-10s. Pens for precision; dips for small parts. Apply to inactive surface only.
Why: Even coverage prevents uneven curing. Success: Uniform frost-white residue (normal for amines), no pooling.
💡 Tips:
Dispense 0.05-0.1g adhesive per cm² within 30s of activation. Align and clamp at 0.1-0.5 MPa for 10-60s.
Expect immediate fixturing; handle after 1min. This sequence ensures intermixing for polymerization kickoff.
💡 Tips:
⚠️ Warnings:
Destructive test: Pull/shear to failure (>10 MPa typical). Non-destructive: Tap test (dull thud = full cure).
Success: Bonds exceed spec in <5min. Iterate if needed.
💡 Tips:
Automate with robotic dispensers synced to conveyor. Monitor with inline cure sensors.
Expect 5x throughput gains. Document SOP for repeatability.
💡 Tips:
Problem: Slow or no cure
Solution: Check compatibility, increase activator dose, reduce humidity, or switch to aggressive formula.
Problem: Brittle or white bonds
Solution: Dilute activator, apply less adhesive, extend evaporation time.
Problem: Weak on passivated metals
Solution: AbRADE or use metal-prep primer first.
Problem: Corrosion post-cure
Solution: Switch to neutral pH accelerator like Permabond POP.
Industry standard for cyanoacrylates; reduces cure from 30s to 5s on metals/plastics.
Best for: High-speed assembly of automotive parts or electronics.
Price Range: $25-$35
Non-chlorinated, low-odor for sensitive applications; 99% cure acceleration.
Best for: Hobby/modeling or medical device bonding.
Price Range: $12-$18
Universal for difficult surfaces; no blooming, high temp resistance.
Best for: Aerospace or oily metal bonds.
Price Range: $40-$60
Budget-friendly with pump spray; effective on wood/porous materials.
Best for: Woodworking or repairs.
Price Range: $10-$15
Non-corrosive for electronics; extends open time.
Best for: PCB assembly.
Price Range: $30-$45
High-speed assembly of automotive parts or electronics.
Loctite SF 7455 Activator Industry standard for cyanoacrylates; reduces cure from 30s to 5s on metals/plastics.
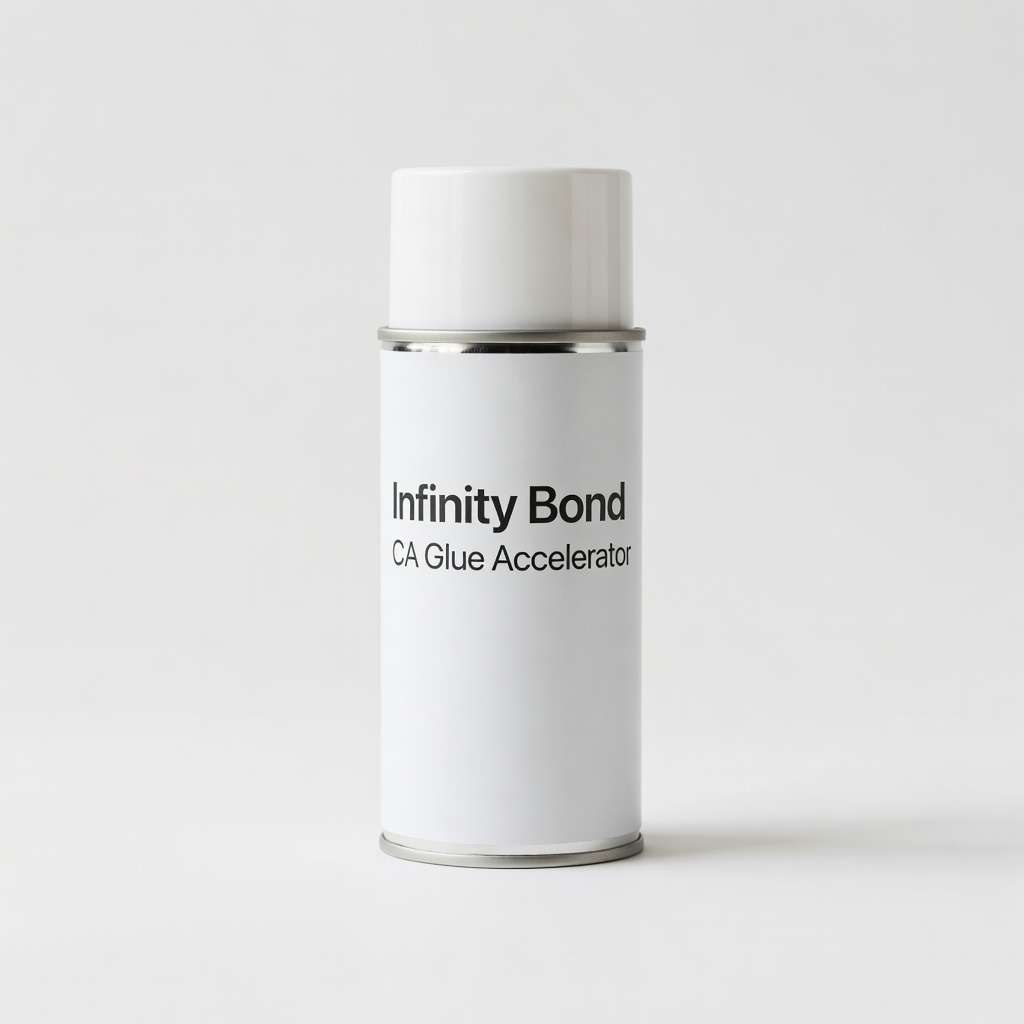
Hobby/modeling or medical device bonding.
Infinity Bond CA Glue Accelerator Non-chlorinated, low-odor for sensitive applications; 99% cure acceleration.

Aerospace or oily metal bonds.
Permabond POP Primer Universal for difficult surfaces; no blooming, high temp resistance.
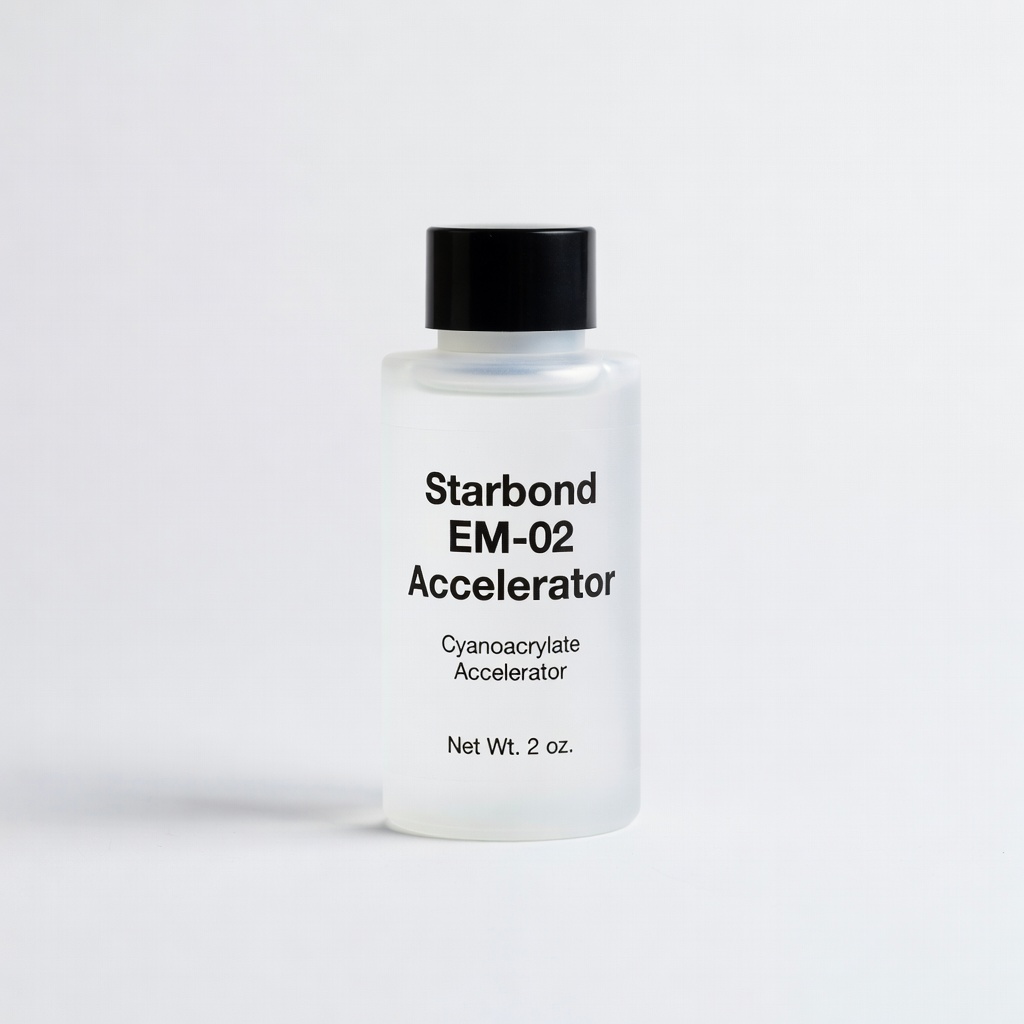
Woodworking or repairs.
Starbond EM-02 Accelerator Budget-friendly with pump spray; effective on wood/porous materials.
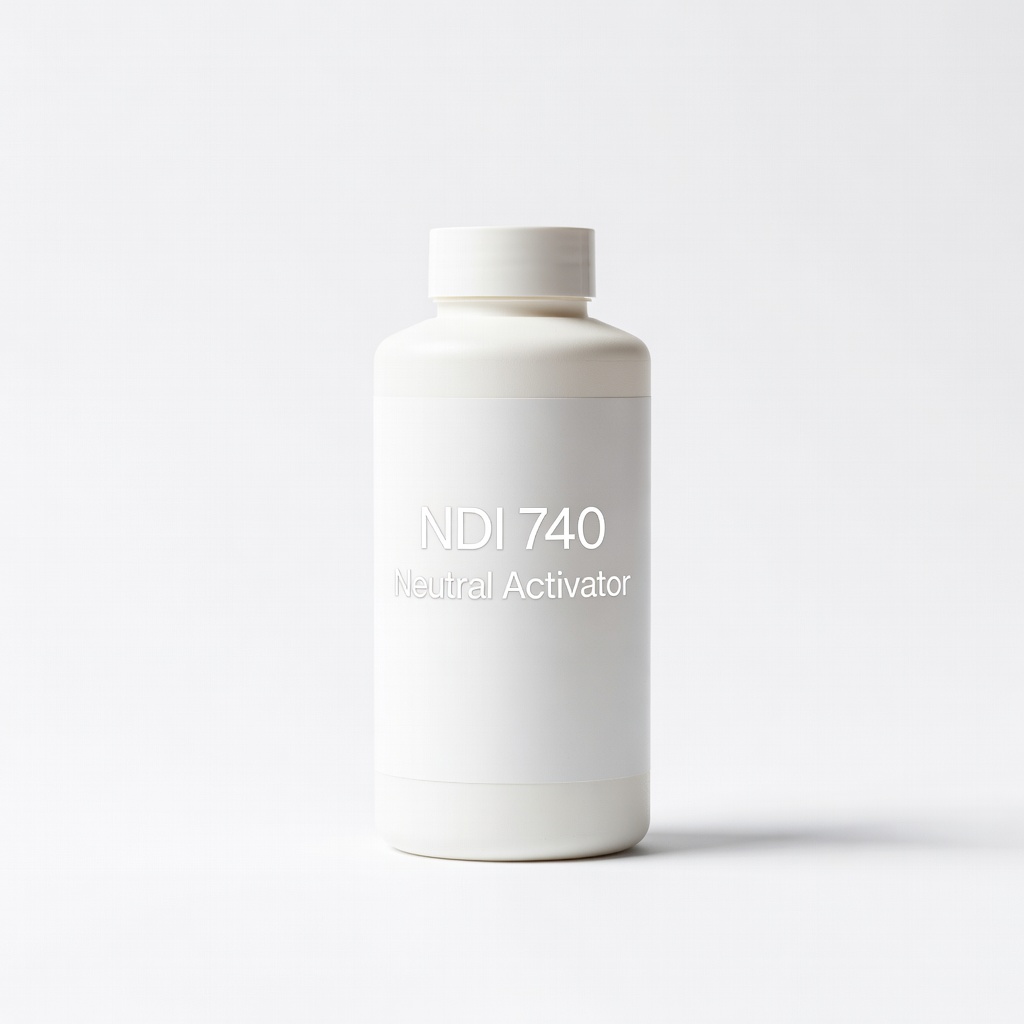
PCB assembly.
NDI 740 Neutral Activator Non-corrosive for electronics; extends open time.