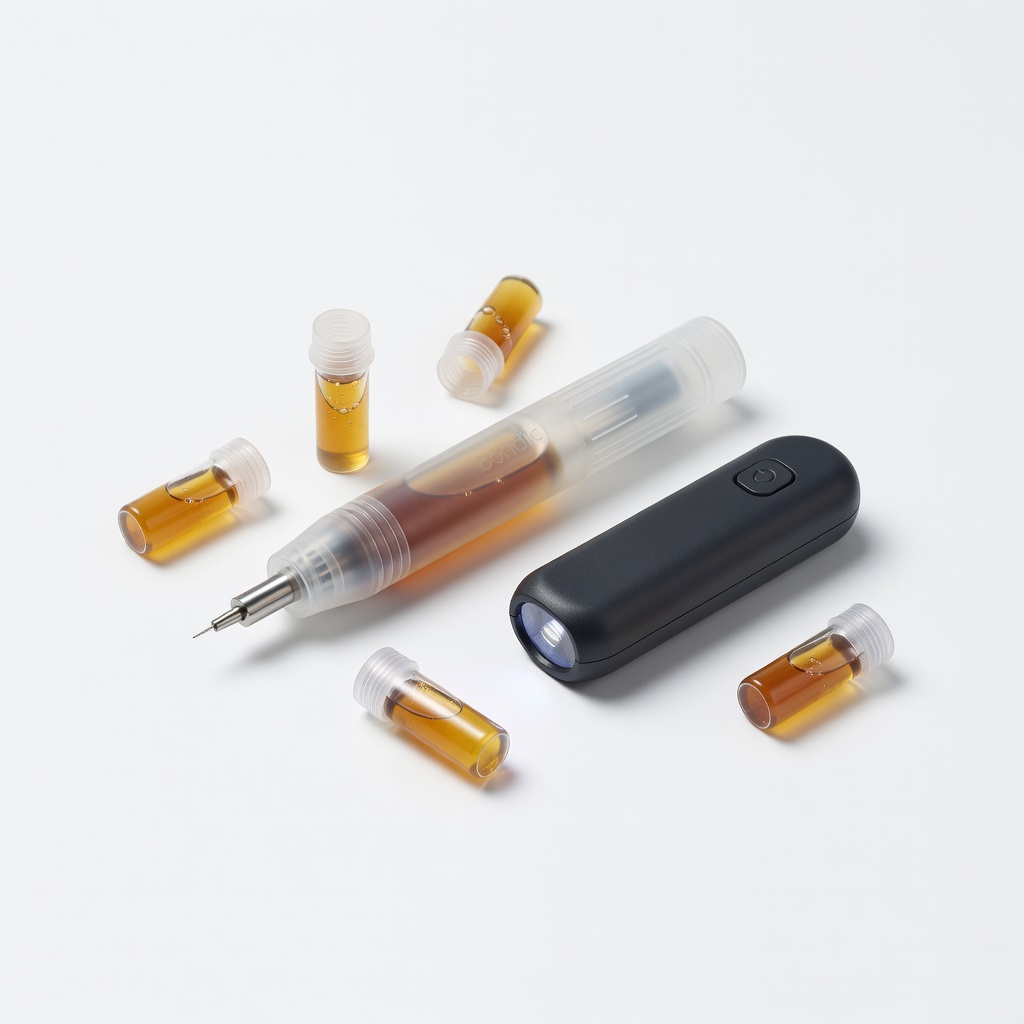
Bondic Liquid Plastic Welding Compound Kit
Ideal for small DIY fixes like plastics, electronics, or jewelry.
$19.99
Bondic Liquid Plastic Welding Compound Kit All-in-one UV adhesive and light kit with precise 405nm curing for quick repairs.
Get the App
Better experience on mobile
Master UV light curing to reduce adhesive set times from hours to seconds, boosting efficiency in DIY repairs, crafts, and manufacturing projects.
Waiting hours or days for adhesives to cure can halt your projects, leading to frustration and inefficiency. Whether you're bonding plastics in electronics repair, assembling prototypes, or fixing household items, slow curing delays everything. UV-curable adhesives solve this by hardening almost instantly under ultraviolet light, slashing cure times by 90% or more.
In this guide, you'll learn a proven step-by-step process to safely and effectively accelerate curing with UV lights. We'll cover selecting materials, preparation, application, and curing—tailored for intermediate users with basic crafting or assembly experience. Expect professional results in under 30 minutes per bond, with tips to avoid pitfalls.
No advanced equipment needed, but precision matters. By the end, you'll confidently use UV curing for stronger, faster bonds.
Estimated Time: 15-30 minutes per bonding application Difficulty: intermediate
Choose a UV-curable adhesive rated for your materials (e.g., plastic, glass, metal) and a UV light matching its wavelength—typically 365nm for deep cure or 395-405nm for surface cure.
Match specs: Adhesives list required UV intensity (mW/cm²) and exposure time. Test a small sample first. Success looks like clear instructions on packaging aligning with your project.
Why it matters: Mismatch causes incomplete curing or weak bonds.
💡 Tips:
⚠️ Warnings:
Set up in a clean, ventilated area away from direct sunlight (it can prematurely cure adhesive). Wear UV goggles and gloves to protect eyes and skin from burns.
Cover surfaces with drop cloths. Test light by shining on white paper—it should fluoresce purple/blue. Workspace ready when gear is donned and area is clutter-free.
Safety first: UV exposure mimics sunburn risks.
💡 Tips:
⚠️ Warnings:
Wipe parts with isopropyl alcohol (90%+) using lint-free cloths. Remove oils, dust, or residues—surfaces must be dry and matte, not shiny.
For porous materials, roughen lightly with fine sandpaper (400-grit). Cleaned success: No residue transfers to cloth, water beads off (hydrophobic test).
Why: Contaminants block UV penetration and adhesion.
💡 Tips:
⚠️ Warnings:
Dispense thin layer (0.1-0.5mm) on one surface using syringe or nozzle. Avoid excess—spread evenly with toothpick if needed.
Application done right: Even, bubble-free layer without overflow. Let it settle 10-30 seconds pre-assembly.
Thin layers cure faster and stronger.
💡 Tips:
Mate surfaces within 1 minute of application. Apply even pressure (clamps/tape) to squeeze out excess and ensure contact.
Assembled bond: No gaps visible, parts aligned snugly. Hold 10-20 seconds manually if no clamps.
Contact ensures UV reaches adhesive fully.
💡 Tips:
Hold light 1-5cm from bond (check manual—closer for intensity). Angle for full coverage, no shadows.
Position success: Light illuminates entire area evenly. Rotate parts if needed.
Distance affects cure speed; too far weakens.
⚠️ Warnings:
Turn on UV light and time exposure (5-60 seconds per side, per specs). Flip parts for dual-side cure if thick.
Cure complete: Adhesive turns from clear/tacky to hard, rigid. Test by probing—no give.
Monitor heat; stop if scorching.
💡 Tips:
Remove clamps after 1-2 minutes full cure. Flex-test: Tug/twist gently—instant strength indicates success.
Wipe residue with alcohol. Full cure in 24 hours for max strength. Bond ready: Handles stress without creak or slip.
Iterate if weak.
💡 Tips:
Problem: Adhesive remains tacky after exposure
Solution: Increase time/intensity, check wavelength match, or re-clean surfaces. Test light on photochromic paper.
Problem: Bond weak or breaks easily
Solution: Verify full cure (24h), ensure no gaps during assembly, apply primer for plastics.
Problem: UV light too hot, warps parts
Solution: Use LED over mercury lamps, increase distance, or pulse exposure.
Problem: Premature curing from ambient light
Solution: Work in dark room, use opaque syringes.
All-in-one UV adhesive and light kit with precise 405nm curing for quick repairs.
Best for: Ideal for small DIY fixes like plastics, electronics, or jewelry.
Price Range: $19.99
High-intensity 365nm light penetrates thick adhesives deeply for reliable cures.
Best for: Best for professional or deep-cure needs on metals/glass.
Price Range: $12.99
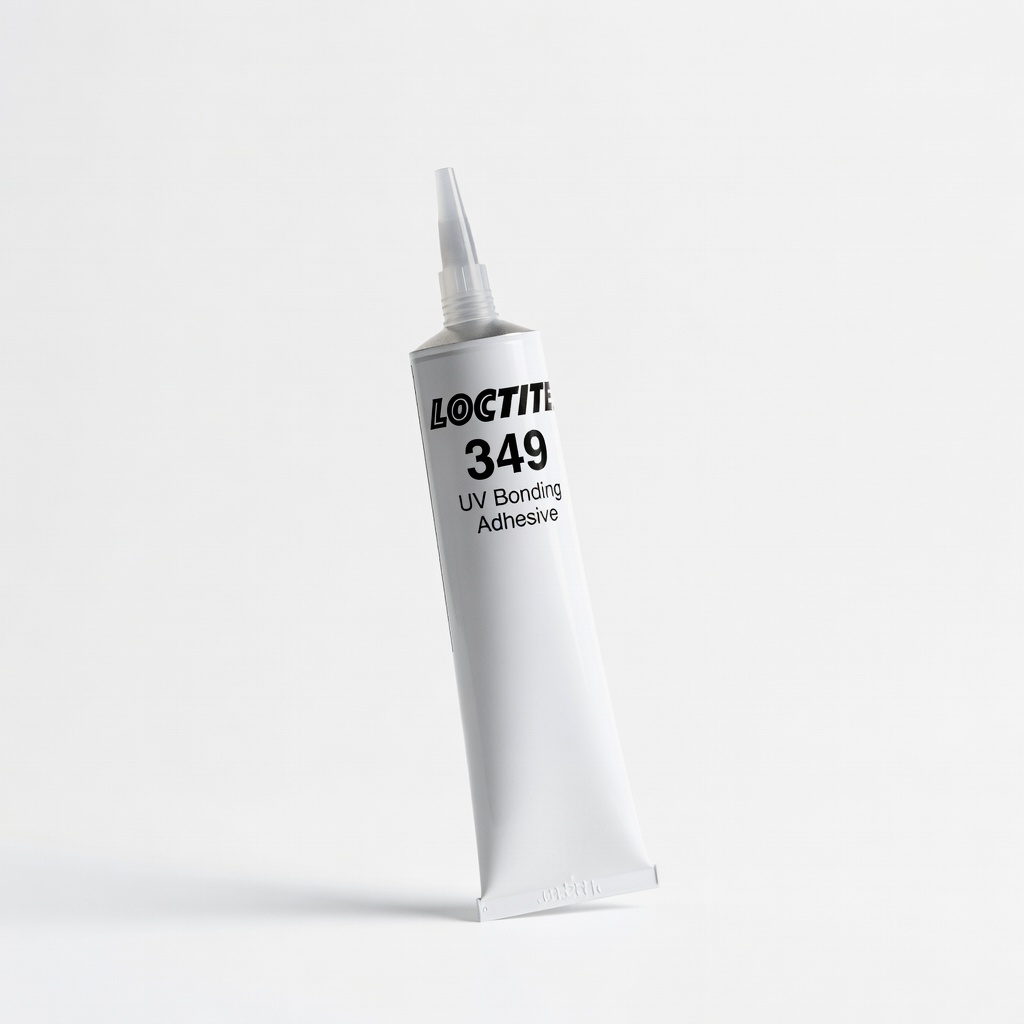
Industrial-grade, fast-curing formula for gap-filling up to 0.5mm with excellent strength.
Best for: Manufacturing prototypes or high-stress bonds.
Price Range: $45-55
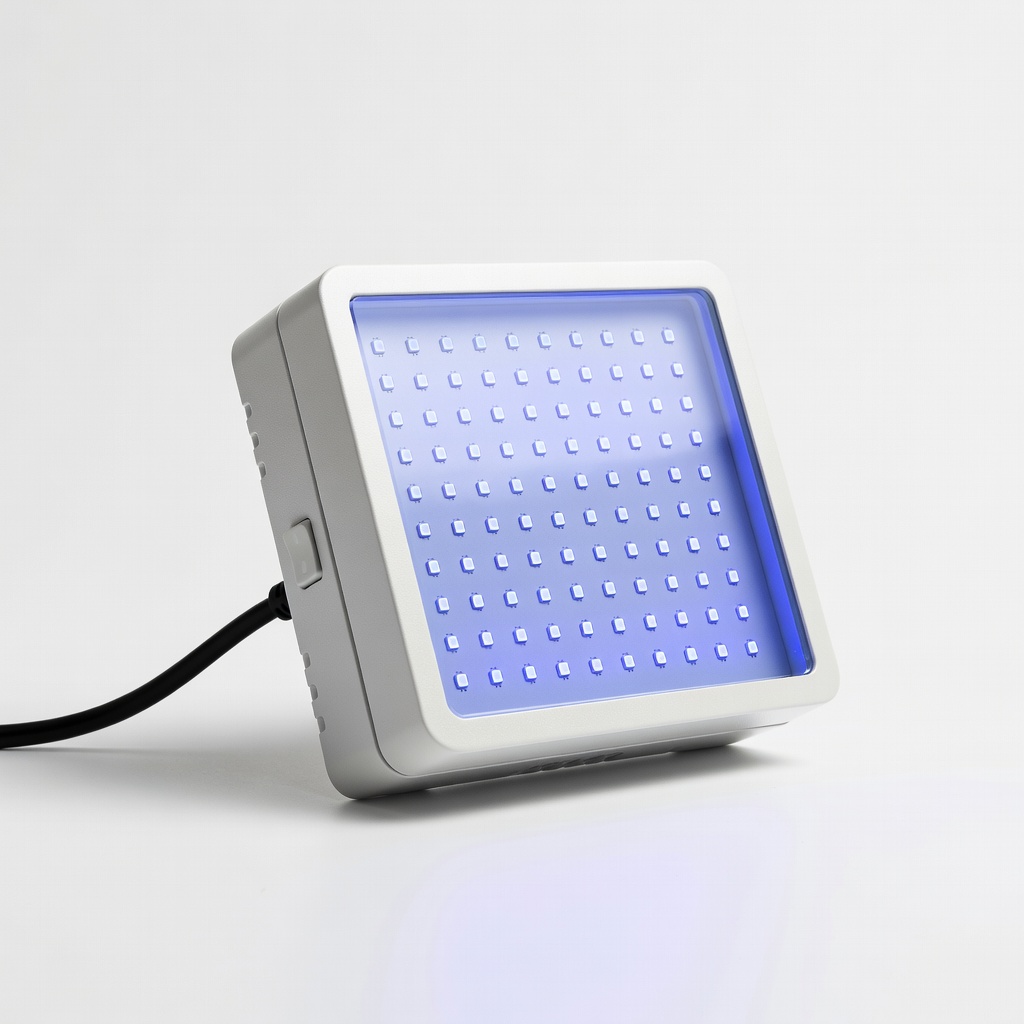
Powerful stationary lamp for larger areas, even curing without handheld fatigue.
Best for: Batch processing crafts or assemblies.
Price Range: $25-35
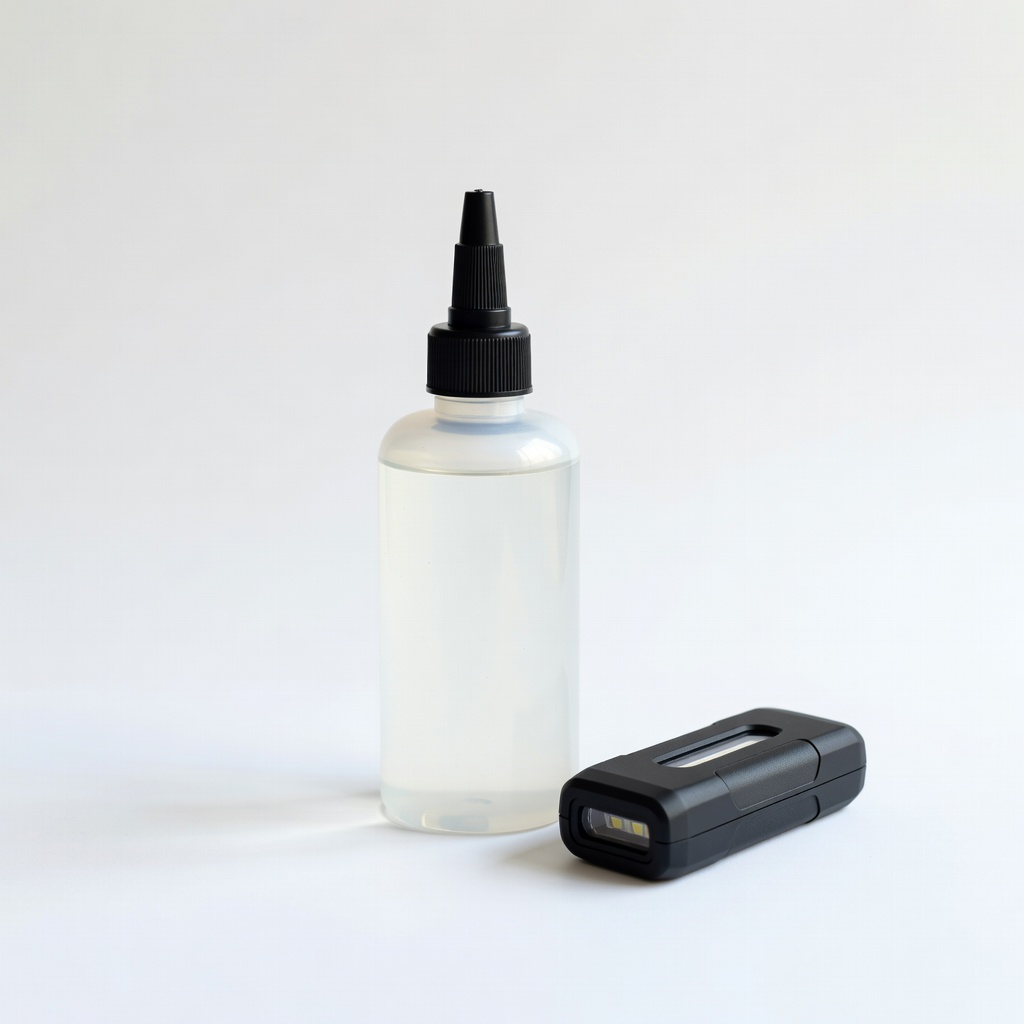
Low-odor, clear resin with included light for precise jewelry/model work.
Best for: Transparent bonds in hobbies.
Price Range: $20-30
Ideal for small DIY fixes like plastics, electronics, or jewelry.
Bondic Liquid Plastic Welding Compound Kit All-in-one UV adhesive and light kit with precise 405nm curing for quick repairs.

Best for professional or deep-cure needs on metals/glass.
Intsupermai 365nm UV LED Blacklight Flashlight High-intensity 365nm light penetrates thick adhesives deeply for reliable cures.
Manufacturing prototypes or high-stress bonds.
Loctite 349 UV Bonding Adhesive Industrial-grade, fast-curing formula for gap-filling up to 0.5mm with excellent strength.
Batch processing crafts or assemblies.
UV LED Curing Lamp 395nm 20W Powerful stationary lamp for larger areas, even curing without handheld fatigue.
Transparent bonds in hobbies.
Starbond EM-02 UV Resin with Light Low-odor, clear resin with included light for precise jewelry/model work.