In industrial, manufacturing, and advanced DIY projects, slow adhesive curing can bottleneck production lines or delay critical assemblies, leading to hours or days of wait time. Heat lamps, particularly infrared (IR) models, provide controlled thermal energy to accelerate polymerization without compromising bond strength—ideal for epoxies, cyanoacrylates, and polyurethanes responsive to heat.
This guide teaches you step-by-step how to safely and effectively use heat lamps to speed curing, tailored for advanced users familiar with adhesives and thermal dynamics. You'll learn optimal temperatures, distances, and monitoring to achieve full cure in minutes instead of hours.
Expect 45-60 minutes for setup and first application, with moderate complexity requiring precise temperature control and safety protocols. Results: Stronger, faster bonds with minimal defects.
▸What You'll Need
- •Heat-resistant adhesive (e.g., heat-activated epoxy or 2-part polyurethane; verify spec sheet for max temp 40-80°C)
- •IR heat lamp with reflector (250-500W quartz or ceramic bulb)
- •Digital IR thermometer or thermocouple (accuracy ±1°C)
- •Temperature controller or dimmer (optional but recommended for precision)
- •Timer and data logger
- •Non-combustible workspace surface (e.g., metal tray)
- •Safety gear: Heat-resistant gloves, safety goggles, fire extinguisher
- •Ventilation fan (required for fumes)
Estimated Time: 45-60 minutes for setup and initial cure (plus adhesive-specific cure observation)
Difficulty: advanced
▸Step-by-Step Instructions
Step 1: Verify Adhesive Heat Compatibility
Review your adhesive's technical data sheet (TDS) for heat acceleration data. Most epoxies cure 2-5x faster at 50-70°C, but exceeding the glass transition temperature (Tg) risks weakening bonds.
Test a small sample: Apply adhesive to scrap material matching your substrate, cure at room temp for baseline (e.g., 24 hours), then heat-accelerate another sample. Measure shear strength post-cure using a simple pull test.
Success: Confirmed optimal temp range (e.g., 60°C accelerates without degradation).
💡 Tips:
- •Cross-reference multiple TDS sources for consistency.
- •Log baseline times for future reference.
⚠️ Warnings:
- •Never exceed 80°C for most adhesives—check for charring or bubbling.
Step 2: Select and Assemble Heat Lamp Setup
Choose an IR heat lamp (quartz emits short-wave IR for deep penetration; ceramic for even heat). Mount in adjustable clamp with reflector for focused beam.
Wire a temperature controller if available to maintain steady output. Plug into grounded outlet with GFCI protection.
Success: Lamp reaches set temp (e.g., 60°C at target distance) within 2 minutes, stable for 30+ minutes.
💡 Tips:
- •Use parabolic reflectors to concentrate 70-80% of energy.
- •Calibrate with IR thermometer before use.
⚠️ Warnings:
- •Avoid incandescent bulbs—they emit too much visible light, less efficient IR.
Step 3: Prepare Safe Workspace
Set up on non-flammable surface in well-ventilated area (fumes from accelerating adhesives can be hazardous). Clear 2ft radius of combustibles; position fire extinguisher nearby.
Pre-warm workspace to ambient 20-25°C to avoid thermal shock.
Success: Workspace temp stable, airflow confirmed (smoke test with incense).
💡 Tips:
- •Use exhaust fan rated 200+ CFM.
- •Wear NIOSH-approved respirator for solvent-based adhesives.
⚠️ Warnings:
- •No paper towels or plastics within 3ft—flash ignition risk.
Step 4: Calibrate Lamp Distance and Temperature
Position empty substrate under lamp. Start at 12-18 inches distance; power on and measure surface temp every 30 seconds with IR thermometer until steady-state.
Adjust distance/power for target (e.g., 60°C surface, 40°C ambient). Log distance-time-temp curve.
Success: Consistent target temp ±2°C across 4x4 inch area.
💡 Tips:
- •Closer distance = faster ramp-up but hotspot risk; test grid pattern.
⚠️ Warnings:
- •Overheating substrates can cause warping—monitor continuously.
Step 5: Apply Adhesive Precisely
Mix/apply thin, even layer per manufacturer specs (excess slows cure). Clamp assemblies if needed, ensuring gap <0.5mm for optimal heat transfer.
Allow initial set (1-2 min) before heat.
Success: Uniform bond line, no voids visible.
💡 Tips:
- •Use static mixer for 2-part epoxies to minimize air bubbles.
⚠️ Warnings:
- •Thick layers trap heat unevenly, risking cracks.
Step 6: Apply Controlled Heat Cycle
Position assembly under lamp at calibrated distance. Ramp temp gradually: 10°C/min to target, hold 5-15 min (per TDS), then ramp down.
Monitor every 2 min; log data.
Success: Accelerated cure confirmed by tack-free surface and hardness test (e.g., fingernail scratch).
💡 Tips:
- •Cycle multiple short bursts for thick bonds vs. continuous for thin.
⚠️ Warnings:
- •Sudden power-off causes thermal shock—use controller cooldown.
Step 7: Test and Verify Full Cure
Cool to room temp (natural or fan-assisted). Perform destruct/non-destruct tests: Peel, lap shear, or durometer.
Compare to baseline: Expect 50-80% time reduction with equal strength.
Success: Meets or exceeds spec strength; no residue softness.
💡 Tips:
- •Use Vicat needle for precise hardness.
- •Document for process validation.
⚠️ Warnings:
- •Post-heat handling too soon leads to weak bonds—wait full cool.
Step 8: Clean Up and Optimize for Scale
Power off, unplug, wipe residues with IPA. Analyze logs to refine (e.g., automate with PID controller).
Scale: Array lamps for batches.
Success: Repeatable process ready for production.
💡 Tips:
- •Batch process similar parts for efficiency.
⚠️ Warnings:
- •Store lamps cool/dry to extend bulb life (1000+ hours).
▸Pro Tips
- •Use blackbody substrates for faster IR absorption.
- •Combine with humidity control (<50% RH) for anaerobics.
- •Pre-heat substrates 10°C above ambient for uniform cure.
- •Invest in multi-zone lamps for large assemblies.
- •Track ROI: 1 lamp pays back in 1 week of production savings.
- •Pair with UV for dual-cure adhesives.
- •Log every run in spreadsheet for AI-optimized parameters.
▸Common Mistakes to Avoid
- •Ignoring TDS temps: Leads to under/over-cure and bond failure—always verify.
- •Uneven heating: Causes warping—calibrate distance rigorously.
- •Poor ventilation: Fume buildup risks health—mandatory exhaust.
- •Skipping tests: Assumes success—always validate strength.
- •Using wrong lamp type: Halogen vs. IR mismatches wavelengths—deep IR penetrates best.
▸Troubleshooting
Problem: Adhesive bubbles or delaminates
Solution: Reduce temp by 10°C or increase distance; ensure thin application and degas pre-heat.
Problem: Inconsistent temps across surface
Solution: Reposition reflector or use oscillating mount; check bulb alignment.
Problem: Lamp overheating or flickering
Solution: Replace bulb (common at 500 hours); verify voltage stability.
Problem: Slow ramp-up time
Solution: Upgrade to higher wattage or short-wave quartz; preheat 5 min.
Problem: Weak final bond
Solution: Extend hold time 20%; test substrate compatibility; seek pro lab analysis if persistent.
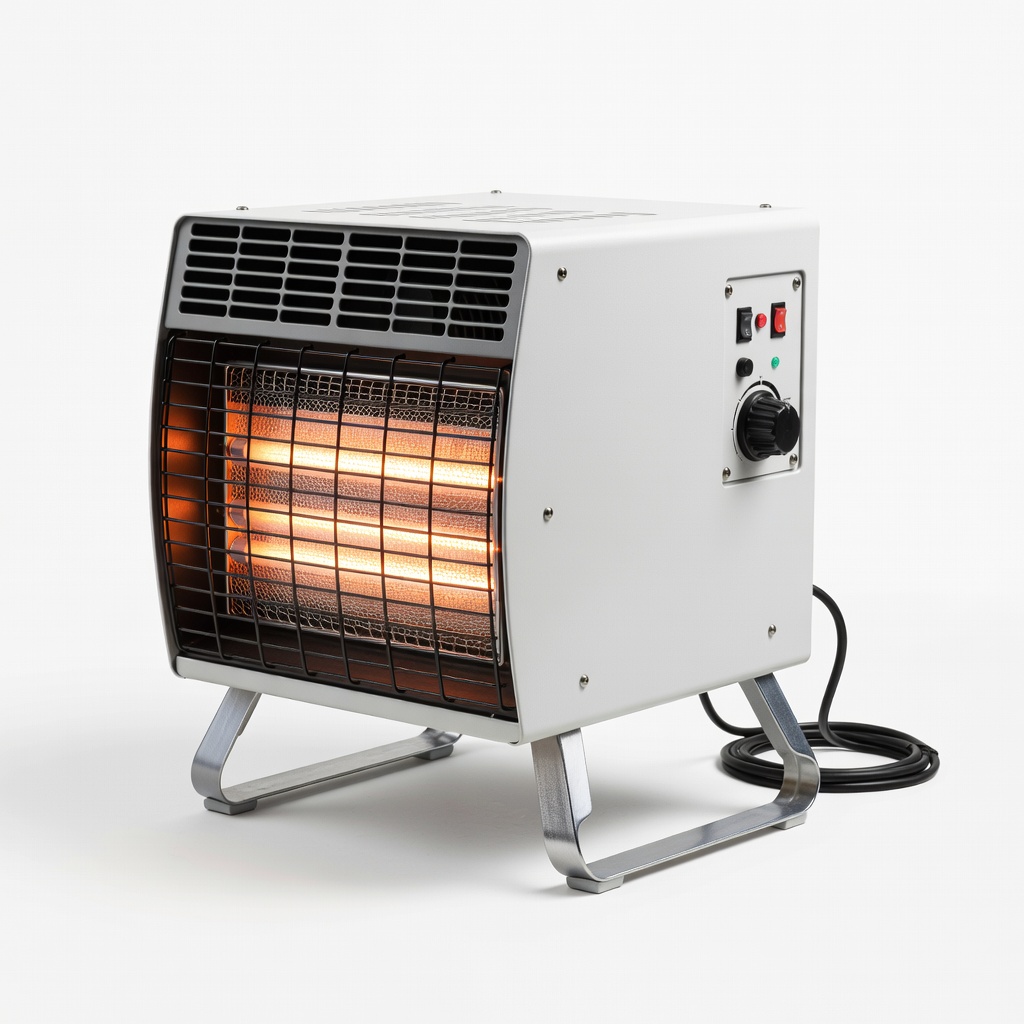
Dr. Infrared Heater DR-968 Garage Heater (with IR elements)
Powerful 1500W IR output with thermostat for precise curing control in larger workspaces.
Best for: Industrial batch curing of epoxies on metal/plastic assemblies.
Price Range: $150-$170
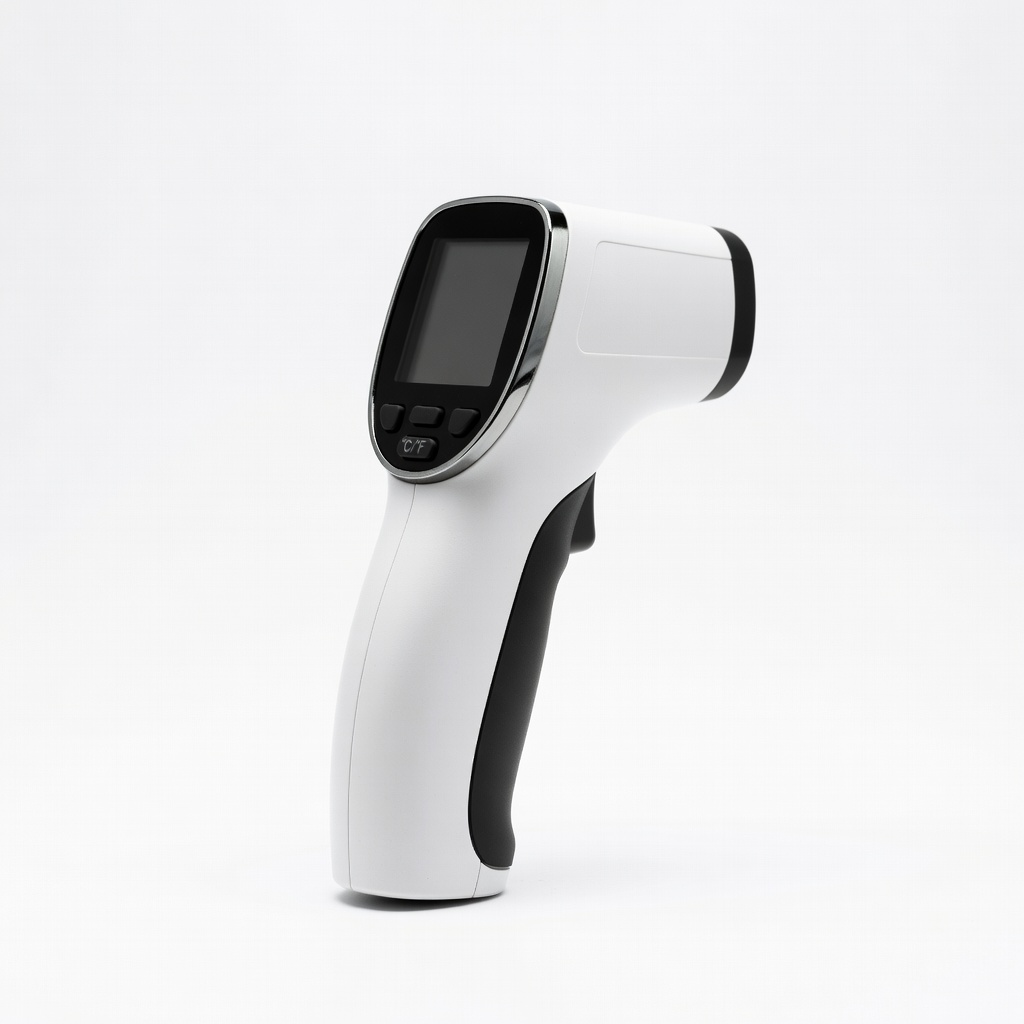
ThermoPro TP50 Digital Infrared Thermometer
Accurate ±1.5°C readings up to 32ft, essential for non-contact monitoring.
Best for: Real-time surface temp verification during heat cycles.
Price Range: $15-$20
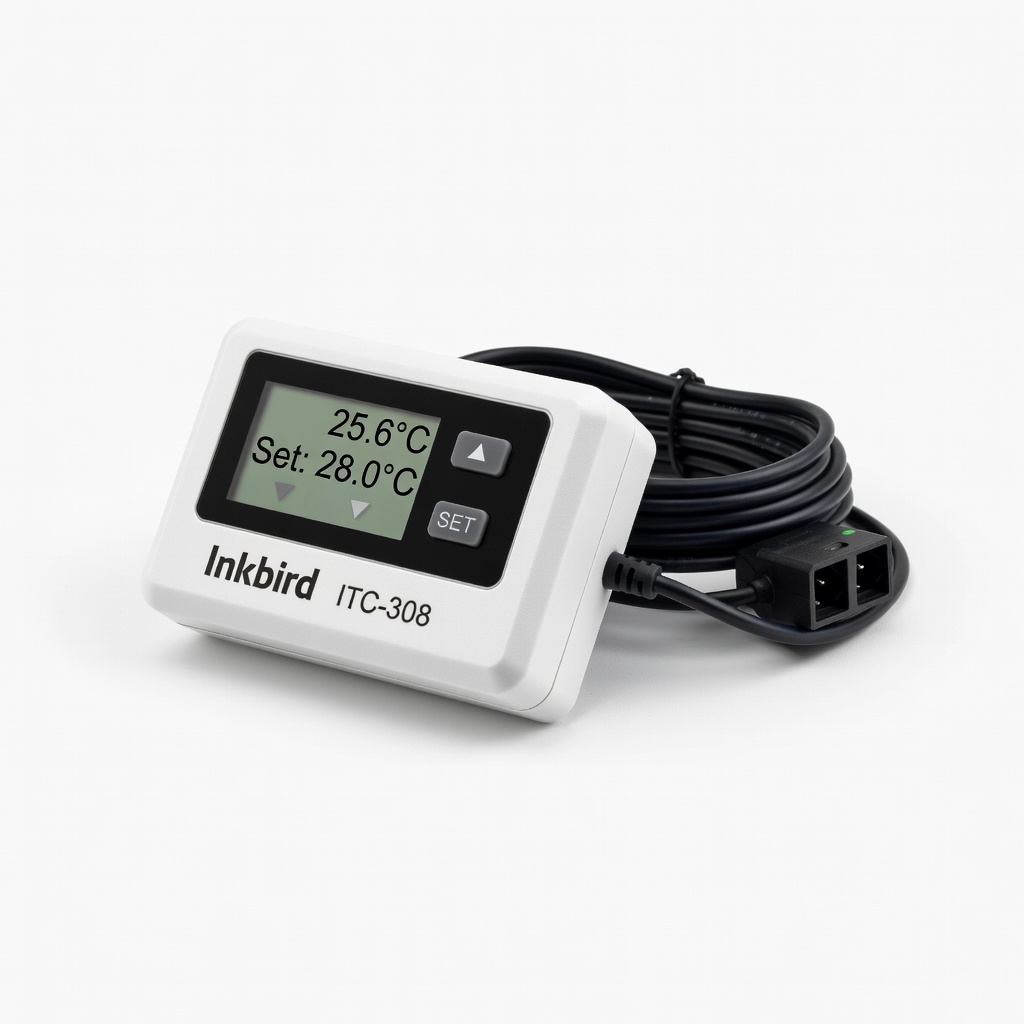
Inkbird ITC-308 Digital Temperature Controller
PID control maintains exact temps (±0.1°C), automating ramps for repeatability.
Best for: Advanced users scaling to production with plug-and-play lamp integration.
Price Range: $30-$35
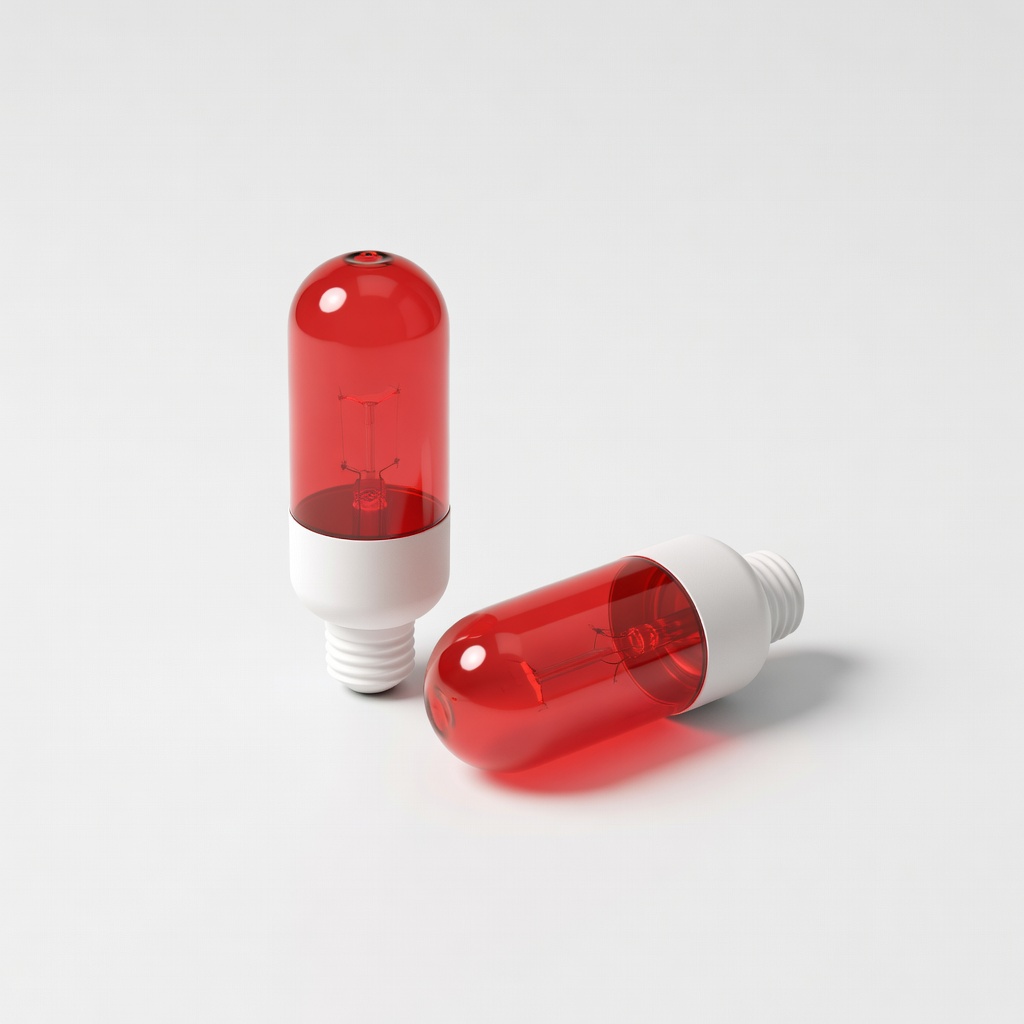
WANAYOU 250W Infrared Heat Lamp Bulb (2-Pack)
Cost-effective quartz IR bulb penetrates adhesives deeply; long 5000-hour life.
Best for: DIY/prototype curing in clamp fixtures.
Price Range: $20-$25
Klein Tools IR1 Infrared Thermometer
Professional-grade laser targeting for pinpoint accuracy in high-temp environments.
Best for: Field service or harsh industrial curing setups.
Price Range: $30-$40