Cold weather is every DIYer and pro's nightmare when working with adhesives—curing times skyrocket from minutes to hours or days, leading to weak bonds, project delays, and frustration. Whether you're gluing wood in a garage, repairing boats in winter, or assembling plastics outdoors, slow curing can ruin your work.
In this guide, you'll learn safe, effective methods to accelerate curing for common adhesives like cyanoacrylate (CA/super glue), epoxies, and polyurethanes. We'll cover heat application, chemical accelerators, and environmental tweaks. Expect 80% faster results with intermediate skills—no chemistry degree needed.
The process takes 10-30 minutes of active work per bond, plus accelerated cure times (e.g., 1-5 minutes instead of 30+). Perfect for intermediate users familiar with basic gluing.
▸What You'll Need
- •Cyanoacrylate (CA) glue or epoxy adhesive (required)
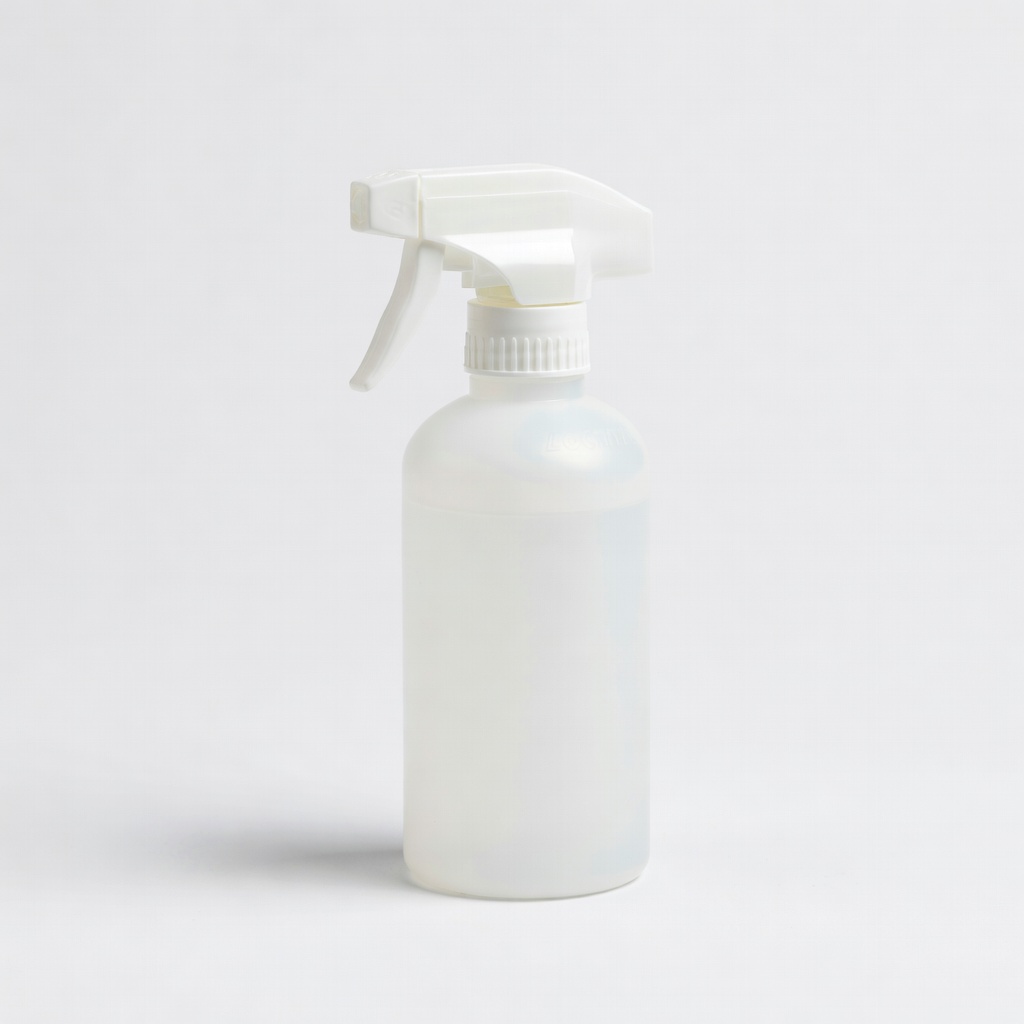
- •Adhesive accelerator spray or primer (required for chemical acceleration; e.g., Loctite 7455)
- •Heat source: hair dryer, heat gun, or heat lamp (required for thermal methods)
- •Clamps or tape for holding parts (required)
- •Isopropyl alcohol and clean rags (required for surface prep)
- •Gloves and safety glasses (required)
- •Thermometer or IR temp gun (optional but recommended)
- •Warm water bath or heating pad (optional for small parts)
Estimated Time: 10-30 minutes active + 1-10 minutes cure time per bond
Difficulty: intermediate
▸Step-by-Step Instructions
Step 1: Assess Your Adhesive Type and Cold Conditions
Identify your adhesive: CA glues respond best to accelerators and mild heat; epoxies love steady warmth; urethanes need humidity control. Check the label for min temp (usually 50-60°F) and cure times.
Measure workspace temp—below 40°F? Prioritize heat. Why? Reaction rates double every 10°C rise (Arrhenius rule). Expect: You'll know if chemical or heat method fits.
Pro tip: Test a scrap bond first.
💡 Tips:
- •Use a digital thermometer for precision (aim for 70°F+ on surfaces).
⚠️ Warnings:
- •Avoid UV-curable adhesives in cold unless you have a strong UV lamp—they won't initiate.
Step 2: Prepare Surfaces Thoroughly
Clean parts with isopropyl alcohol (90%+) to remove oils, dust, frost. Abrade glossy surfaces lightly with 220-grit sandpaper for better mechanical keying.
Dry completely—moisture slows cures. Why it matters: Contaminants create weak boundary layers. Success: Surfaces feel tacky-clean, no residue.
💡 Tips:
- •Warm parts to 60°F in a water bath for 5 mins pre-cleaning.
Step 3: Apply Adhesive Accelerator (Chemical Boost)
For CA glues: Spray accelerator (e.g., Loctite 7455) lightly on one surface from 6-8 inches away. Let dry 10-30 seconds (feels tacky).
Why? Accelerators provide alkaline catalysts or solvents that kickstart polymerization. Expect: Instant fogging or white residue (wipe if excess). For epoxies, use promoter primers.
Apply sparingly—overuse weakens bonds.
⚠️ Warnings:
- •Ventilate well; solvents are flammable/toxic.
Step 4: Warm the Materials and Workspace
Pre-warm parts to 70-100°F using a hair dryer (low heat, 2-3 mins) or heating pad. Heat workspace with a lamp to maintain 60°F+.
Why? Heat boosts molecular movement for faster cross-linking. Success: Parts warm to touch, no hotspots (use IR gun to check).
💡 Tips:
- •Circulate air with a fan to even heat.
Step 5: Apply Adhesive and Assemble Quickly
Dispense small amounts of (warmed) adhesive. Mate parts within 10-20 seconds for CA.
Clamp firmly with C-clamps or tape. Excess squeeze-out? Wipe immediately. Why fast? Open time shortens in cold. Expect: Secure hold without slippage.
⚠️ Warnings:
- •Don't over-clamp—5-20 PSI typical.
Step 6: Apply Targeted Heat During Cure
Direct mild heat (100-140°F) from hair dryer or heat gun (low setting) at bond line for 1-3 minutes. Keep moving to avoid burns.
Monitor: CA cures in 10-60 secs; epoxy 5-10 mins. Why? Sustains reaction temp. Success: Bond feels rigid, no flex.
💡 Tips:
- •For large areas, use a heat lamp tent.
Step 7: Test and Finish the Bond
After cure time, stress-test gently (twist/pull). Sand/file excess. Full strength in 24 hours.
Why test? Ensures acceleration worked. Success: Passes basic strength check.
▸Pro Tips
- •Store adhesives in a warmer spot (e.g., inside house) before use.
- •Mix epoxy in warmed cups for even activation.
- •Use black plastic bags over clamped assemblies to trap body heat.
- •For CA, mist accelerator post-glue for extra speed.
- •Combine methods: accelerator + heat = 10x faster.
- •Work in small batches to maintain warmth.
- •IR thermometer saves guesswork on surface temps.
▸Common Mistakes to Avoid
- •Applying accelerator to both surfaces—causes premature curing and mess.
- •Overheating (>150°F)—degrades adhesive strength; always use low settings.
- •Skipping surface prep—leads to 50% weaker bonds from contamination.
- •Using too much adhesive—slows cure and creates brittle spots.
- •Ignoring ventilation—health risk from fumes.
▸Troubleshooting
Problem: Bond still slow or weak after acceleration
Solution: Check temp (needs 60°F+); reapply heat or accelerator. Test adhesive freshness.
Problem: White bloom or cracking on CA bonds
Solution: Excess accelerator; use less spray and wipe residue. Improve ventilation.
Problem: Adhesive won't dispense in cold
Solution: Warm bottle in hot water (not boiling) for 5 mins.
Problem: Bubbles or voids in epoxy
Solution: Mix slower, warmer resin/hardener; degas if possible.
Loctite SF 7455 Super Bonder Activator
Top-rated chemical accelerator for CA glues; neutralizes acids on surfaces for 5-10x faster cures in cold.
Best for: Ideal for plastics, metals in sub-50°F; spray on one side pre-glue.
Price Range: $15-20
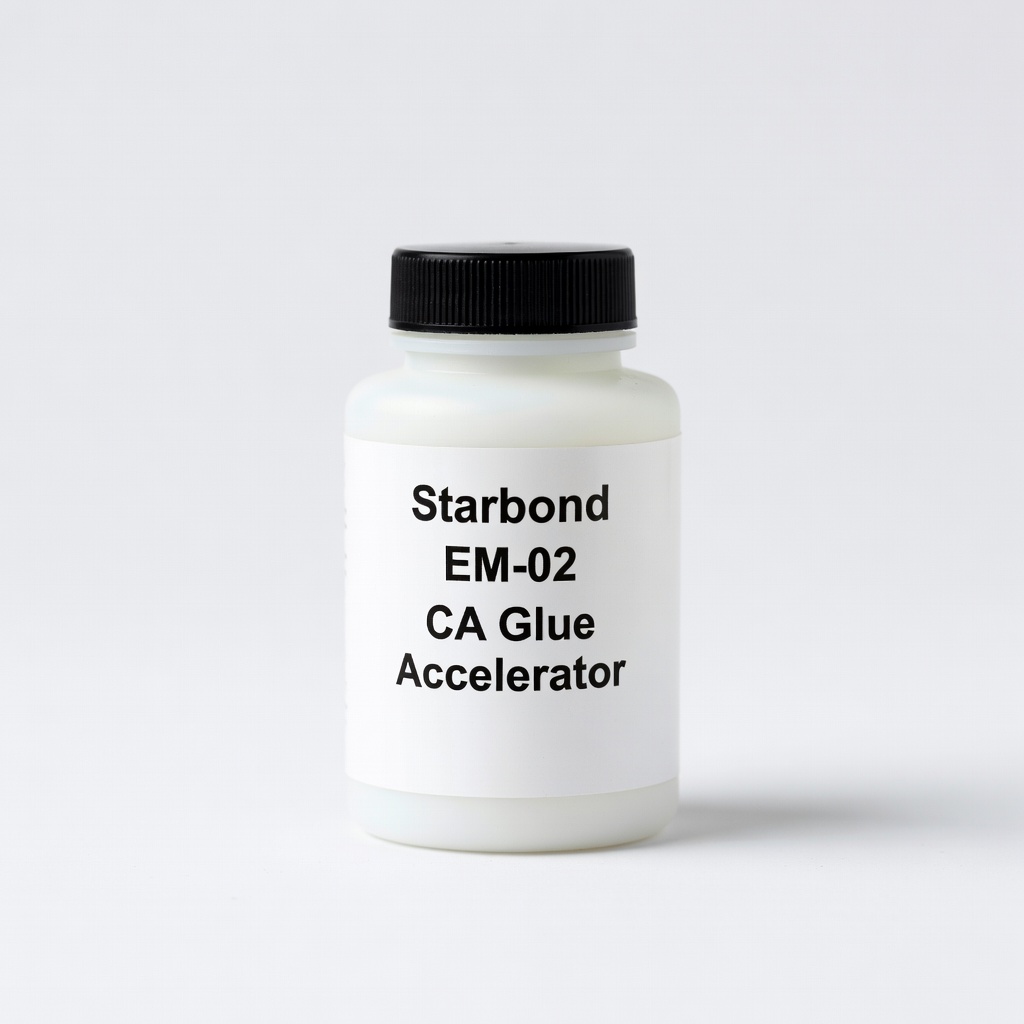
Starbond EM-02 CA Glue Accelerator
Non-clogging spray with extend nozzle; proven for hobby/DIY cold weather bonds without weakening.
Best for: Wood, RC models, repairs; accelerates to seconds even at 32°F.
Price Range: $10-15
Wagner Spraytech HT1000 Heat Gun
Variable temp control prevents overheating; durable for frequent use.
Best for: Targeted heating of bonds/epoxies in garages; low setting perfect for adhesives.
Price Range: $25-35
Permatex 80074 Clear RTV Silicone Adhesive
Cold-weather formulated with accelerator compatibility; flexible post-cure.
Best for: Gaskets, seals in damp cold; pair with heat for fast tack.
Price Range: $8-12
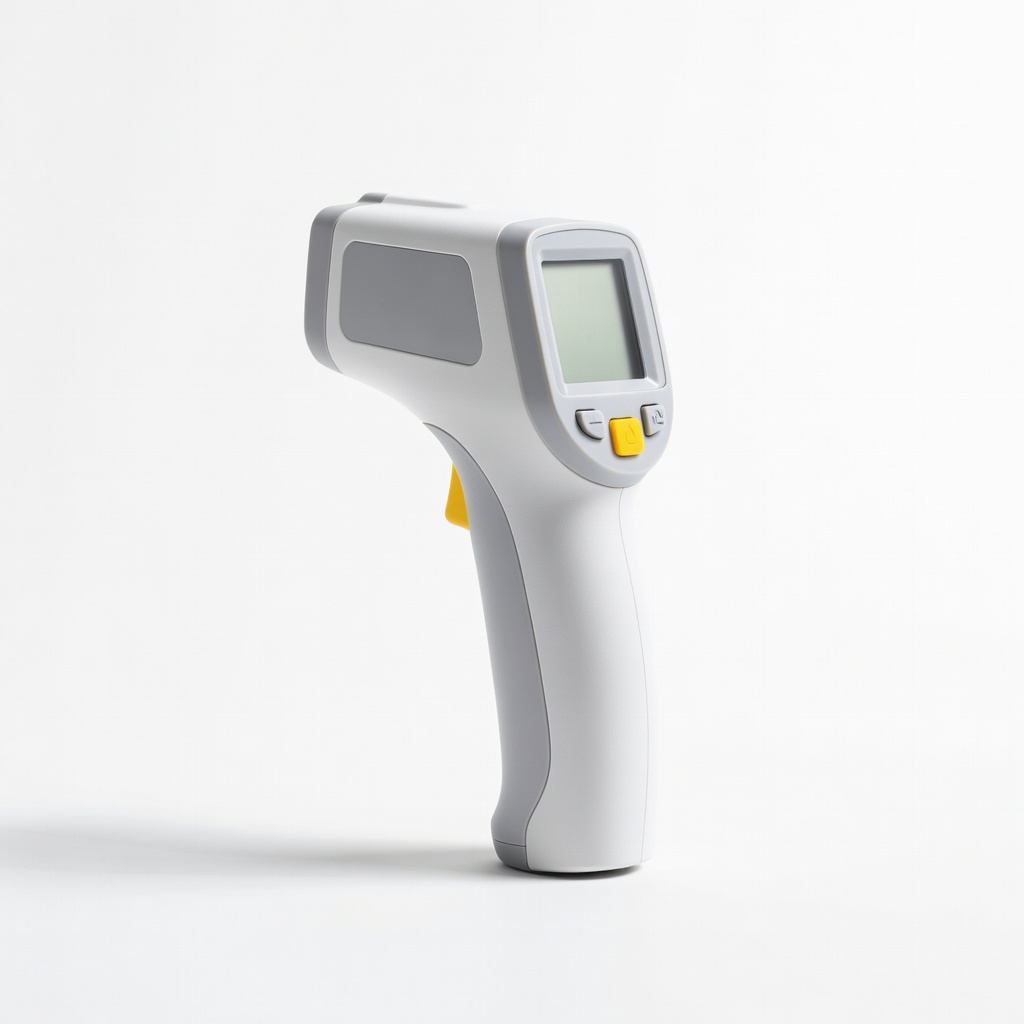
Etekcity Lasergrip 774 IR Thermometer
Accurate non-contact temp checks for surfaces/adhesives.
Best for: Verify 70°F+ on parts before bonding.
Price Range: $20-25