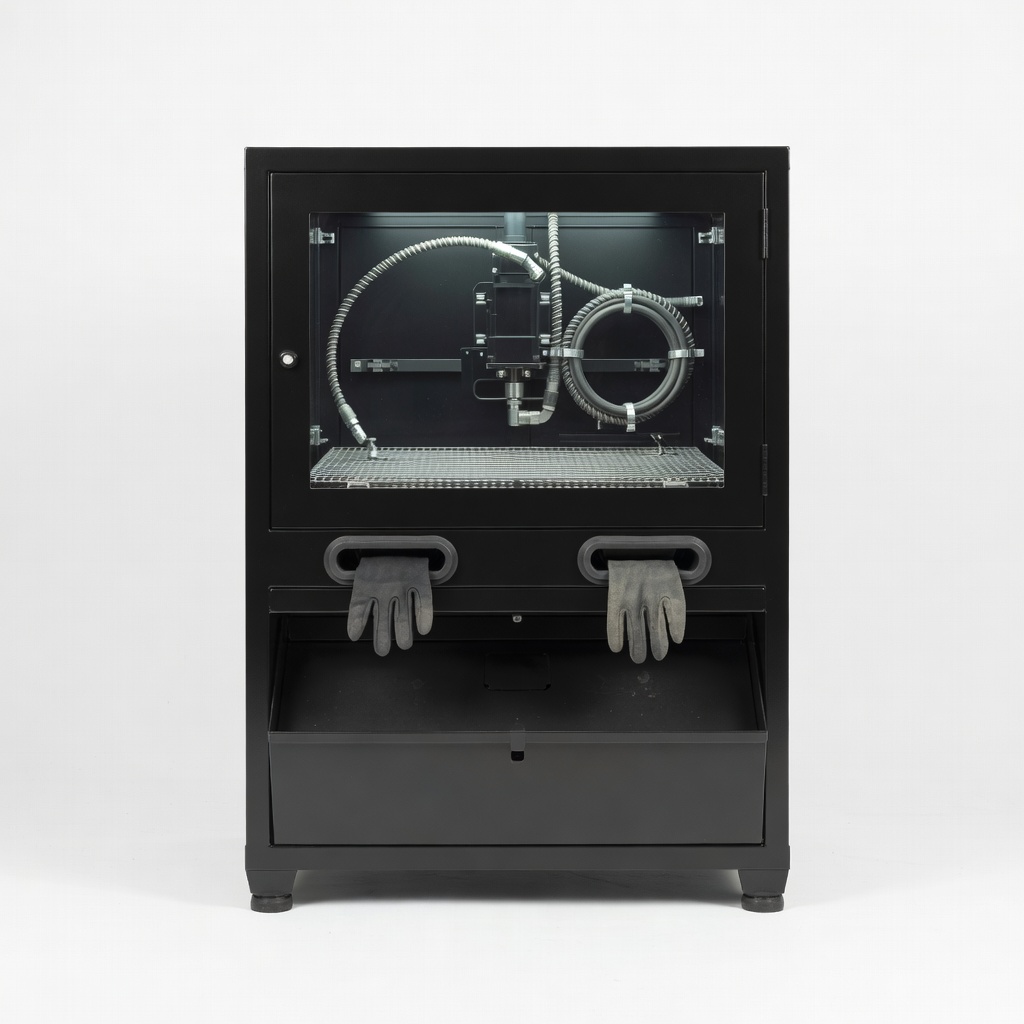
LE LEMATEC Sandblaster Cabinet
Ideal for blasting nuts, bolts, or brackets in garage.
$99.99
LE LEMATEC Sandblaster Cabinet Compact benchtop design with viewing window and gloves perfect for home use on small parts.
Get the App
Better experience on mobile
Master safe, effective abrasive blasting for rust removal and surface prep on small metal parts in your garage with step-by-step guidance.
Restoring small metal parts like brackets, fittings, or hardware often requires removing rust, paint, or scale for a clean finish before painting or plating. Abrasive blasting is a powerful DIY method that delivers professional results at home, but without proper setup, it can create a messy, hazardous workspace filled with flying media.
In this guide, you'll learn how to set up a safe blasting station, choose the right media, and blast parts evenly for optimal adhesion in coatings. Expect intermediate skills like handling air tools and safety protocols. The process takes 1-2 hours per batch, including setup and cleanup.
We'll cover everything from gear to pro tips, ensuring you avoid common pitfalls like media embedment or uneven finishes.
Estimated Time: 1-2 hours per batch (30 min setup, 20-40 min blasting, 20-30 min cleanup) Difficulty: intermediate
Choose a well-ventilated garage area or use a blast cabinet to contain media dust. Lay down drop cloths or plastic sheeting to catch overspray. Don all safety gear: respirator, goggles, gloves, and ear protection before starting—abrasive blasting produces fine silica-like dust hazardous to lungs and eyes.
Why it matters: Proper setup prevents health risks and mess. Expect a dusty environment; visibility drops quickly without enclosure.
Image description: Person in full PPE setting up blast cabinet on workbench with compressor nearby.
💡 Tips:
⚠️ Warnings:
Connect the compressor to the blast cabinet or gun with a 3/8-inch hose. Install a moisture trap inline to remove water vapor, which causes media clumping. Set pressure to 80-100 PSI and test for steady flow—no pulsing.
Why: Dry, consistent air ensures even blasting without fish eyes in future paint. Success: Compressor runs quietly without moisture spitting.
Bleed the trap every 10 minutes during use.
💡 Tips:
⚠️ Warnings:
Fill the cabinet's media hopper with 10-20 lbs of dry #100-120 grit aluminum oxide or glass beads. Sift media first to remove clumps. Seal cabinet and shake to distribute.
Why: Right grit removes material without warping thin parts. Expect smooth flow; media should cascade evenly in sight glass.
Wear gloves—media is sharp.
💡 Tips:
⚠️ Warnings:
Degrease parts with solvent if oily. Mask threads/non-blast areas with tape. Inspect for cracks—discard damaged parts.
Why: Clean base prevents defects. Success: Parts are dry, oil-free, and dull.
💡 Tips:
⚠️ Warnings:
Place parts in cabinet on rotating tray. Use short 5-10 second bursts at 45-degree angle, 4-6 inches away. Move steadily—no dwell spots. Rotate parts for all sides.
Why: Uniform blast profile (matte, clean metal). Expect white dust cloud; parts emerge rust-free and etched.
Monitor media level; refill as needed.
💡 Tips:
⚠️ Warnings:
Remove parts; blow off loose media. Inspect under light for residue. Rinse with water or ultrasonic cleaner, then dry immediately.
Why: Removes embedded media for paint adhesion. Success: Smooth, bare metal ready for primer.
💡 Tips:
⚠️ Warnings:
Vacuum cabinet and floor with HEPA vac. Empty and sift media for reuse. Disinfect gear.
Why: Prevents cross-contamination. Expect clean, ready-for-next-use station.
💡 Tips:
⚠️ Warnings:
Problem: Media not flowing/clogging
Solution: Check moisture trap, sift media, ensure hopper agitator works. Use drier media.
Problem: Weak blast pressure
Solution: Verify compressor CFM/PSI, check for hose leaks, clean nozzle.
Problem: Uneven finish or pitting
Solution: Adjust angle/pressure, use finer grit, clean parts first.
Problem: Excessive dust escape
Solution: Seal cabinet gloves/ports, improve ventilation. If persistent, upgrade cabinet.
Compact benchtop design with viewing window and gloves perfect for home use on small parts.
Best for: Ideal for blasting nuts, bolts, or brackets in garage.
Price Range: $99.99
Aggressive yet controllable grit removes rust/paint without excessive damage on steel.
Best for: Standard for small metal restoration projects.
Price Range: $39.99
Affordable inline trap prevents water in air line, ensuring consistent blasting.
Best for: Essential add-on for any compressor setup.
Price Range: $19.99
Comfortable, reusable with cartridges for silica/dust protection.
Best for: Must-have PPE for safe home blasting.
Price Range: $29.99
Reliable home unit with sufficient CFM for cabinets.
Best for: Budget compressor for DIY blasting sessions.
Price Range: $199.99
Ideal for blasting nuts, bolts, or brackets in garage.
LE LEMATEC Sandblaster Cabinet Compact benchtop design with viewing window and gloves perfect for home use on small parts.
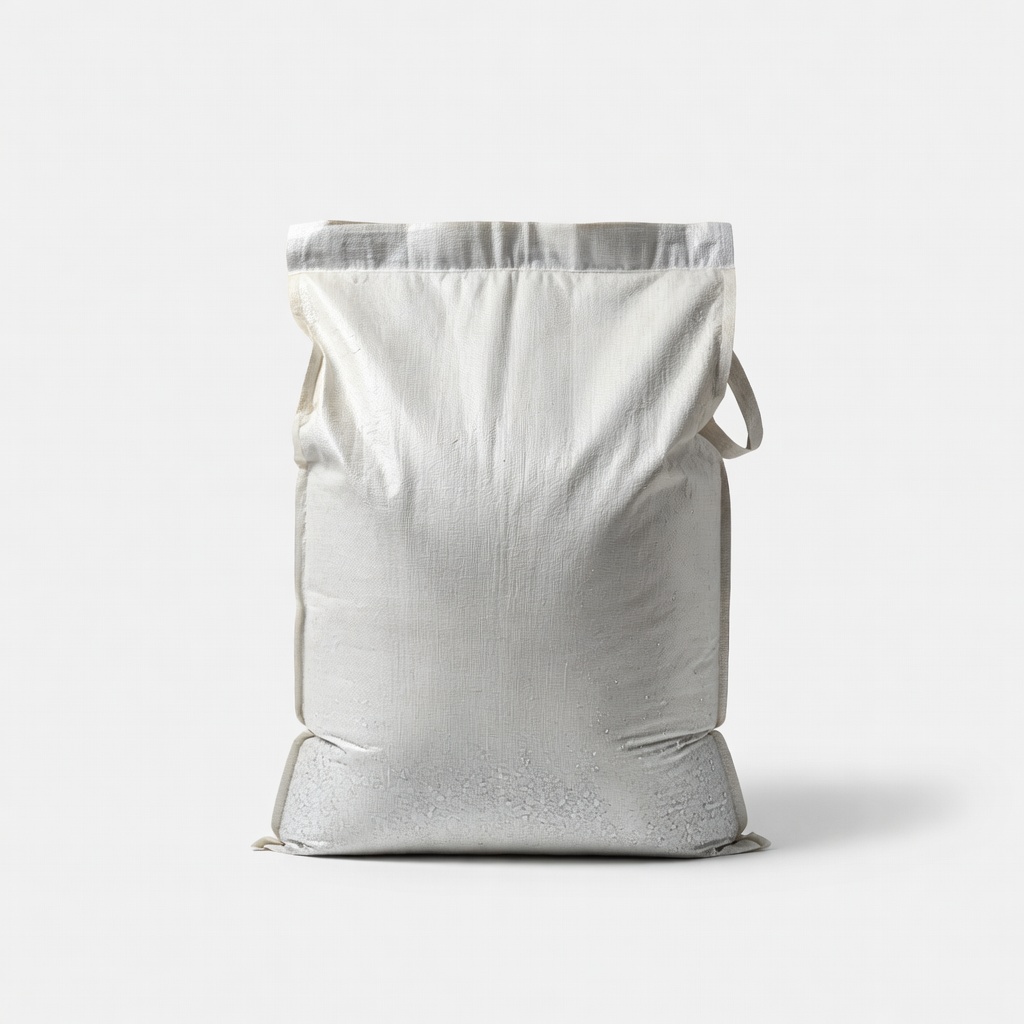
Standard for small metal restoration projects.
Aluminum Oxide Abrasive Blast Media 100 Grit (50 lbs) Aggressive yet controllable grit removes rust/paint without excessive damage on steel.
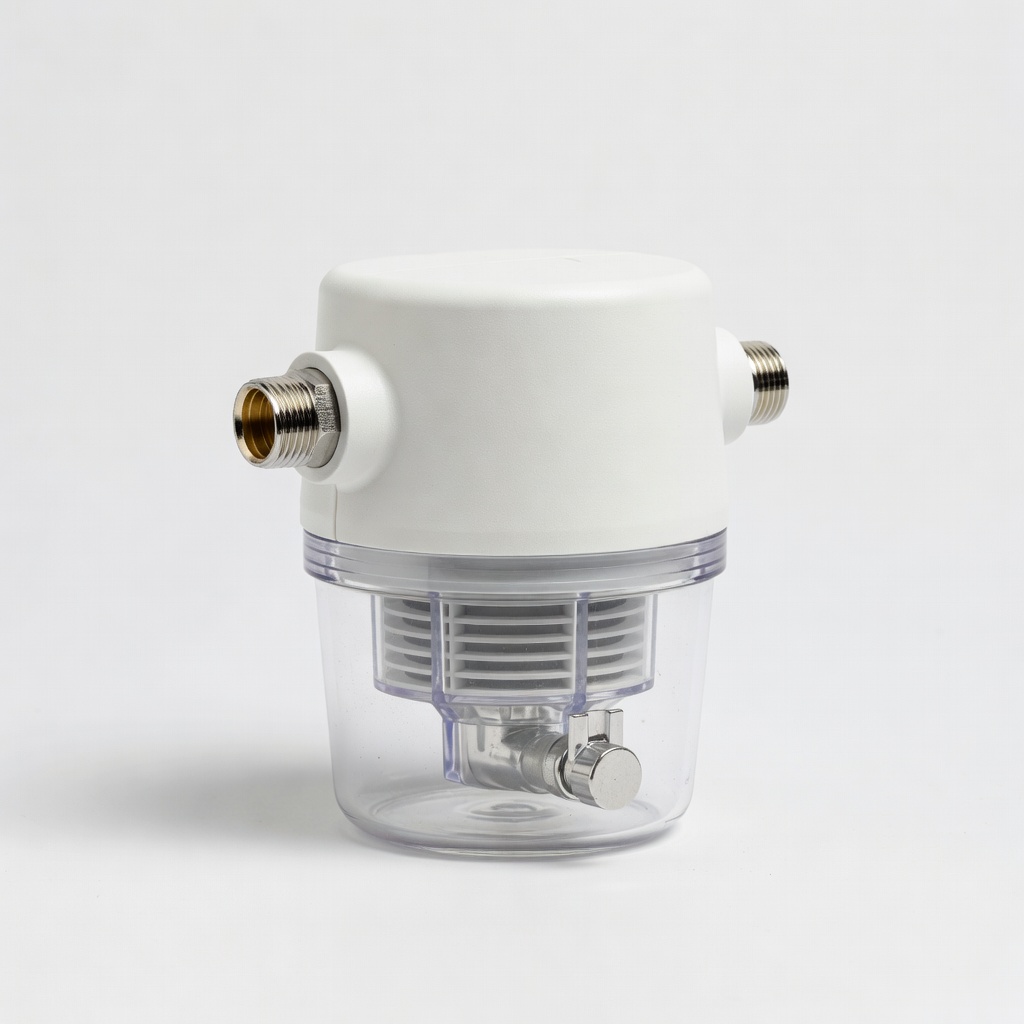
Essential add-on for any compressor setup.
Neiko 31116A Moisture Separator Affordable inline trap prevents water in air line, ensuring consistent blasting.
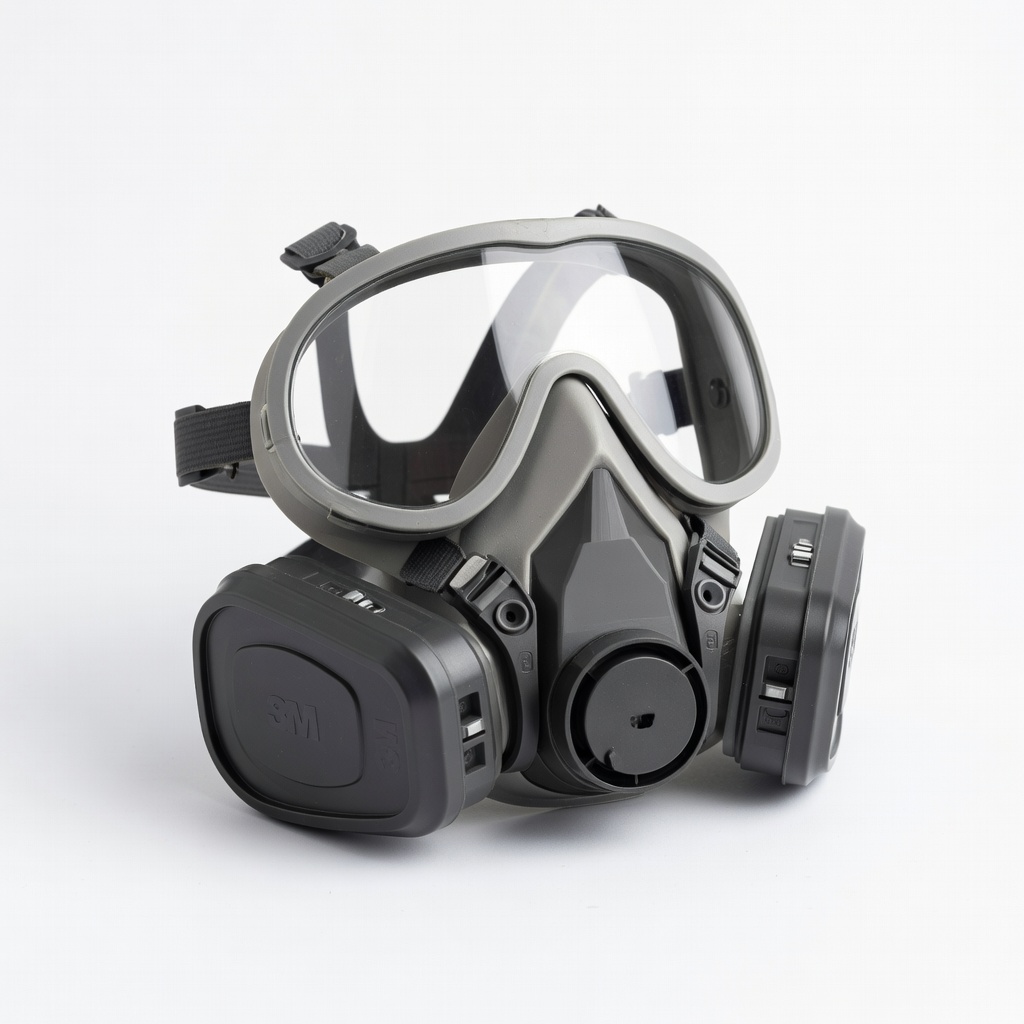
Must-have PPE for safe home blasting.
3M Full Facepiece Respirator 6900 Comfortable, reusable with cartridges for silica/dust protection.
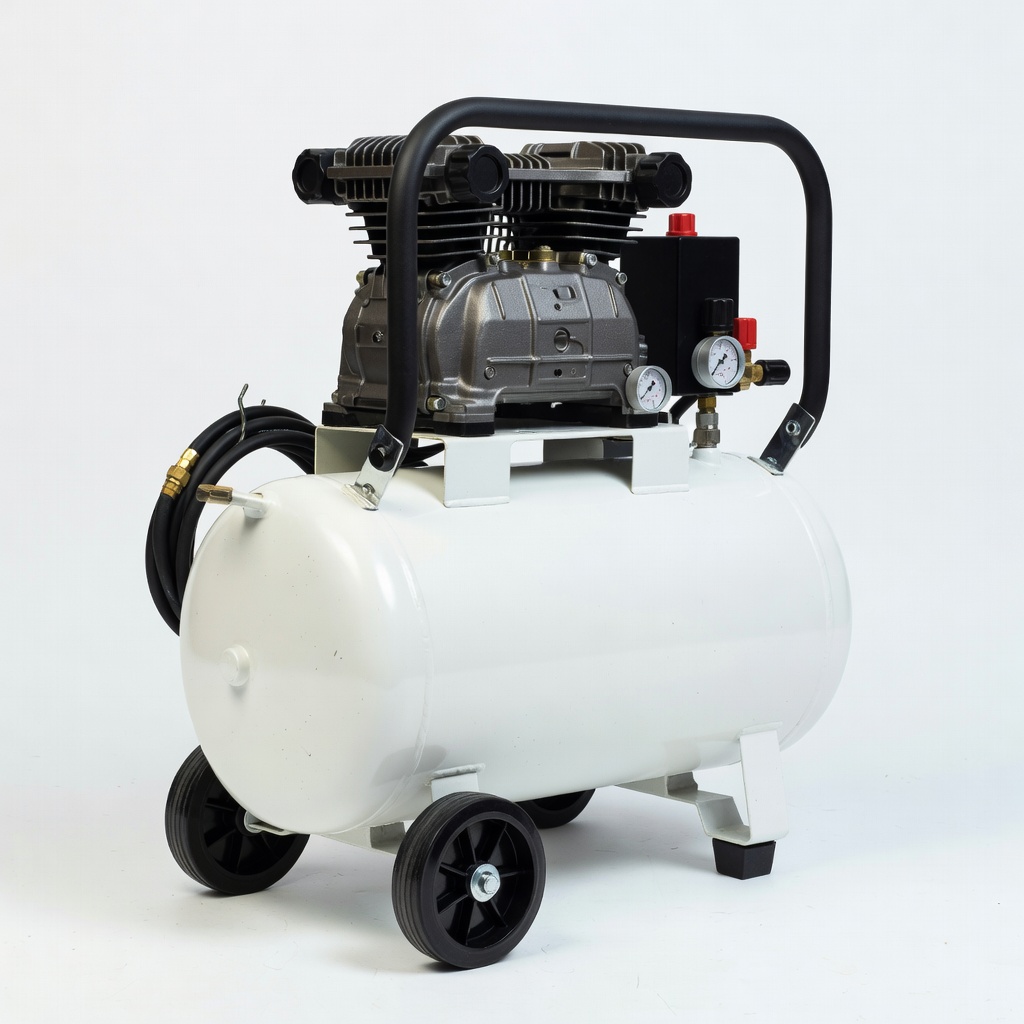
Budget compressor for DIY blasting sessions.
Campbell Hausfeld 25-Gallon Air Compressor Reliable home unit with sufficient CFM for cabinets.