
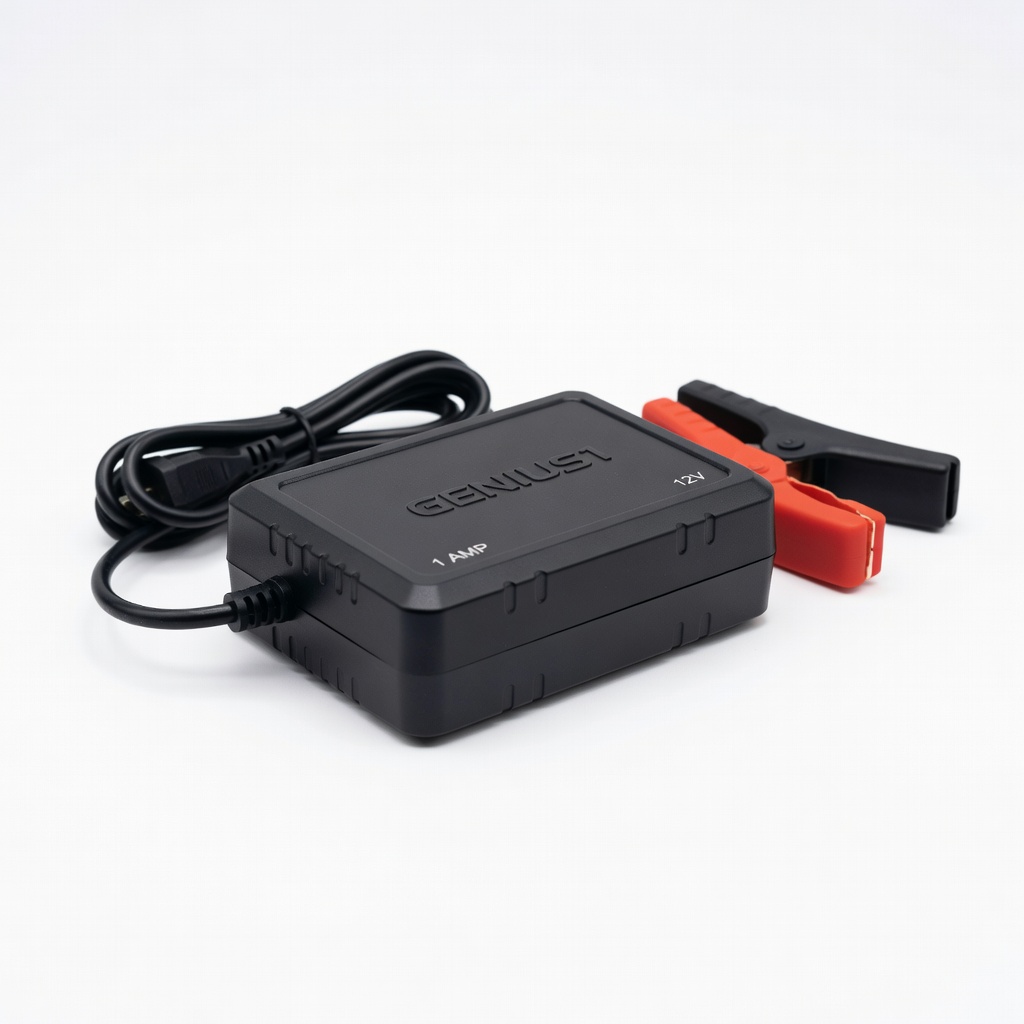
NOCO GENIUS1 Battery Maintainer
Plug-and-forget for monthly/off-season maintenance.
$29.95
NOCO GENIUS1 Battery Maintainer Smart 6V/12V charger desulfates and maintains full charge automatically during storage.
Get the App
Better experience on mobile
Extend your 6V golf cart battery life with simple storage steps that prevent damage and sulfation for worry-free off-season use.
Golf cart owners dread discovering dead batteries after winter storage, leading to costly replacements. Proper storage of 6V lead-acid batteries (common in 36V or 48V banks) prevents sulfation, corrosion, and freezing, potentially adding years to their lifespan.
In this beginner-friendly guide, you'll learn safe, step-by-step methods to prepare, store, and maintain your batteries. Expect 45-60 minutes for initial setup, plus 10 minutes monthly checks. No advanced tools needed—just follow along for reliable results.
We'll cover cleaning, charging, ideal storage conditions, and maintenance to keep your batteries at peak performance.
Estimated Time: 45-60 minutes initial setup + 10 minutes monthly Difficulty: beginner
Choose a well-ventilated garage or shed area away from flames or sparks. Lay down cardboard or a tarp to catch spills. Wear gloves and safety glasses to protect against acid splashes.
This step ensures safety since lead-acid batteries contain sulfuric acid. Expect a clean, organized space ready for handling heavy batteries (30-60 lbs each).
💡 Tips:
⚠️ Warnings:
Turn off the golf cart. Starting from the negative (-) terminals, disconnect cables using a wrench. Label cables with tape for reconnection. Carefully lift batteries out (use a buddy for safety) and place on your workspace.
Disconnecting prevents short circuits and drains. Success: All batteries out and cables labeled—no sparks or acid leaks.
💡 Tips:
⚠️ Warnings:
Mix baking soda with water (1 cup soda per gallon) and scrub cases with a brush to neutralize acid residue. Rinse with water, dry thoroughly. Clean terminals with a terminal brush, removing corrosion (white powder).
Cleaning prevents corrosion spread and ensures good connections later. Expect sparkling clean batteries—no white buildup.
💡 Tips:
⚠️ Warnings:
Check for cracks, bulging cases, or low electrolyte levels (flooded batteries). Top off with distilled water if needed. Test voltage with multimeter—full charge is 6.3-6.4V per battery.
Inspection catches issues early. Success: No visible damage, voltage noted for baseline.
💡 Tips:
⚠️ Warnings:
Connect to a 6V-compatible smart charger. Charge until it indicates full (usually 8-12 hours). Monitor to avoid overcharge.
Full charge (100% SOC) prevents sulfation during storage. Expect green light or 'full' on charger.
💡 Tips:
⚠️ Warnings:
Spray or apply dielectric grease/protector to clean terminals and cable ends. Reinstall any vent caps securely.
Protection prevents oxidation. Success: Shiny, protected terminals.
💡 Tips:
Place in a cool (50-77°F), dry, ventilated spot off concrete (use wood shelf). Elevate in plastic trays. Keep disconnected.
Ideal conditions minimize self-discharge. Expect stable storage for 3-12 months.
💡 Tips:
⚠️ Warnings:
Check voltage monthly—if below 6.2V, recharge fully. Clean any dust. Log readings.
Maintenance keeps them ready. Success: Consistent full voltage over time.
💡 Tips:
Problem: Battery won't hold charge after storage
Solution: Test load with charger; if <6.2V after 24h rest, desulfate or replace. Use maintainer longer.
Problem: Corrosion returns quickly
Solution: Reclean and apply fresh protector; check for spills causing it.
Problem: Voltage drops fast monthly
Solution: Move to cooler spot; test individual cells if flooded. Replace weak one.
Problem: Acid leaks during handling
Solution: Neutralize immediately with baking soda; inspect case for cracks.
Smart 6V/12V charger desulfates and maintains full charge automatically during storage.
Best for: Plug-and-forget for monthly/off-season maintenance.
Price Range: $29.95
Forms a protective film against corrosion on terminals for long-term storage.
Best for: Apply after cleaning for easy reconnection.
Price Range: $8-12
Accurate voltage testing for beginners to monitor SOC easily.
Best for: Check before/after charging and monthly.
Price Range: $25-35
Alternative to spray for terminals; waterproof and conductive-safe.
Best for: Brush on for heavy-duty protection.
Price Range: $5-10
Durable, dry storage container to elevate and protect batteries.
Best for: Stack batteries inside on wood for off-floor storage.
Price Range: $15-20
Plug-and-forget for monthly/off-season maintenance.
NOCO GENIUS1 Battery Maintainer Smart 6V/12V charger desulfates and maintains full charge automatically during storage.

Apply after cleaning for easy reconnection.
CRC Battery Terminal Protector Spray Forms a protective film against corrosion on terminals for long-term storage.
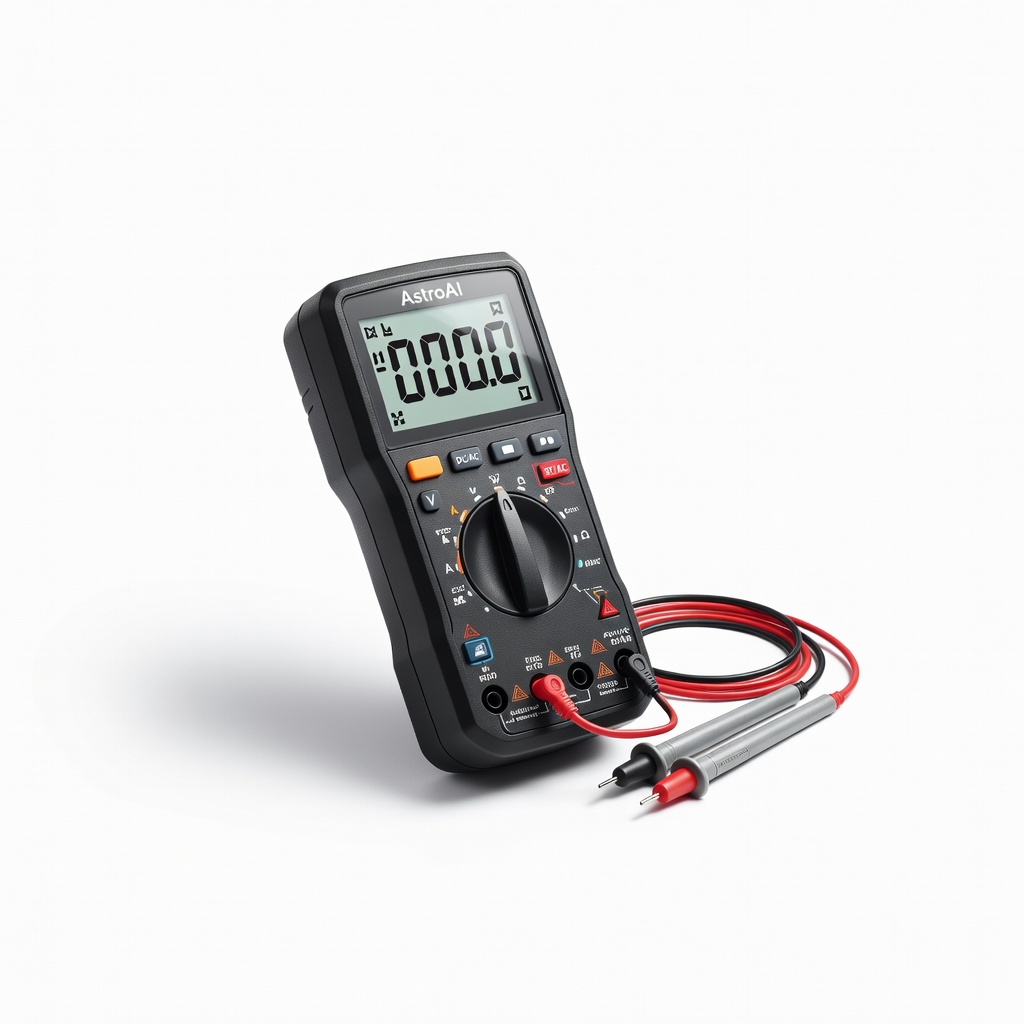
Check before/after charging and monthly.
AstroAI Digital Multimeter Accurate voltage testing for beginners to monitor SOC easily.

Brush on for heavy-duty protection.
Permatex 22058 Dielectric Tune-Up Grease Alternative to spray for terminals; waterproof and conductive-safe.

Stack batteries inside on wood for off-floor storage.
Rubbermaid Roughneck 18-Gallon Tote Durable, dry storage container to elevate and protect batteries.