
Renogy 100W 12V Monocrystalline Solar Panel
Daily charging for RVs or boats; outputs 5-6A peak.
$90-$110
Renogy 100W 12V Monocrystalline Solar Panel High efficiency (22%) with durable frame, perfect starter size for 12V batteries.
Get the App
Better experience on mobile
Master beginner-friendly steps to set up a solar charging system for your 12V batteries and enjoy reliable off-grid power.
Tired of dead batteries draining your RV, boat, or off-grid setup? Solar panels offer a clean, free way to keep your 12V batteries topped up, saving money on fuel and generators. Whether you're camping, boating, or powering remote devices, this guide solves the common frustration of unreliable charging.
You'll learn how to select components, wire a safe system, and monitor charging for optimal performance. No prior experience needed—we break it down into simple steps using affordable, beginner-proof gear. Expect a fully functional setup in under 2 hours.
This process involves a solar panel, charge controller, and your 12V battery. It's scalable for small or larger needs, with tips to avoid pitfalls like overcharging.
Estimated Time: 1-2 hours Difficulty: beginner
Start by matching your solar panel wattage to your battery needs. For a standard 12V deep-cycle battery, a 100W panel generates 5-6A in good sun—perfect for daily top-ups.
Calculate: Battery capacity (Ah) ÷ daily use hours = required amps. Why? Undersized panels charge slowly; oversized ones waste money but are safer for beginners.
Success: Panel label shows 12V VOC (open circuit voltage) under 22V for safety.
💡 Tips:
⚠️ Warnings:
Safety first: Work in a dry, well-lit area. Disconnect any loads from the battery. Wear gloves to avoid shorts.
Why it matters: Solar systems involve DC electricity, which can spark or overheat if mishandled. Check battery terminals are clean and dry.
Expect: Zero voltage on multimeter across battery terminals if fully disconnected.
💡 Tips:
⚠️ Warnings:
Place the panel in direct sunlight, tilted at your latitude angle (e.g., 30-45° in most US areas) facing south. Secure with brackets or stands.
Why: Maximizes output—flat panels lose 20-30% efficiency.
Success: Panel gets hot to touch in sun; multimeter shows 17-20V open circuit.
💡 Tips:
Use provided MC4 connectors or solder/crimp 10-12 AWG wire. Positive (usually red-marked) to PV+, negative to PV- on controller.
Why the controller? Regulates voltage/amperage to prevent overcharge.
Expect: Controller LEDs light up; display shows input voltage matching panel.
💡 Tips:
⚠️ Warnings:
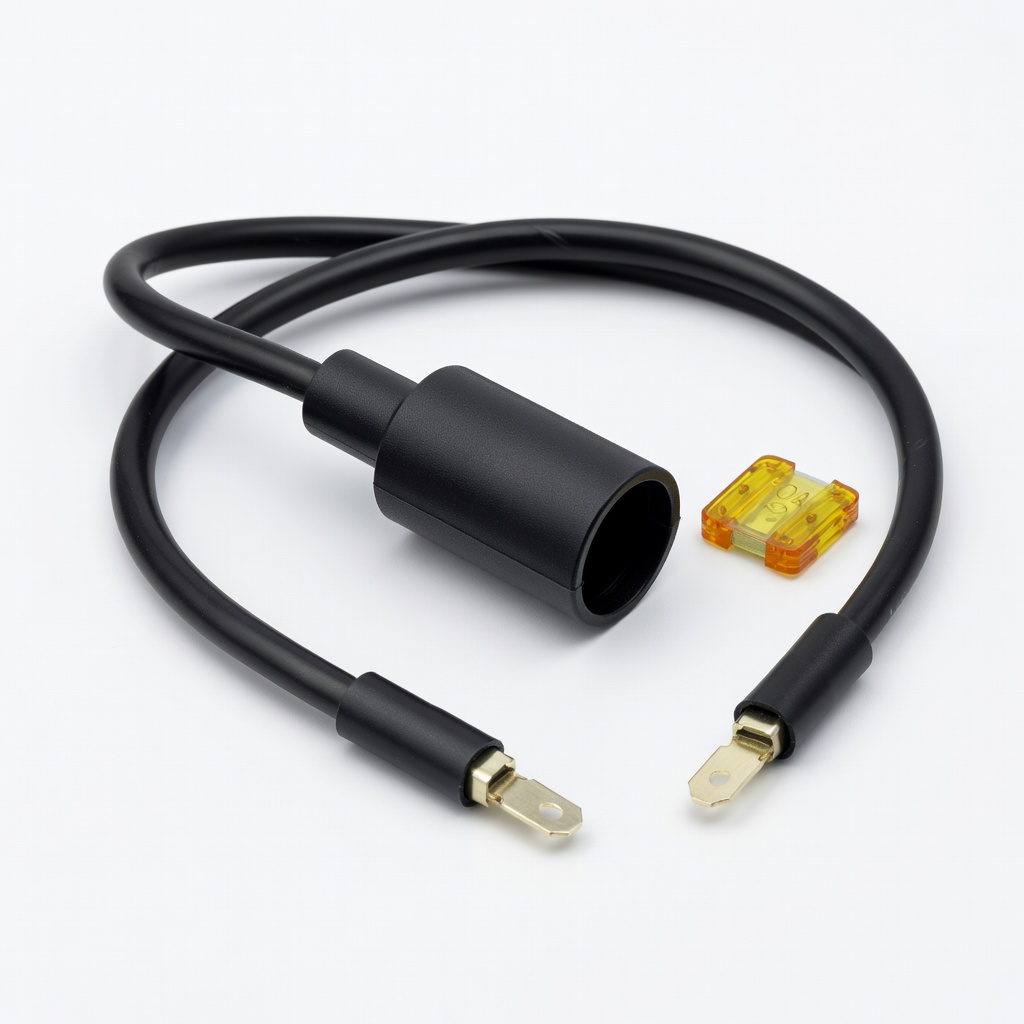
Add a 20-30A fuse on the positive line from panel to controller (within 12 inches) and battery to controller.
Why: Prevents fires from shorts. Fuse rating = controller max amps.
Success: Fuse clicks in securely; no heat during test.
💡 Tips:
Battery first: Connect controller battery + to battery +, then -. Controller powers on.
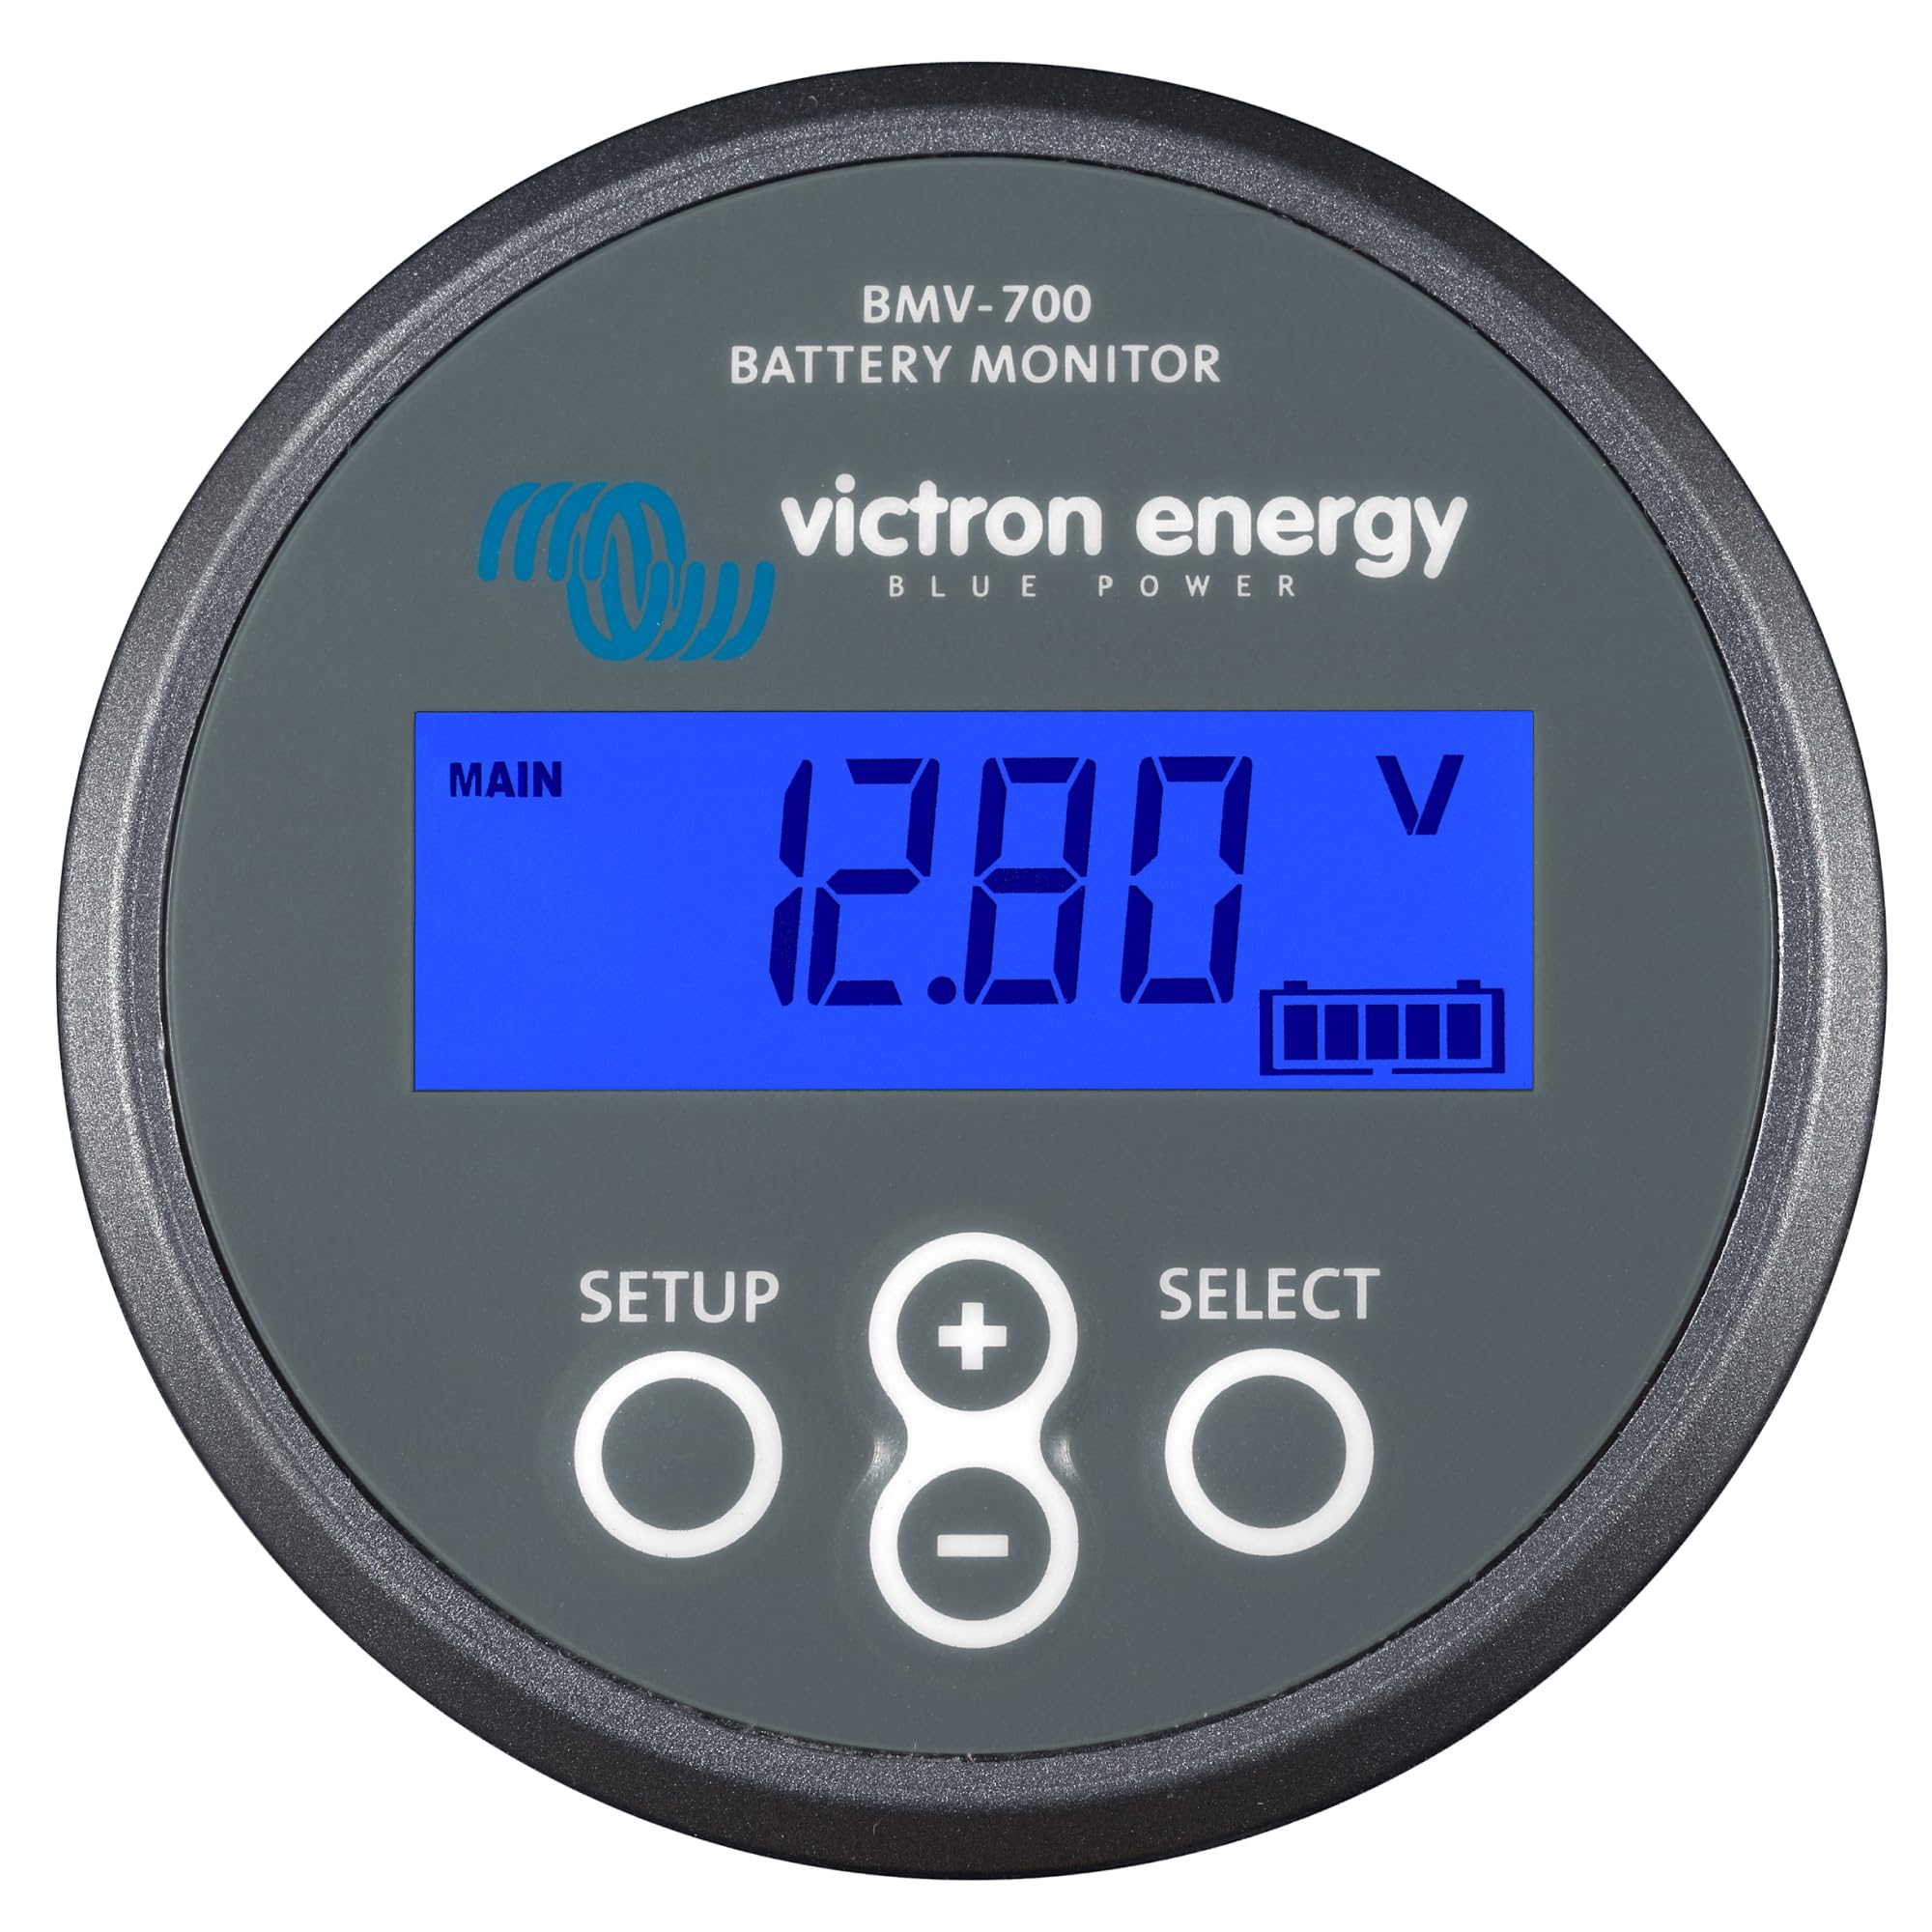
Why this order? Avoids sparks. Expect controller to show battery voltage (12.0-12.8V good).
Full success: Charging icon appears; amps flow (2-5A in sun).
💡 Tips:
⚠️ Warnings:
Leave in sun 1 hour. Multimeter: Battery rises 0.1-0.5V. Controller shows charge stage (bulk → float).
Why monitor? Ensures 13.2-14.4V bulk charge.
Success: Battery at 100% after full day; no alarms.
💡 Tips:
Check connections monthly, clean panel, equalize lead-acid batteries quarterly per controller.
Why: Extends life 2-3x.
💡 Tips:
Problem: No charging (0A on controller)
Solution: Check connections, polarity, fuse blown. Test panel voltage open-circuit. Clean contacts.
Problem: Battery over 14.6V
Solution: Faulty controller—replace. Or high-temp disconnect active; cool down.
Problem: Low output (< expected amps)
Solution: Dirty/shaded panel, loose wires, thin cables. Tilt better or upgrade wire gauge.
Problem: Controller alarms
Solution: Read manual codes: Often low battery or reverse polarity. Reset by disconnecting 5 min.
High efficiency (22%) with durable frame, perfect starter size for 12V batteries.
Best for: Daily charging for RVs or boats; outputs 5-6A peak.
Price Range: $90-$110
Affordable, reliable PWM with LCD display for beginners to monitor volts/amps.
Best for: Basic setups under 400W; prevents overcharge automatically.
Price Range: $20-$25
Bluetooth app monitoring, 30% more efficient than PWM in real-world conditions.
Best for: Shaded or variable sun; pairs with 100-200W panels.
Price Range: $65-$75
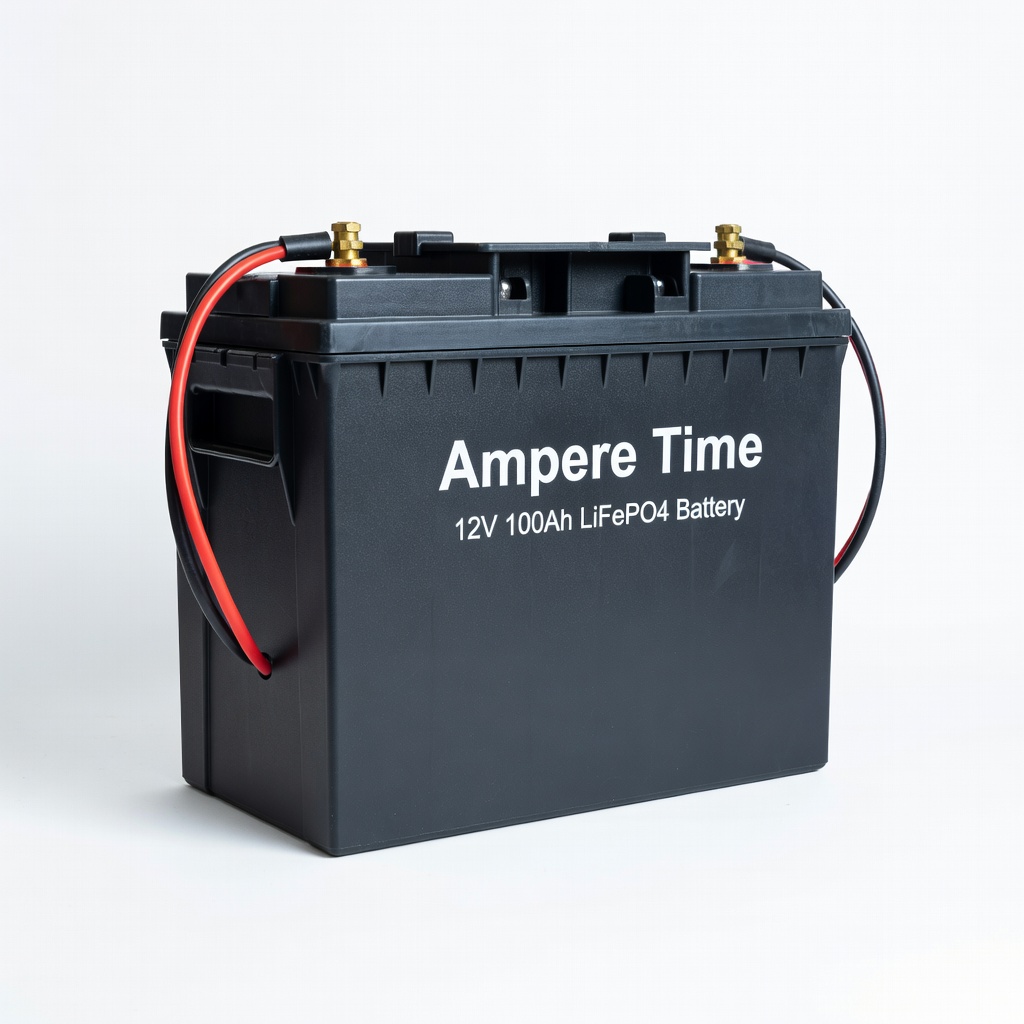
Lightweight, 4000+ cycles, built-in BMS for safe solar charging.
Best for: Upgrade from lead-acid for longer life in off-grid.
Price Range: $220-$260
Essential safety; weatherproof holders for DC solar lines.
Best for: Protect every positive wire run.
Price Range: $10-$15
Daily charging for RVs or boats; outputs 5-6A peak.
Renogy 100W 12V Monocrystalline Solar Panel High efficiency (22%) with durable frame, perfect starter size for 12V batteries.

Basic setups under 400W; prevents overcharge automatically.
Renogy Wanderer 30A PWM Charge Controller Affordable, reliable PWM with LCD display for beginners to monitor volts/amps.
Shaded or variable sun; pairs with 100-200W panels.
Victron Energy SmartSolar MPPT 75/15 Bluetooth app monitoring, 30% more efficient than PWM in real-world conditions.
Upgrade from lead-acid for longer life in off-grid.
Ampere Time 12V 100Ah LiFePO4 Battery Lightweight, 4000+ cycles, built-in BMS for safe solar charging.
Protect every positive wire run.
Inline Fuse Kit 30A Essential safety; weatherproof holders for DC solar lines.