Creality Sprite Extruder Pro Kit
Budget-conscious users printing PLA/TPU up to 300mm/s.
$49.99
Creality Sprite Extruder Pro Kit Drop-in direct drive with dual gears for easy upgrade and reliable performance.
Get the App
Better experience on mobile
Unlock reliable prints, faster speeds, and flexible filament support with top extruder upgrades tailored for your Ender 3 V2.
The stock extruder on the Ender 3 V2 is reliable for basic PLA prints but struggles with clogs, poor retraction, and flexible filaments like TPU. Upgrading solves these pain points, enabling consistent high-quality prints at higher speeds.
In this guide, you'll learn the key factors for choosing an extruder upgrade, detailed comparisons of the best options, and installation tips. Whether you're battling stringing or want direct drive performance, we'll break it down for advanced users.
Expect 20-30 minutes to read and decide, plus 1-3 hours for installation depending on your experience. No soldering required for most kits.
Estimated Time: 20-30 minutes to read and choose; 1-3 hours per install Difficulty: advanced
Start by identifying why you need an upgrade. The Ender 3 V2's Bowden extruder pushes filament through a 400-500mm PTFE tube, causing compression, inconsistent extrusion, and frequent clogs with abrasive or flexible materials.
Run test prints like retraction towers or flexi-monkey in Cura. Note issues: stringing, under-extrusion, or grinding gears. This confirms if direct drive (motor near hotend) or all-metal upgrades are needed.
Why it matters: Matches upgrade to your workflow—speed demons need low-inertia options; TPU users prioritize grip.
💡 Tips:
⚠️ Warnings:
Bowden setups (stock) are lightweight but lose precision over distance. Direct drive mounts the motor at the hotend, reducing latency for fast retractions (think bow and arrow vs slingshot analogy).
Hybrids like BMG clones use dual gears for grip. For Ender 3 V2, direct drive shines for enclosures or bowden conversions.
Expect: 20-50% better retraction; trade-off is added carriage weight (mitigate with lightweight hotends).
💡 Tips:
Creality's Sprite Pro (~$50) is a drop-in direct drive kit with dual-gear drive and integrated hotend. Easy install under 1 hour; supports 300°C.
Pros: Affordable, reliable for PLA/ABS/TPU. Cons: Heavier (210g), plastic gears wear faster.
Ideal for first-timers upgrading from stock.
💡 Tips:
⚠️ Warnings:
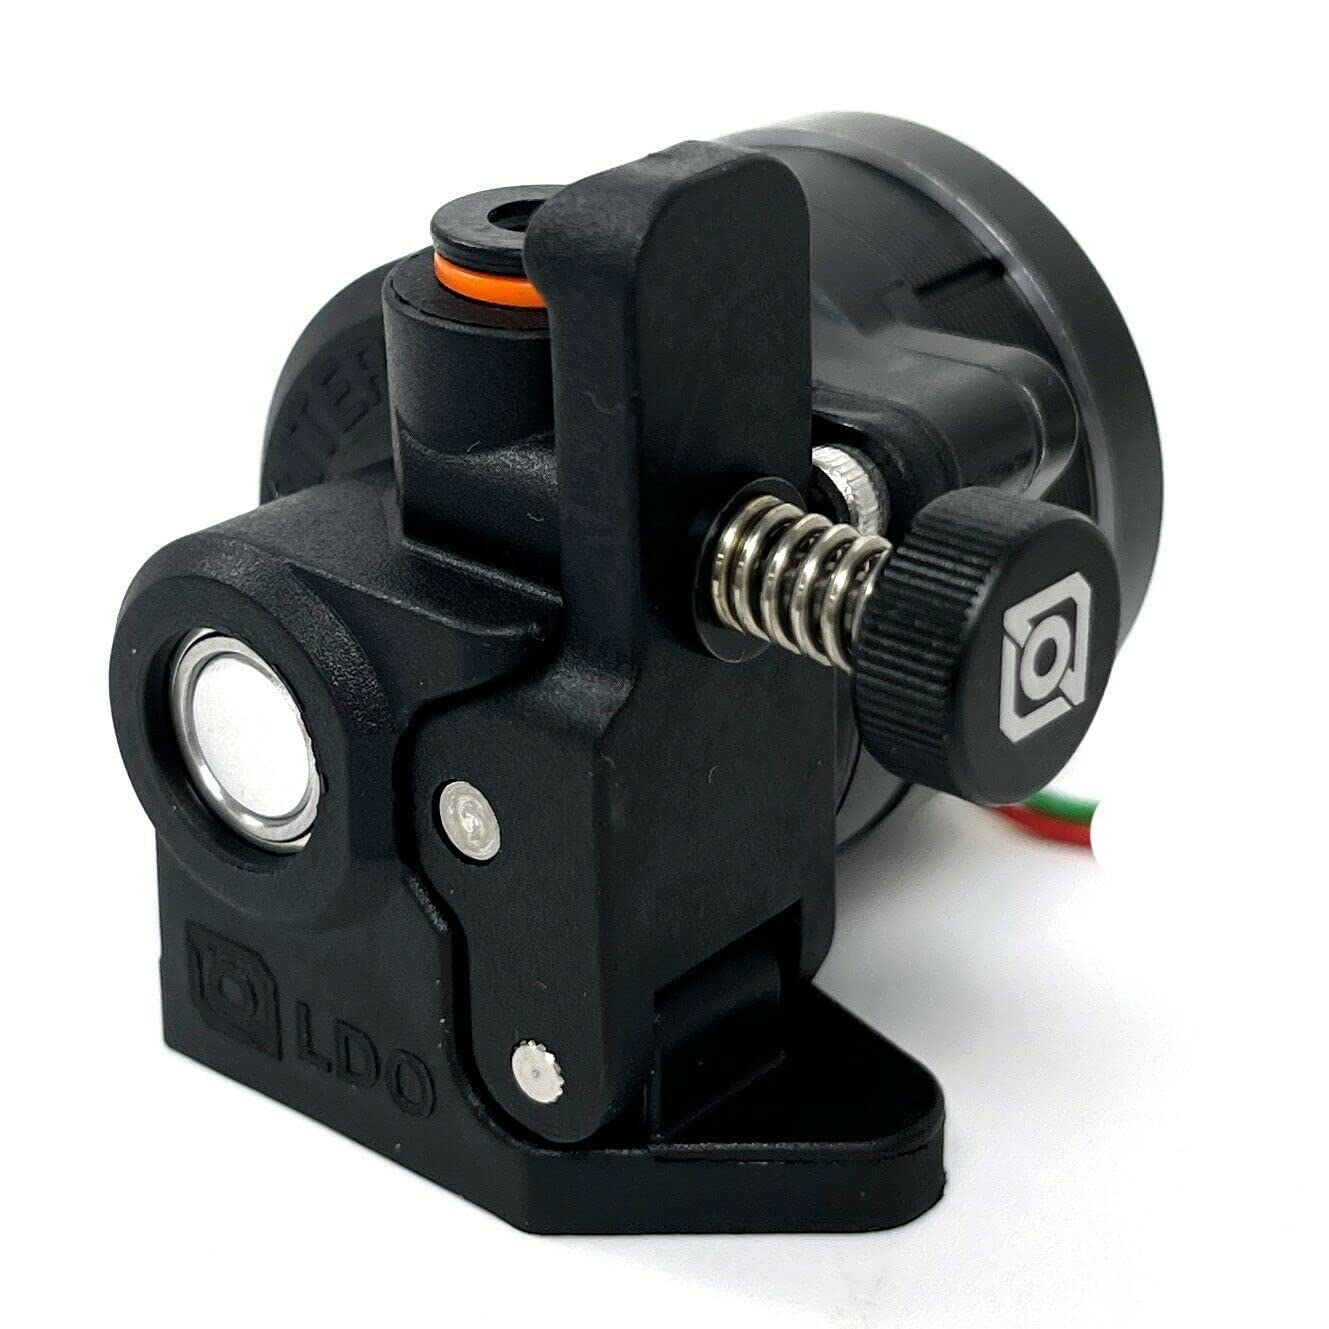
The Orbiter 2.0 ($50) features a 5:1 gear ratio, titanium drive gears, and modular design. Exceptional grip for glow-in-dark or carbon fiber filaments.
Why superior: Low backlash, 50N force. Installs in 2 hours; compatible with V6/Revo hotends.
Performance: Retraction <0.5mm stringing-free.
💡 Tips:
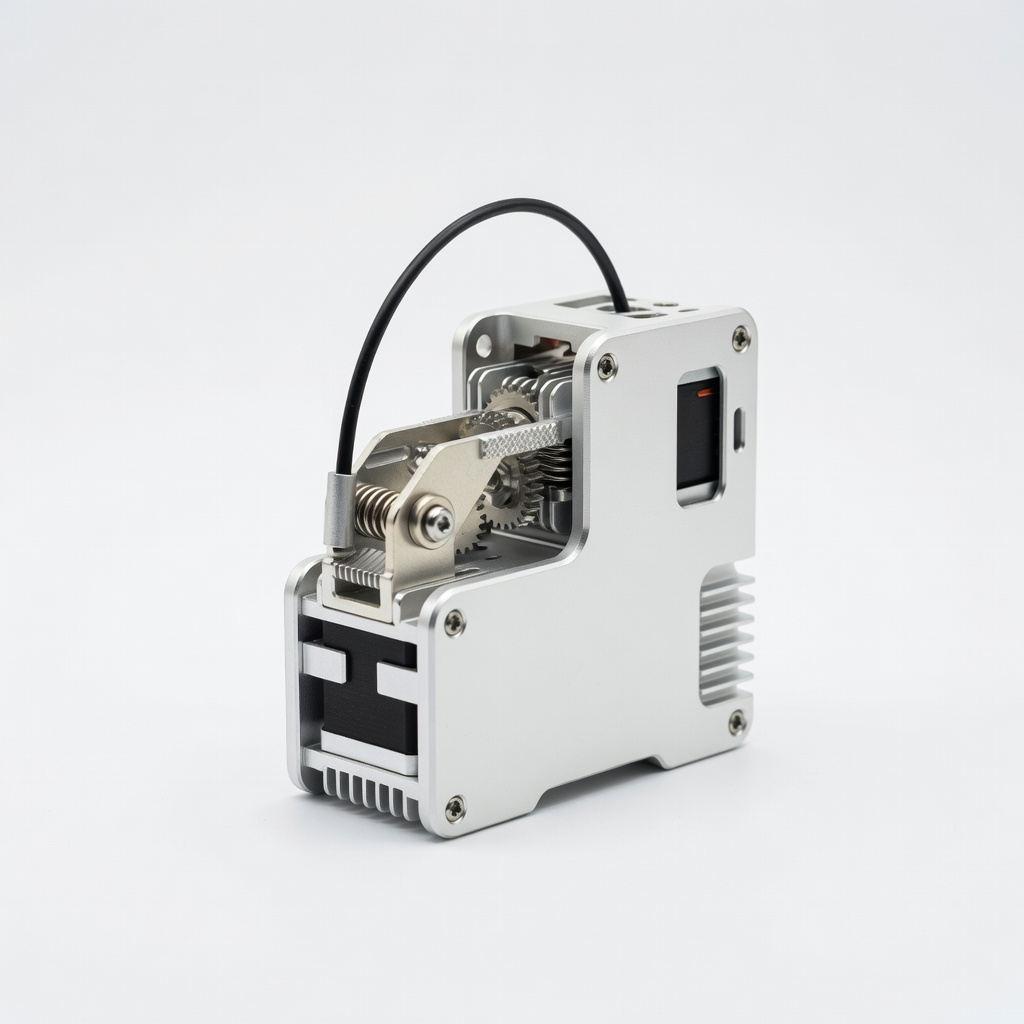
Bondtech's BMG+ ($100+) dual-drive system (12:1 ratio) crushes filaments without grinding. Swedish engineering for 500°C+ with CHT hotend.
Standout: Industrial reliability, minimal wear. Perfect for production.
Drawback: Pricey, needs precise alignment.
💡 Tips:
⚠️ Warnings:
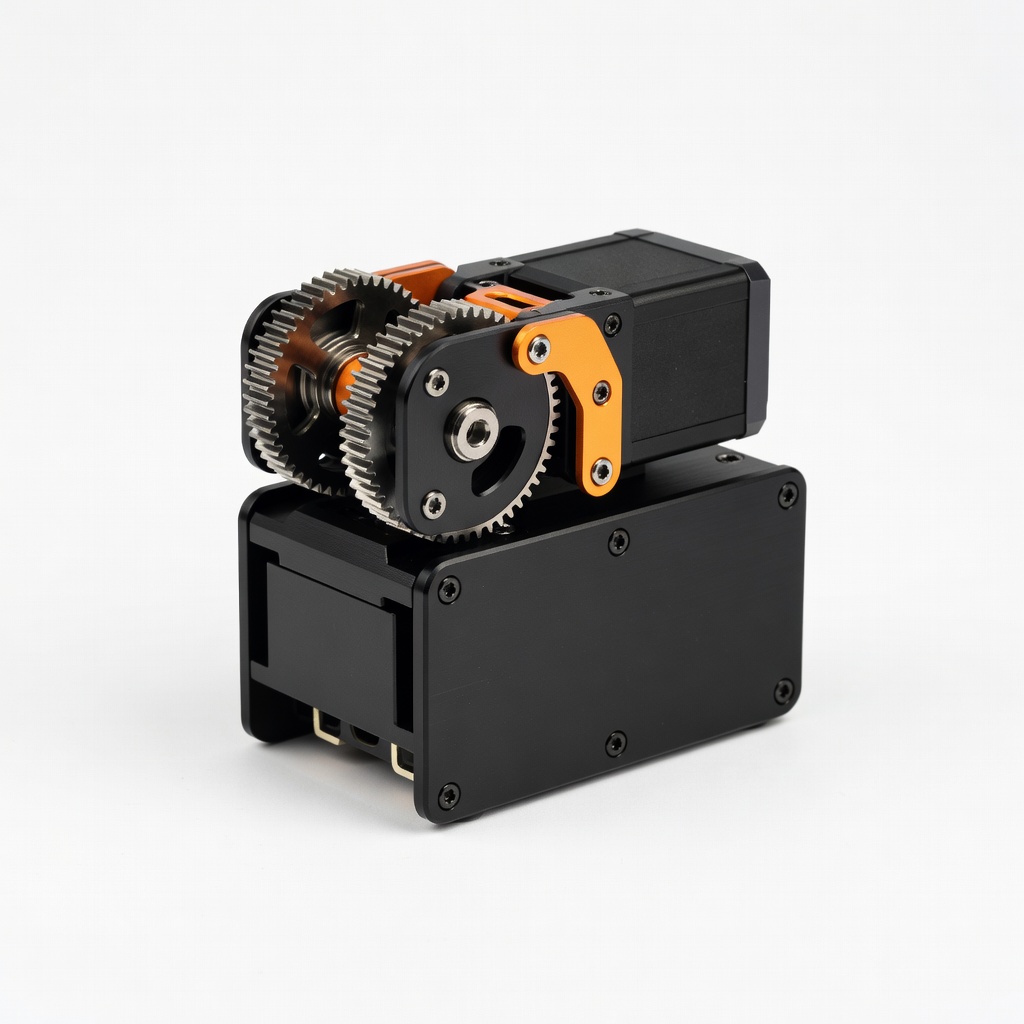
Pegasus Mini ($60) is ultralight (120g) with 3:1 gears, optimized for high-speed Klipper users. Filament sensor included.
Edge: Balances weight/speed; prints at 200mm/s.
Test via community benchmarks on Reddit/Printables.
💡 Tips:
Rank by needs: Budget/reliability = Sprite; Grip/speed = Orbiter; Pro = Bondtech. Check compatibility (Ender 3 V2 Neo fits too).
Download kit-specific STL mounts if needed (e.g., from Printables). Backup Marlin firmware.
💡 Tips:
⚠️ Warnings:
After install: PID tune hotend, e-steps calibration (M92 E424.3; M500), extrusion multiplier test. Run retraction tower.
Why: Ensures accuracy. Expect 10-20% speed gains.
💡 Tips:
Problem: Clogs persist after upgrade
Solution: Cold pull with nylon filament; check heater block alignment. Verify 280°C+ for cleaning.
Problem: Grinding noises
Solution: Reduce retraction speed to 30mm/s; tension gears to 1-2N force (paper test).
Problem: Inconsistent extrusion
Solution: Re-run e-steps: Extrude 100mm, measure, adjust M92.
Problem: Carriage too heavy, layer shifts
Solution: Add linear rails or use input shaper in Klipper.
Drop-in direct drive with dual gears for easy upgrade and reliable performance.
Best for: Budget-conscious users printing PLA/TPU up to 300mm/s.
Price Range: $49.99
Superior titanium gears and modularity for high-grip, low-backlash extrusion.
Best for: Advanced users tackling abrasive filaments at high speeds.
Price Range: $49.99
Dual-drive industrial strength minimizes wear for production-level printing.
Best for: Pro setups needing max reliability with exotics.
Price Range: $99.99-$120
Lightweight design optimized for speed and Klipper integration.
Best for: High-speed printing enthusiasts.
Price Range: $59.99
Budget-conscious users printing PLA/TPU up to 300mm/s.
Creality Sprite Extruder Pro Kit Drop-in direct drive with dual gears for easy upgrade and reliable performance.
Advanced users tackling abrasive filaments at high speeds.
BIQU Orbiter 2.0 Extruder Superior titanium gears and modularity for high-grip, low-backlash extrusion.
Pro setups needing max reliability with exotics.
Bondtech BMG+ Extruder Dual-drive industrial strength minimizes wear for production-level printing.
High-speed printing enthusiasts.
VzboT Pegasus Mini Extruder Lightweight design optimized for speed and Klipper integration.