Struggling with scrapbook pages that curl, lift, or fall apart? Adhesive dots are a game-changer for beginners, offering precise, no-mess bonding without the hassle of liquid glue.
In this guide, you'll learn what makes adhesive dots ideal for scrapbooking, key features to evaluate, top recommendations, and how to use them effectively. By the end, you'll confidently choose and apply dots that keep your memories secure for years.
Expect a quick read (under 30 minutes) with simple explanations—no prior experience needed.
▸What You'll Need
- •Scrapbook paper or cardstock (for testing)
- •Photos or embellishments
- •Scissors or craft knife
- •Optional: Tweezers for precise placement
Estimated Time: 20-30 minutes
Difficulty: beginner
▸Step-by-Step Instructions
Step 1: Understand What Adhesive Dots Are
Adhesive dots are small, pre-cut circles or squares of double-sided adhesive, like tiny stickers for paper. Unlike glue sticks or liquid glue, they provide instant, clean bonds without drying time or mess.
Think of them as the 'Velcro' of scrapbooking—repositionable options exist, but most are permanent for lasting hold. They're perfect for beginners because they're forgiving and precise. Expect dots in rolls, sheets, or dispensers, sized from 1/8-inch (tiny embellishments) to 1/2-inch (photos).
💡 Tips:
- •Start with medium sizes (1/4-inch) for versatility.
Step 2: Why Adhesive Dots Beat Other Glues for Scrapbooking
Scrapbooking demands acid-free adhesives to prevent yellowing or damage over time. Dots excel here: they're archival-safe, won't wrinkle paper, and allow layering without bulk.
Compare to glue sticks (which dry out) or tape runners (which jam)—dots offer superior hold on photos, vellum, and foil. Beginners love the no-squeeze control, reducing bubbles or overflow. You'll see pages lay flat and professional.
⚠️ Warnings:
- •Avoid cheap dots; they may not be acid-free.
Step 3: Key Features to Evaluate
Look for acid-free and lignin-free formulas for longevity. Check dot size, thickness (standard vs. 3D foam for dimension), and tack level (removable vs. permanent). Dispenser type matters—refillable pens for precision, rolls for bulk.
Thickness adds pop to embellishments; permanent tack ensures no peeling. For scrapbooking, prioritize clear, non-yellowing dots that work on glossy photos.
💡 Tips:
- •Test on scrap paper first for compatibility.
Step 4: Compare Popular Types
Permanent dots (e.g., Zots) for photos; removable (e.g., Scotch Restick) for layouts. Foam dots lift elements; flat dots keep pages slim. Rolls suit high-volume use; dot pens offer tip precision like a pen.
Beginners: Start with multi-packs covering sizes. Expect 200-500 dots per pack, lasting months.
Step 5: Top Picks and Why They Shine
Based on user reviews and tests, Zots offer unbeatable hold; Glue Dots are versatile for 3D. See recommendations below for specifics. These stand out for ease, strength, and value in scrapbooking.
💡 Tips:
- •Buy sampler packs to try multiple.
Step 6: How to Apply Adhesive Dots
Peel dot from backing with tweezers or finger. Place on back of element, press firmly for 5-10 seconds. Layer as needed. Why? Ensures air-free bond. Expect immediate stickiness—no wait time.
⚠️ Warnings:
- •Don't touch sticky side; oils weaken hold.
Step 7: Test for Your Projects
Apply dots to test paper, wait 24 hours, check for lift or residue. Tug gently—good dots hold without tearing. This confirms archival quality for your photos.
💡 Tips:
- •Store extras in airtight container.
▸Pro Tips
- •Use tweezers for tiny dots to avoid fingerprints.
- •Layer foam dots under titles for dimension.
- •Buy in bulk for value—rolls save 30% vs. pens.
- •Warm dots slightly (hairdryer) for stubborn surfaces.
- •Mix sizes: small for paper, large for photos.
- •Keep a dot dispenser on your craft table for speed.
- •Opt for colored backing sheets to spot dots easily.
▸Common Mistakes to Avoid
- •Using non-acid-free dots—leads to yellowing; always check labels.
- •Over-applying dots—causes bulk; use 4-6 per photo.
- •Storing in humid areas—dots lose tack; use silica packs.
- •Ignoring size—too big warps thin paper; match to element.
- •Pressing too lightly—reduces hold; count to 10.
▸Troubleshooting
Problem: Dots not sticking
Solution: Clean surfaces with alcohol wipe; ensure room temp >60°F.
Problem: Dots yellowing pages
Solution: Switch to certified acid-free brands like Zots.
Problem: Hard to peel
Solution: Use release paper or tweezers; store flat.
Problem: Residue on photos
Solution: Choose low-tack or removable dots; test first.
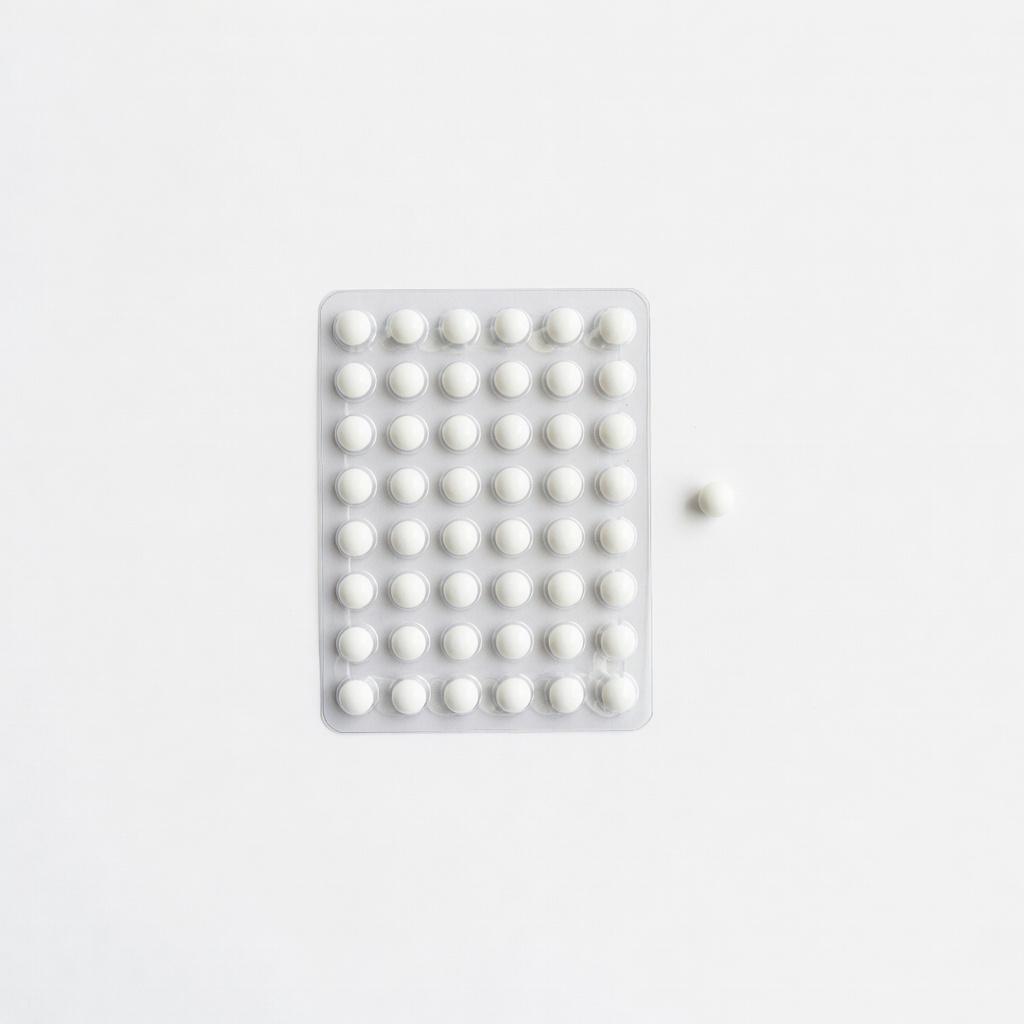
Therm-O-Web Zots 3D Adhesive Dots, Medium (402.M)
Top-rated for strong, permanent hold on photos and paper; acid-free and dimensional for pop.
Best for: Ideal for beginner scrapbook pages needing secure, layered bonds.
Price Range: $4.99-$6.99
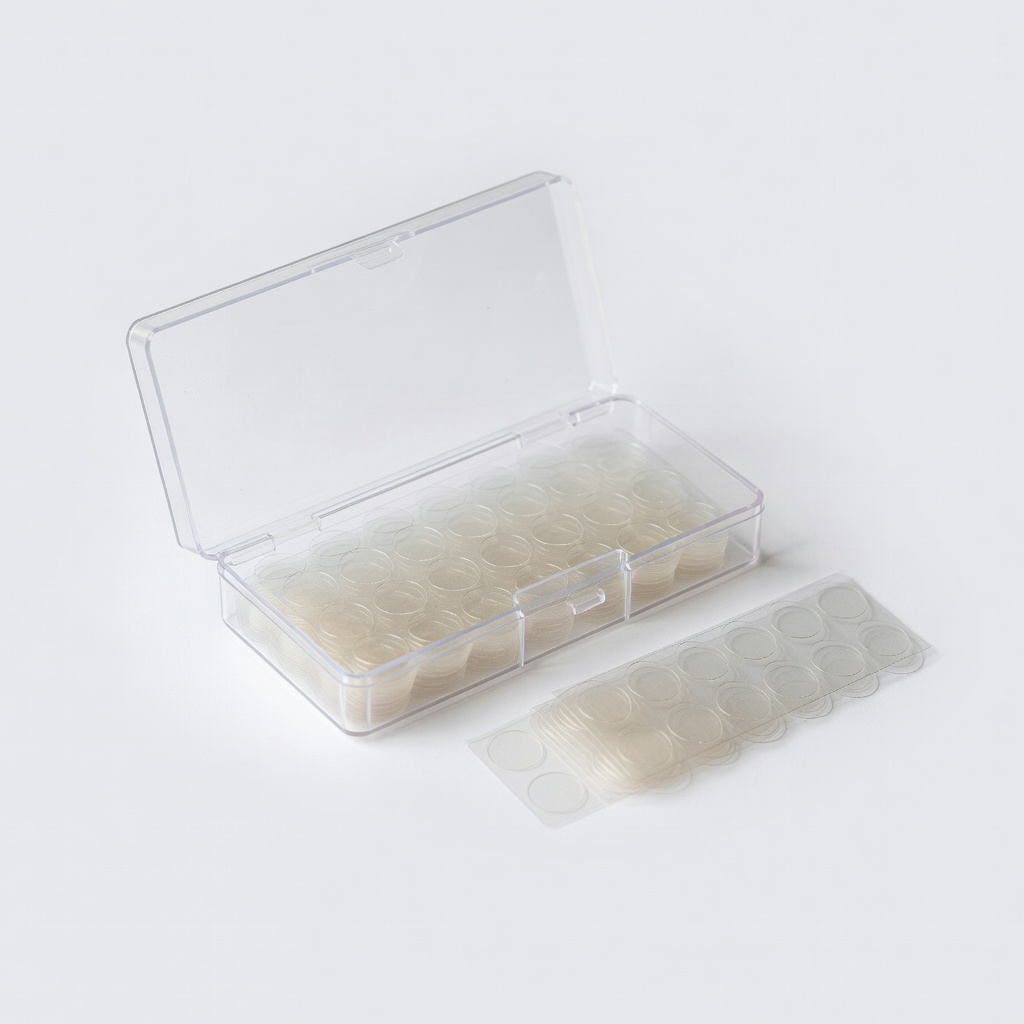
Glue Dots Clear Craft Dots, 1/2 Inch, 200 Count
Versatile, crystal-clear, and super sticky without residue; dispenser-free rolls for easy use.
Best for: Great for embellishments and vellum on flat layouts.
Price Range: $8.99-$12.99
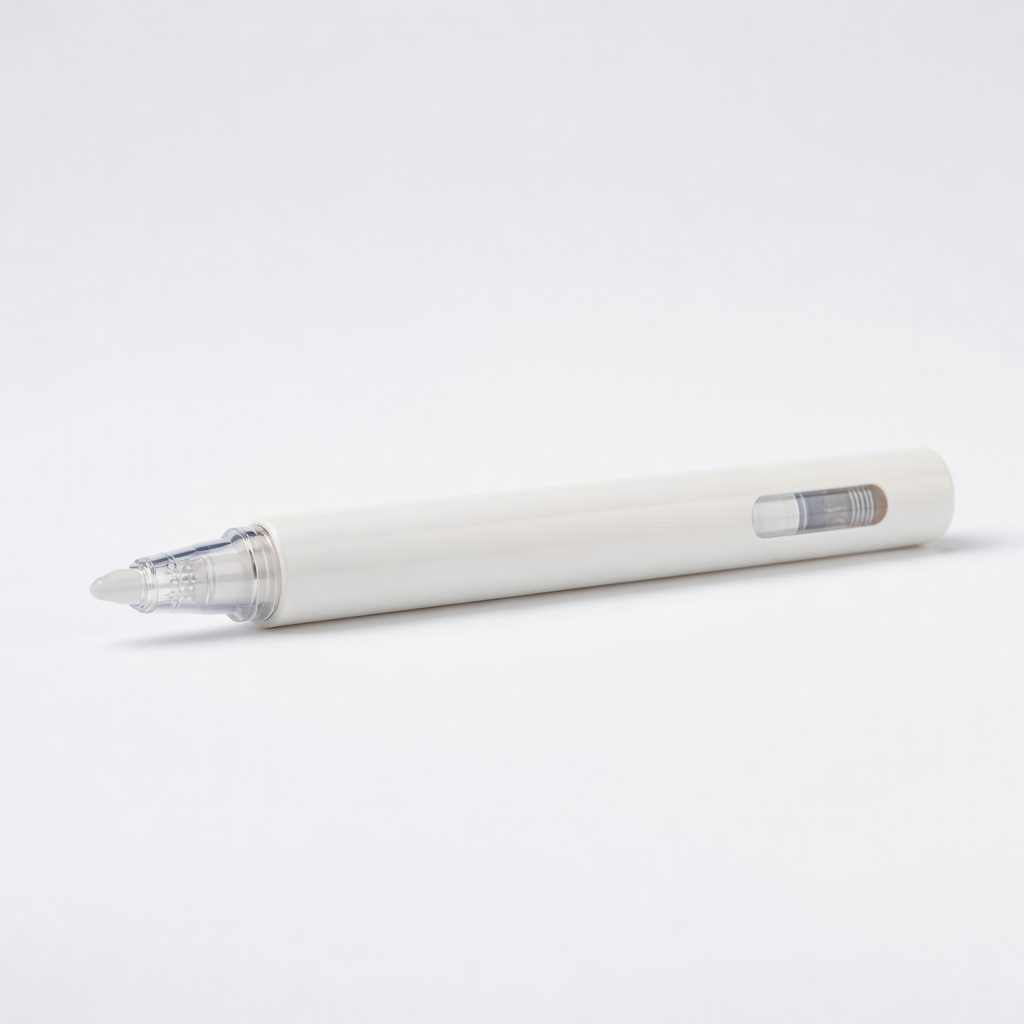
Scrapbook Adhesives 3L E-Z Dots Permanent Refillable Dot Pen
Precision pen applicator like a marker; mess-free for beginners, refillable for savings.
Best for: Perfect for detailed work on titles and small elements.
Price Range: $5.99-$7.99
Scotch Create & Restick Dots, 1/2 Inch
Removable/repositionable for layout tweaks; low-commitment for beginners.
Best for: Testing designs before final permanent adhesion.
Price Range: $3.99-$5.99
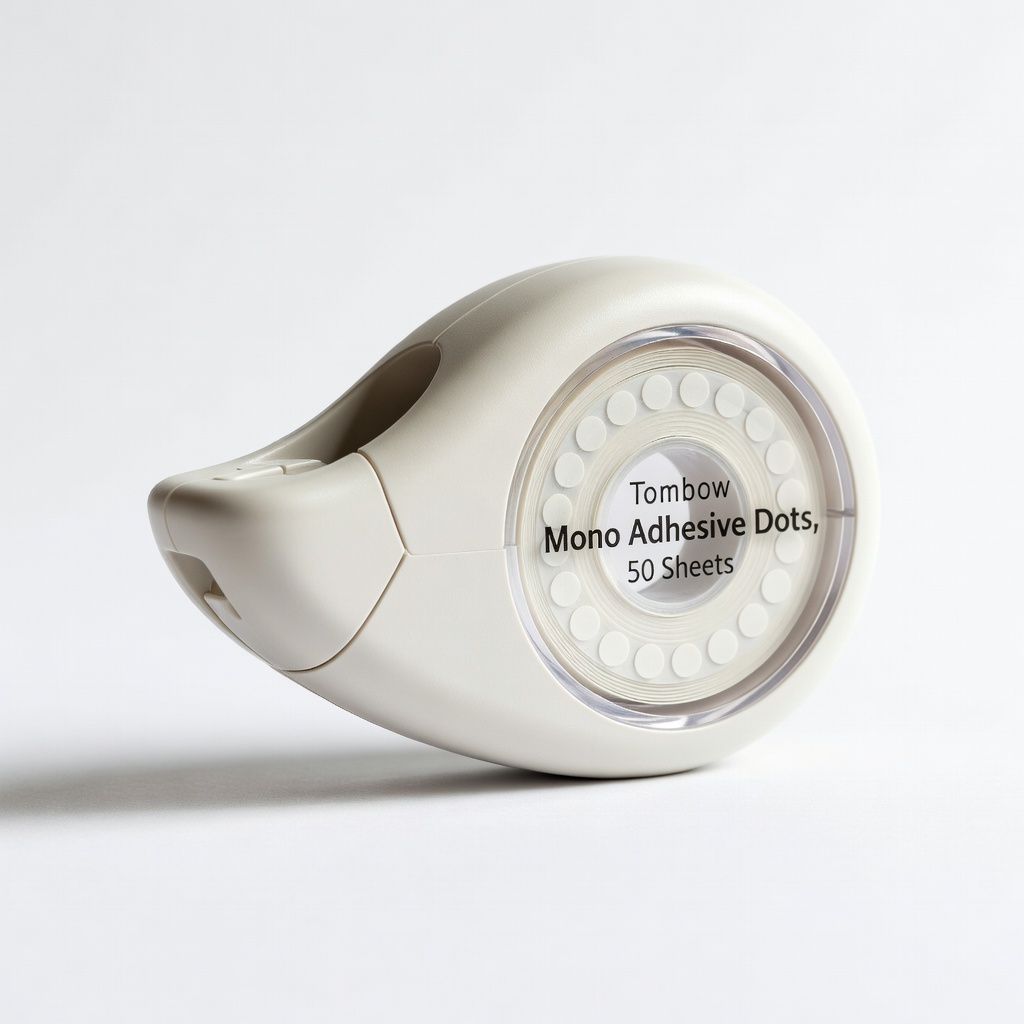
Tombow Mono Adhesive Dots, 50 Sheets
Thin, flat profile for slim albums; double-sided sheets easy to cut.
Best for: Minimalist pages without added bulk.
Price Range: $6.99-$9.99