Nothing kills the nostalgia of a classic 3DO Interactive Multiplayer console like that telltale yellowing on its once-crisp white plastic. Caused by bromine-based flame retardants degrading over decades, it affects many 90s consoles. But don't despair—Retr0brighting offers a safe, effective fix used by retro gaming enthusiasts worldwide.
In this guide, you'll learn the complete step-by-step process to reverse yellowing without damaging your console. We'll cover disassembly, chemical prep, UV exposure, and reassembly. Expect intermediate skills like basic soldering-free teardown and handling mild chemicals. Total active time is 2-3 hours, but UV treatment takes 24-72 hours.
By the end, your 3DO will look showroom-fresh, boosting its collectible value and display appeal. Let's turn back time on that plastic!
▸What You'll Need
- •Torx T10 and Phillips #1 screwdrivers (required for disassembly)
- •Plastic pry tools or guitar picks (to avoid scratches)
- •Nitrile gloves and safety goggles (required for chemicals)
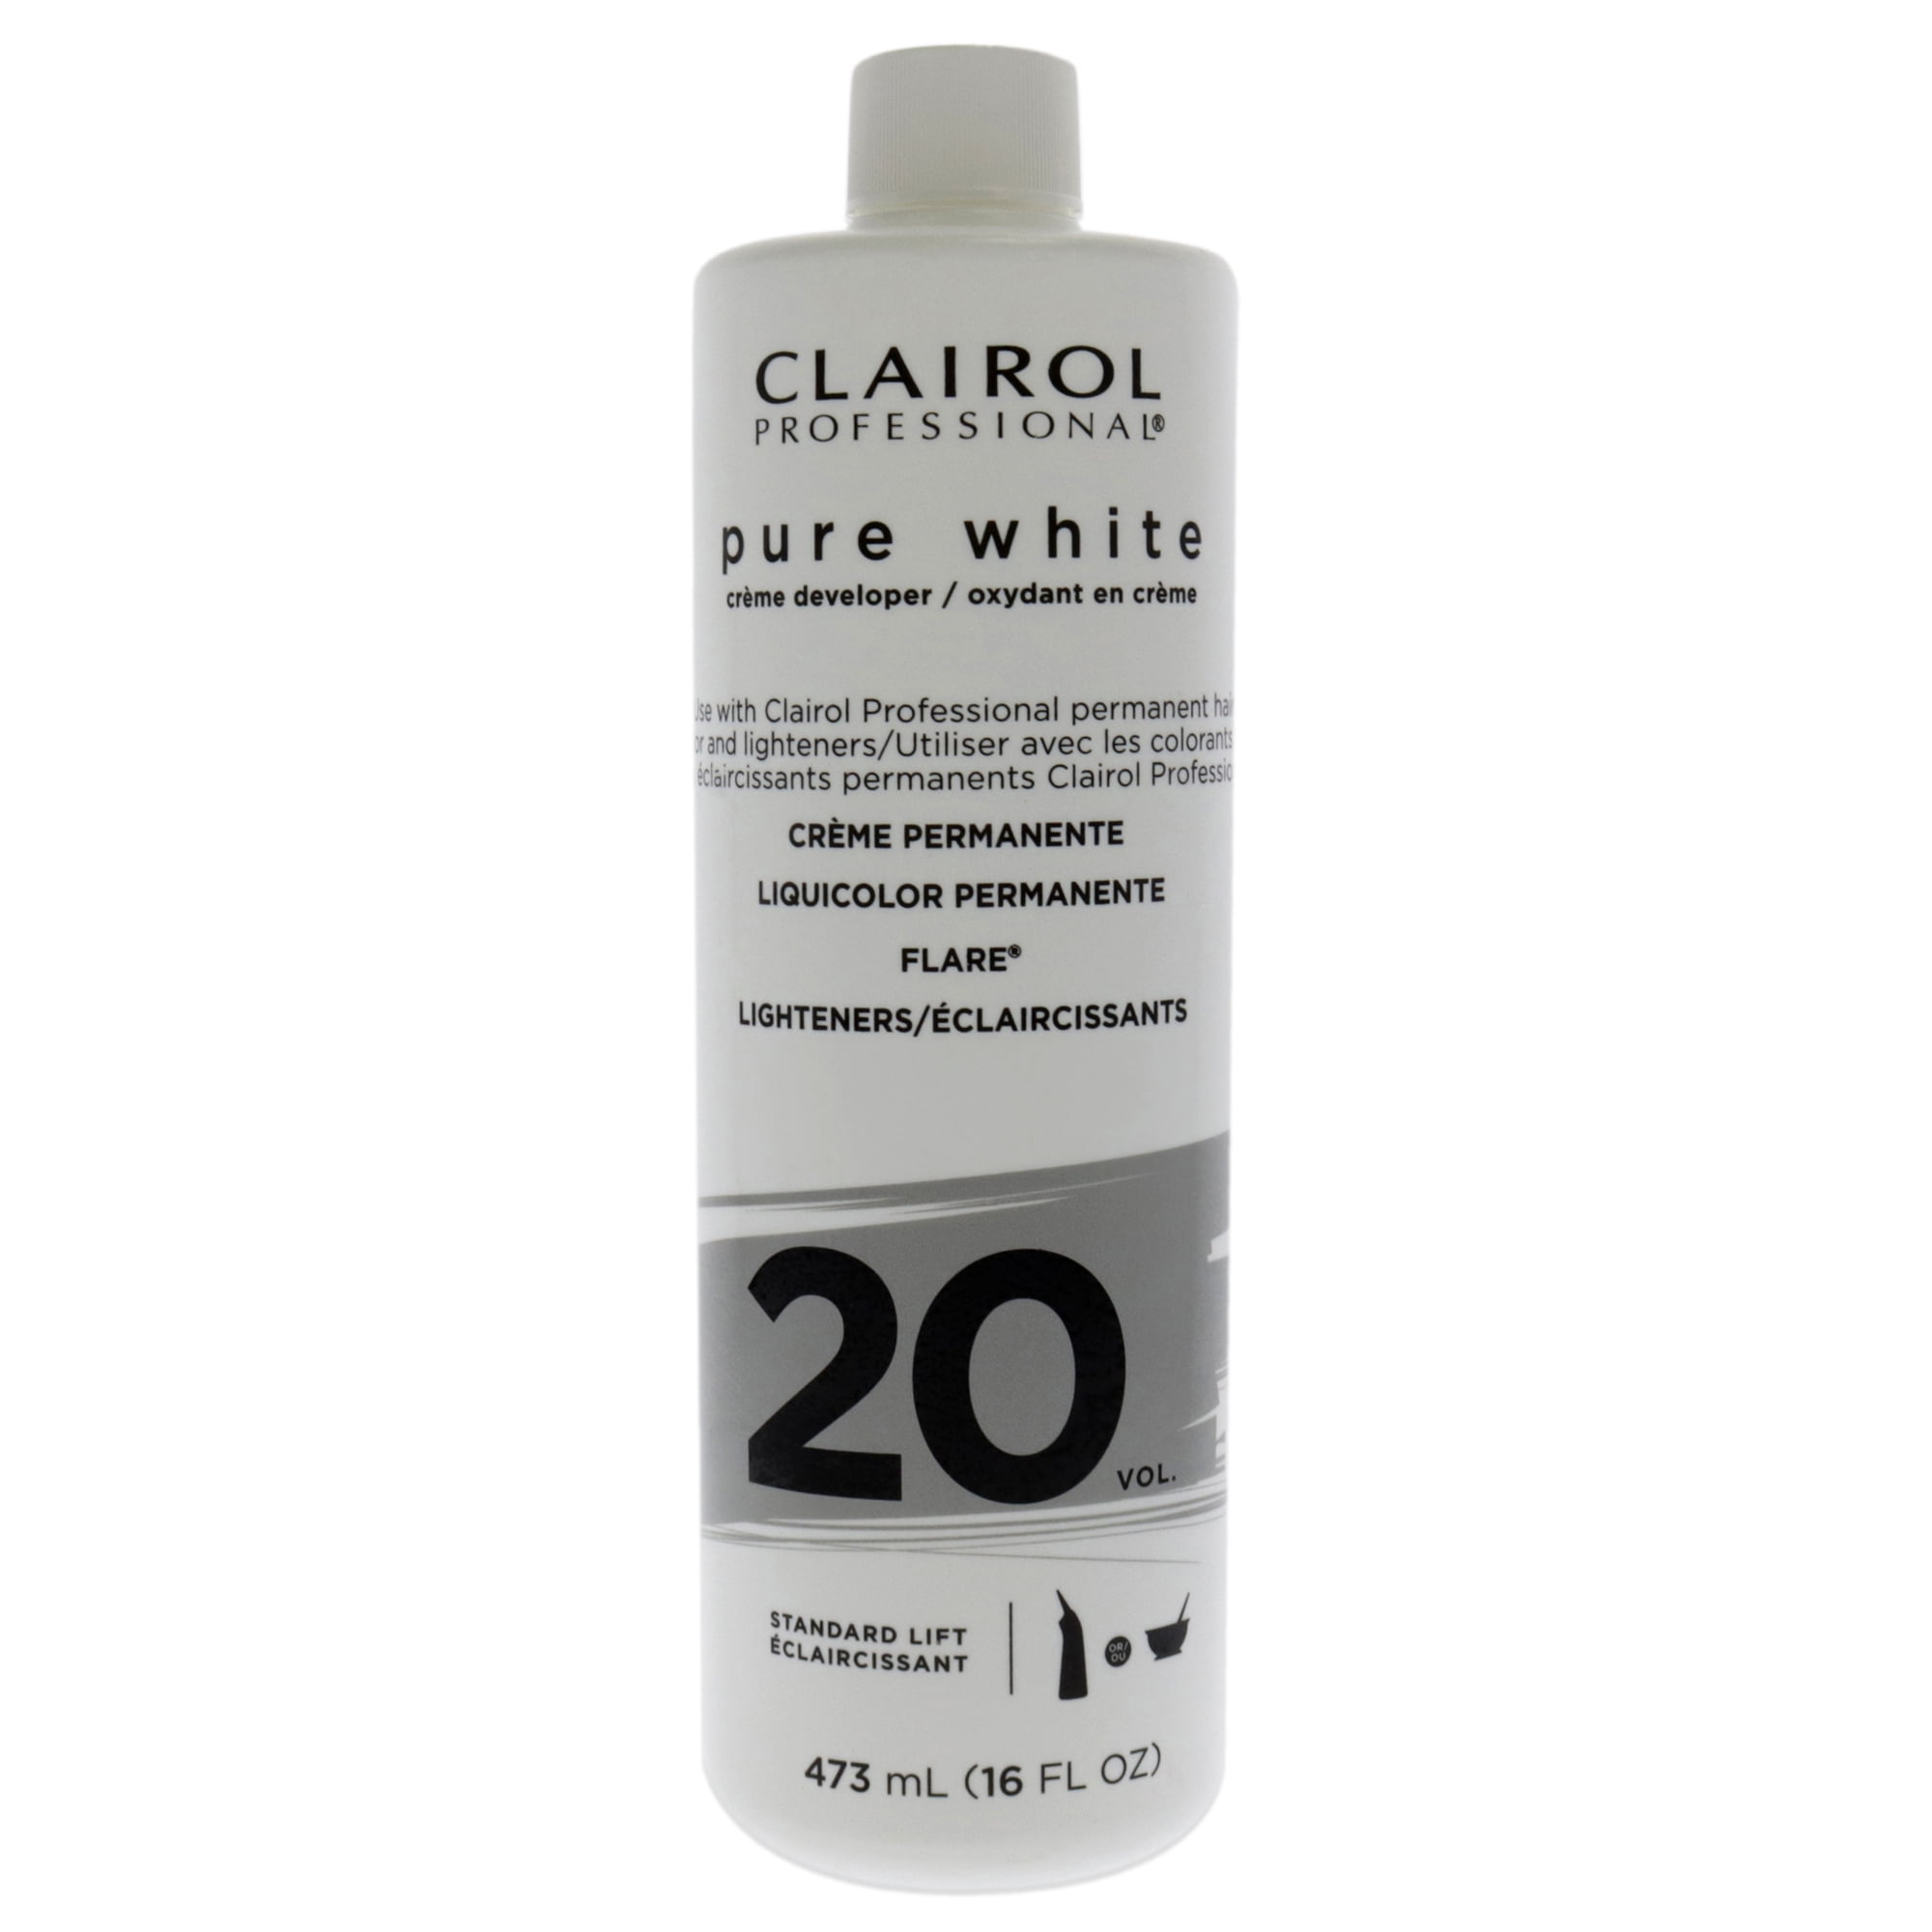
- •12% hydrogen peroxide cream developer (required, hair salon type)
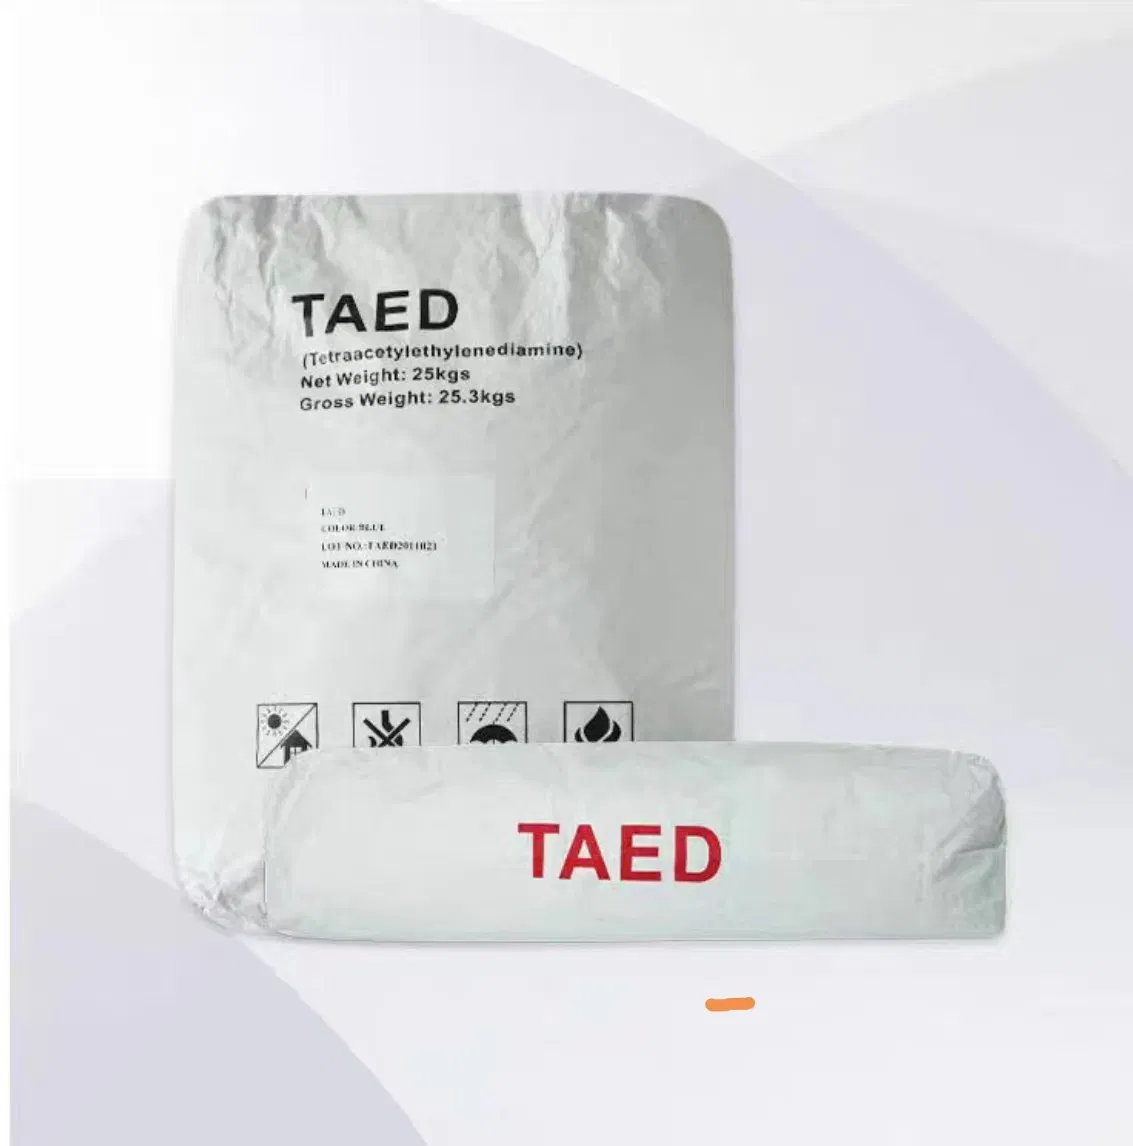
- •TAED (Tetraacetylethylenediamine) powder (required for activation, 1-2 tsp)
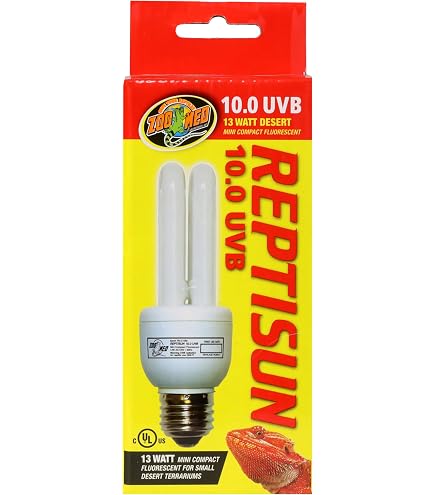
- •UVA/UVB blacklight lamps or reptile UVB bulbs (2-4 required, 10-36W)
- •Large plastic tub or tray for soaking
- •Distilled water and baking soda (for rinsing/neutralizing)
- •Isopropyl alcohol 91% (for cleaning)
- •Microfiber cloths and plastic polish (optional)
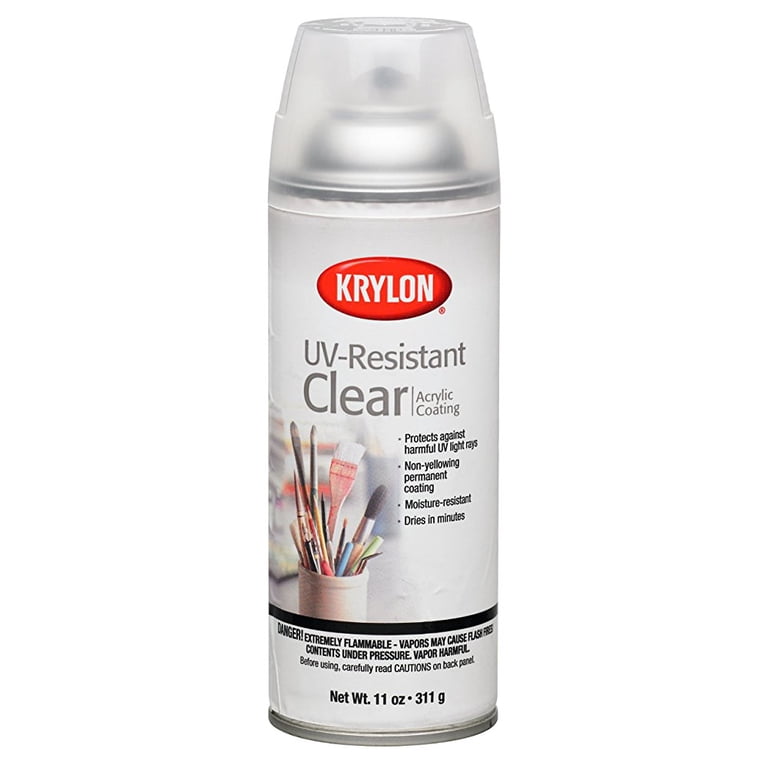
- •UV-resistant clear coat spray (optional for protection)
Estimated Time: 2-4 days (2-3 hours hands-on + 24-72 hours UV exposure)
Difficulty: intermediate
▸Step-by-Step Instructions
Step 1: Disassemble the 3DO Console
Power off and unplug your 3DO FZ-1. Remove all screws using Torx T10 for security screws and Phillips #1 for standard ones—typically 10-15 around the case. Gently pry open the halves with plastic tools, starting from the rear ports.
Label parts and bag screws by section (top/bottom shell, internals). Separate the plastic shells from internals like the motherboard and drives. Why? Yellowing affects only the outer ABS plastic; internals stay safe inside.
Expect some ribbon cables—disconnect carefully without forcing.
💡 Tips:
- •Take photos at each step for reassembly.
- •Work in a static-free area with an anti-static mat.
⚠️ Warnings:
- •Avoid metal tools to prevent scratches or shorts.
- •Don't force stuck parts—check for hidden clips.
Step 2: Remove Stickers and Clean Plastics
Peel off any stickers or labels using a hairdryer for heat to loosen adhesive. Soak residues in isopropyl alcohol and scrape gently with plastic tools.
Wash shells with dish soap and warm water, then wipe with 91% isopropyl alcohol. Dry completely. This removes grime that interferes with bleaching and prevents uneven results.
Inspect for cracks—yellowing can hide structural issues.
💡 Tips:
- •Use Goo Gone for stubborn stickers.
- •Buff lightly with plastic polish for pre-clean shine.
⚠️ Warnings:
- •Alcohol can damage some labels; photograph first if collectible.
Step 3: Prepare the Retr0brite Solution
In a ventilated area, wear gloves/goggles. Mix 500ml 12% H2O2 cream with 1 tsp TAED powder per liter. Stir until dissolved—TAED activates the bleach at room temp for safer, even whitening.
Why this recipe? Standard H2O2 alone needs high UV/heat; TAED mimics pro methods for 3DO's ABS plastic without brittleness.
Let sit 10 mins to activate.
💡 Tips:
- •Scale up for larger tubs.
- •Test mix on scrap plastic first.
⚠️ Warnings:
- •Never mix with bleach or acids—fumes hazard!
- •Use fresh H2O2; old stuff weakens.
Step 4: Apply Solution to Plastic Parts
Submerge or brush thick solution on yellowed surfaces (vents, edges). Place shells yellow-side up in a covered tray to prevent evaporation.
Cover with plastic wrap if needed. This starts oxidation, breaking down yellow compounds.
Expect fizzing—normal reaction.
💡 Tips:
- •Tape off non-plastic areas like metal ports.
⚠️ Warnings:
- •Avoid internals/electronics—corrosion risk.
Step 5: Expose to UV Light
Position 2-4 UV lamps 6-12 inches above parts. Run continuously in a dark, warm spot (70-90°F). Check every 4-6 hours.
UV catalyzes the peroxide to whiten deeply. For 3DO, 24-48 hours typically suffices; heavy yellowing may need 72.
Rotate parts for even exposure.
💡 Tips:
- •Use a timer outlet for safety.
- •Add gentle fan for air circulation.
⚠️ Warnings:
- •Don't touch while wet—burn risk from peroxide.
Step 6: Rinse and Neutralize
Once white (or pinkish tint), rinse thoroughly with distilled water. Soak in baking soda solution (1 tbsp per liter) for 30 mins to neutralize peroxide.
Rinse again, wipe dry. This stops the reaction, preventing over-bleaching.
Inspect: Should be bright white.
💡 Tips:
- •Use de-ionized water to avoid water spots.
⚠️ Warnings:
- •Incomplete rinse causes tackiness or recurving.
Step 7: Dry and Polish
Air-dry 24 hours in dust-free area. Buff with microfiber and plastic polish like Novus #2 for shine.
Why polish? Restores luster lost in process.
💡 Tips:
- •Sun-dry briefly for extra whitening if needed.
Step 8: Reassemble and Protect
Reinstall plastics over internals per photos. Secure screws snugly.
Optional: Spray thin UV protectant coats outside to slow re-yellowing.
Test power-on—no issues expected.
💡 Tips:
- •Apply protectant in thin layers outdoors.
⚠️ Warnings:
- •Overspray inside can attract dust.
▸Pro Tips
- •Start with a test strip from the console to gauge timing.
- •Work in small batches if multiple parts for even results.
- •Use a hygrometer—50-60% humidity ideal to avoid cracking.
- •Document before/after photos for your retro portfolio.
- •Combine with case refinishing for pro look.
- •Store post-repair away from sunlight/windows.
- •For mild yellowing, 12 hours UV may suffice—save peroxide.
▸Common Mistakes to Avoid
- •Skipping neutralization: Leads to brittle, chalky plastic—always bake soda soak.
- •Uneven UV exposure: Causes splotchy results—rotate and use multiple lamps.
- •Using household bleach: Eats plastic; stick to H2O2 + TAED.
- •Rushing reassembly: Misaligned parts cause rattles—double-check photos.
- •Overexposure: Turns plastic pink/brittle—check frequently.
▸Troubleshooting
Problem: Plastic turns brittle or cracks
Solution: Happens from overexposure or high H2O2—stop early next time, condition with Armor All post-process. Seek pro if structural.
Problem: Uneven whitening or brown spots
Solution: Re-clean grime, reapply solution evenly, extend UV 12 hours. Spots from oils—prevent with gloves.
Problem: Yellowing returns quickly
Solution: Apply UV protectant spray. Store in dark, smoke-free area. Bromine migration continues slowly.
Problem: Console won't power on after
Solution: Check for residual moisture/shorts—dry 48+ hours, clean boards with IPA if needed. Pro repair if damaged.
Clairol Professional Creme Developer 20 Volume
Reliable 12-20% H2O2 cream that's thick, stable, and perfect for even Retr0brite application without dripping.
Best for: Base ingredient for the bleaching solution on 3DO plastics.
Price Range: $8-12
TAED Powder Tetraacetylethylenediamine
Activates peroxide at room temp for faster, safer whitening without high heat that risks warping.
Best for: Add to H2O2 mix for pro-level results on stubborn 3DO yellowing.
Price Range: $15-25
Zoo Med ReptiSun 10.0 Mini UVB Fluorescent Lamp
Emits strong UVA/UVB spectrum ideal for catalyzing the reaction evenly over large areas.
Best for: Primary UV source for exposing console parts during treatment.
Price Range: $25-35
Krylon UV-Resistant Clear Acrylic Coating Spray
Blocks future UV damage post-repair, preserving your work for years.
Best for: Final protective coat on reassembled exterior.
Price Range: $10-15
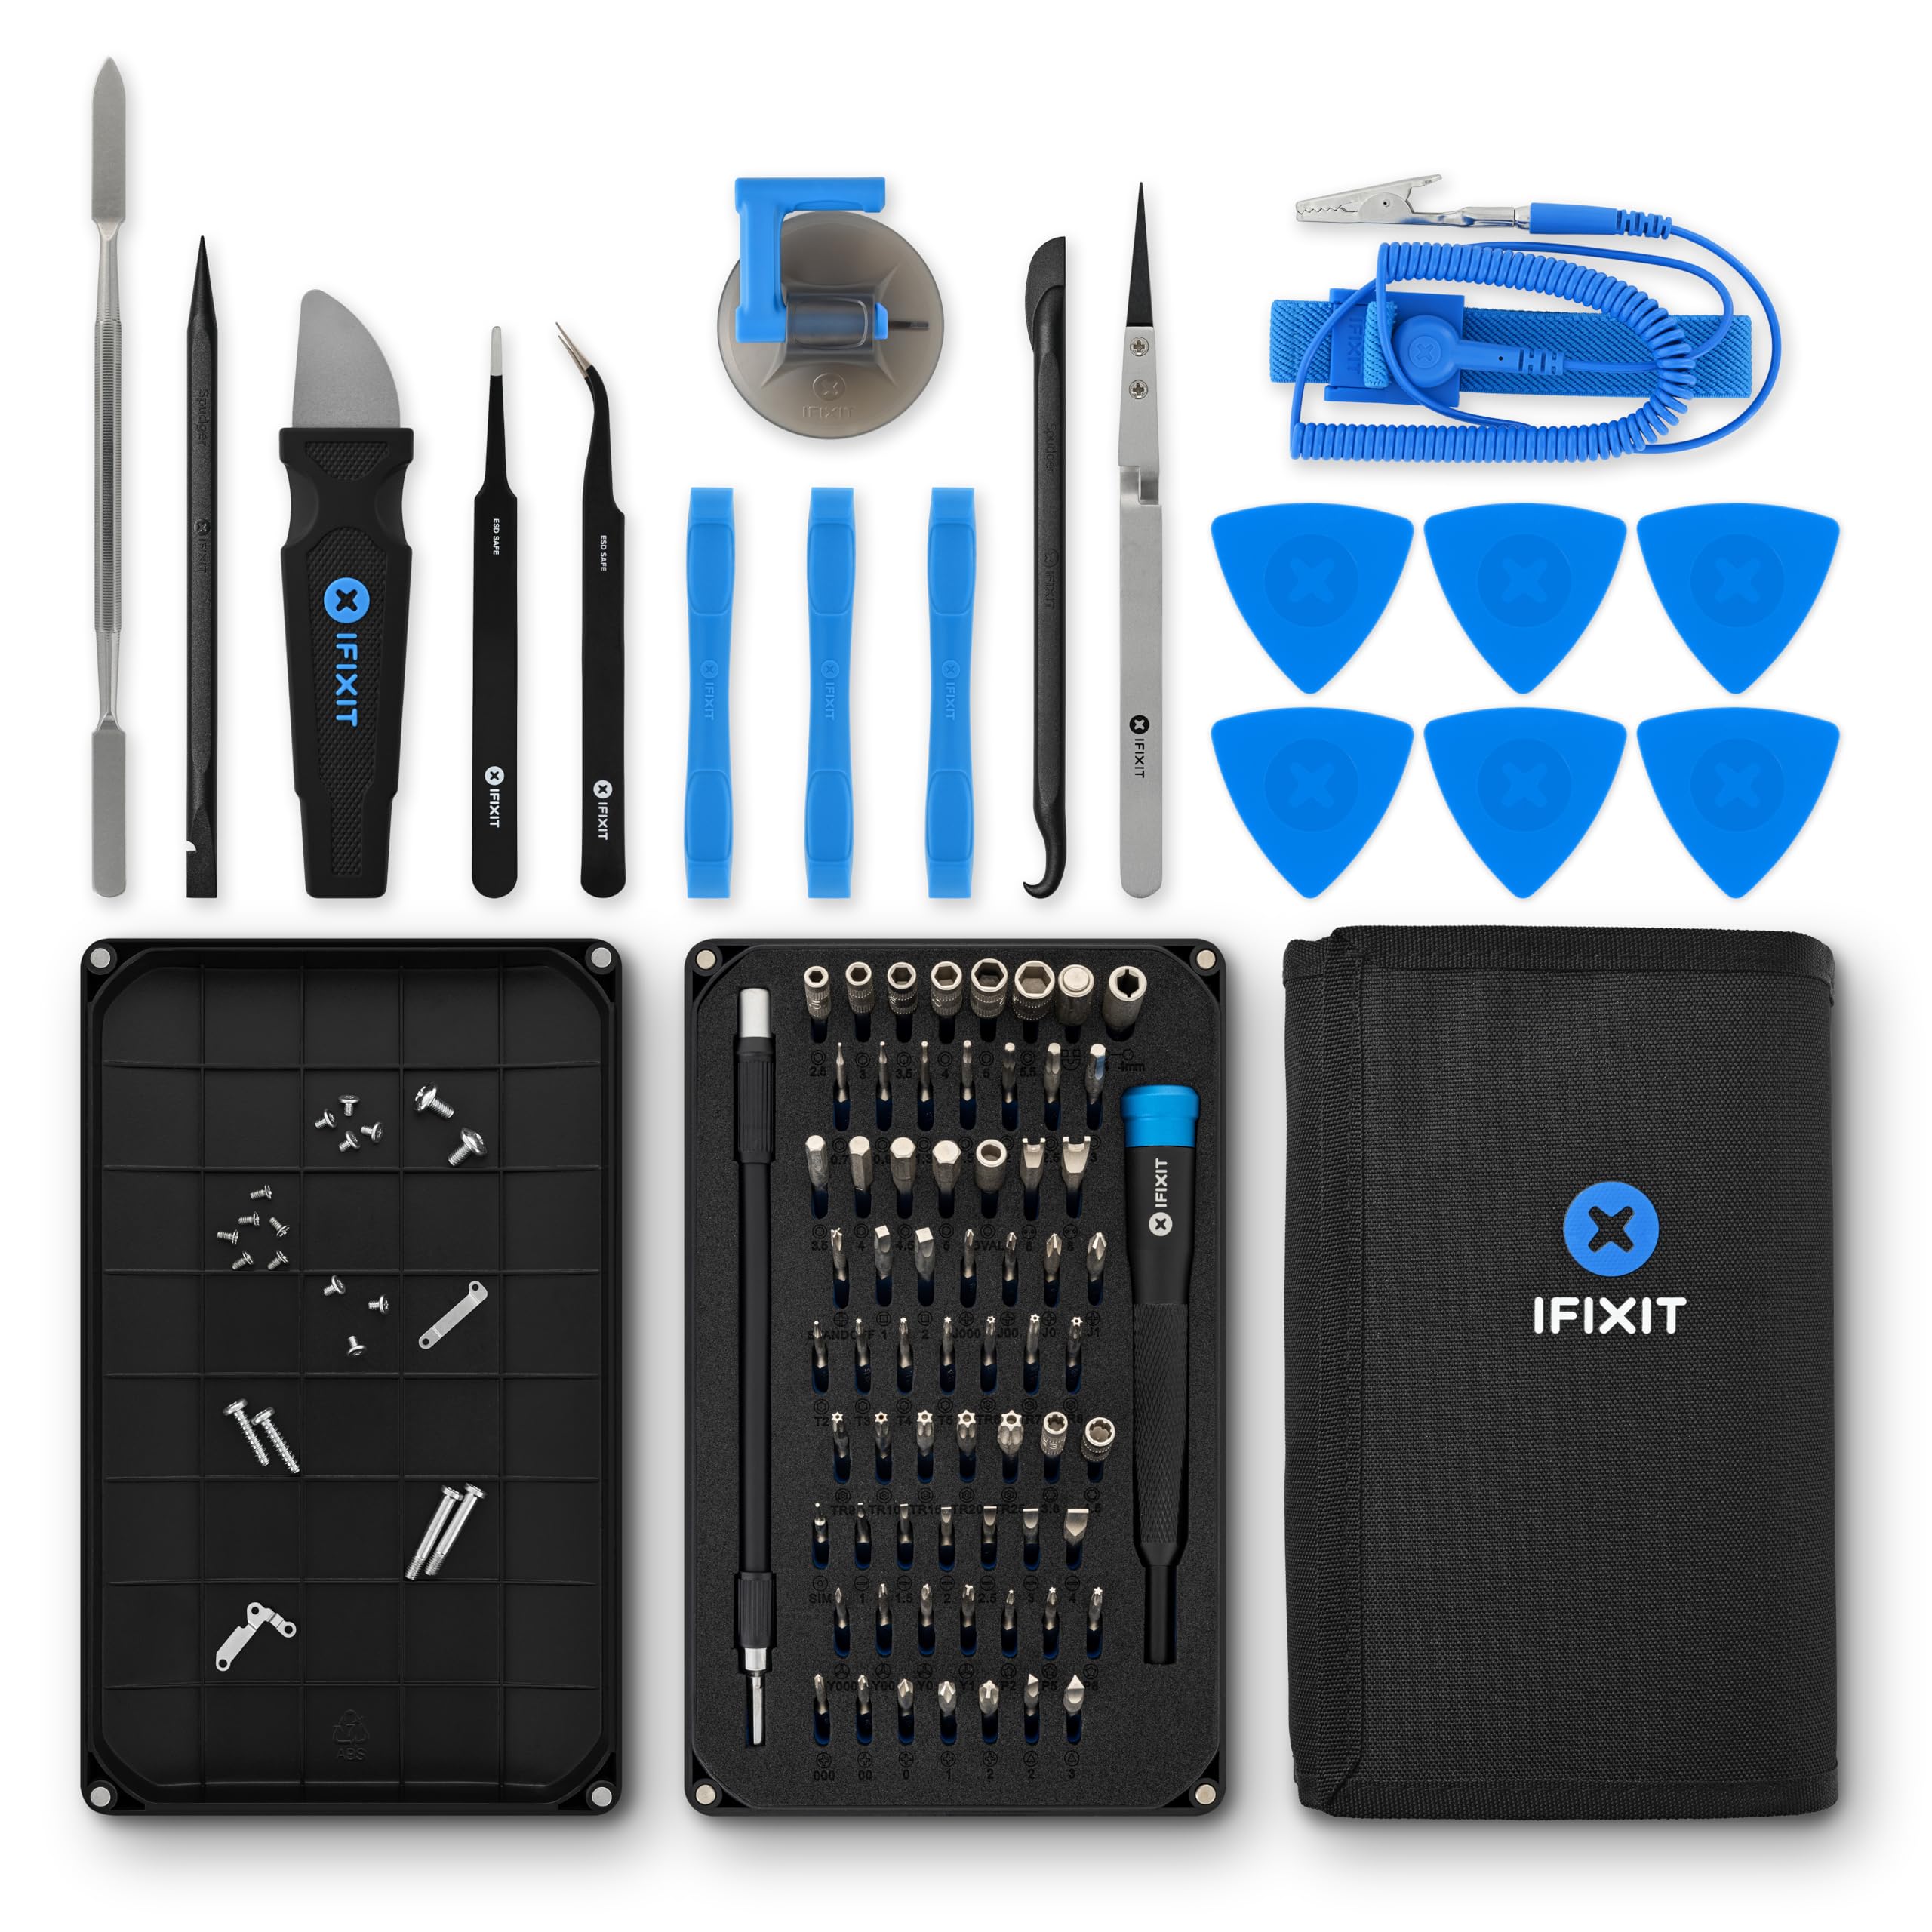
iFixit Pro Tech Toolkit
Precision Torx/Phillips drivers and pry tools made for console teardowns without damage.
Best for: Safe disassembly of 3DO screws and clips.
Price Range: $50-70