Get the App
Better experience on mobile
A step-by-step guide to troubleshoot and fix your Keurig coffee maker when it displays the 'Add Water' error despite a full reservoir.
Frustrated with your Keurig displaying 'Add Water' even when the tank is full? You're not alone. This is one of the most common issues Keurig users face, and it can turn your morning coffee routine into a headache. Whether it's a glitchy sensor or a clogged system, this problem can stop your machine in its tracks, leaving you without your much-needed brew.
How common is this issue? Based on user forums and product reviews, thousands of Keurig owners report this error, often after months or years of use. The causes range from simple fixes like a misaligned reservoir to more complex issues like sensor malfunctions. Fortunately, many of these can be resolved at home without a trip to the repair shop.
What will you learn in this guide? We'll walk you through 7 actionable fixes, starting with the easiest checks and progressing to deeper troubleshooting. By the end, you'll know whether you can fix your machine, how to prevent future issues, and when it's time to consider an upgrade. Let's get your Keurig back to brewing!
Difficulty: easy | Time: 2 minutes
What to do: Remove the water reservoir from your Keurig and inspect the connection point. Ensure there's no debris or damage on the base or the machine's docking area. Reattach it firmly until it clicks into place.
Why this works: The Keurig relies on a physical connection to detect water levels. If the reservoir isn't seated correctly, the sensor won't register the water, triggering the 'Add Water' error.
What you should see: After reseating, turn on the machine. The error message should disappear, and the display should indicate the water level. If the error persists, move to the next step.
Warning signs: If the reservoir feels loose or doesn't click into place, there might be damage to the connection mechanism.
Difficulty: easy | Time: 5 minutes
What to do: Empty the reservoir and wipe it down with a damp cloth. Pay special attention to the bottom where it connects to the machine. Use a dry cloth to clean the sensor area on the Keurig base.
Why this works: Dust, coffee residue, or water stains can interfere with the sensor's ability to detect water, causing false readings.
What you should see: After cleaning and reattaching the reservoir, the machine should recognize the water level. Brew a test cup to confirm.
Warning signs: If you notice cracks in the reservoir or persistent grime that won't come off, the issue might be deeper.
Tools needed: Damp cloth, Dry cloth
Difficulty: easy | Time: 5 minutes
What to do: Remove the water reservoir, then gently tap the machine on a counter to dislodge any air bubbles. Refill the reservoir and reattach it. Run a water-only brew cycle (no K-Cup) to flush the system.
Why this works: Air bubbles can disrupt the flow of water, tricking the sensor into thinking the tank is empty.
What you should see: The machine should brew water without displaying the error. If successful, try a regular brew with a K-Cup.
Warning signs: If no water comes out during the test brew, there could be a blockage or pump issue.
Difficulty: medium | Time: 30 minutes
What to do: If you haven't descaled your machine recently, use a Keurig-approved descaling solution or white vinegar. Follow the instructions on the product or mix equal parts vinegar and water. Fill the reservoir, run multiple water-only brew cycles until the tank is empty, then rinse thoroughly with fresh water.
Why this works: Hard water deposits can clog internal components and interfere with sensors, causing erroneous 'Add Water' messages.
What you should see: After descaling, the machine should operate normally without error messages. Brew a test cup to confirm.
Warning signs: If descaling doesn't help or the machine struggles to brew, there may be a more severe internal issue. Safety note: Avoid using harsh chemicals not meant for coffee makers, as they can damage the machine or leave harmful residues.
Tools needed: Descaling solution or white vinegar
Difficulty: easy | Time: 5 minutes
What to do: Unplug your Keurig from the power source for 5 minutes. If your model has a digital display, press and hold the power button for 30 seconds after unplugging to reset the system. Plug it back in and turn it on.
Why this works: A simple reset can clear temporary glitches in the machine's electronics, including false sensor readings.
What you should see: The machine should boot up without the 'Add Water' error. Test with a brew cycle.
Warning signs: If the error returns immediately after resetting, the issue may be hardware-related.
Difficulty: medium | Time: 10 minutes
What to do: Unplug the machine and carefully remove the water reservoir. Use a paperclip or small brush to gently clean the water intake valve (the small hole where water enters the machine). Run a water-only brew cycle afterward.
Why this works: Debris or scale can block the intake valve, preventing the machine from detecting or drawing water properly.
What you should see: Water should flow smoothly during the test brew, and the error should clear.
Warning signs: If no water flows or you hear unusual grinding noises, the pump or internal lines may be damaged. Safety note: Be cautious not to damage internal components, and avoid using excessive force.
Tools needed: Paperclip or small brush
Difficulty: hard | Time: 20-60 minutes
What to do: If none of the above steps work, visit Keurig's official website or call their support line (1-866-901-2739 in the US) to check if your machine is under warranty. Alternatively, if you're comfortable with DIY repairs, research your specific model's sensor location (often near the reservoir base) and test for continuity with a multimeter.
Why this works: A faulty sensor may need professional diagnosis or replacement, and Keurig support can guide you on next steps or repairs.
What you should see: Support may offer a replacement part or confirm if the machine is irreparable. A multimeter test should show if the sensor is functioning (consult a guide for your model).
Warning signs: If the sensor is dead or support confirms major internal damage, repair costs may exceed the value of a new machine. Safety note: Only attempt sensor testing if you're experienced with electronics to avoid electrical hazards or voiding your warranty.
Tools needed: Multimeter (optional)
Is your Keurig beyond repair? If you've gone through all the troubleshooting steps and the 'Add Water' error persists, it might be a sign of a deeper issue, like a failed sensor or damaged pump. Grinding noises, leaks, or no response from the machine are red flags that the internal components are failing. If your Keurig is over 3-5 years old, wear and tear could mean that even a successful fix might only be temporary.
Cost of repair vs. replacement: Professional repairs for Keurig machines can range from $50 to $100+, not including shipping if you send it to a service center. Given that many new Keurig models start at $99, it often makes more financial sense to upgrade, especially if the machine is older or out of warranty. Check your warranty status on Keurig's website—most models come with a 1-year limited warranty, and repairs within this period may be free or discounted.
Safety concerns and final considerations: If you notice electrical issues (sparks, burning smells) or persistent leaks, stop using the machine immediately for safety reasons. At this point, investing in a new coffee maker with improved reliability and features (like better sensors or self-cleaning options) can save you time and frustration. Below, we've listed some excellent upgrade options to consider.
🛒 Buy Keurig K-Classic Coffee Maker on Amazon
🛒 Buy Keurig K-Elite Single Serve Coffee Maker on Amazon
🛒 Buy Keurig K-Supreme Plus SMART Coffee Maker on Amazon
🛒 Buy Ninja CM401 Specialty Coffee Maker on Amazon

A reliable budget-friendly option with a simple design and fewer sensor issues compared to older models.
Price Range: $79-$99
Key Benefits:

A mid-range upgrade with advanced features like temperature control and a stronger sensor system.
Price Range: $129-$159
Key Benefits:
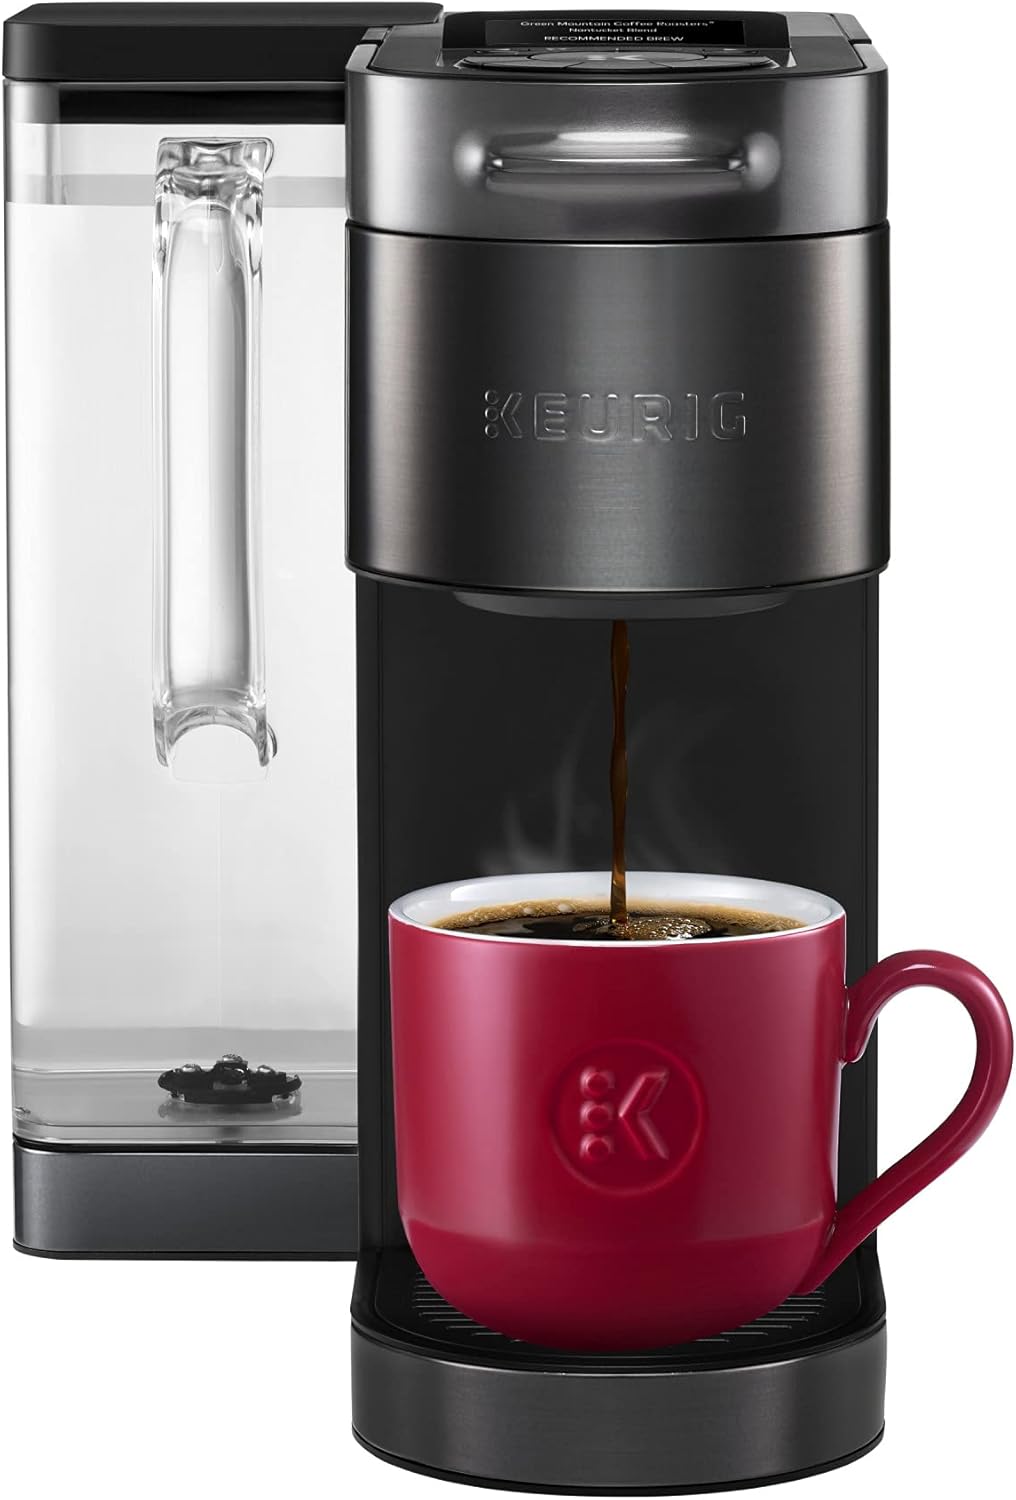
A premium choice with smart technology and MultiStream brewing for fewer water detection errors.
Price Range: $179-$199
Key Benefits:

A non-Keurig alternative with versatile brewing options and no reported sensor issues.
Price Range: $129-$149
Key Benefits:
Compare key specs and features of all our recommendations side-by-side
| Product | Recommendation | Rating | Price |
|---|---|---|---|
 Keurig K-Classic Single Serve K-Cup Pod Coffee Maker, with 3 Brew Sizes, 48oz Removable Reservoir, Black Rank #1 | 🏆 Top Pick | 4.5 4.5 | Check price → |
 Keurig K-Elite Single Serve K-Cup Pod Coffee Maker, with Strength and Temperature Control, Iced Coffee Capability, 8 to 12oz Brew Size, Programmable, Brushed Slate Rank #2 | 💰 Budget Pick | 4.6 4.6 | Check price → |
 Keurig K-Supreme Plus SMART Coffee Maker, Single Serve K-Cup Pod Coffee Brewer, BREWID and MultiStream Technology, 78 Oz, Black Black Maker Rank #3 | — | 4.0 4.0 | Check price → |
Ninja Specialty Coffee Maker, Hot & Iced Coffee, 6 Brew Styles, 8 Sizes, Small Cup to Travel Mug, 10-Cup Carafe, Fold-Away Frother, Permanent Filter, Removable Reservoir, Black, CM401 10 Cup Rank #4 | — | 4.5 4.5 |