Everything beginners need to confidently pick their first telescope and start stargazing tonight.
Choosing your first telescope can feel intimidating with all the confusing specs and endless options. Beginners often worry about wasting money on something too hard to use or not powerful enough to see stars clearly. But it doesn't have to be overwhelming – this guide is designed for complete newcomers like you.
We'll break down the essentials in simple terms, highlight beginner-friendly features, and recommend real Amazon products that are easy to set up and forgiving for mistakes. By the end, you'll know exactly what to buy, what accessories to add, and how to avoid common pitfalls, so you can start spotting the Moon's craters and Jupiter's moons right away.
📋 In This Guide
• Why Beginners Struggle with Telescope
• What to Look For (Key Features)
• Top 4 Beginner-Friendly Telescope
• Essential Accessories for Beginners
• Common Beginner Mistakes to Avoid
• Your Progression Path
• FAQ & Learning Resources
😰 Why Beginners Struggle with Telescope
Beginners often feel lost because telescopes come loaded with technical terms like 'aperture,' 'focal length,' and 'alt-azimuth mounts' that sound like a foreign language. Many fear buying the wrong one – too cheap and it barely shows anything, too fancy and it's impossible to use without a degree in astronomy.
Online reviews mix expert opinions with beginner complaints, leaving you unsure what's realistic. Plus, with refractors, reflectors, and computerized models, the choices overwhelm, and nobody explains what you'll actually see as a newbie: bright planets and the Moon first, not distant galaxies.
🔍 What to Look For: Key Beginner-Friendly Features
Focus on telescopes that are lightweight, quick to assemble (under 30 minutes), and have simple manual controls – no apps or computers needed yet. Look for an aperture of at least 70mm for clear views of the Moon and planets, a sturdy but portable tripod, and included eyepieces that give wide, easy views.
Beginner-friendly picks tolerate shaky hands, have pre-assembled parts, and come with beginner guides. Avoid huge apertures over 130mm if you're new – they're heavy and harder to align. Nice-to-haves include a finder scope (like a mini red dot sight) and adjustable mounts, but skip motorized trackers until later.
✅ Essential Features for Beginners
•Large enough aperture (70mm+) for bright, clear views of Moon and planets
•Simple alt-azimuth mount – points up/down and left/right intuitively
•Lightweight and portable (under 20 lbs total) for easy backyard setup
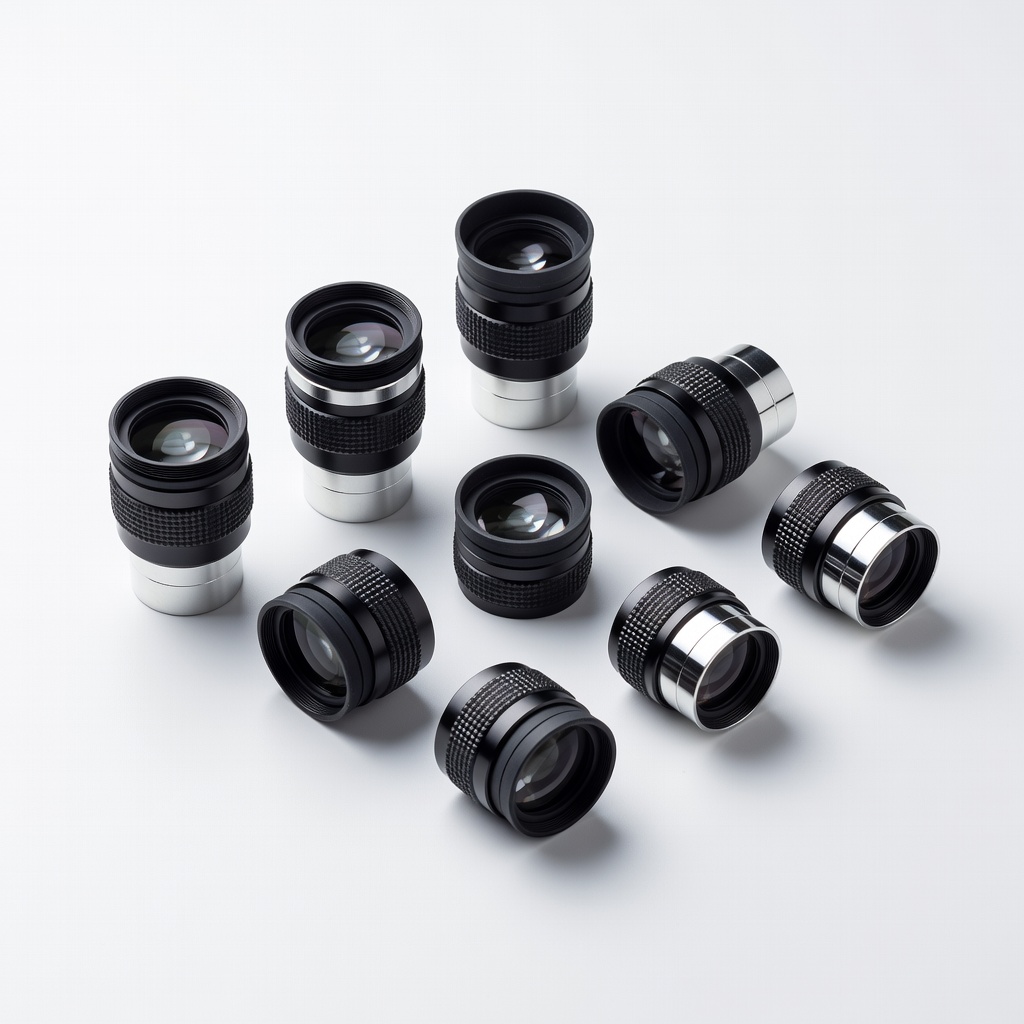
•Included beginner eyepieces (20mm and 10mm) for different magnifications
•Sturdy tripod that doesn't wobble during viewing
•Built-in finder scope for easy targeting
•Pre-assembled or quick-setup design to avoid frustration
•Good optics coating to reduce glare for crisp images
🏆 Top 4 Best Telescope for Beginners
#1
💰 Budget
Gskyer 70mm Refractor Telescope
Learning Curve: Easy
$89.99
Difficulty: 1/5
Why Great for Beginners:
This affordable refractor assembles in minutes with phone adapter for easy Moon photos. It's super light and forgiving for shaky hands, perfect for backyard testing without big commitment.
✓ Beginner Pros
+Quick 5-min setup
+Lightweight (4 lbs)
+Includes phone mount
+Wide field for finding objects
✗ Beginner Cons
-Small aperture limits faint objects
-Tripod a bit wobbly
-Basic eyepieces
👍 Best for: Absolute beginners on tight budget wanting to try stargazing
Classic beginner choice with sharp optics for Moon and planets, plus star diagonal for comfortable viewing. Sturdy yet portable, with everything included to start immediately.
✓ Beginner Pros
+Crystal clear views
+Comfortable erect image
+Stable tripod
+The SkyX software
✗ Beginner Cons
-Manual tracking needed
-Moderate weight (10 lbs)
👍 Best for: Most backyard stargazers wanting reliable first scope
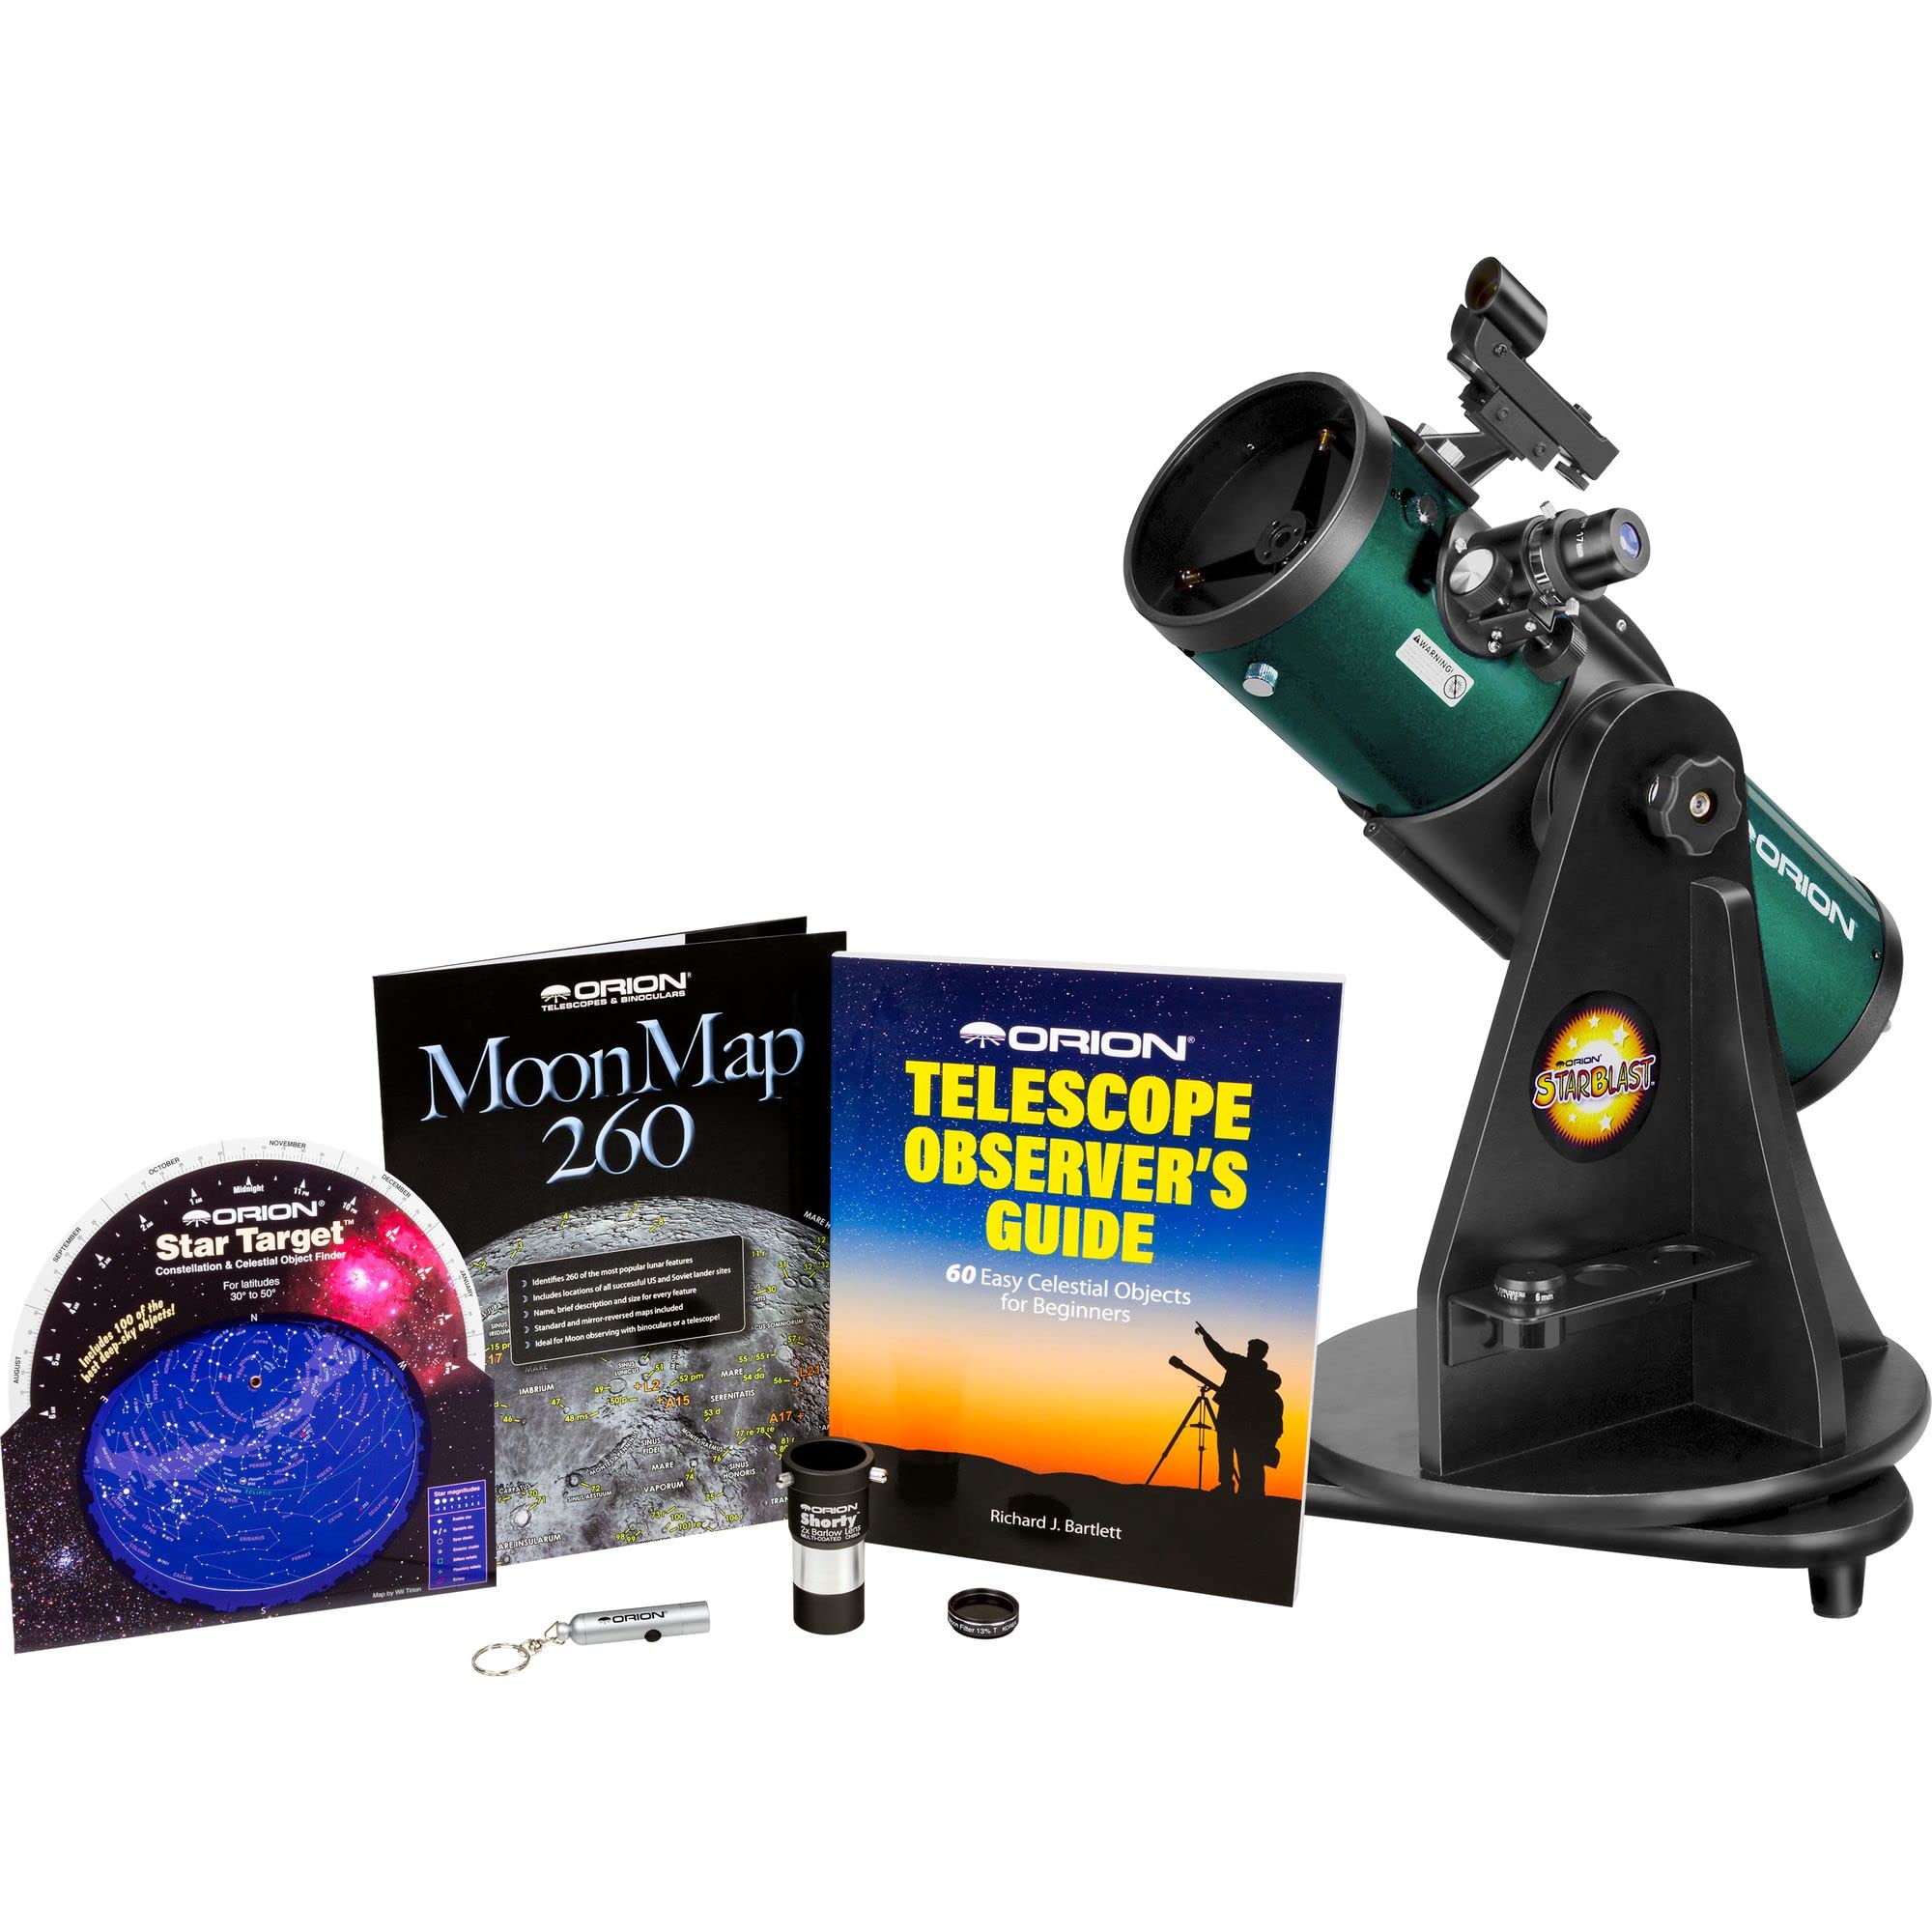
Tabletop design points effortlessly, 114mm aperture grabs more light for brighter planets. Short tube for wide views, super stable without tripod hassle.
✓ Beginner Pros
+Easy pointing
+Bright images
+Compact
+Included 2 eyepieces
✗ Beginner Cons
-Tabletop only (bring your own)
-Collimation occasional
👍 Best for: Beginners wanting more power without complexity
Telescopes collect light to magnify distant objects. Refractors use lenses (great for beginners, sharp Moon views), reflectors use mirrors (bigger aperture for less money, good planets), Dobsonians are simple reflectors on a lazy Susan base.
Best for beginners: Refractors or small reflectors on alt-azimuth mounts – easy to point like a rifle. Expect to see Moon craters, Jupiter's bands/moons, Saturn's rings, and bright star clusters. No, you won't see like Hubble photos on night one.
'BEGINNER-FRIENDLY' means under 10kg, assembles in minutes, manual controls only, and forgiving alignment. Marketing like '500x power' is hype – real limit is 50x per inch of aperture.
🔧 Essential Accessories for Beginners
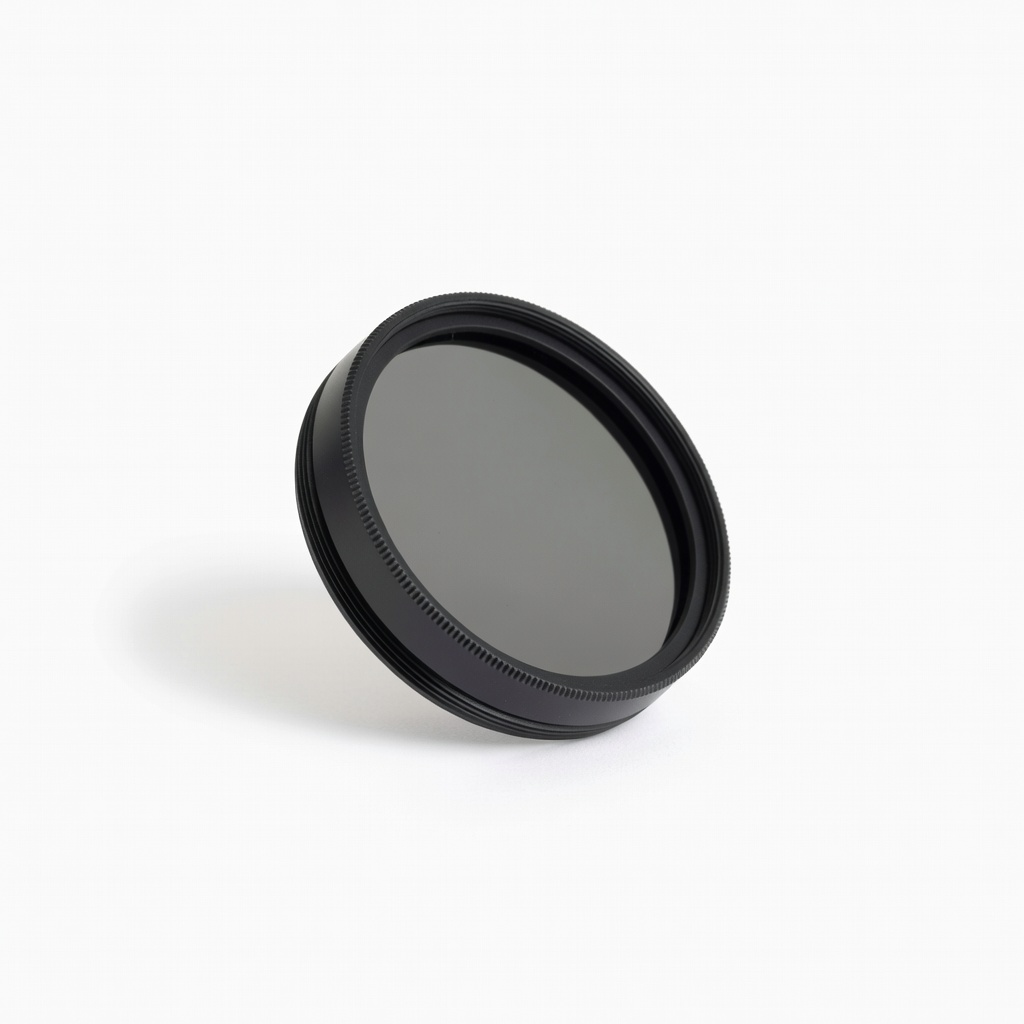
Celestron Moon Filter - 1.25"
⚠️ Essential
$12.95
When to buy:
Day one
Cuts Moon's glare for comfortable, detailed crater viewing without eye strain. Beginners stare longest at the Moon, so this prevents frustration from overwhelming brightness.
Ask: What's your budget? Backyard stargazing or travel? Solo or family? Start with $100-300 for most. Use case: Urban (light pollution)? Pick wide-field refractor. Rural? Reflector for power.
Budget: Under $150 for testing. $150-300 sweet spot (great views, grows with you). $300+ premium (sharper, stable). Red flags: No warranty, tiny aperture (<50mm), complex GoTo computers. Plan for growth: Good beginner scope lasts 1-2 years.
💰 Budget Guide for Beginners
500+
Advanced entry – computerized or large aperture for serious hobbyists
150 - $300
Sweet spot – best value reflectors/refractors with good aperture, sturdy mount, room to grow skills
300 - $500
Premium beginner – larger aperture, better optics, stable for planets, lasts years
Under $ - $150
Entry level – basic refractor to try stargazing, limited power but fun Moon views, may upgrade soon
⚠️ Common Beginner Mistakes to Avoid
Beginners grab bargain-bin scopes that frustrate with dim, shaky views, quitting fast. Or splurge on $1000+ monsters too complex. Avoid by sticking to proven beginner models.
Many skip filters/accessories, missing crisp views. Instead, buy core kit first. Forums echo: Learn manual pointing before auto-trackers.
×Buying super-cheap toys (<$50) that show nothing
×Chasing 'highest magnification' hype (it's not what matters)
×Skipping Moon filter, blinding eyes on first use
×Ignoring weight/portability, can't move heavy scope
×Picking computerized GoTo without manual basics
×No finder scope, endless sky searching frustration
×Not collimating reflectors, blurry views
×Expecting deep space on night one in city lights
📈 Your Progression Path: Beginner to Intermediate
Start with Moon, planets, bright clusters – 30-min sessions. Practice aligning finder weekly. After 3-6 months, master star-hopping.
Outgrow when wanting nebulae/galaxies consistently. Upgrade eyepieces first, then larger aperture or EQ mount. Most stay beginner 6-12 months; intermediate adds filters, astrophotography.
📚 Learning Resources for Beginners
📖NightWatch: A Practical Guide to Viewing the Universe (ASIN: 1552977873) – Beginner star maps and tips
📖Astronomy for Amateurs (ASIN: B08L3Y5Z3P) – Simple first steps book
📖Turn Left at Orion (ASIN: 0521153974) – Hundreds of objects to find
📖Celestron SkyMaster Software (included with scopes) – Free planetarium app
📖Starry Night Education Software (ASIN: B07Z8K7Z3D) – Beginner simulations
🎯 Bottom Line: Our Recommendations
Best overall: Celestron AstroMaster 70AZ – balanced, easy, reliable for 90% beginners.
Budget: Gskyer 70mm. Premium: Celestron 130EQ. Get Moon filter and eyepieces day one.
You're ready – grab one, dark sky, enjoy! Next: Log observations, join local club.
❓ Frequently Asked Questions
Celestron AstroMaster 70AZ or Orion StarBlast 4.5 – easy setup, clear views, under $300.
$150-300 sweet spot for great performance without overwhelm.
70mm+ aperture, alt-az mount, finder scope, sturdy tripod, 2 eyepieces.
Gskyer 70mm or AstroMaster 70AZ – 5-min setup, lightweight.
Moon filter (essential), eyepiece set, finder scope.
Match budget/use: Refractor for simplicity, aperture for power.
No, pick manual beginner models – easier than binoculars!
Cheap toys, high-mag hype, no accessories, ignoring portability.
Yes! Jupiter moons, Saturn rings with 70mm+ aperture.