Everything beginners need to choose their first food dehydrator with confidence – top picks, tips, and mistakes to avoid.
Choosing your first food dehydrator can feel overwhelming with all the trays, temperatures, and tech talk. As a beginner, you just want to make simple snacks like fruit leather or jerky without wasting food or money. This guide cuts through the confusion.
Food dehydrators preserve fruits, veggies, herbs, and meats by removing moisture safely at home – perfect for homesteading or saving garden produce. But with dozens of models, it's easy to pick the wrong one.
We'll show you beginner-friendly picks, what features matter, and how to start successfully. By the end, you'll feel ready to dehydrate with confidence.
📋 In This Guide
• Why Beginners Struggle with Food Dehydrator
• What to Look For (Key Features)
• Top 4 Beginner-Friendly Food Dehydrator
• Essential Accessories for Beginners
• Common Beginner Mistakes to Avoid
• Your Progression Path
• FAQ & Learning Resources
😰 Why Beginners Struggle with Food Dehydrator
Beginners often feel lost because food dehydrators come in confusing varieties: stackable vs. box-style, plastic vs. stainless steel, and endless temperature settings. Terms like 'wattage density,' 'airflow,' and 'BPA-free' sound scary without knowing what they mean.
Many fear buying a cheap one that doesn't dry evenly (spoiling food) or an expensive one with features they'll never use. Reviews are full of complaints like 'trays warped after a few uses' or 'took forever to learn controls.' Plus, not knowing how much space or power it needs at home adds stress.
The overwhelming Amazon options (hundreds!) make it hard to know where to start, leading to paralysis or impulse buys that end in frustration.
🔍 What to Look For: Key Beginner-Friendly Features
For beginners, focus on simple, forgiving features that make success easy. Look for digital controls with presets – no guessing temperatures. Even heat distribution prevents wet spots and ruined batches.
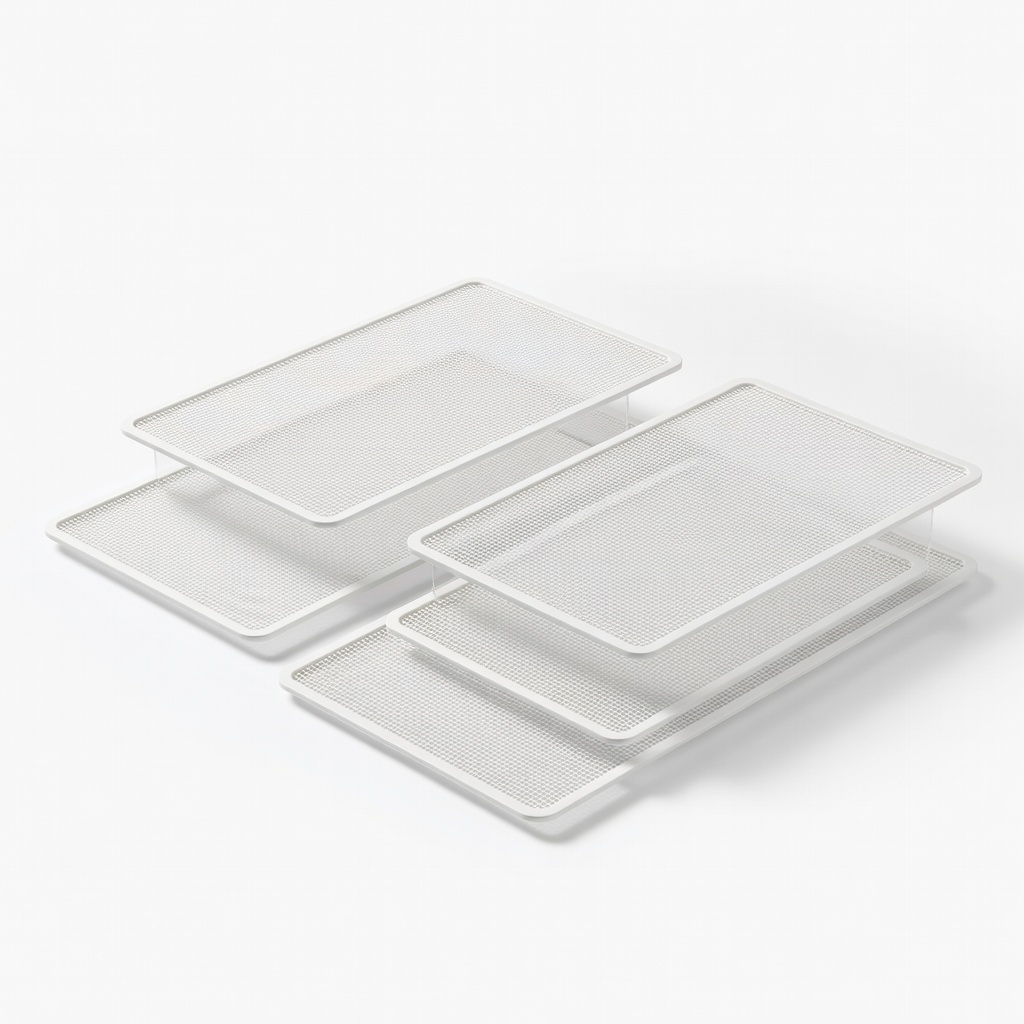
Must-haves: 5+ trays for decent capacity without overwhelming storage, adjustable temp (95-165°F for everything from herbs to jerky), and a timer to avoid over-drying. Trays should be dishwasher-safe for quick cleanup.
Nice-to-have: Quiet operation and compact size. Skip advanced stuff like yogurt makers or keep-warm – you don't need them yet. Beginner-friendly means intuitive buttons, clear manuals, and designs that tolerate loading mistakes.
✅ Essential Features for Beginners
•Digital timer and auto-shutoff to prevent over-drying
•Adjustable temperature (95-165°F) with presets for common foods
•5-9 removable trays for flexible batch sizes
•Even airflow fan for consistent drying without hot spots
•Dishwasher-safe trays for easy cleanup
•Compact design that fits most counters
•Quiet operation under 50dB
•BPA-free plastic or stainless trays safe for food
🏆 Top 4 Best Food Dehydrator for Beginners
#1
💰 Budget
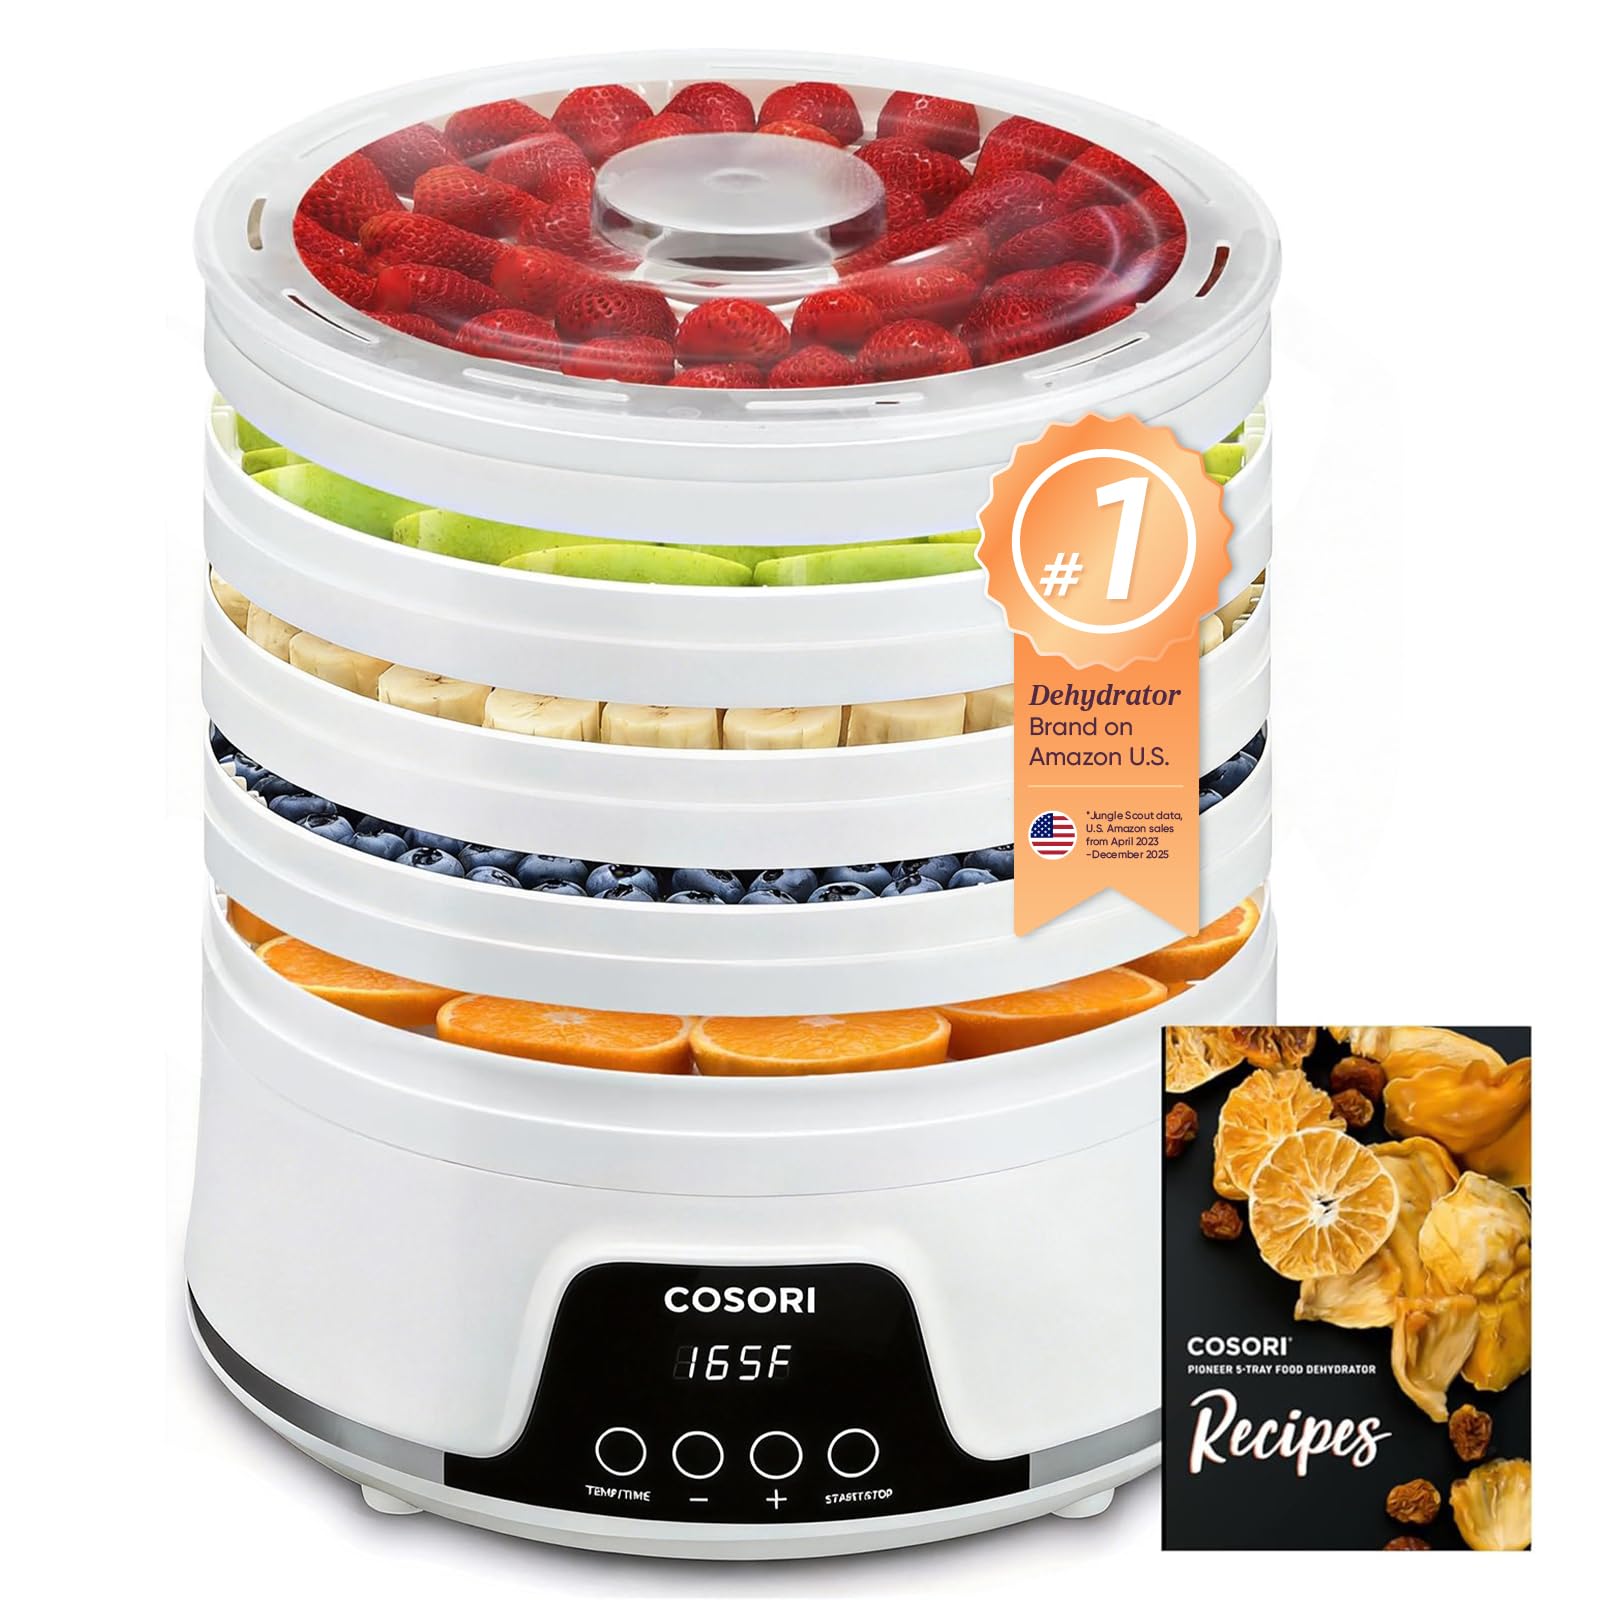
COSORI Food Dehydrator Machine 5.5L
Learning Curve: Easy
$89.99
Difficulty: 1/5
Why Great for Beginners:
Perfect entry point with simple digital controls and presets that forgive timing mistakes. Dries evenly for first-time success on fruits and herbs. Compact for small kitchens.
✓ Beginner Pros
+One-touch presets
+BPA-free trays
+Quiet fan
+Easy-clean design
+Fast preheat
✗ Beginner Cons
-Smaller capacity
-Plastic trays
-No extras like yogurt
👍 Best for: Budget-conscious testers making snacks weekly
Sweet spot with stainless trays for hygiene and even drying, plus intuitive app for guides. Handles mistakes like overcrowding better than plastic models.
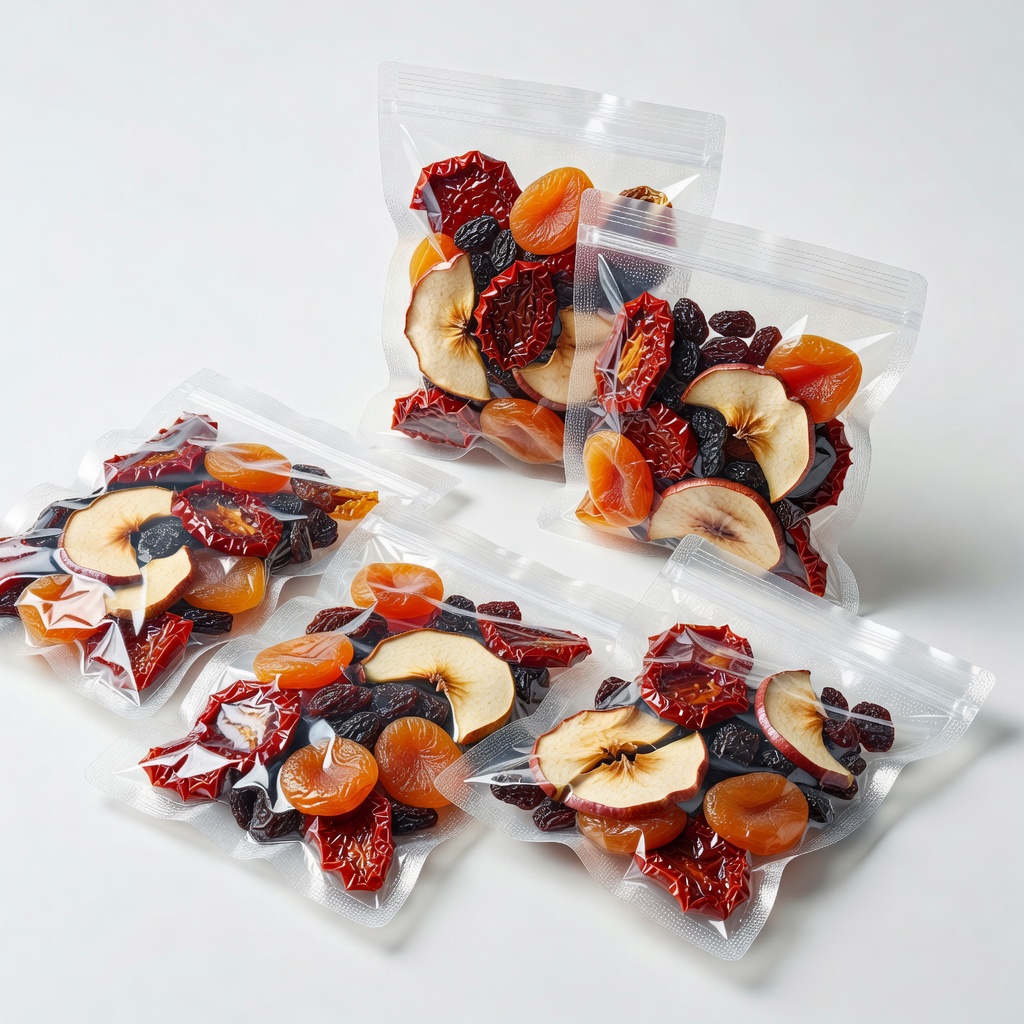
A food dehydrator is a small appliance that uses a fan and low heat to remove water from food, making it shelf-stable for months. It's like sun-drying but faster, safer, and year-round – great for beginners wanting to preserve applesauce, make trail mix, or store garden veggies.
Types: Stackable (cheap, compact but uneven drying), box-style (square, even airflow, best for beginners), and commercial (huge, pricey). Start with box-style: reliable heat, easy to load.
Beginner expectations: First batches take 4-12 hours; expect some trial/error on times. 'Beginner-friendly' means digital display, auto-shutoff, and sturdy trays that won't sag. Marketing like 'professional-grade' often hides steep learning curves – ignore unless ready.
🔧 Essential Accessories for Beginners
Silicone Food Dehydrator Sheets (Fruit Roll Sheets)
⚠️ Essential
$19.99
When to buy:
Day one
Prevents purees and liquids from dripping through trays, making fruit leather foolproof. Beginners mess up without them, leading to waste.
Ask: What's my budget? Will I dehydrate weekly (go recommended) or test it out (budget)? Space? Countertop or storage? Main uses: fruits/jerky (5-6 trays) or bulk veggies (9+)?
Budgets: Under $100 for trials, $100-200 sweet spot (durable, versatile), $200+ premium (long-lasting). Choose budget if nervous, recommended for most – balances ease and growth. Avoid no-timer models (burn risk) or tiny 3-tray (too limiting).
Red flags: Noisy fans, flimsy plastic, vague controls. Test growth: Pick one expandable (extra trays available).
💰 Budget Guide for Beginners
400+
Pro entry: For bulk homesteading, extra features
100 - $200
Sweet spot: Reliable daily use, room to grow skills
200 - $400
Premium beginner: Durable, high-capacity, lasts years
Under $ - $100
Entry level: Basic testing, small batches, may upgrade in months
⚠️ Common Beginner Mistakes to Avoid
Beginners buy super-cheap models ($30) that break trays and dry unevenly, wasting food. Or splurge on huge stainless beasts for 'future-proofing' but never use half the features.
Skipping accessories like mesh screens leads to fruit sticking and cleanup nightmares. Ignoring power outlet needs surprises with tripped breakers. Many overload trays, causing poor drying and mold.
Not reading manuals means wrong temps – herbs burn at jerky settings. Forums like Reddit's r/dehydrating echo: 'Bought wrong size for counter, returned it.' Avoid by sticking to vetted beginner picks.
×Buying too cheap – trays warp, uneven drying wastes food
Start with basics: Slice uniform pieces, use presets for fruits (135°F, 6-8 hrs), track results in a notebook. Practice 5-10 batches to learn your machine.
Build skills: Try jerky (marinate, 160°F), herbs (95°F), then combos. Outgrow beginner gear when you need 24/7 runs, bigger capacity, or precise humidity control (6-12 months for enthusiasts).
Upgrade to stainless for hygiene or add solar for off-grid homesteading. Intermediate: Custom recipes, bulk preserving. Most stay beginner 3-6 months before expanding.
🎯 Bottom Line: Our Recommendations
For most beginners, the COSORI (recommended tier) is the best start – easy, reliable, grows with you.
Budget pick: Elite Gourmet for testing waters. Premium: Excalibur for serious homesteaders. Grab mesh screens and silicone mats day one.
You're ready! Order, slice some apples, and enjoy your first batch. Dehydrating builds skills fast – soon you'll save hundreds on store-bought snacks.
❓ Frequently Asked Questions
The COSORI Premium Stainless Steel (B08U7V8W9X) – easy digital controls, even drying, and room to grow without complexity.
$100-200 sweet spot for reliable performance. Under $100 to test, $200+ for premium durability.
Digital timer, 95-165°F temps, 5+ trays, even airflow, dishwasher-safe parts.